
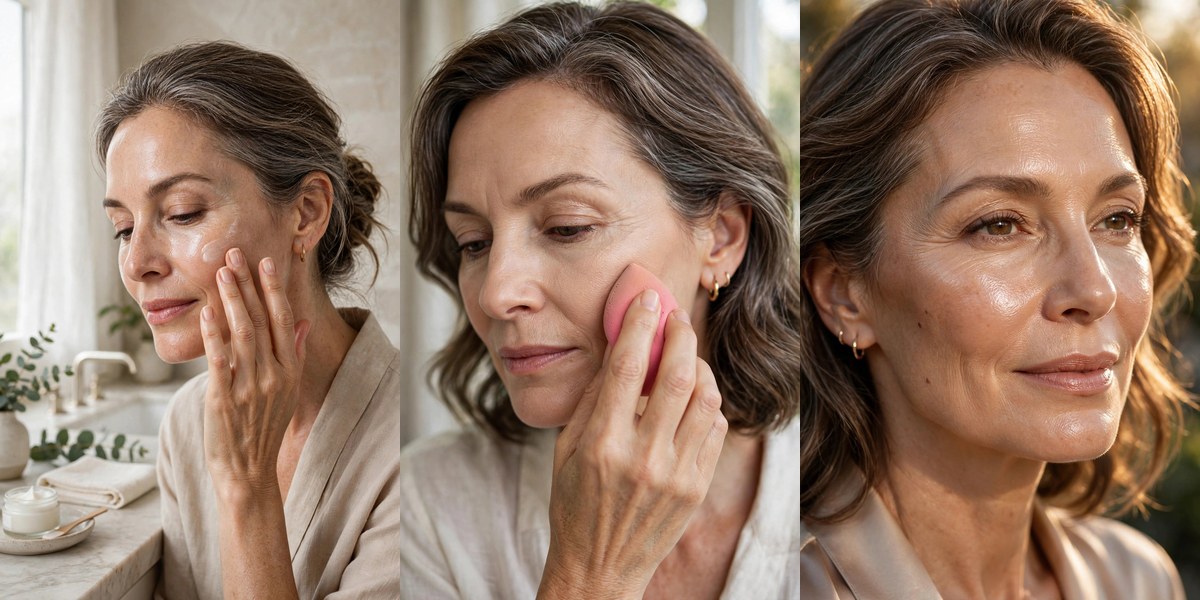
Still wearing the same foundation you wore at 35? If your base keeps settling into lines by lunchtime, the problem isn’t your skin — it’s the formula and the technique. Mature skin needs hydration, light, and a far lighter hand than the full-coverage era ever taught us.
The good news: the best foundation for mature skin over 50 isn’t about coverage at all. It’s about formulas that behave like skincare and application that builds in whisper-thin layers. Below are 14 expert techniques — from prep to finish — that deliver a fresh, crease-free glow that lasts all day. Affordable options exist at every step, and most of these fixes cost nothing at all.
⚡ The 60-Second Basics
- Hydrate first: moisturizer, then wait two full minutes — makeup applied to thirsty skin cakes within the hour.
- Less is more: start with half a pump; add product only where you actually need it.
- Creams before powders, always: reverse the order and everything pills or lifts.
- Daylight is the judge: check your base by a window before leaving the house, never in bathroom lighting.
1. 💦 The Hydration Sandwich
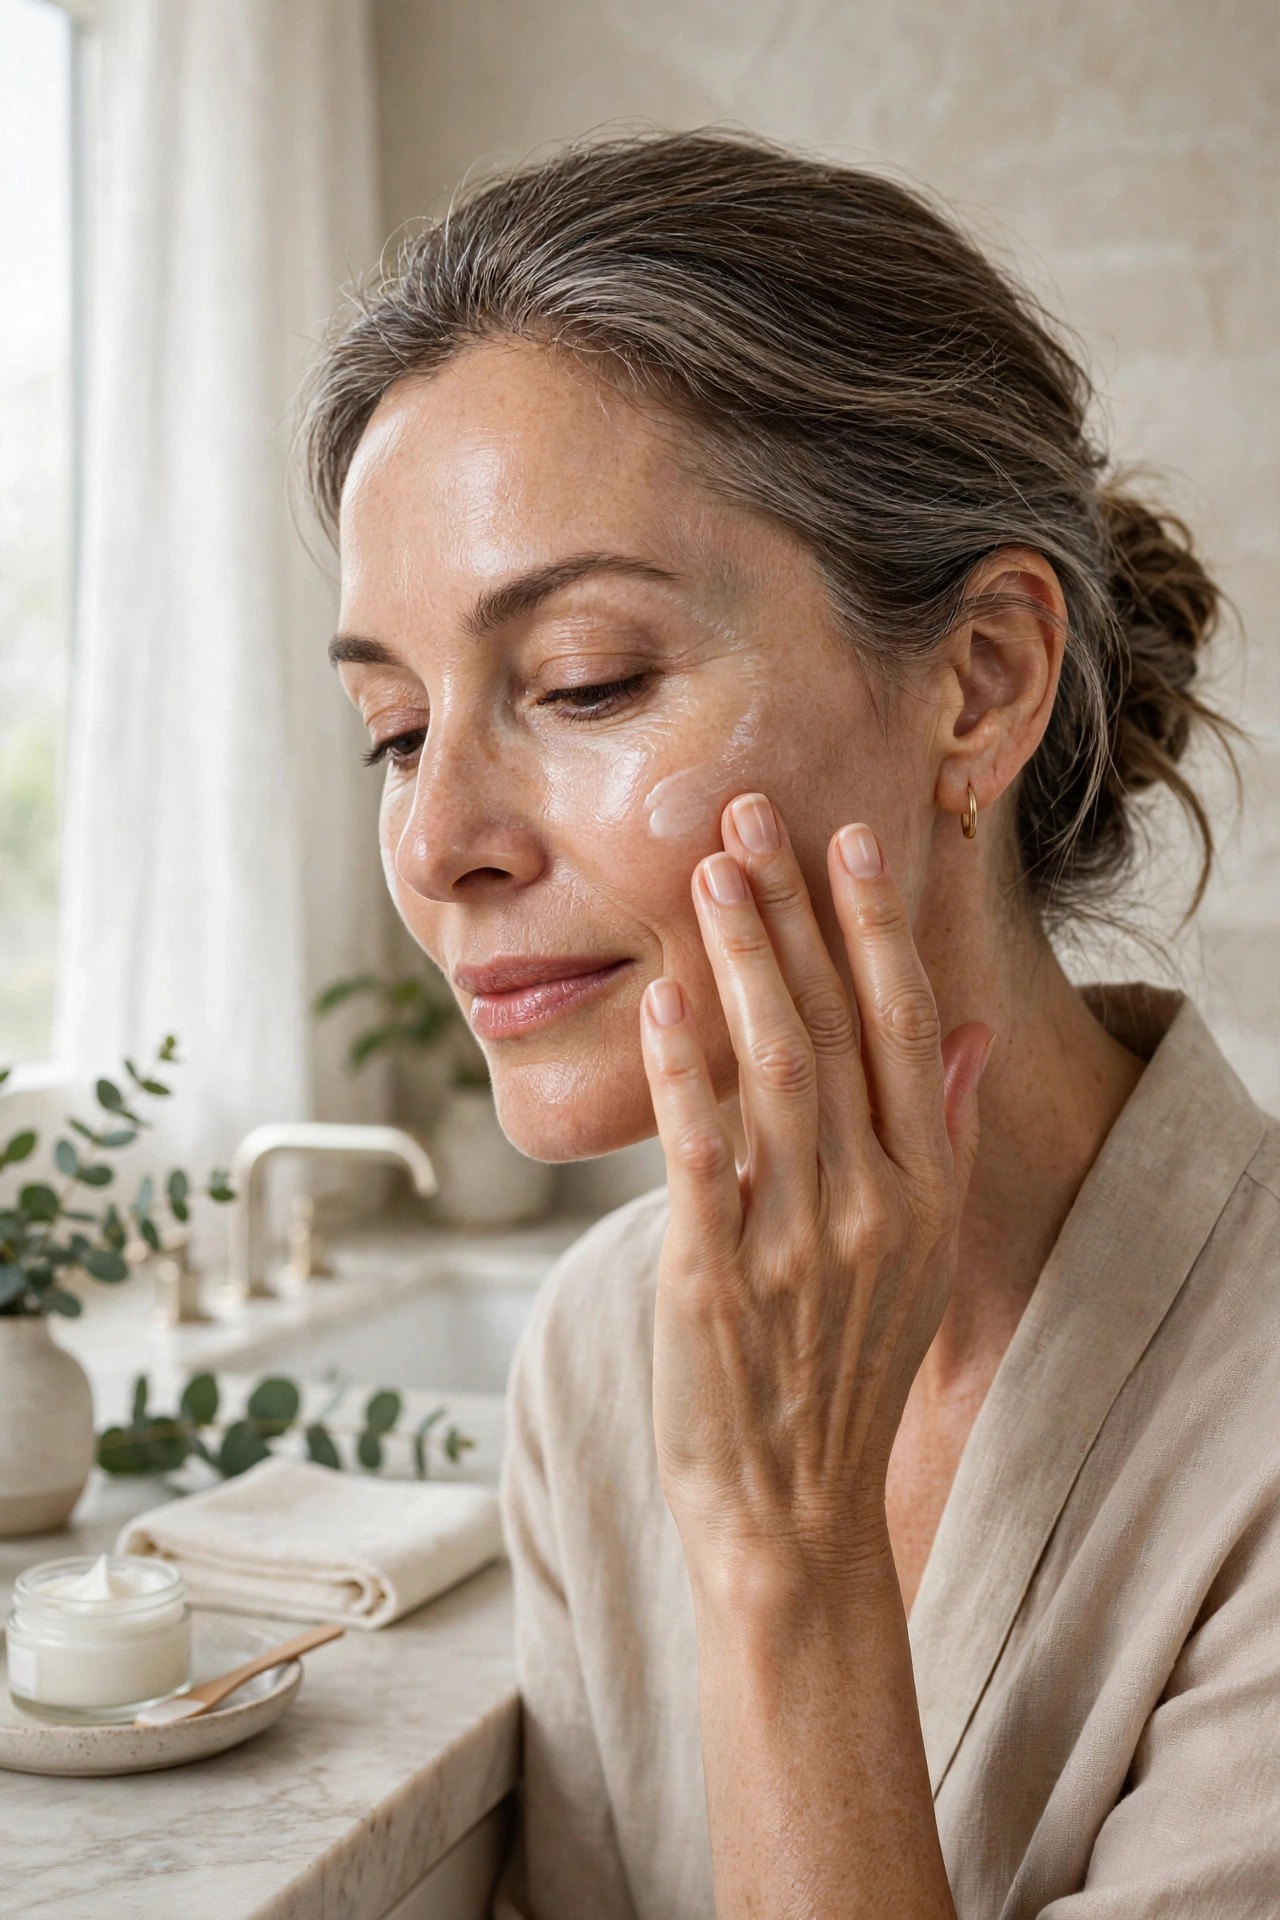
Layer moisturizer over damp skin, wait two minutes, then press in a second thin layer of a hydrating moisturizer or a drop of facial oil on dry areas. Hydrated skin grips foundation evenly instead of drinking it in patches. The payoff is a base that looks like skin at 5pm, not patchwork.
Try this: damp face + moisturizer, wait 2 minutes + a pea-size second layer on cheeks.
Pro note: Skip moisturizer and your foundation has to do two jobs — hydrating and covering — and it will fail at both.
2. 🎯 Prime Only Where You Need It
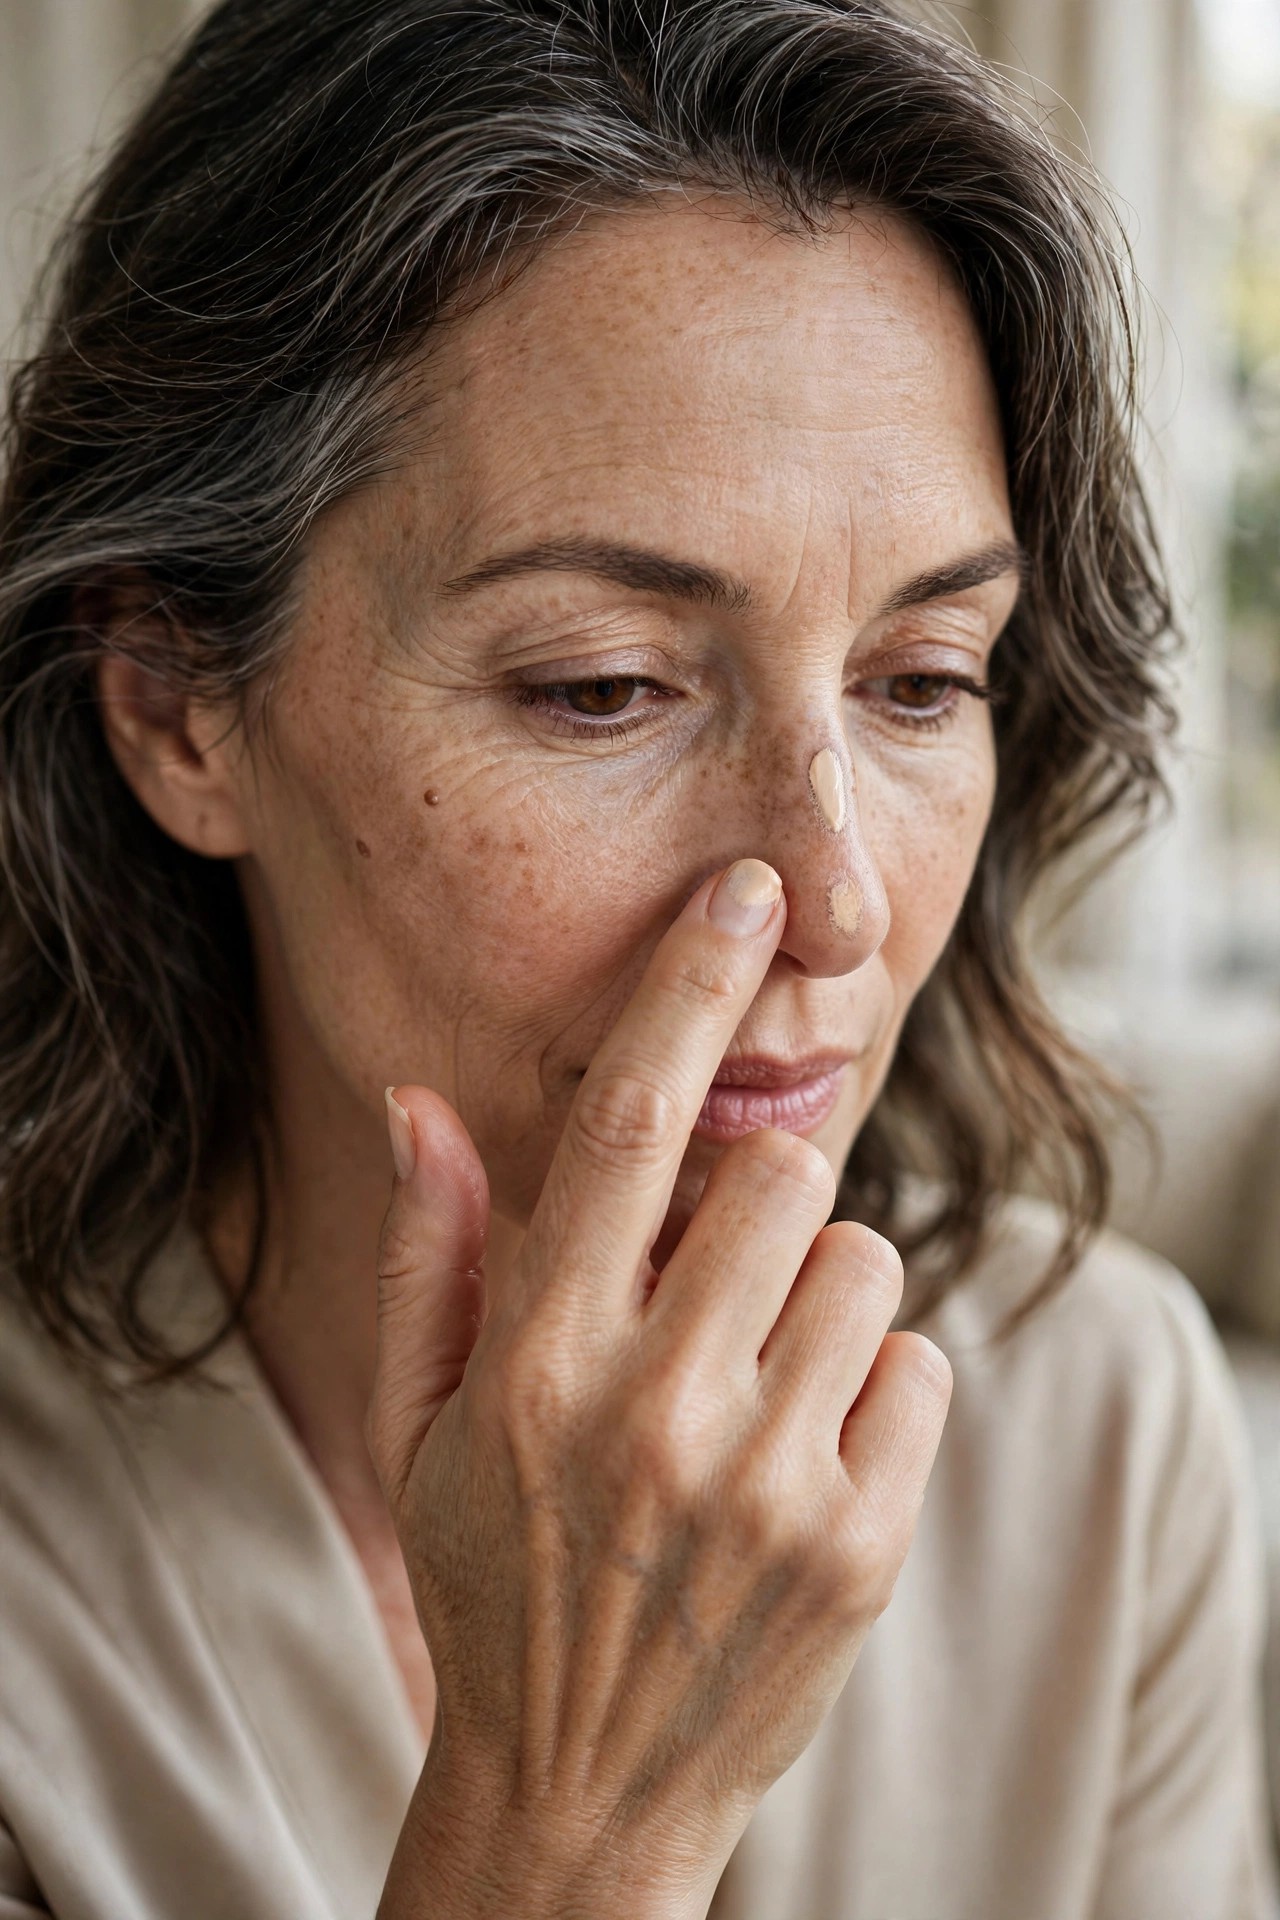
A blurring primer is brilliant on pores and fine lines, but coating your whole face in silicone makes foundation slide. Press a pea-size amount into the T-zone, around the nose, and over smile lines only. Everywhere else, moisturizer is primer enough. Targeted priming keeps texture blurred without the midday slip.
Try this: primer on T-zone and nasolabial folds; nowhere else.
Avoid: silicone-heavy primers under silicone-free foundations — they repel each other and pill.
3. 🤲 Warm It on Your Hand First
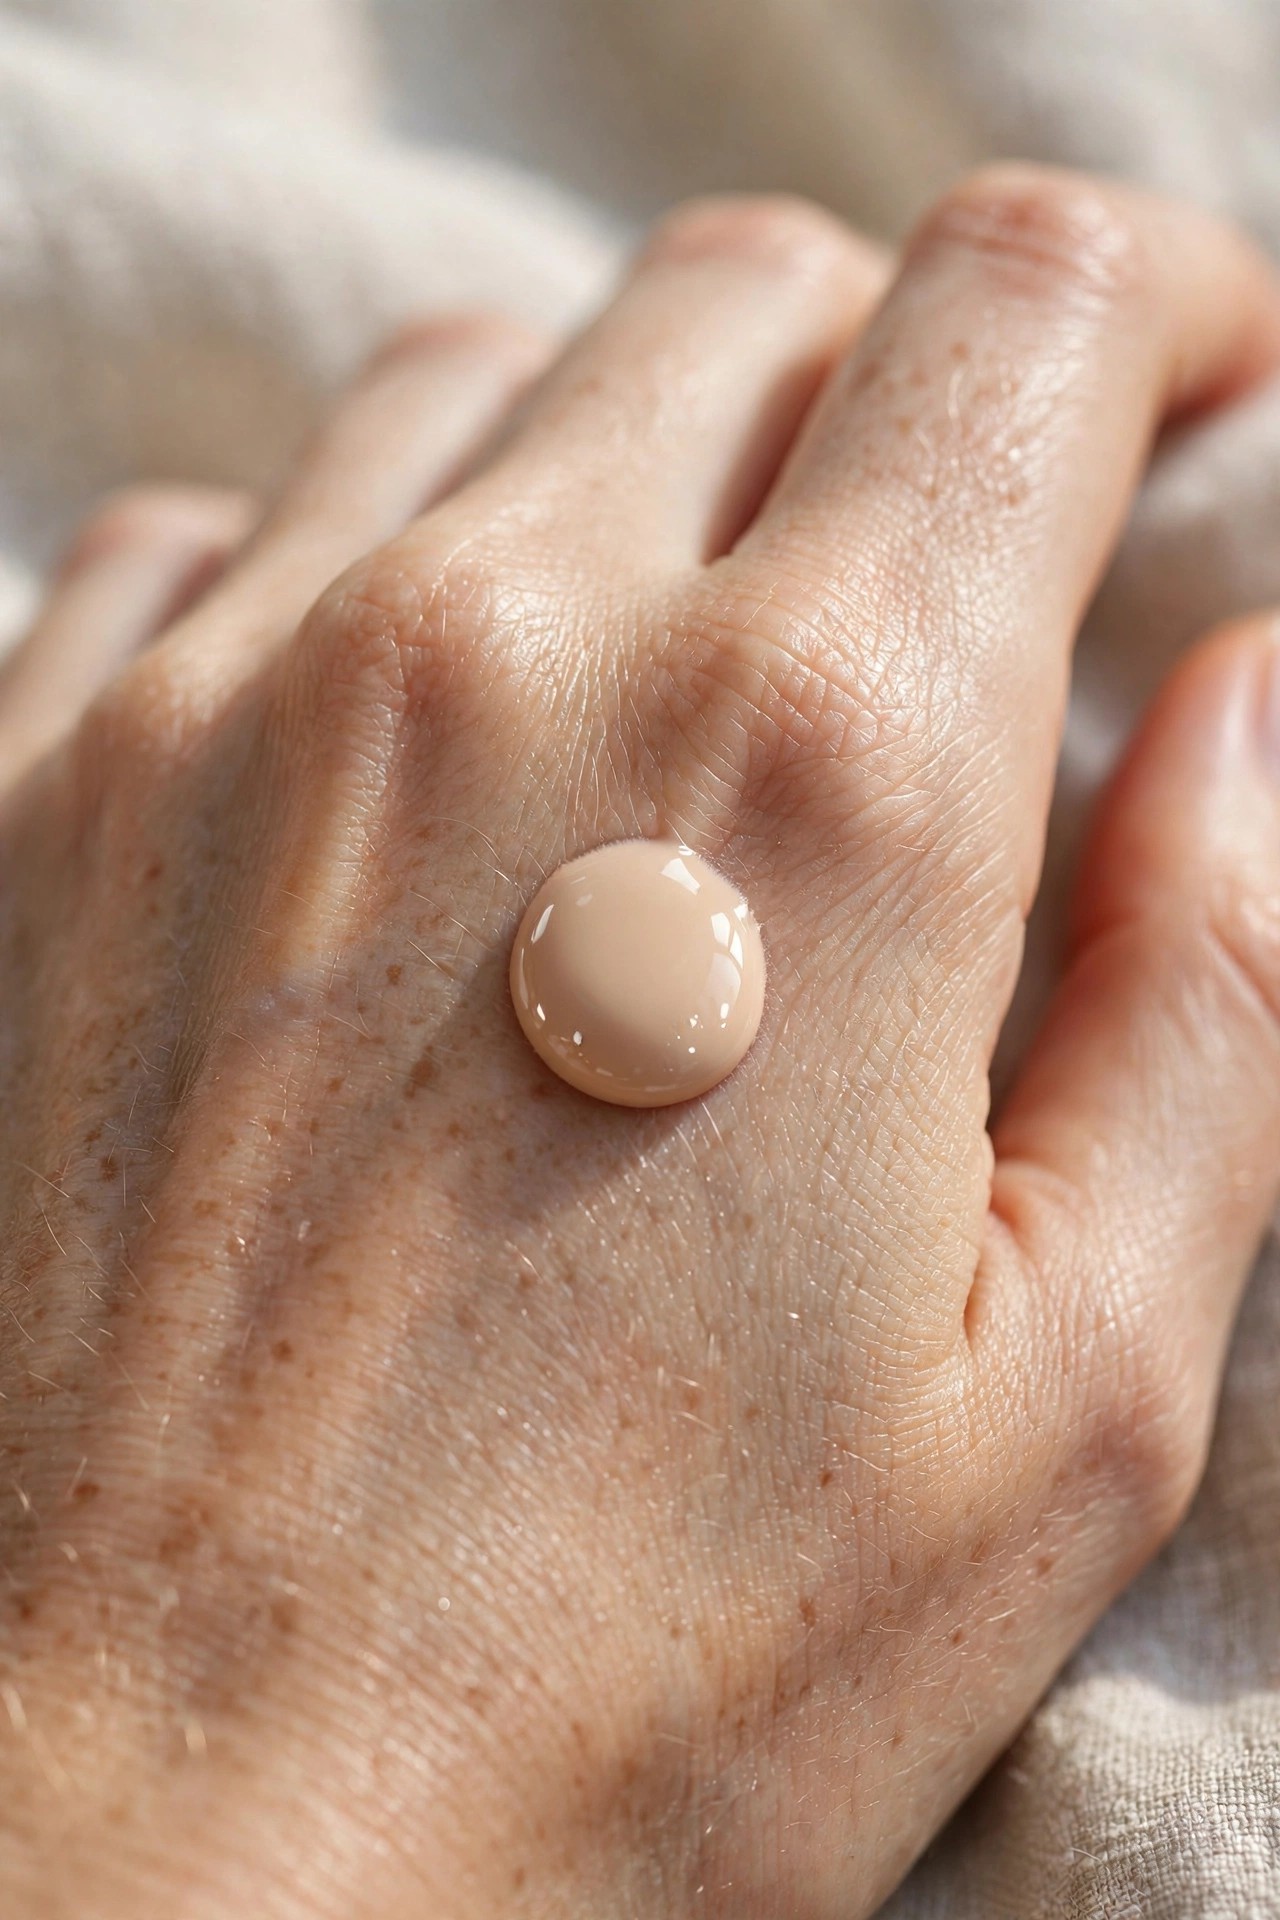
Cold foundation straight from the bottle sits on top of skin; warmed foundation melts into it. Dispense half a pump onto the back of your hand and let your body heat soften it for 30 seconds before applying. This one habit makes even drugstore formulas behave like luxury ones.
Try this: half a pump on the back of your hand, wait 30 seconds, then apply.
Pro note: Warming also lets you see the true undertone before it hits your face — no more surprises in daylight.
4. 👆 Apply With Fingers First
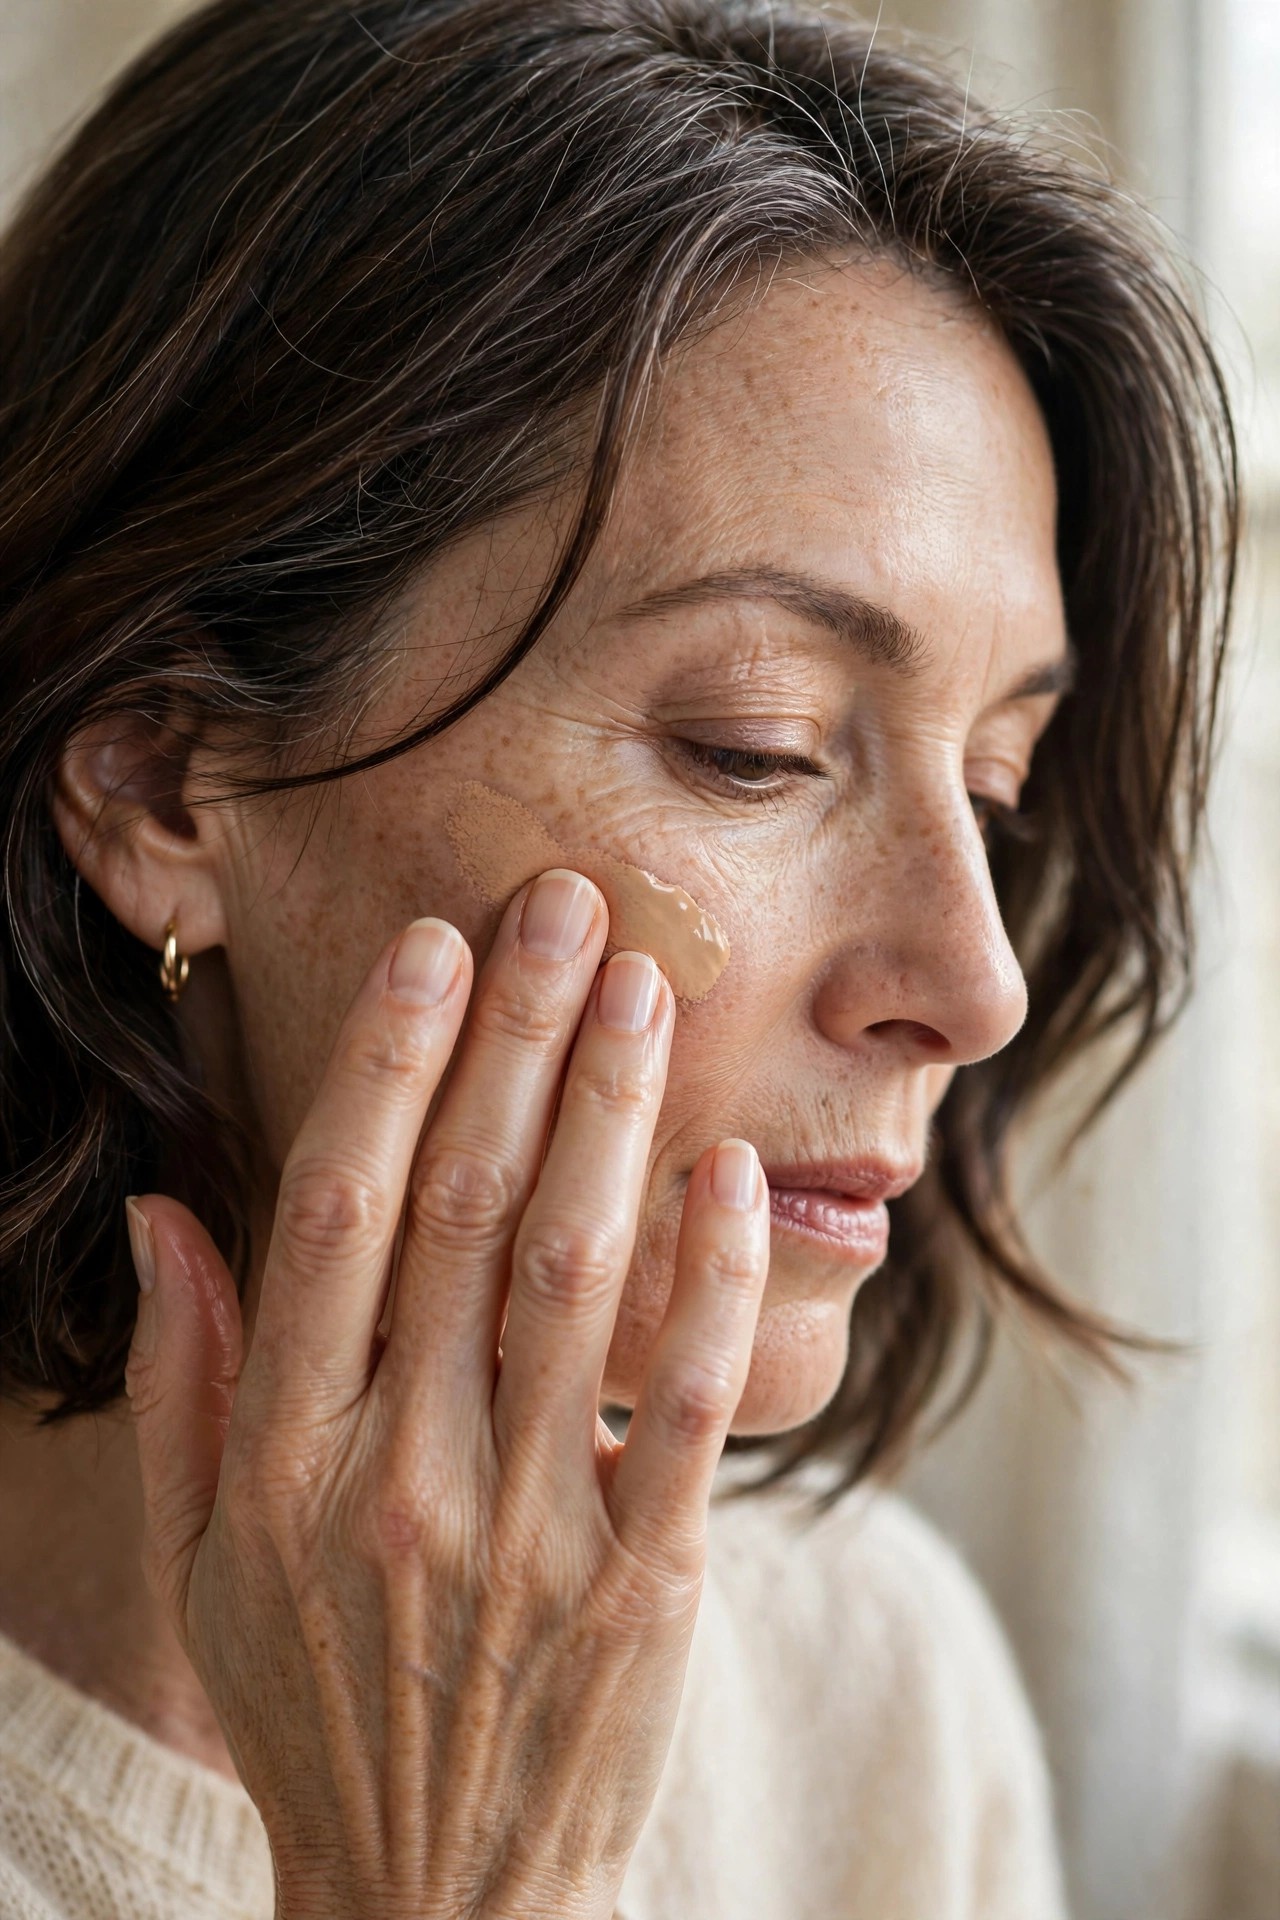
Makeup artists reach for fingers, not brushes, on mature skin — and for good reason. Warmth melts product into skin, and fingertips naturally use less. Press and stipple foundation over the center of the face, blending outward. Switch to a tool only for finishing, never for the first layer.
Try this: dot foundation on forehead, nose, chin, cheeks — press and stipple outward with ring and middle fingers.
Avoid: rubbing or swiping, which pushes product into lines instead of over them.
5. 🥄 The Half-Pump Rule
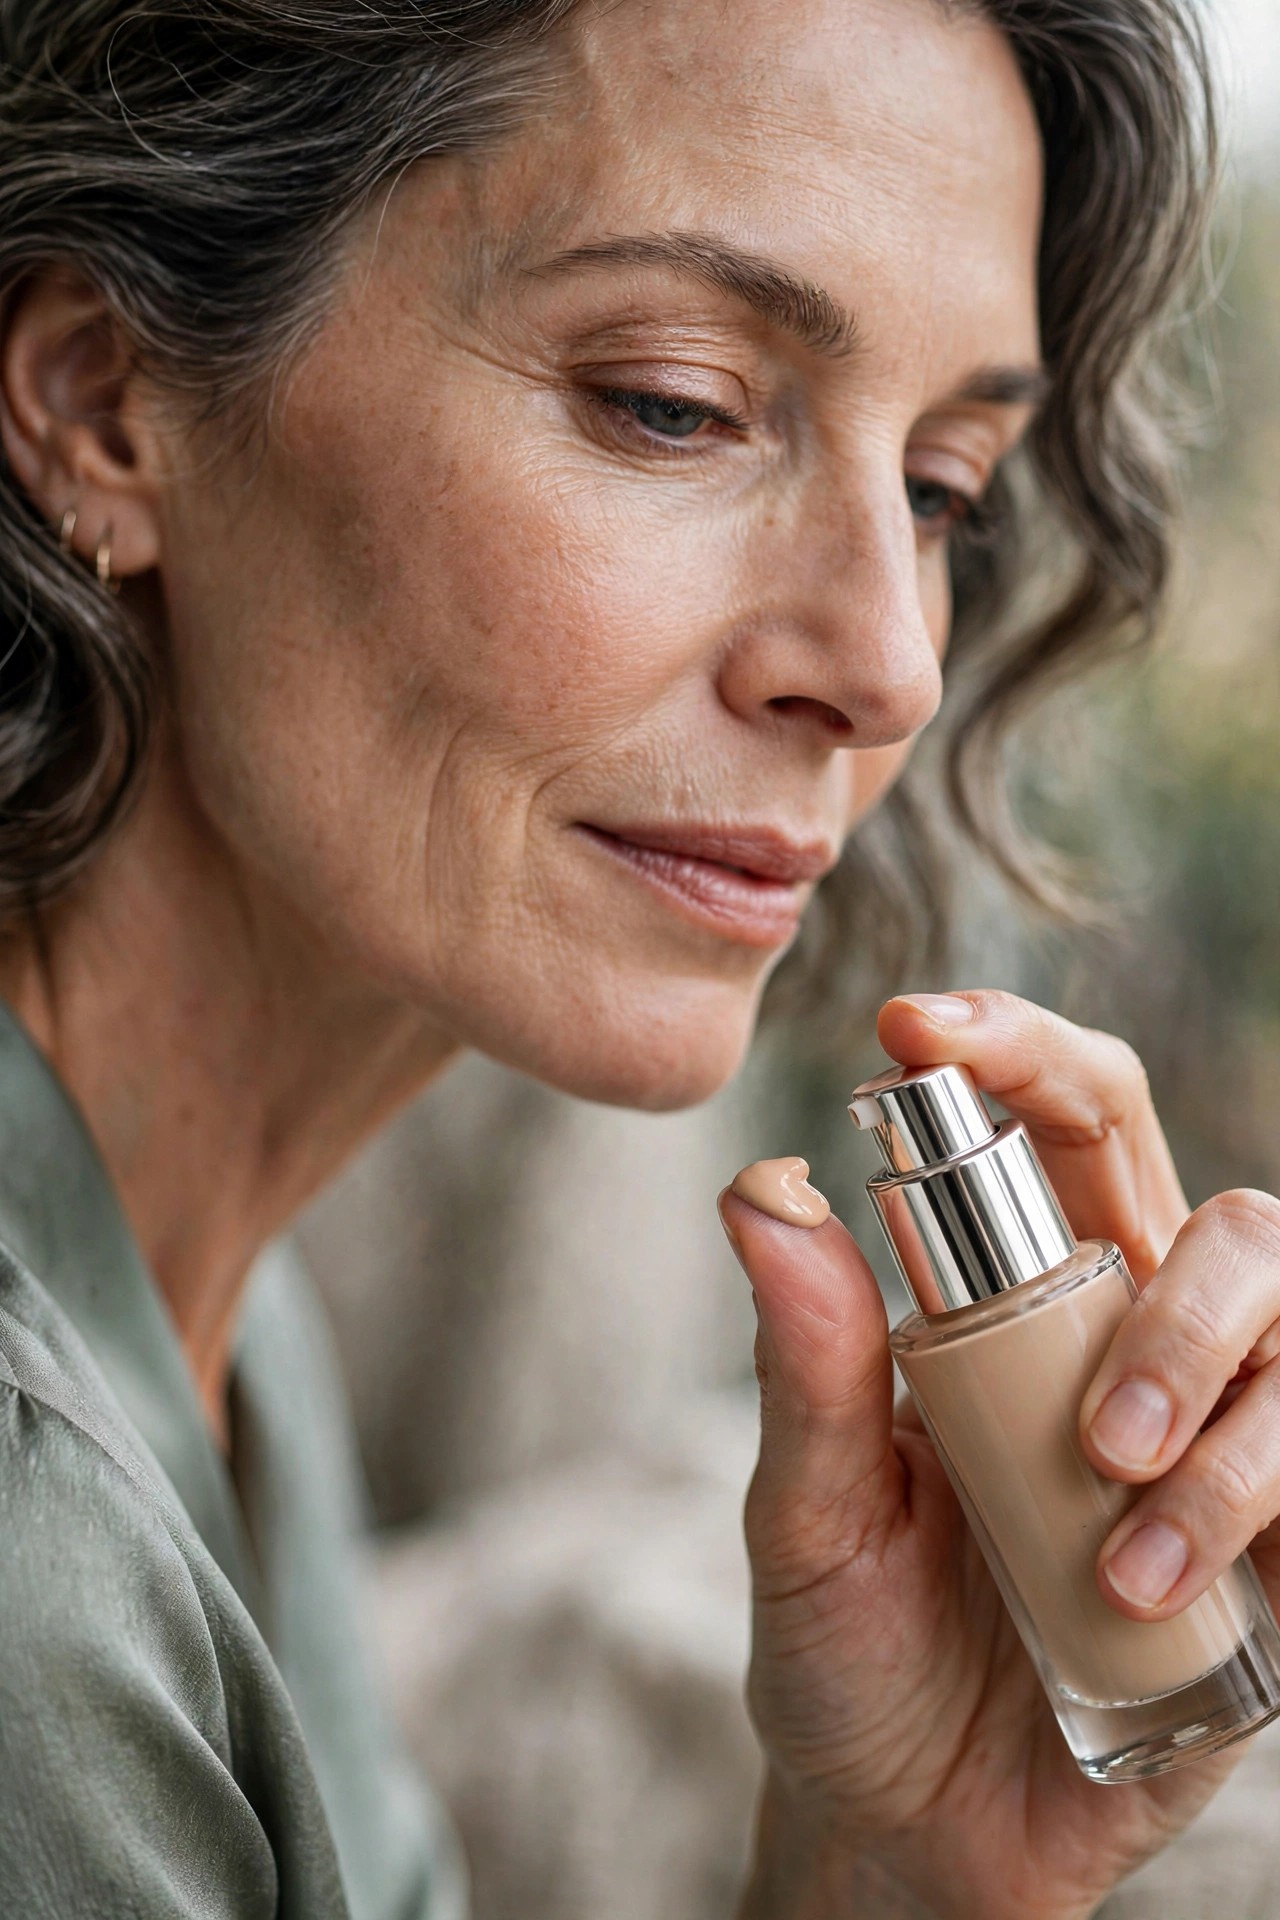
Most women use twice the foundation they need. One half-pump covers the entire face when it’s sheered out; you can always add a second whisper where redness lingers. Starting small is the single fastest way to stop the cakey, mask-like finish that reads older than you are.
Try this: half a pump for the whole face; a pinhead more only on redness or spots.
Pro note: If your bottle empties in a month, you’re using too much — a bottle should last three.
Sheer your foundation down by mixing it with one drop of moisturizer on the back of your hand. You get a custom tinted moisturizer that evens tone without ever looking like makeup.
6. 🧽 The Damp-Sponge Press
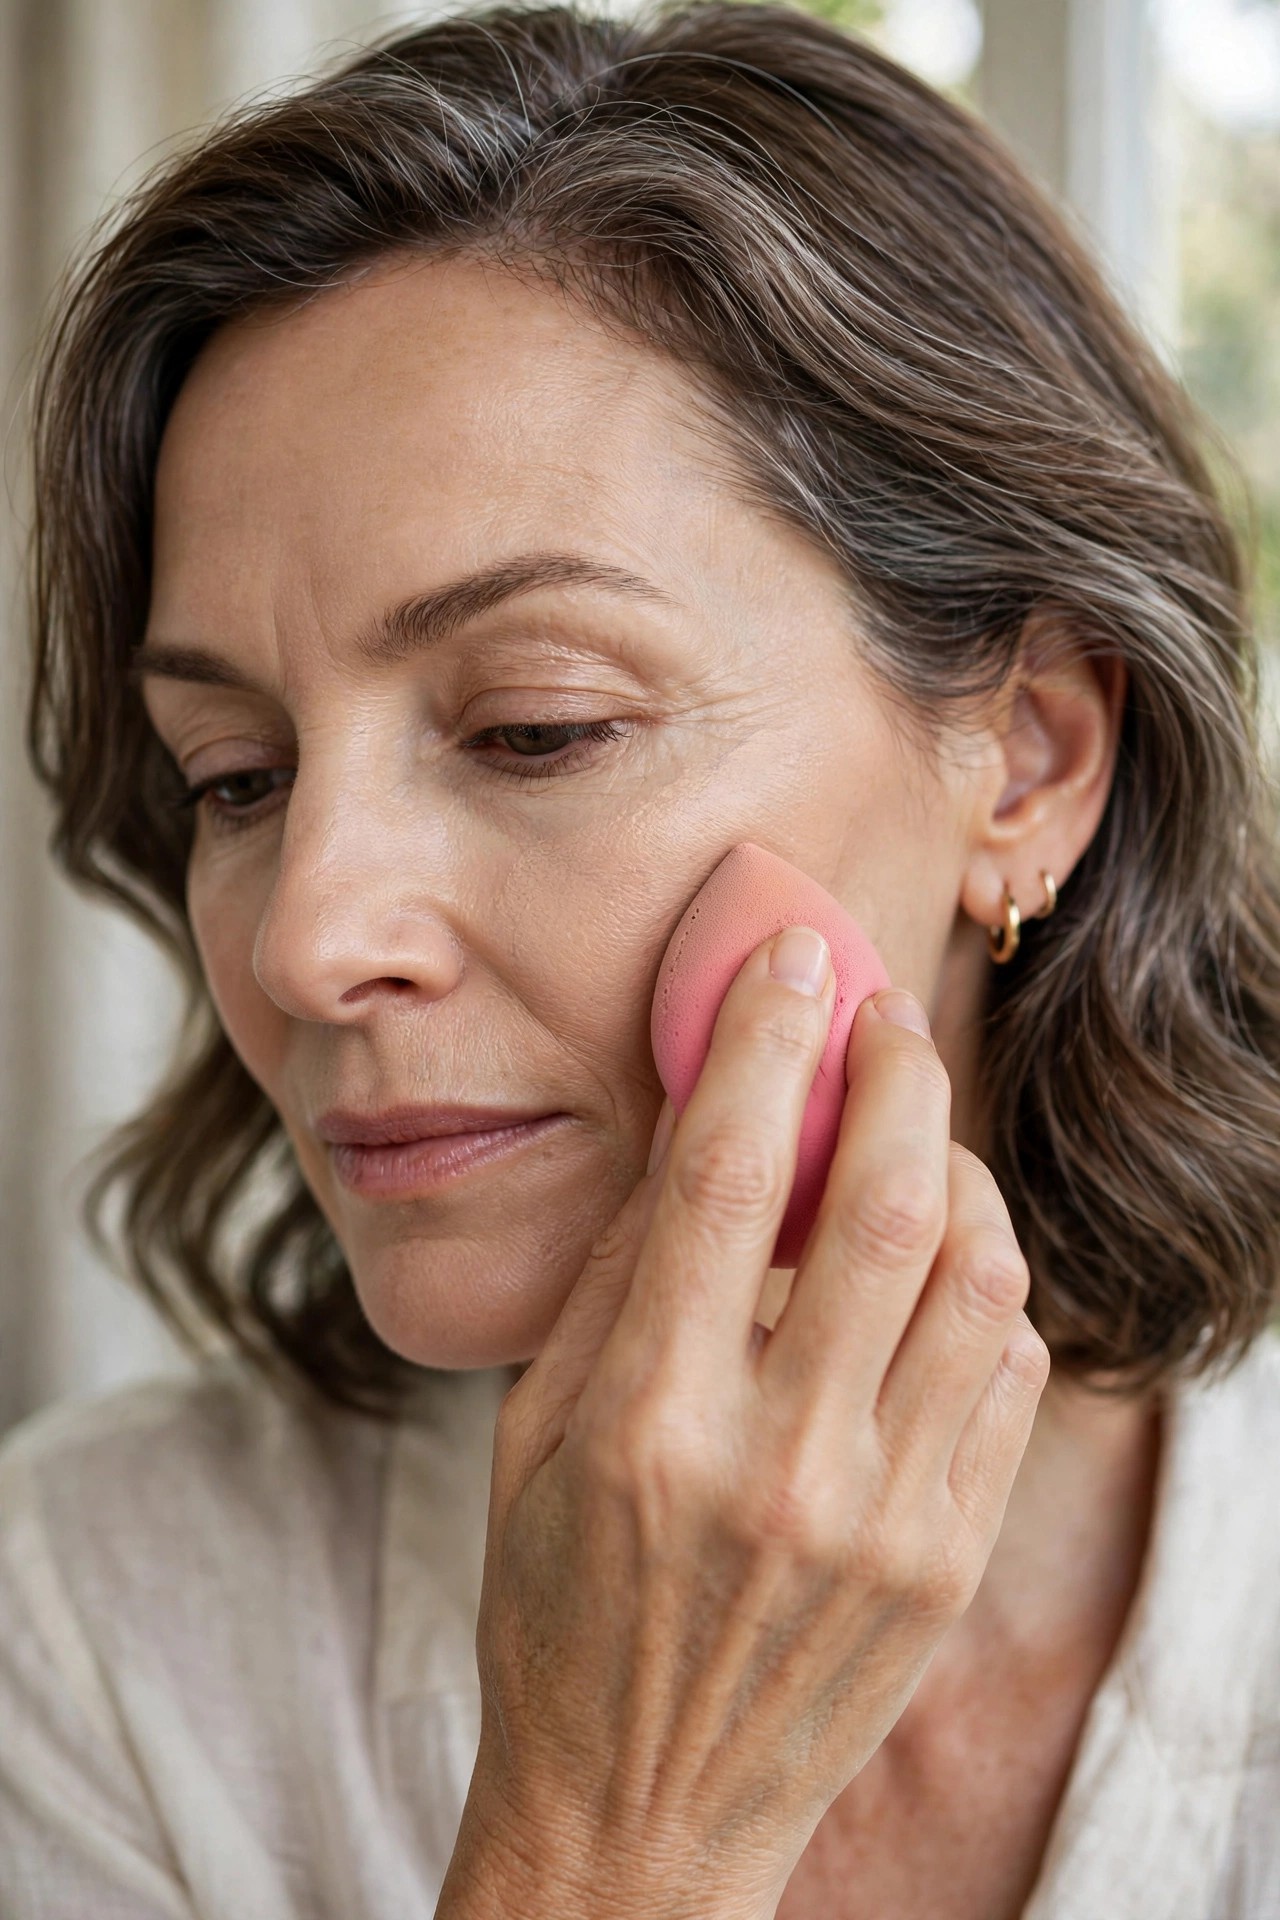
A damp sponge is the great equalizer for mature skin. Bounce — never drag — the sponge over foundation to press it in and lift away excess in one motion. The dampness sheers the formula slightly and leaves a skin-like finish no brush can match. Rinse the sponge before every use so it stays damp, not wet.
Try this: wring the sponge until no water drips, then bounce-press over the whole face.
Avoid: dragging the sponge — it streaks and deposits product unevenly.
7. 🔍 Spot-Cover, Don’t Blanket
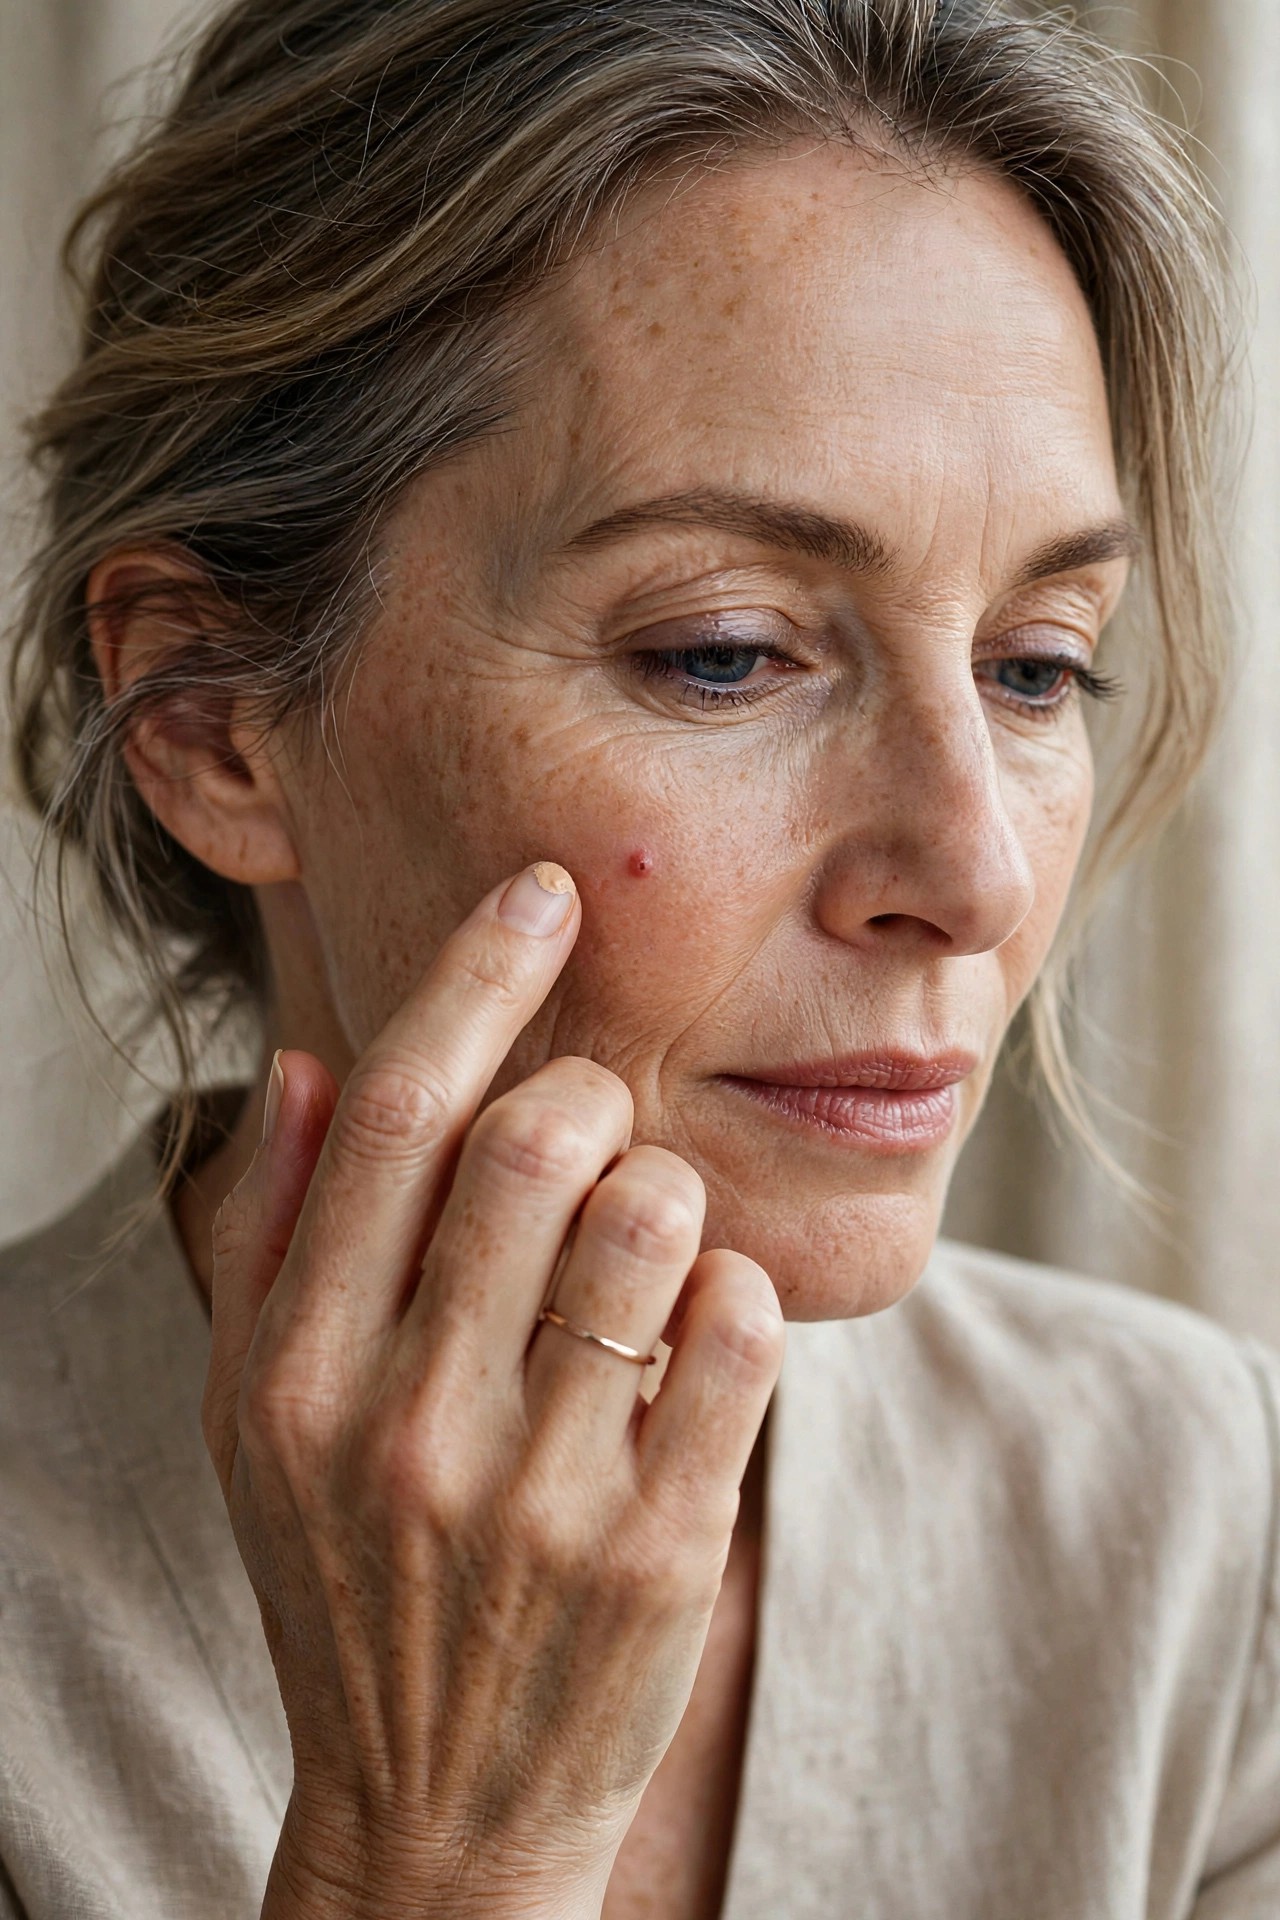
Full-face coverage is what ages a base. Instead, even out your overall tone with the sheerest layer possible, then go back with a tiny brush or fingertip and tap a touch more only on redness, broken capillaries, or dark spots. The rest of your skin — the good skin — stays bare and radiant.
Try this: sheer base everywhere + pinpoint concealer or foundation on the 3–4 spots that need it.
Pro note: This technique alone can cut your foundation use in half while doubling how natural you look.
8. 🦢 Blend Into the Neck
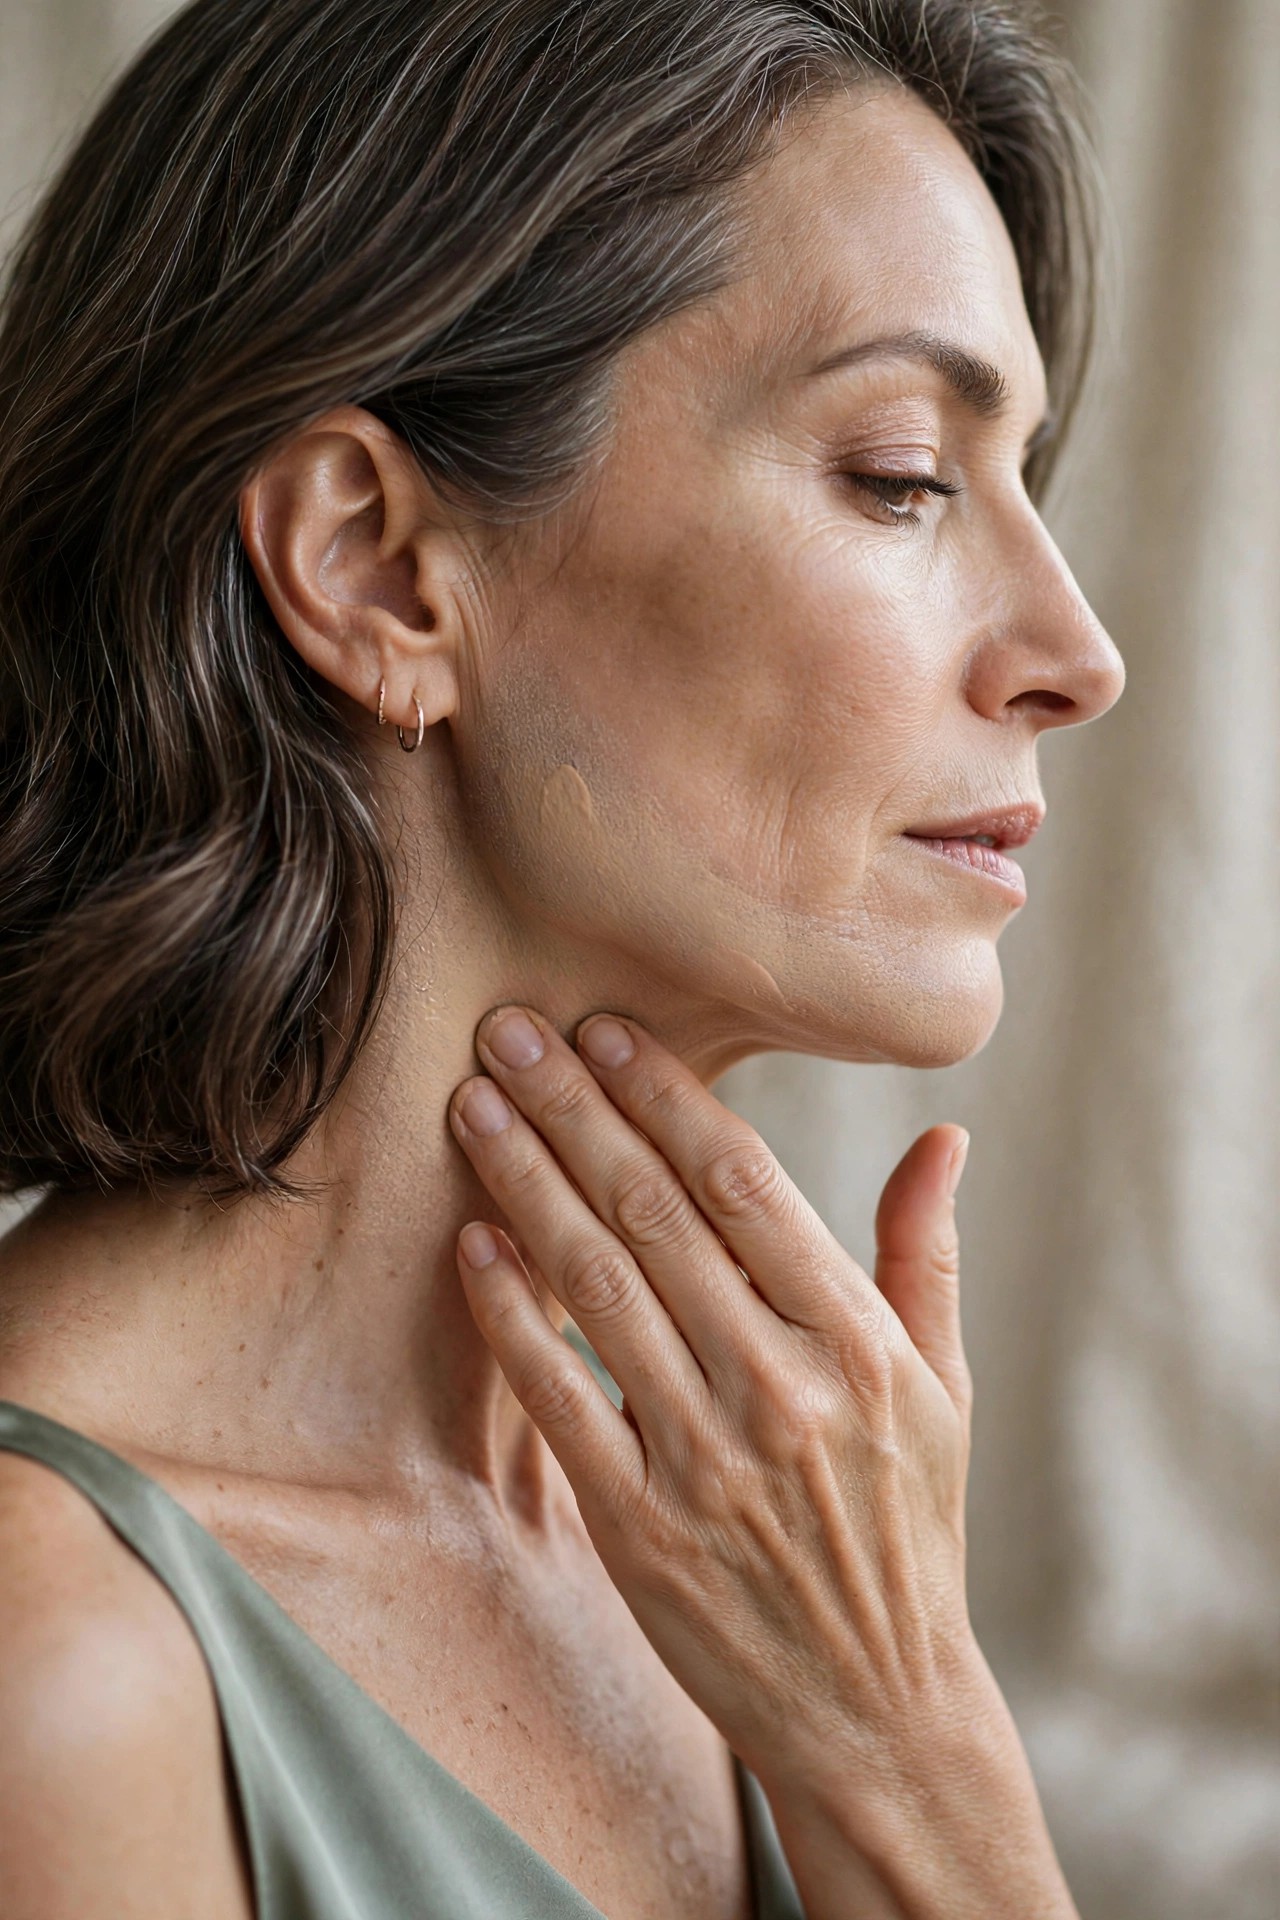
The fastest way to look like you’re wearing a mask is stopping foundation at the jawline. Carry whatever is left on your sponge or fingers down the neck in light downward strokes, fading to nothing by the collarbone. No extra product needed — the residue is exactly the right amount.
Try this: after the face, use the leftover product on your tool to sweep jaw → neck → fade.
Avoid: a visible jawline “tide mark” — the number-one giveaway of heavy-handed foundation.

9. 🪶 Powder the T-Zone Only
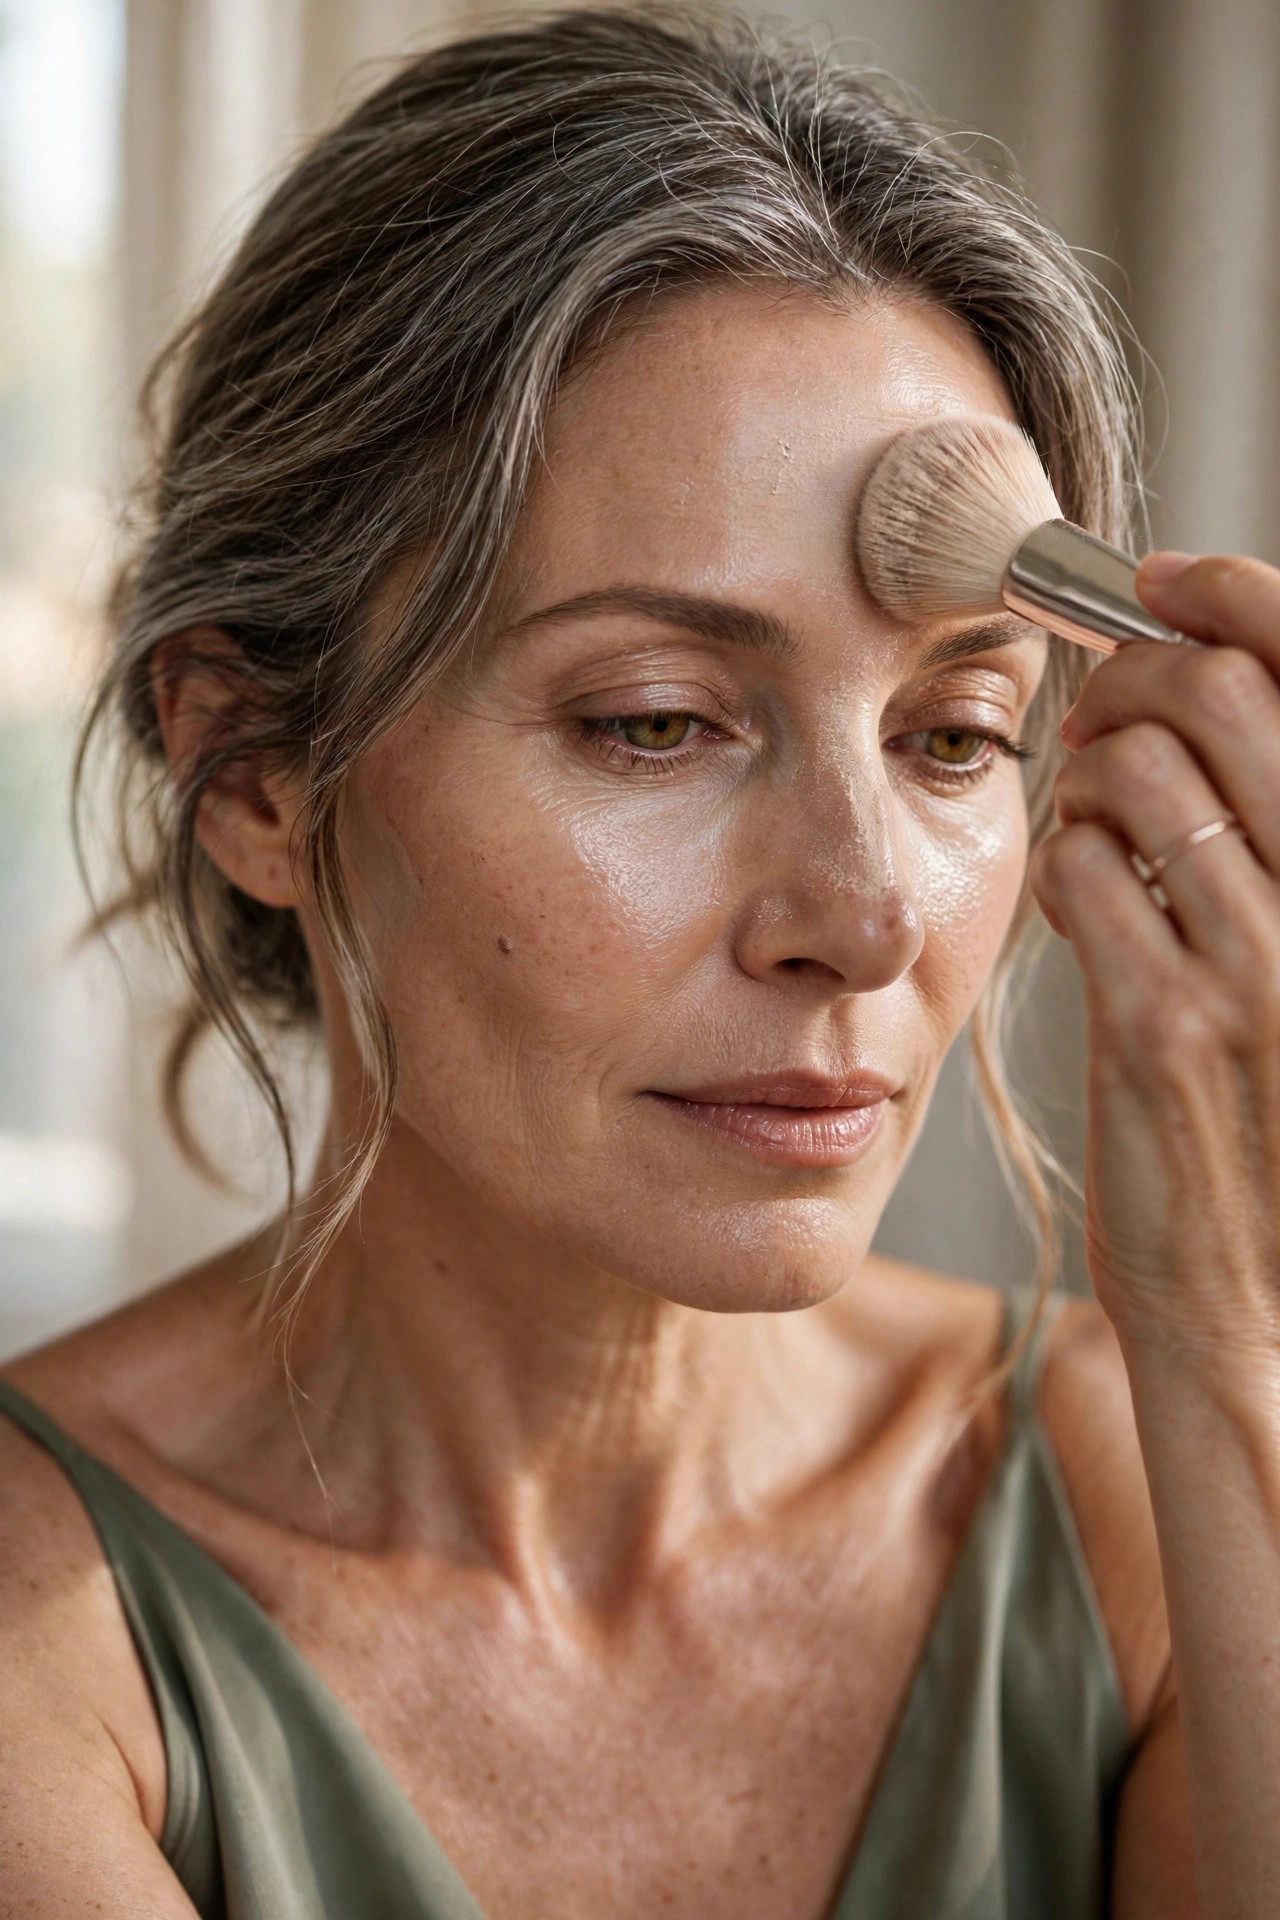
Translucent powder belongs on the forehead, nose, and chin — the zones that shine — and nowhere else. Use the smallest amount on a fluffy brush, tap off the excess, and press rather than sweep. Cheeks keep their glow, and the powder never gets a chance to settle into smile lines.
Try this: one tap of translucent powder, pressed into the T-zone with a fluffy brush.
Avoid: baking under the eyes — it dehydrates the thinnest skin on your face and creases within an hour.
10. 💨 Mist Between Layers
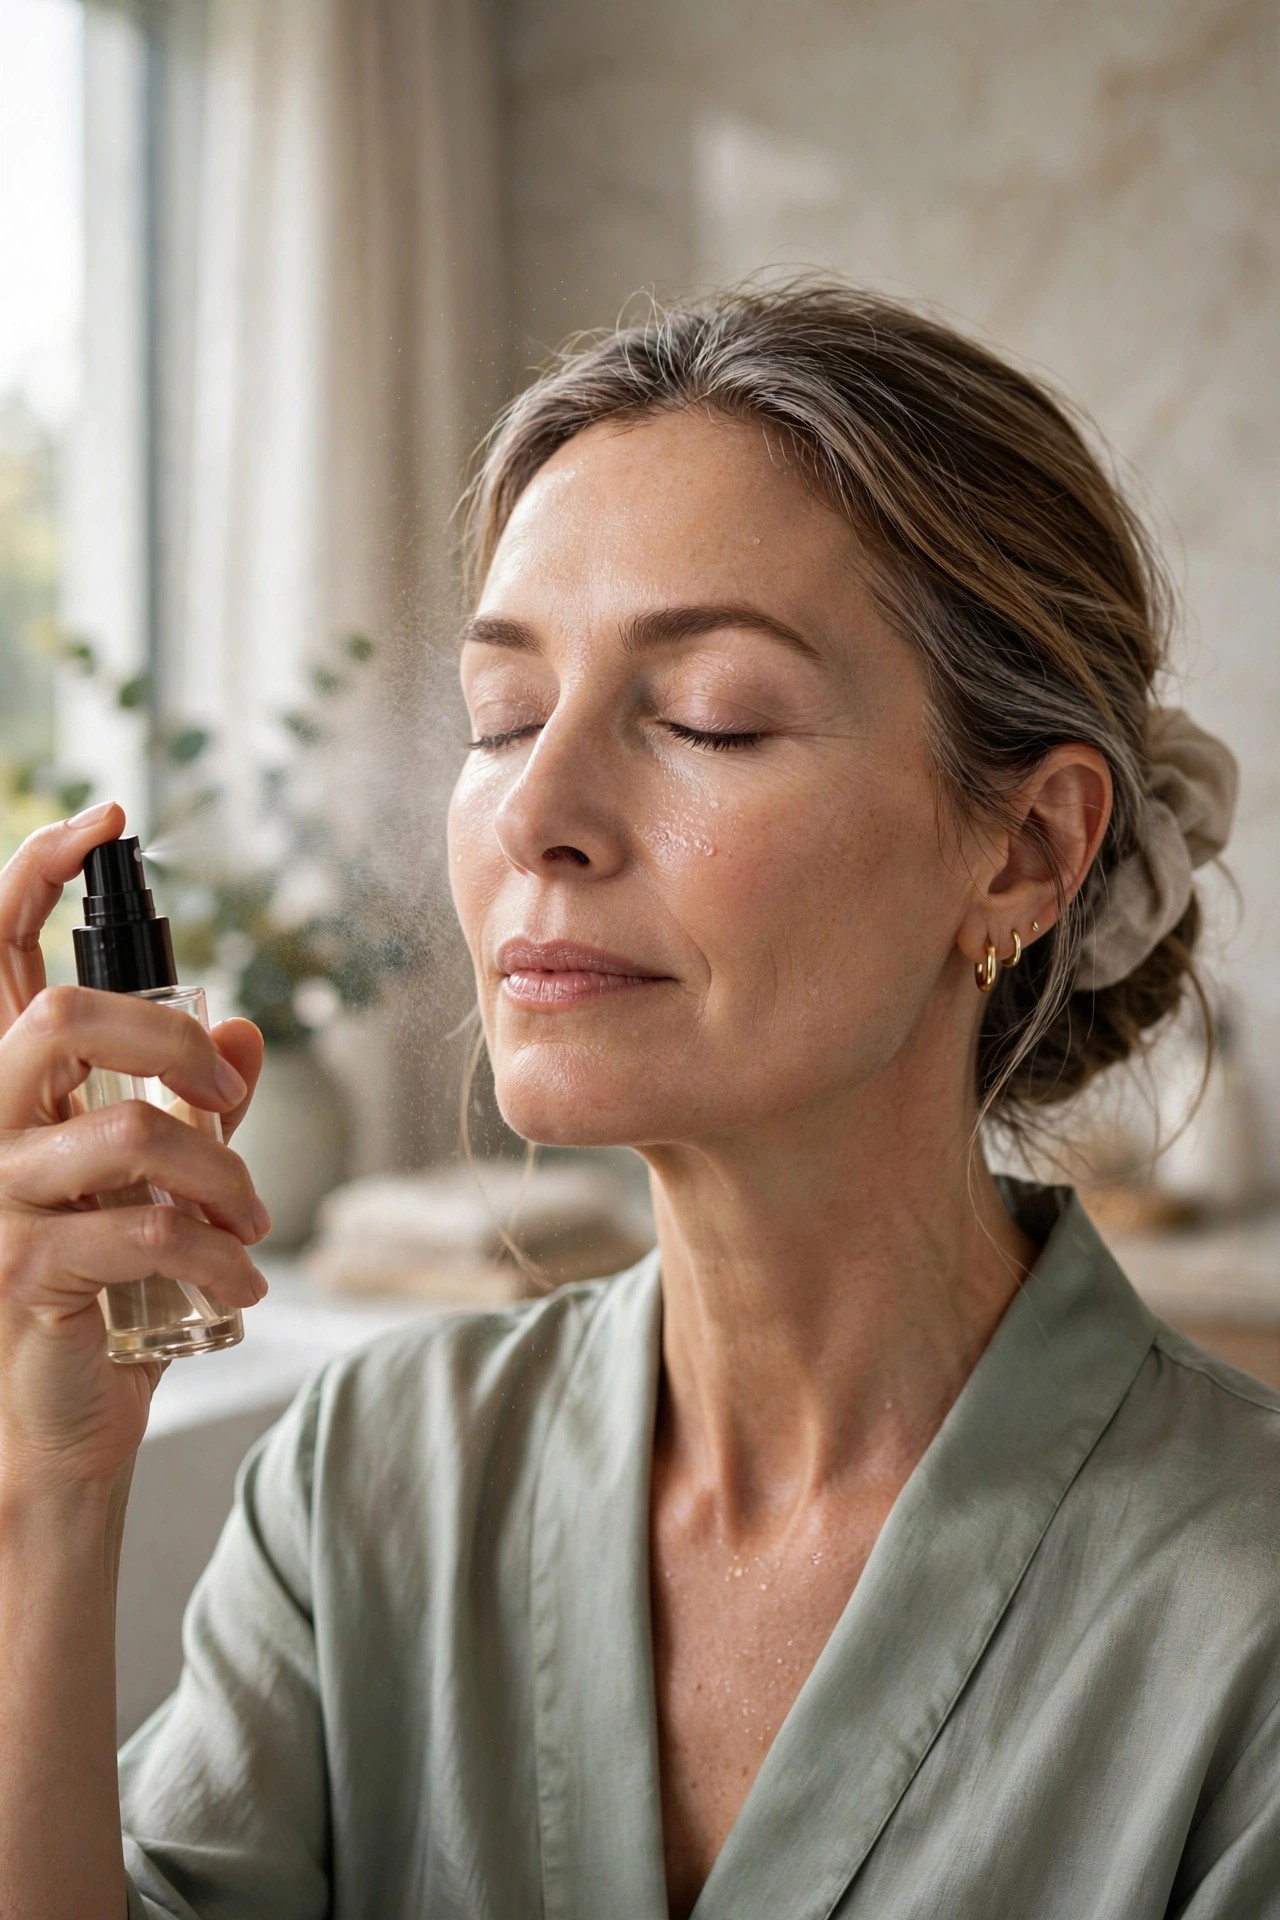
Setting spray isn’t just a final step — it’s a layering tool. A light mist after your cream products melts them together and kills the powdery edge; a second mist at the very end seals everything. Between-layer misting is the secret behind bases that look freshly applied at dinner.
Try this: mist after foundation + concealer, again after powder — hold the bottle eight inches away.
Pro note: Let each mist dry fully before the next step, or you’ll move product around.
At 3pm, don’t add more foundation — press a damp sponge over shiny areas to re-mesh the product, then blot with a tissue. Re-layering only builds the cake.
11. 🧪 Choose Serum Formulas
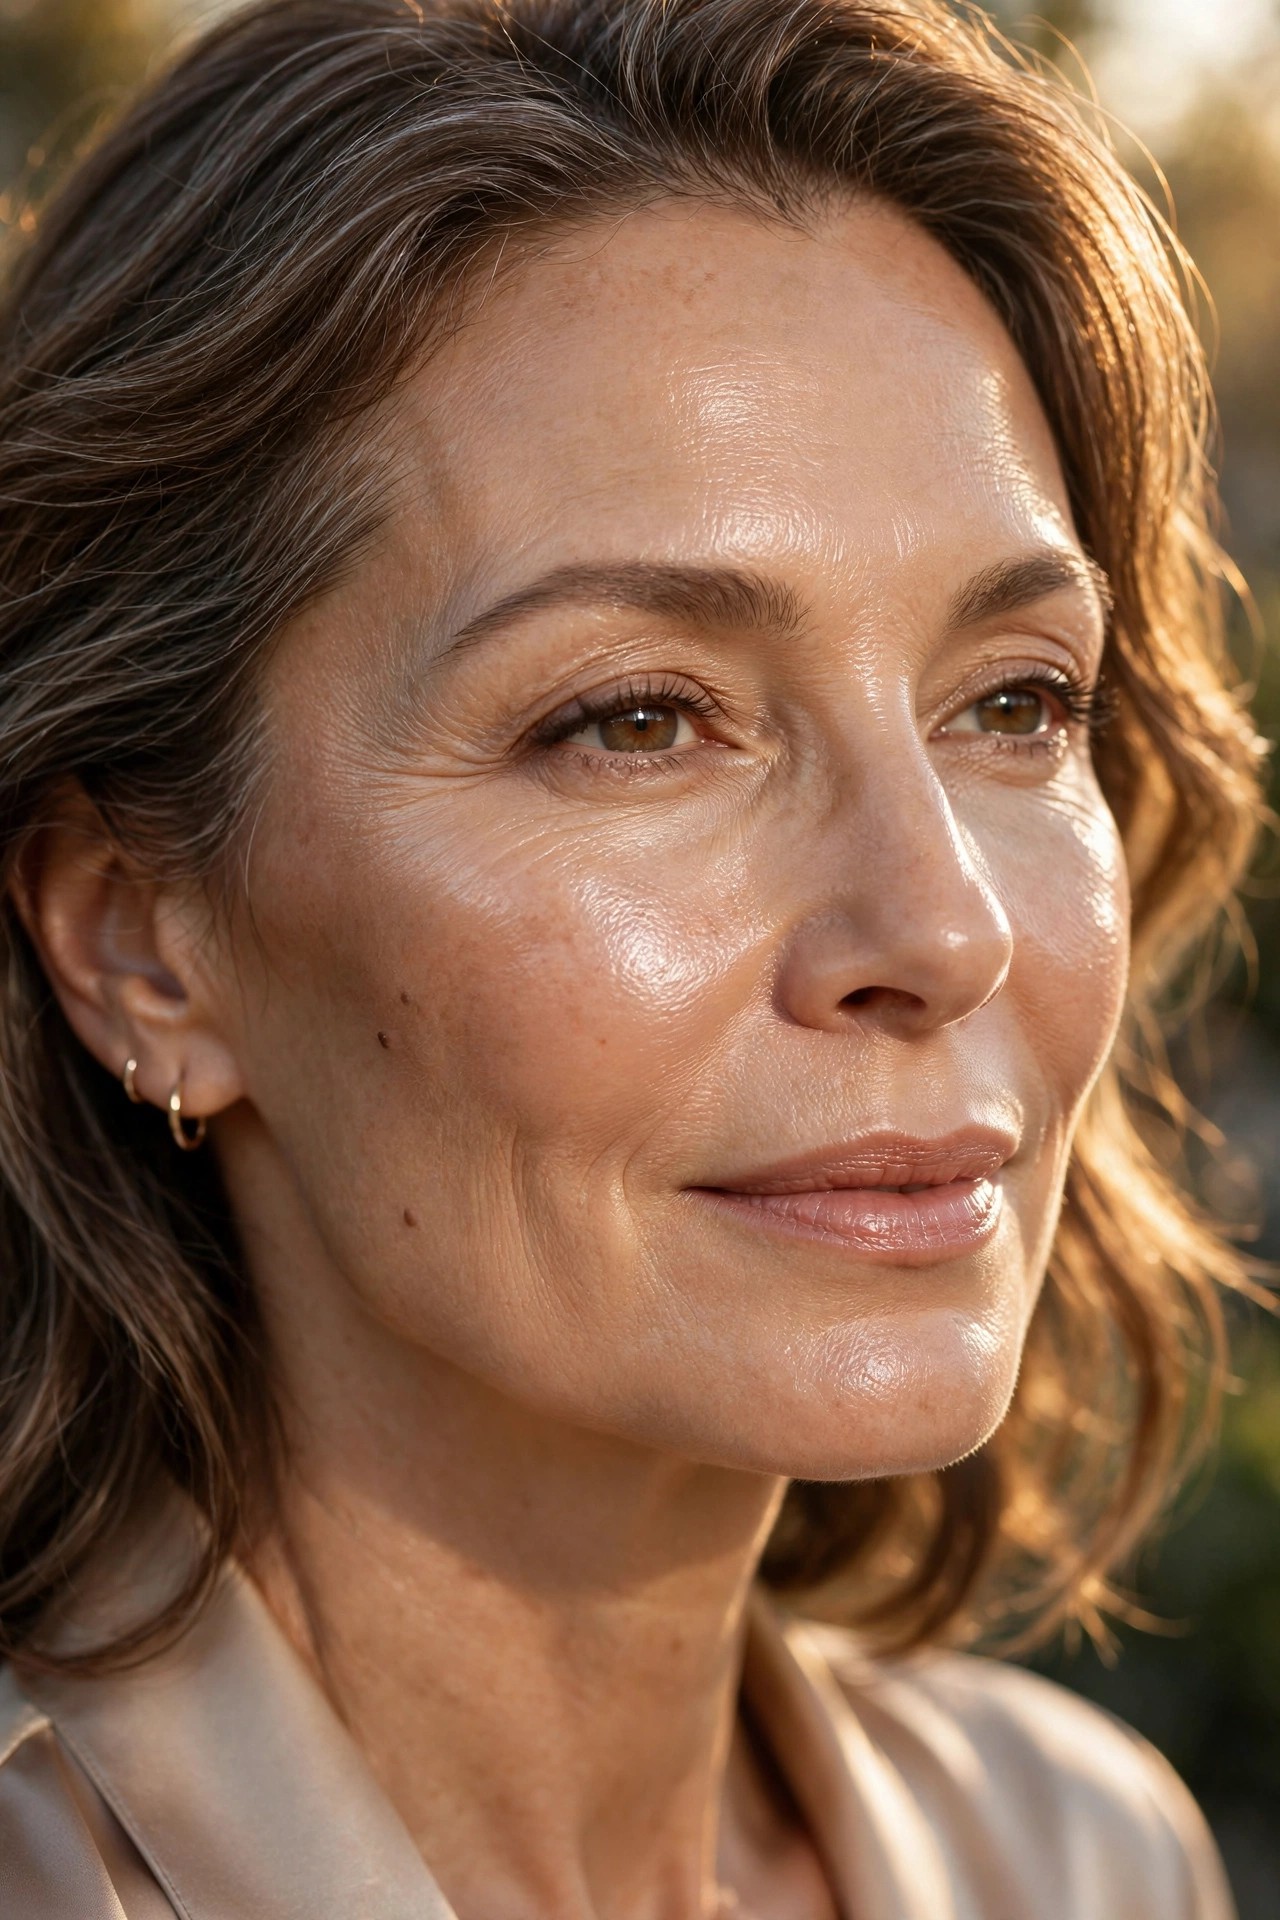
The new generation of serum foundations — packed with hyaluronic acid and skin-plumping ingredients — was practically designed for mature skin. They deliver medium, buildable coverage with a luminous finish and move with your expressions instead of cracking. If your current foundation lists “matte” anywhere on the bottle, this is your upgrade.
Try this: look for “serum,” “skin tint,” or “luminous” on the label; choose light-to-medium coverage.
Avoid: long-wear matte formulas marketed as “24-hour” — they’re engineered for oil control, not for skin over 50.
12. 🪞 The Daylight Flash Test
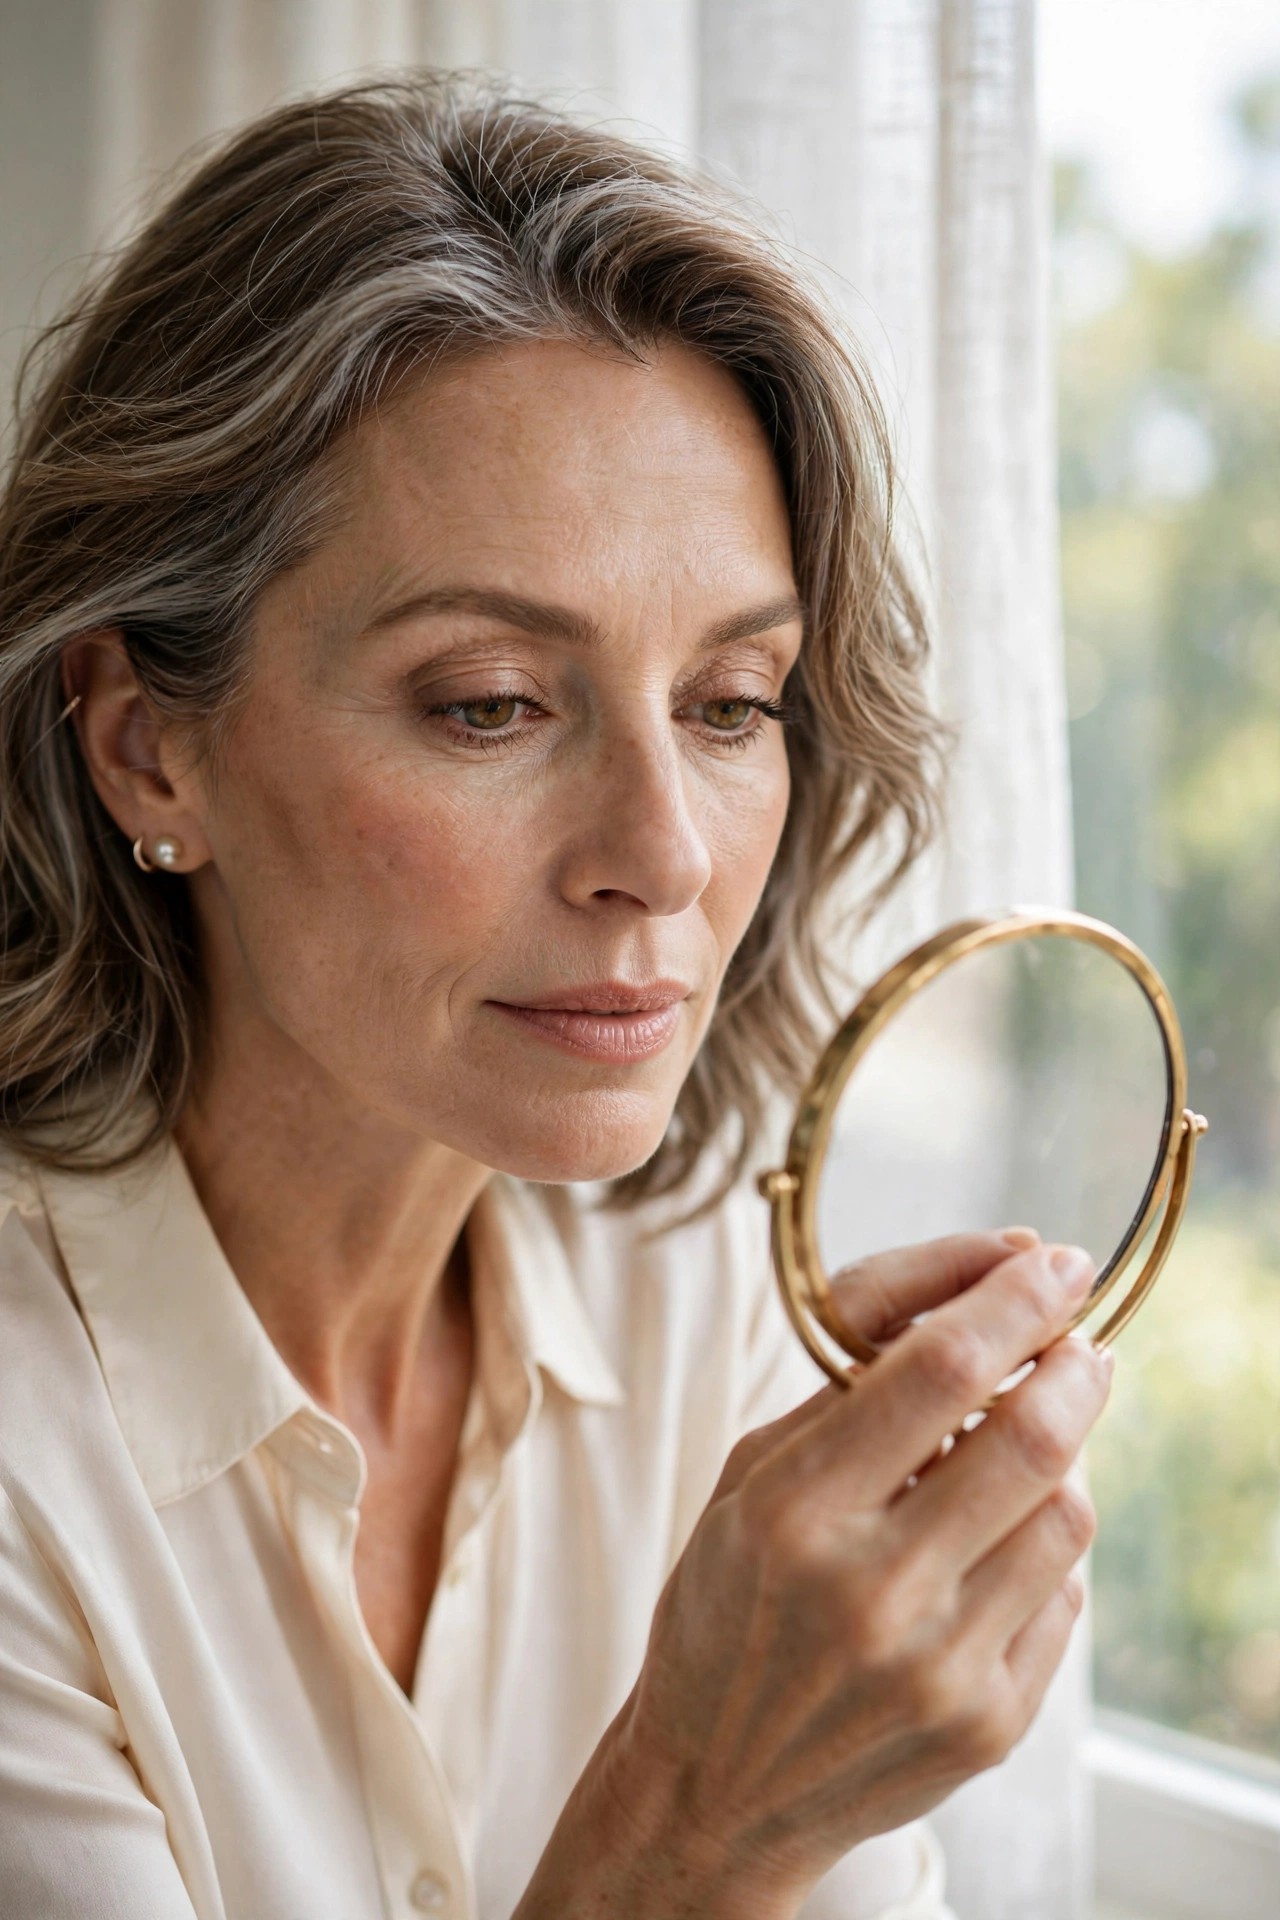
Before you leave, check your base in natural daylight and take one phone photo with flash. Daylight reveals unblended edges and shade mismatches; flash reveals silica-heavy powders as a white cast. Thirty seconds of checking saves you from discovering problems in someone else’s photos.
Try this: window check + one flash selfie, every single morning.
Pro note: If the flash photo shows a white cast, switch to a powder without silica — or skip powder on photo days.
13. 🖌️ Stipple, Don’t Swipe
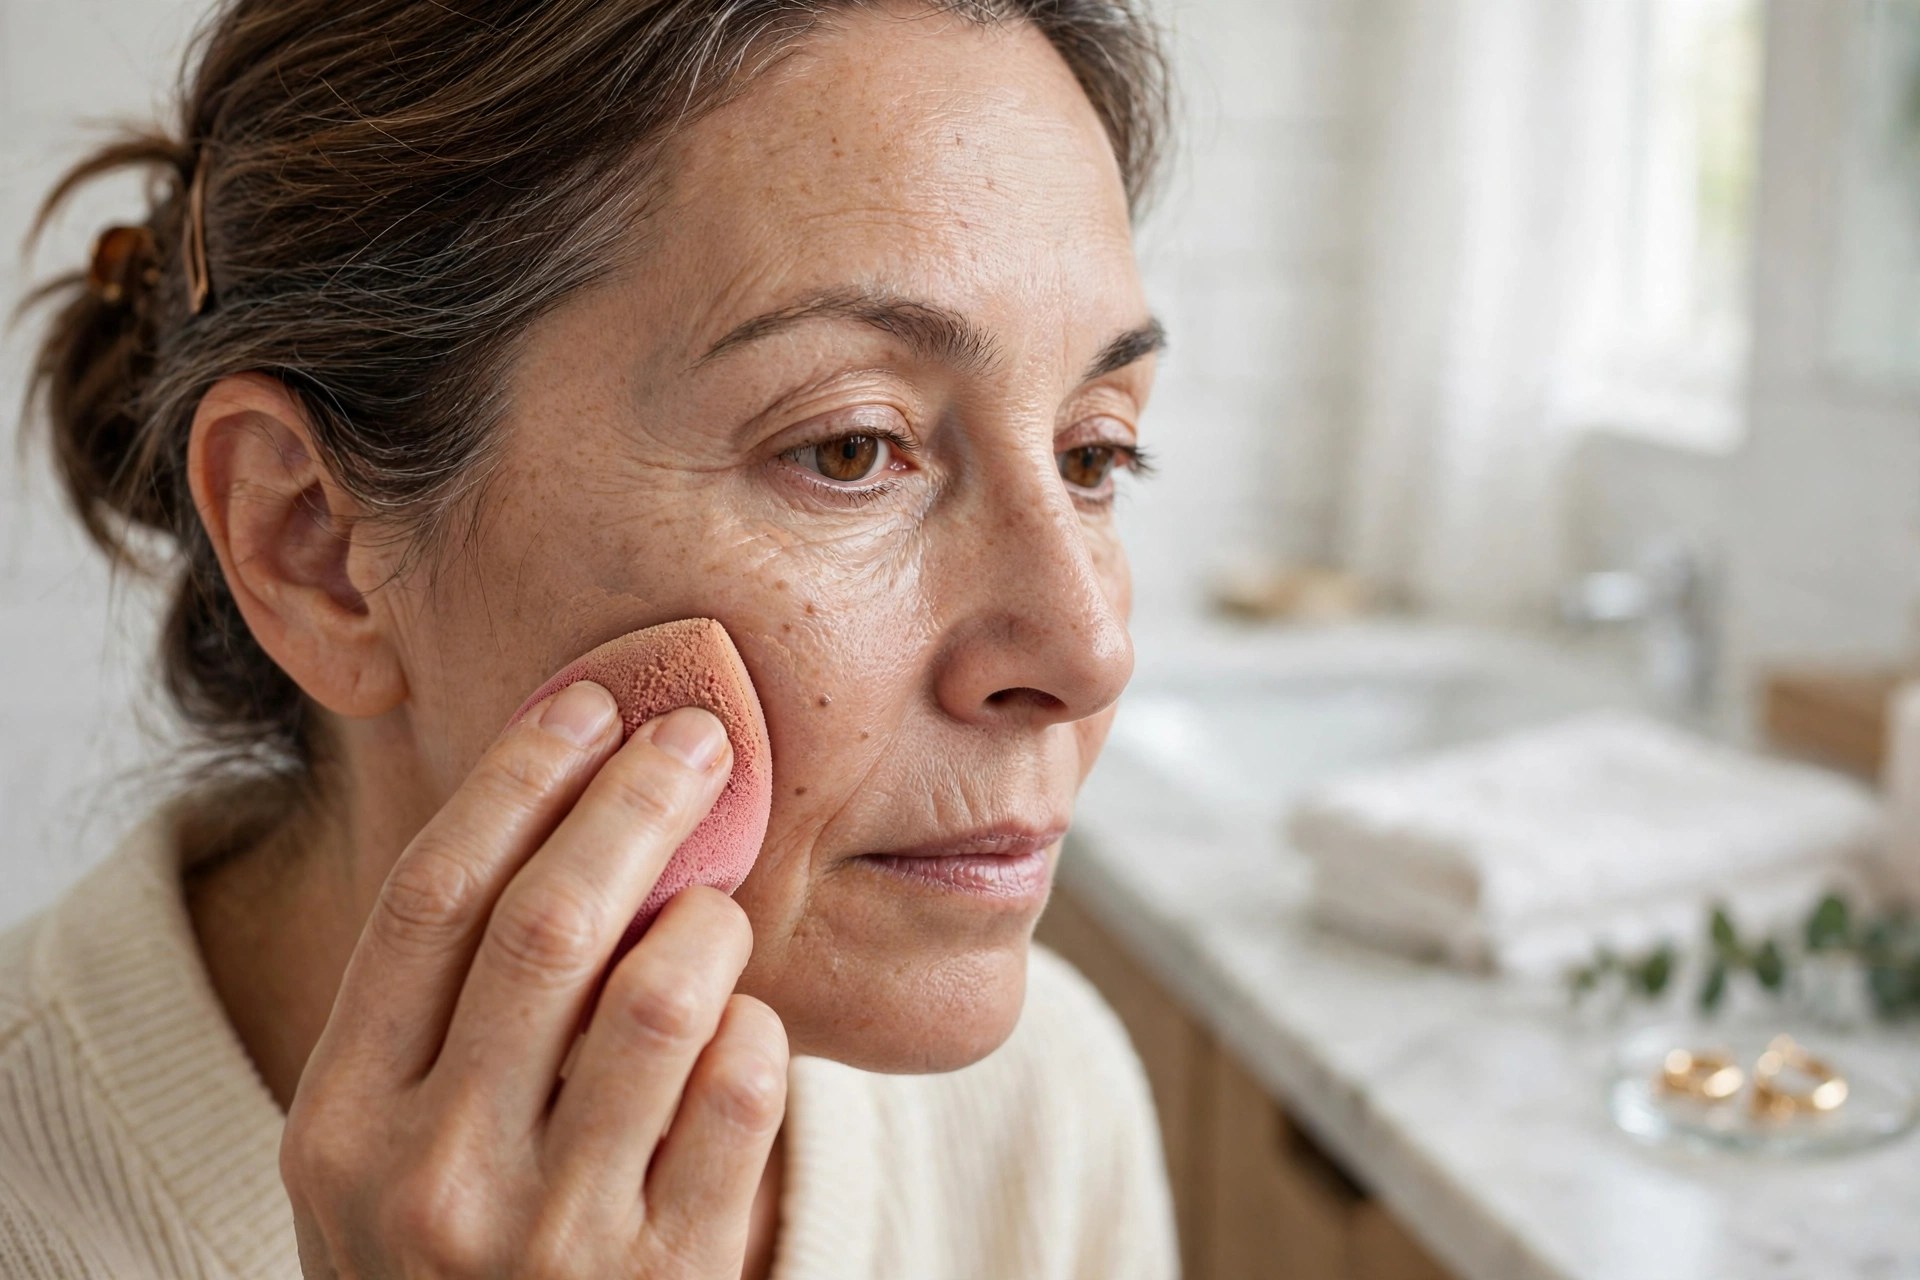
Dragging foundation across mature skin tugs at laxity and deposits product unevenly — stippling (pressing and rolling the sponge) lays it down without moving the skin. Load the sponge, then press-roll across cheeks and forehead. The finish is airbrushed, not smeared.
Try this: loaded damp sponge + press-and-roll motion + never drag across the cheeks.
Pro note: If you see streaks, your sponge is too dry — re-dampen and press again rather than adding more product.
14. 💧 The Custom Cocktail
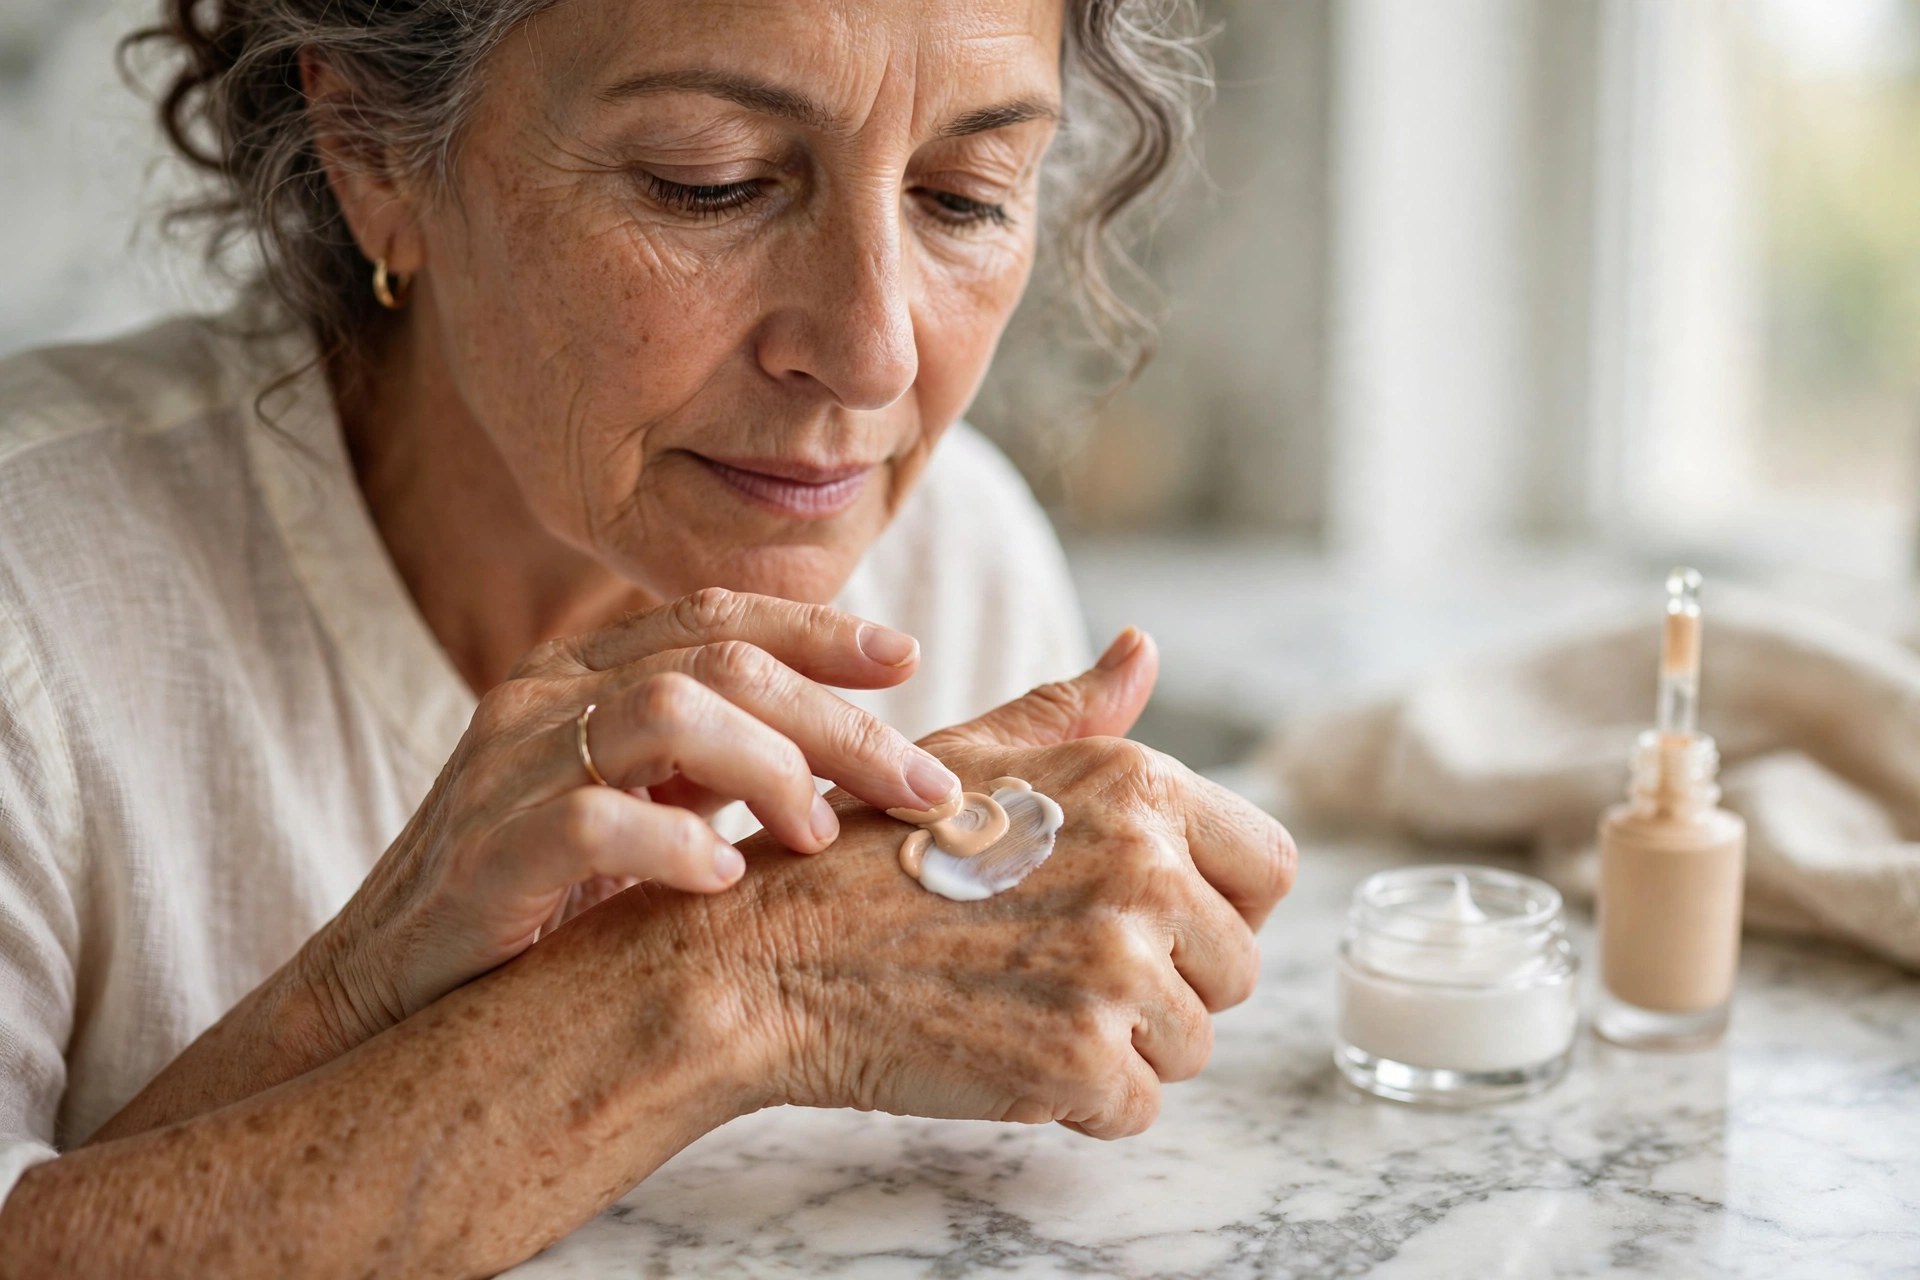
On dry winter days, even the best foundation can sit on top of thirsty skin — mixing a pea-size drop of moisturizer into your foundation on the back of your hand turns any formula into a hydrating skin tint. Sheer it over the whole face, then add a touch more coverage only where needed. Custom coverage, zero cakiness.
Try this: half-pump foundation + pea-size moisturizer mixed on hand + sheer layer all over.
Pro note: This also rescues a foundation that turned out a shade too dark — the moisturizer sheers it out.
⚠️ Mistakes That Age the Look
- Shade-matching on the back of your hand — hands run darker and warmer than faces; always test along the jawline in daylight.
- Skipping moisturizer so makeup “lasts longer” — dry skin eats foundation, and the result cakes faster, not slower.
- Wearing the same shade you wore at 40 — skin loses warmth and pigment with age; most women need to go half a shade lighter and warmer.
- Baking powder under the eyes — it dehydrates the thinnest skin on your face and guarantees creasing.
- Re-layering foundation at 3pm — blot and re-mesh with a damp sponge instead; new layers only build the cake.
❓ Foundation for Mature Skin FAQs
How do I find my undertone for foundation after 50?
Check the veins on your inner wrist in daylight: blue or purple suggests cool, green suggests warm, a mix suggests neutral. Then swatch three shades along your jawline — not your hand — and step into natural light. The shade that disappears into your neck is the one.
Is a serum foundation better than a regular foundation for mature skin?
Usually, yes. Serum foundations combine light-to-medium coverage with hydrating ingredients like hyaluronic acid, so they move with expressions instead of settling into lines. They’re the best affordable upgrade if your current base looks heavy by afternoon.
Should I use powder at all if I have dry, mature skin?
Yes, but sparingly and strategically. A whisper of translucent powder pressed into the T-zone controls shine without aging the rest of your face. Skip powder on cheeks and under the eyes entirely — those areas look younger left dewy.
How do I stop foundation settling into my smile lines during the day?
Use less product over the lines themselves, press (don’t swipe) it in, and set with the tiniest amount of powder — or none. If creasing appears midday, tap the area with a clean fingertip to re-mesh the product instead of adding more.
Can I skip foundation and just use tinted moisturizer?
Absolutely — for many women over 50, a tinted moisturizer or skin tint is the entire base routine. If your skin tone is fairly even, sheer coverage plus pinpoint concealer on spots gives the most youthful, skin-like finish of all.
📖 Keep Reading
- 🌙 Evening Makeup for Women Over 50: 12 Soft Glam Looks That Truly Last — once your base is flawless, build it into a soft-glam evening look that photographs beautifully.
- 💒 Wedding Guest Makeup Over 50: 12 Fresh Photo-Ready Looks That Last — long-wearing, camera-friendly makeup ideas for the next celebration on your calendar.
- 🎄 Holiday Makeup Looks for Women Over 50: 12 Glitter-Free Glow Looks — festive radiance without chunky glitter, built on the same thin-layer technique.
✅ The Foundation Checklist
- ☐ Moisturize, wait two minutes, then apply makeup to hydrated skin
- ☐ Half a pump of a luminous or serum formula — never more to start
- ☐ Warm on the hand, apply with fingers, finish with a damp sponge
- ☐ Sheer everywhere, spot-cover only where needed
- ☐ Powder the T-zone only; mist between layers
- ☐ Daylight check + one flash photo before you walk out
Great foundation after 50 is invisible — people should notice your skin, not your makeup. Start with one technique from this guide tomorrow morning, and build from there.
Discover more from Fashinate Style
Subscribe to get the latest posts sent to your email.