
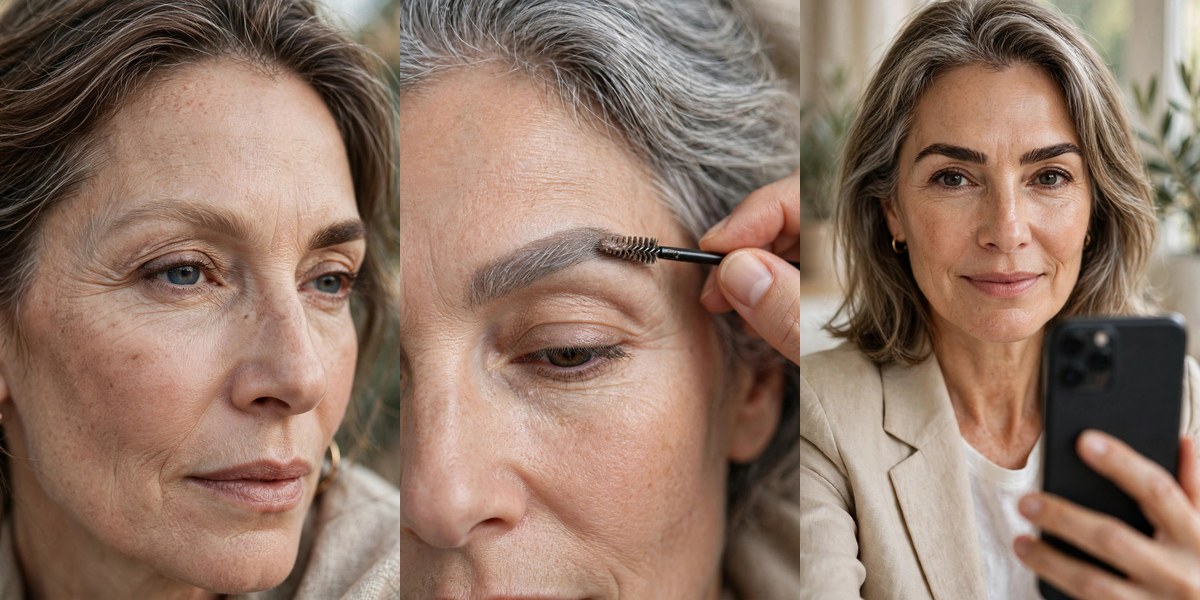
If you came of age in the nineties, your brows never stood a chance. We plucked them into thin, surprised little arches because that’s what every magazine told us to do — and then, just as they were finally growing back, shifting hormones thinned them out again from the inside.
Here’s what nobody told us back then: brows are the frame around the entire face, and after 50 they’re doing more work than ever — restoring the contrast and structure that time softens. The good news is that fuller-looking brows don’t require fuller brows. Below are 21 steps to naturally fuller, lifted brows: mapping, filling, blending, and setting techniques built for sparse, mature brows, with one image for every step.
1. 🪞 Assess Your Brows in Daylight
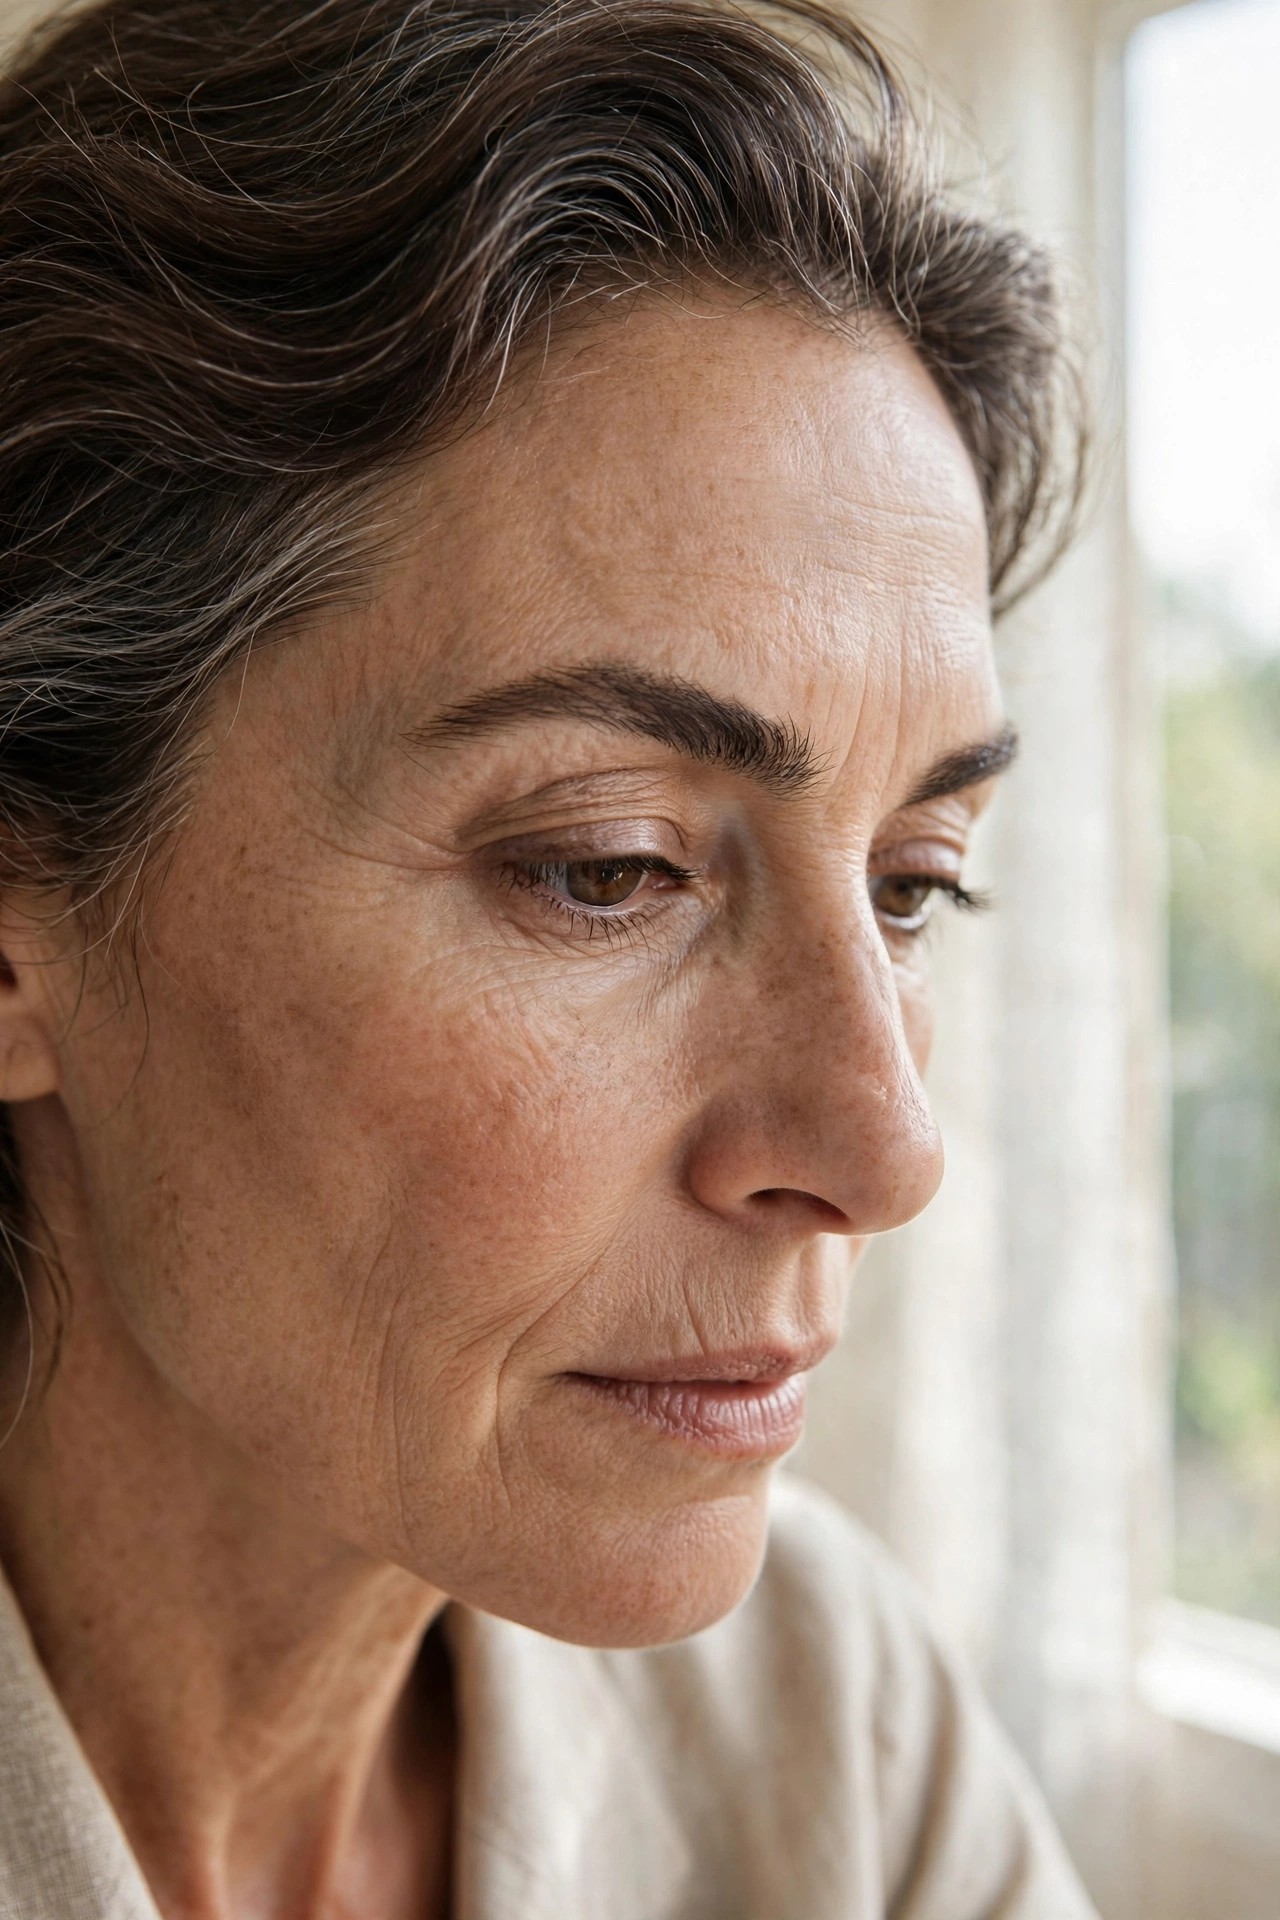
Before touching a single product, study your brows in natural daylight — not the magnifying mirror, which exaggerates every gap. Daylight shows you what the world sees: where hair is actually missing versus where it’s just lying flat. Most women discover their brows are better than they feared.
Try this: face a window, no magnifier, and note the three sparsest zones before you begin.
Pro note: Take a “before” photo now — you’ll want it when the “after” surprises you.
2. ✂️ Put the Tweezers Down
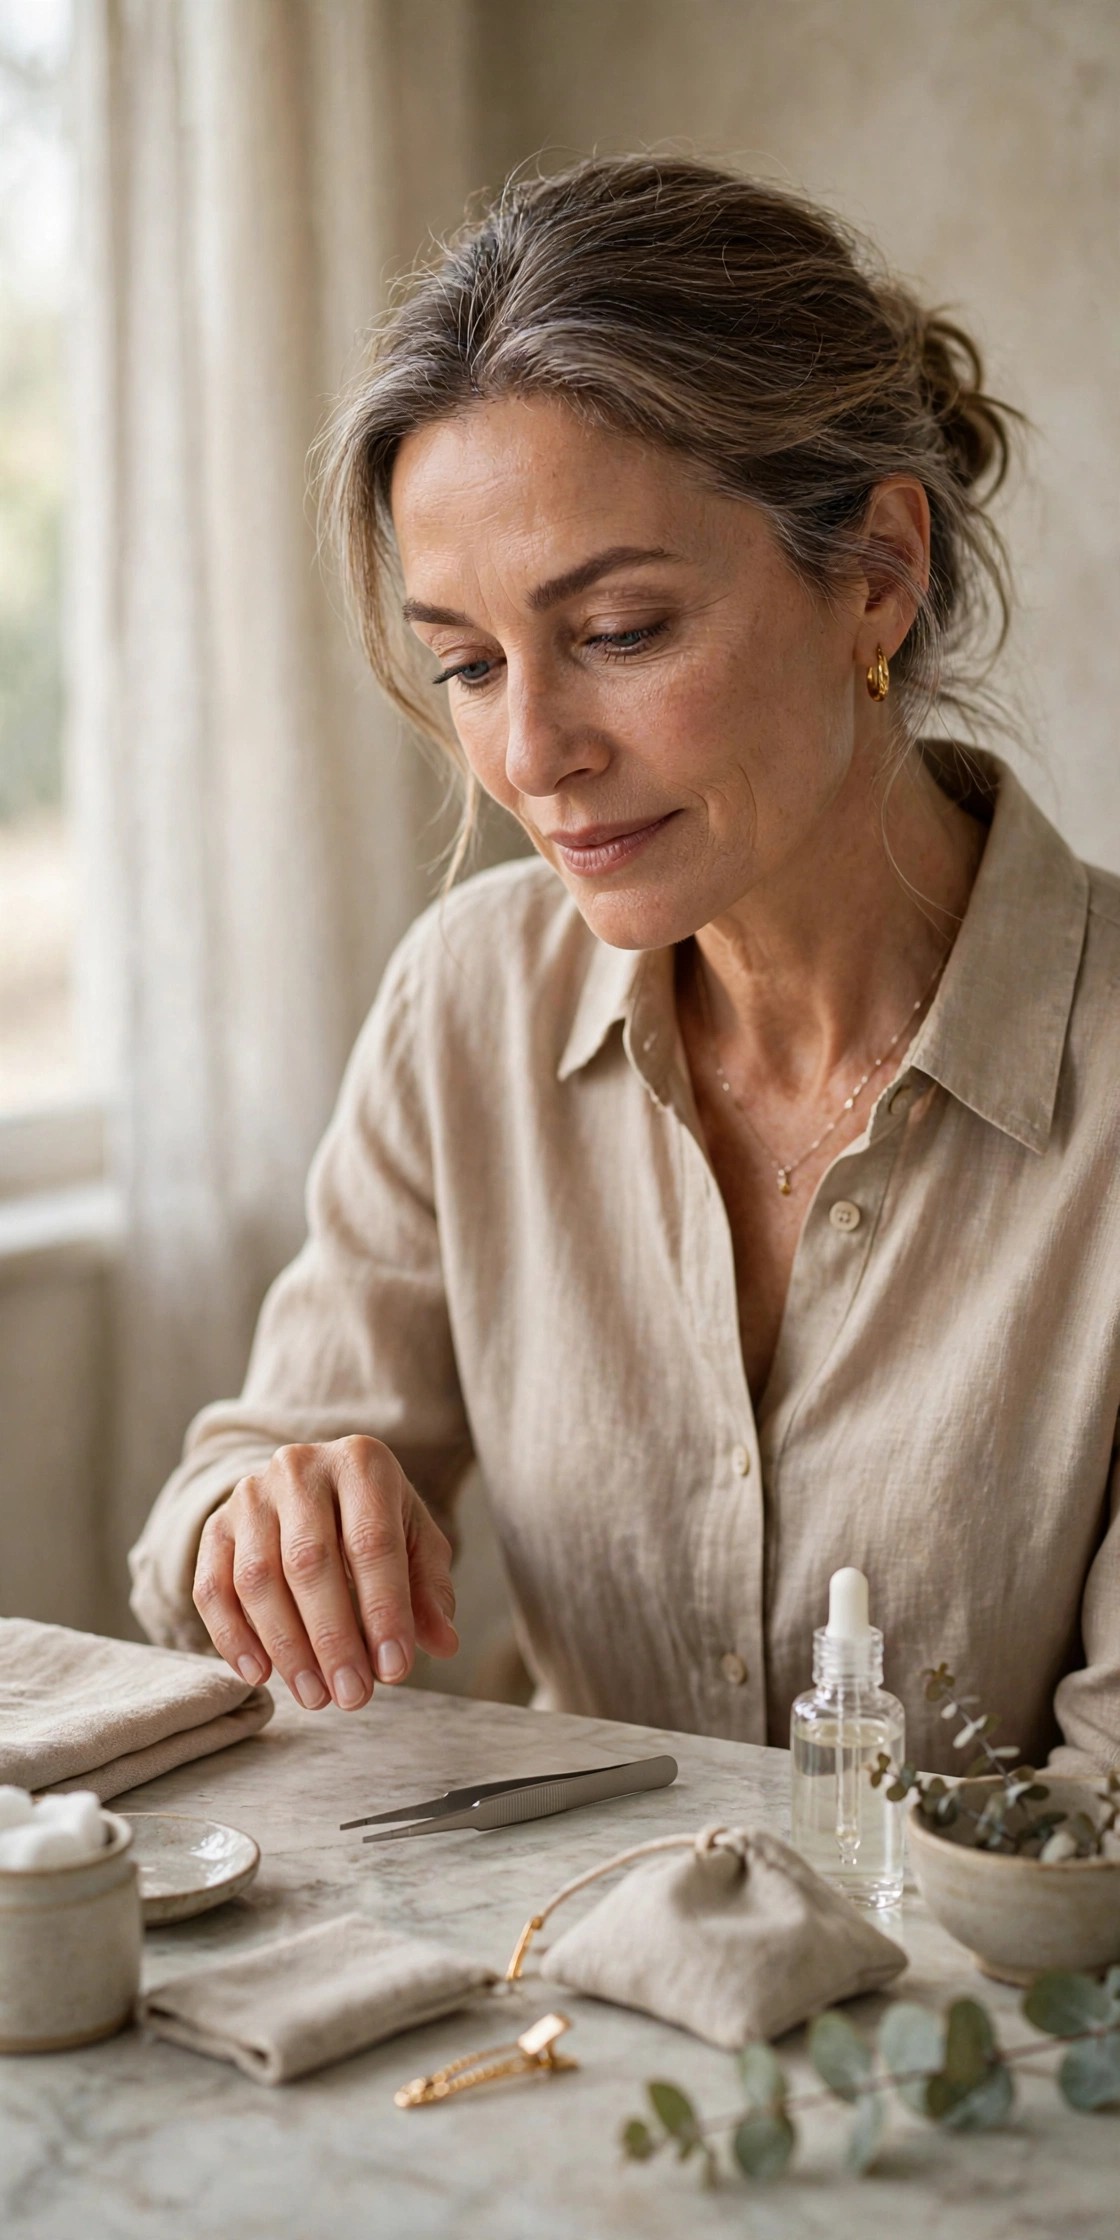
The nineties are over, and your tweezers should retire with them. Every hair you remove now is one your brows can’t afford to lose — sparse areas rarely fill back in after 50. Clean up obvious strays below the brow if you must, but step back and ask whether each hair could be contributing fullness before you pull it.
Try this: tweeze only obvious strays well below the brow line; leave everything else for a month.
Avoid: shaping the top edge — removing hair from above flattens the arch and drags the eye down.
3. 🧴 Brush Everything Upward First
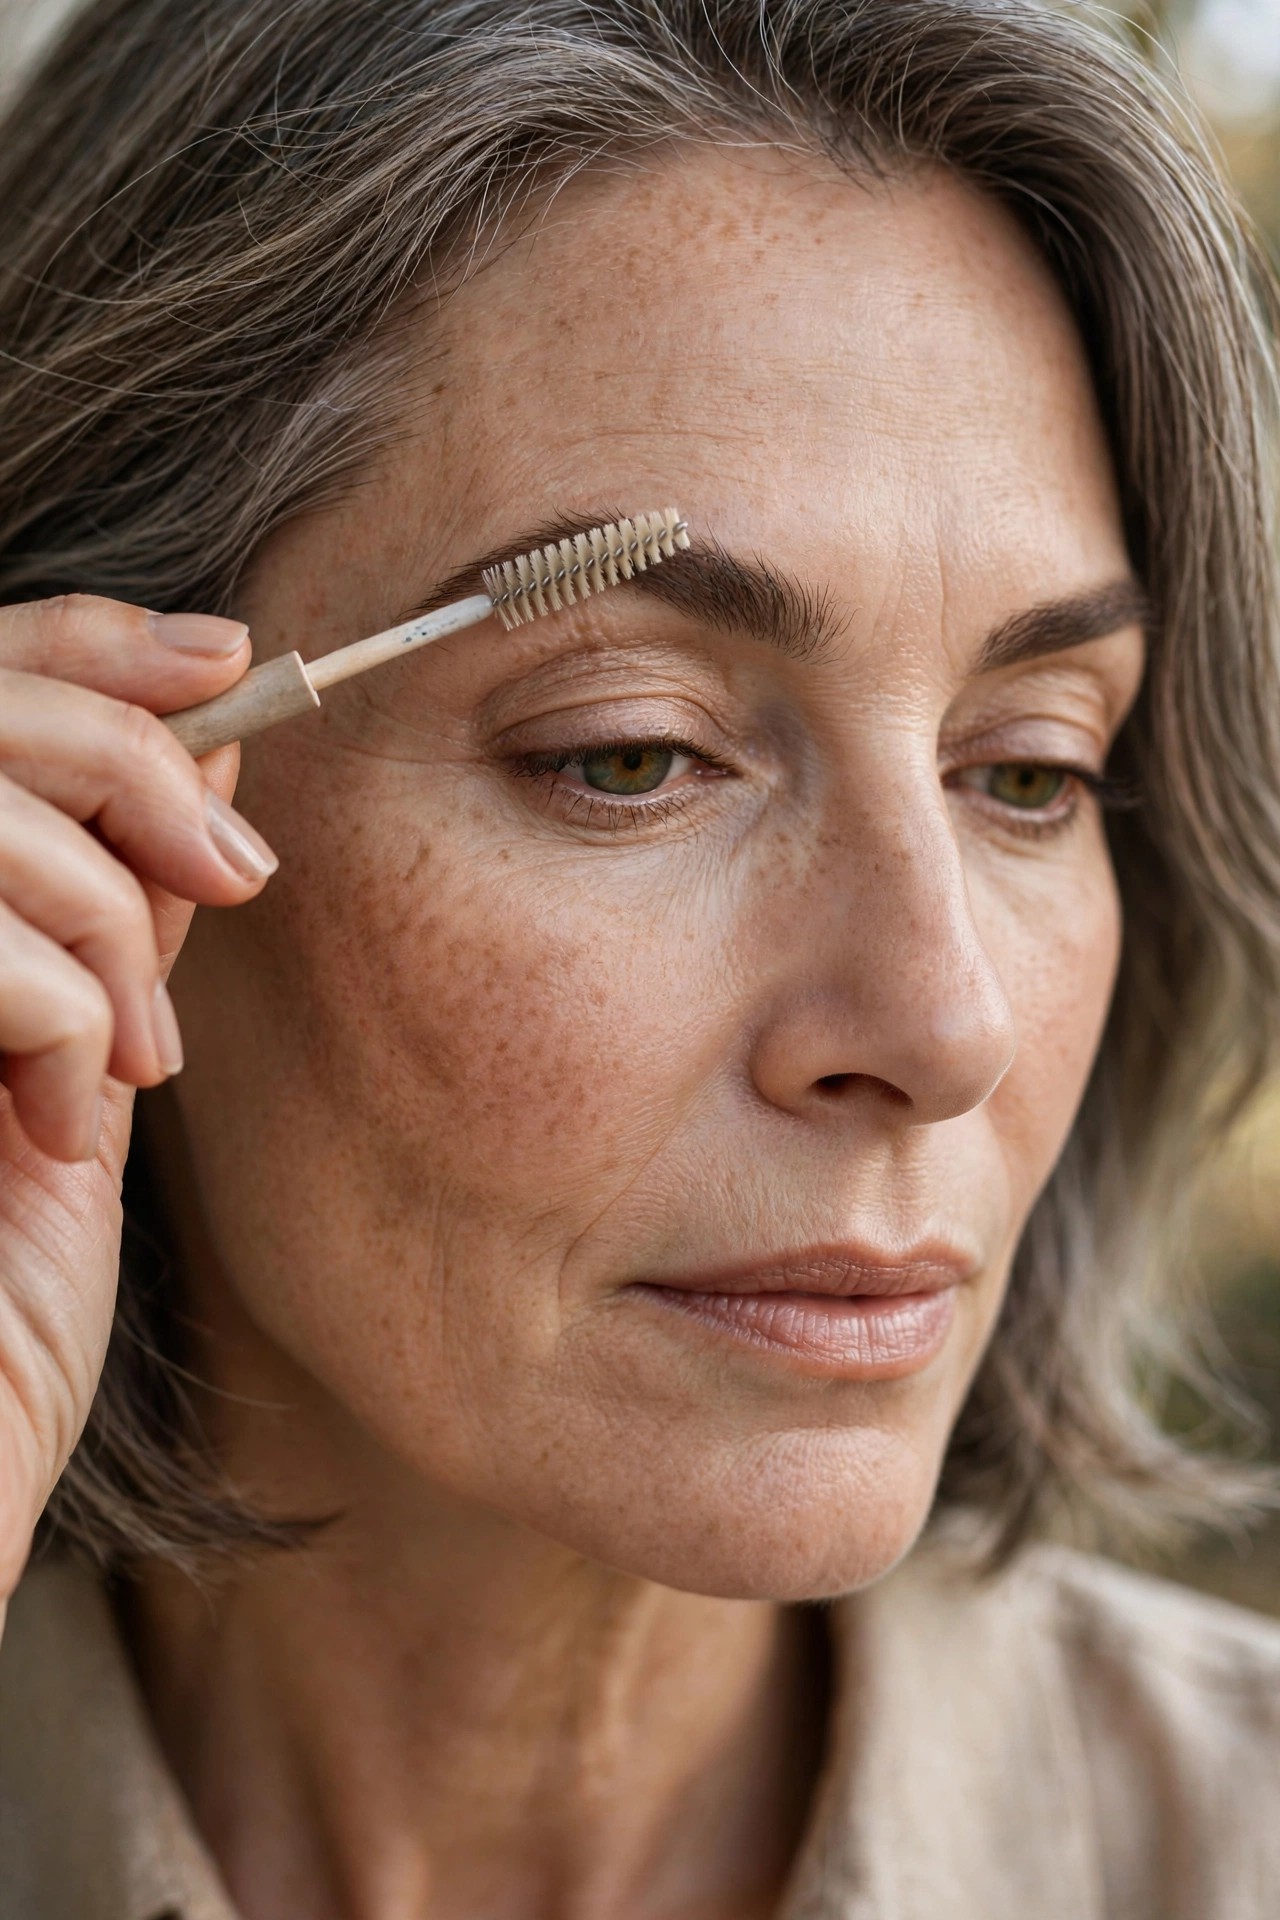
Before deciding what needs filling, brush all brow hairs straight up with a clean spoolie. Hairs lying flat hide their true density; brushed up, they reveal it. You’ll often find areas that looked sparse are simply hairs growing in a lazy direction — and now you know exactly where product is genuinely needed.
Try this: spoolie brushed firmly upward, assess, then let hairs fall naturally before filling.
Pro note: This one step can cut your filling time in half — you’re only fixing real gaps now.
4. 📏 Map Your Starting Point
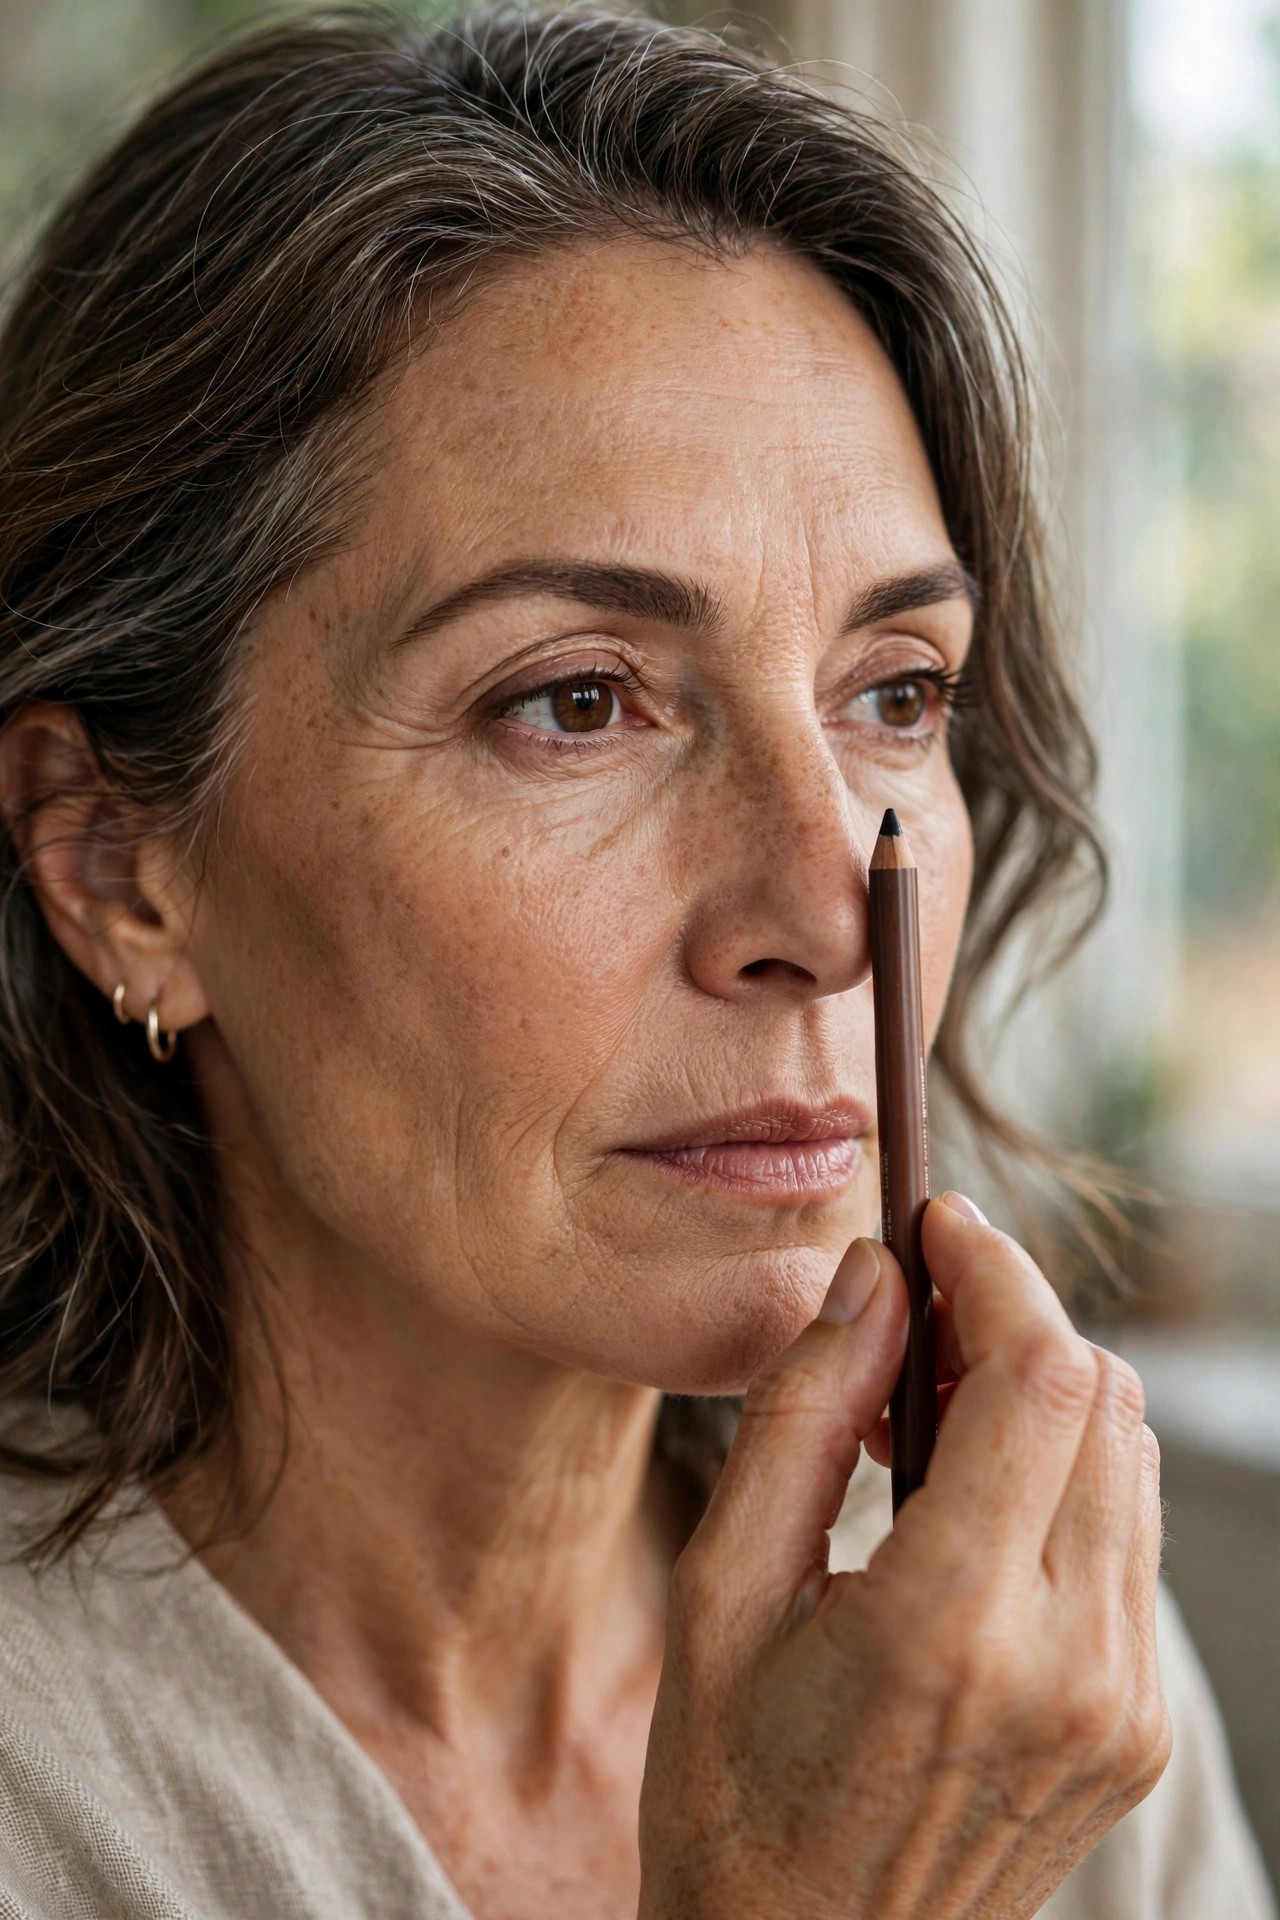
Hold a pencil vertically against the side of your nose — where it crosses your brow is where the brow should begin. Most over-50 brows start too far in (from years of extending them inward) or have faded at the front. Mark the true start lightly; everything inside that line stays product-free for the softest front.
Try this: pencil vertical at the nose edge, dot the start point, don’t fill inside it yet.
Avoid: starting brows closer together than this line — it creates a stern, drawn-together look.
5. 📐 Find Your True Arch
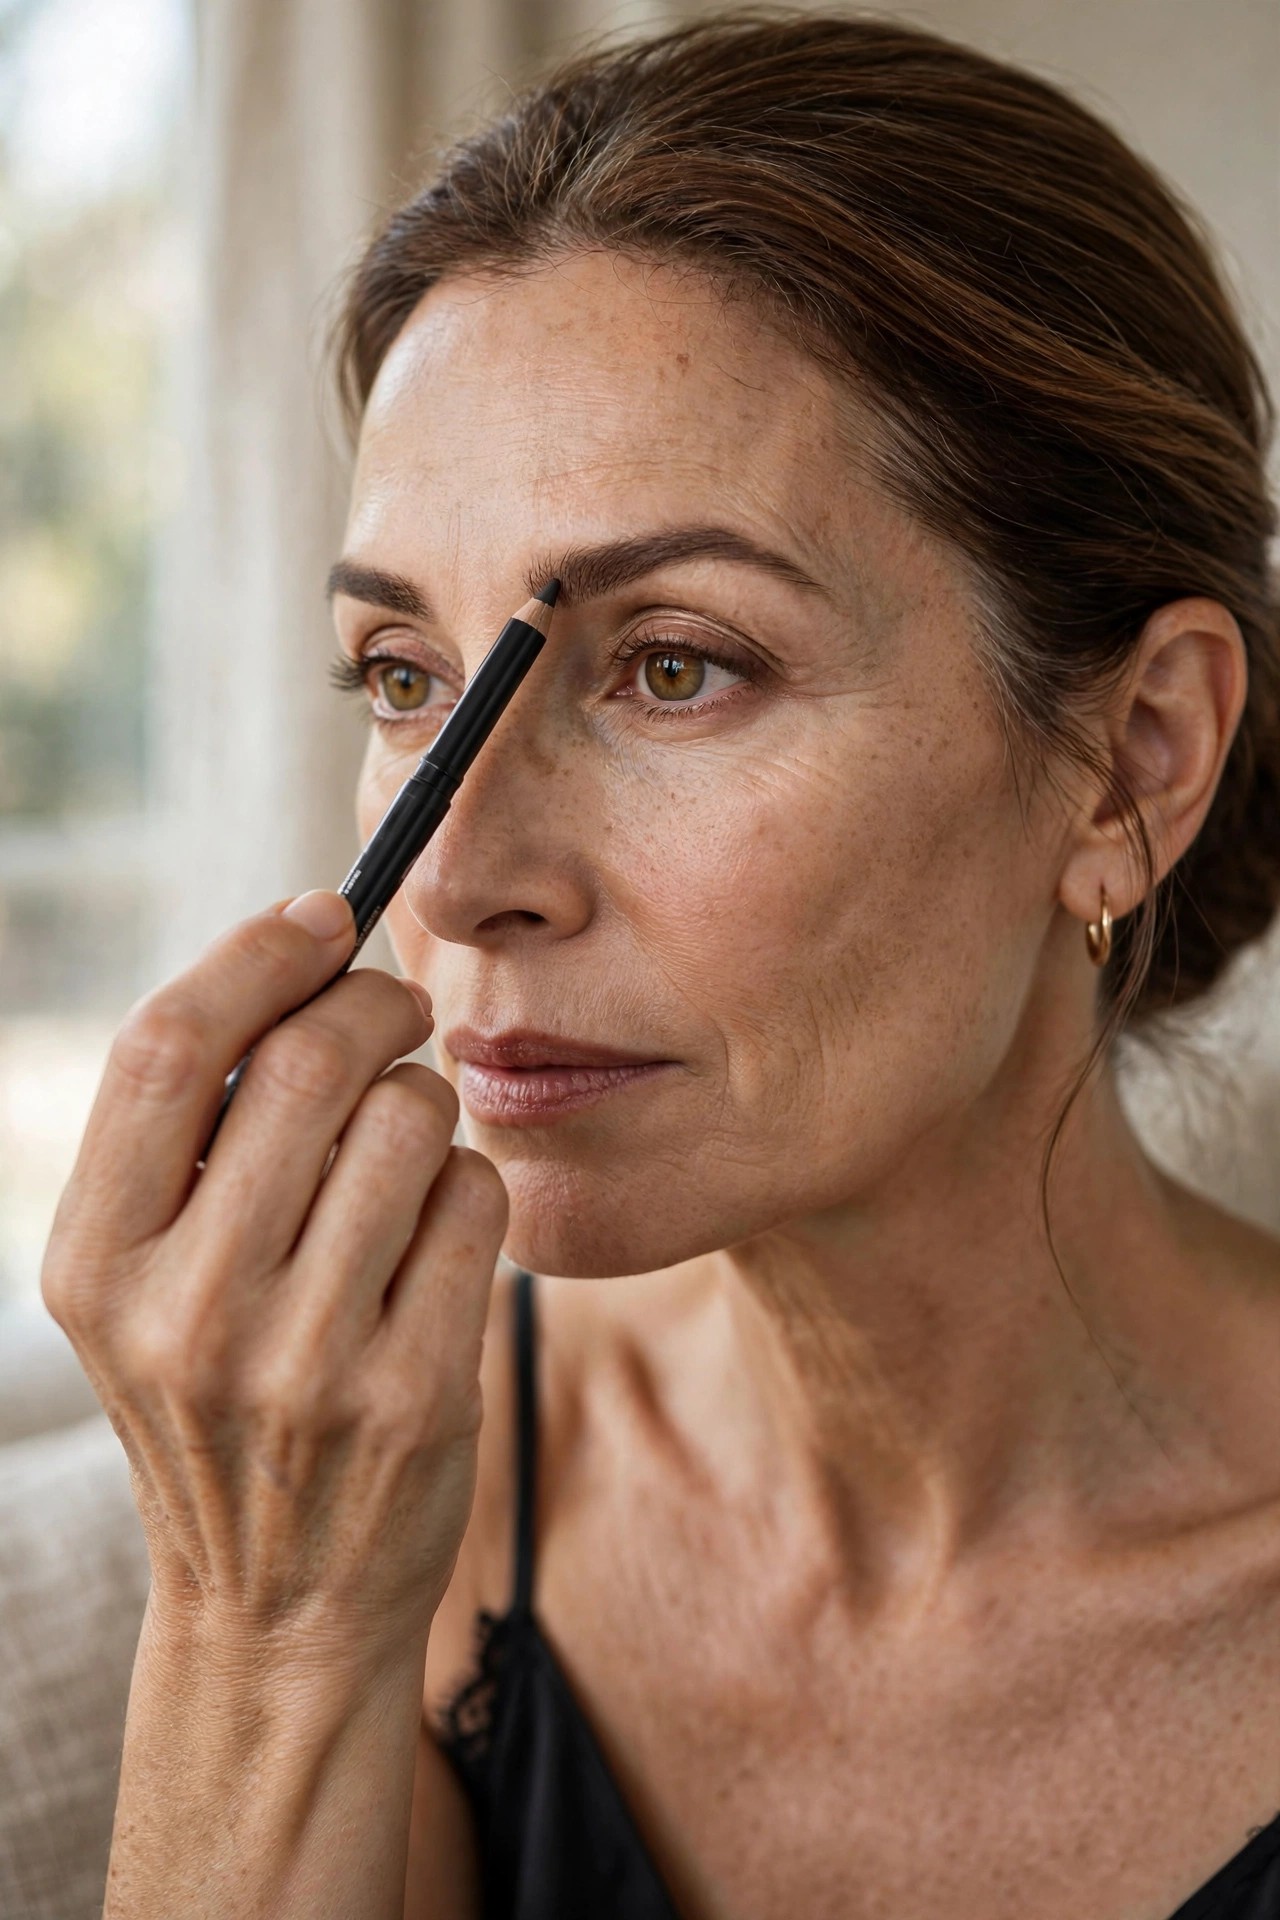
Look straight ahead and pivot the pencil from your nose across the center of your pupil — where it meets the brow is your natural arch peak. After 50, arches often sit lower as skin relaxes; placing definition at the true arch (not where you remember it) lifts the eye instead of fighting gravity.
Try this: pencil from nose across pupil, dot the arch peak lightly.
Pro note: A slightly lower, softer arch flatters mature faces more than a high dramatic one.
Map both brows before filling either one. Brows are sisters, not twins — but mapping both first keeps them from drifting into completely different shapes.
6. 📍 Mark Where the Tail Should End
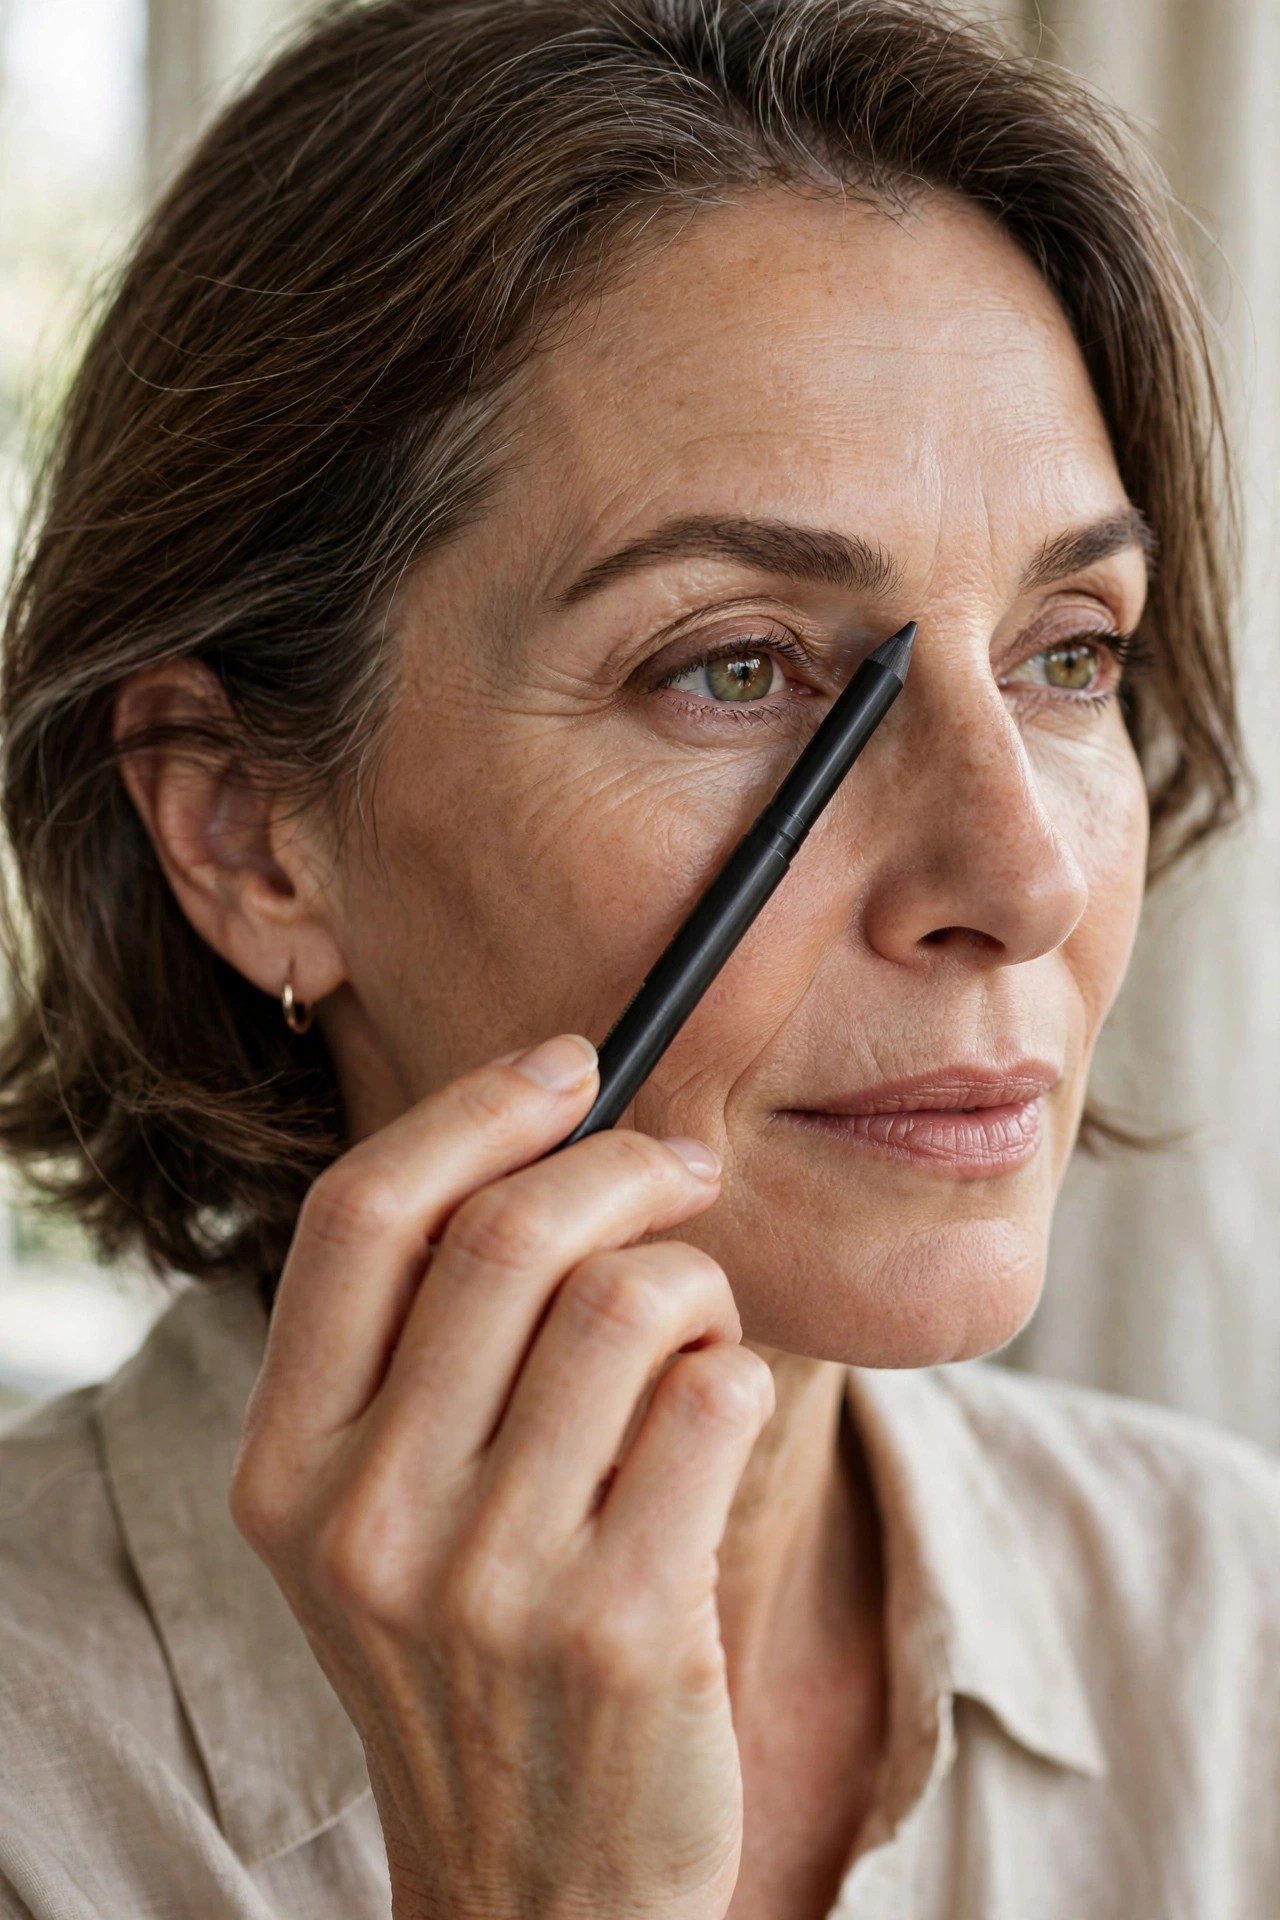
Pivot the pencil further until it lines up with the outer corner of your eye — that’s where your brow tail should end. Tails are the first thing to thin with age, and a tail that stops too short makes the eye look droopy and unfinished. Most women over 50 need to extend further than they think.
Try this: pencil from nose past the outer eye corner, dot the tail end.
Avoid: flicking the tail downward — even slightly down-turned tails pull the whole eye down.
7. ✏️ Choose a Fine-Tip Pencil
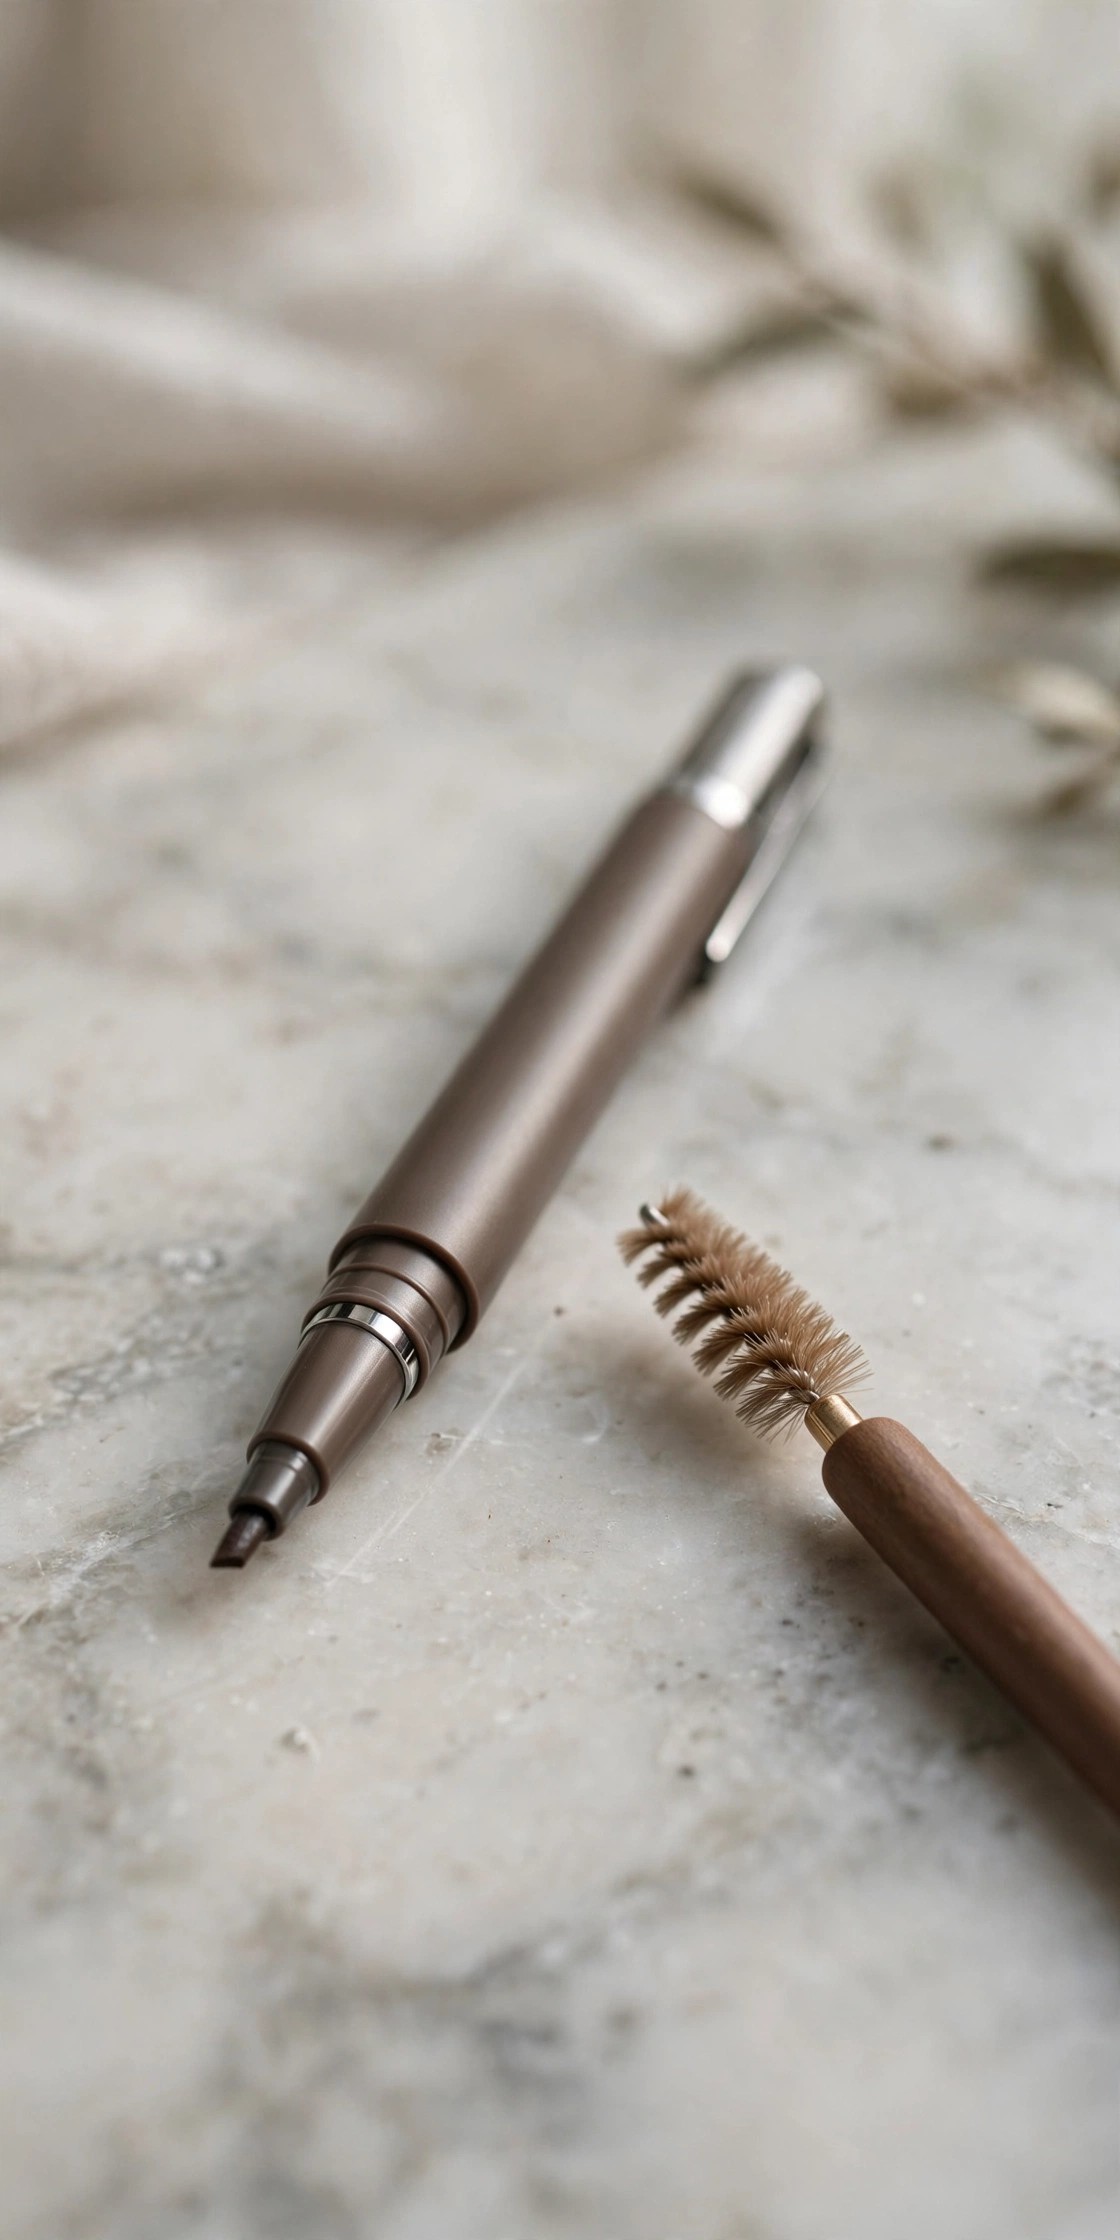
The single most important product decision: a fine, micro-tip pencil — not a thick waxy one. Thick pencils lay down heavy color that reads as drawn-on; a fine tip lets you draw individual hair-like strokes that disappear into real hair. This is the difference between “done brows” and “drawn brows.”
Try this: retractable micro-tip pencil with a spoolie on the other end — one tool, both jobs.
Pro note: If your pencil needs sharpening, it’s too thick for hair strokes — switch to a twist-up micro tip.
8. 🎨 Go One Shade Lighter Than You Think
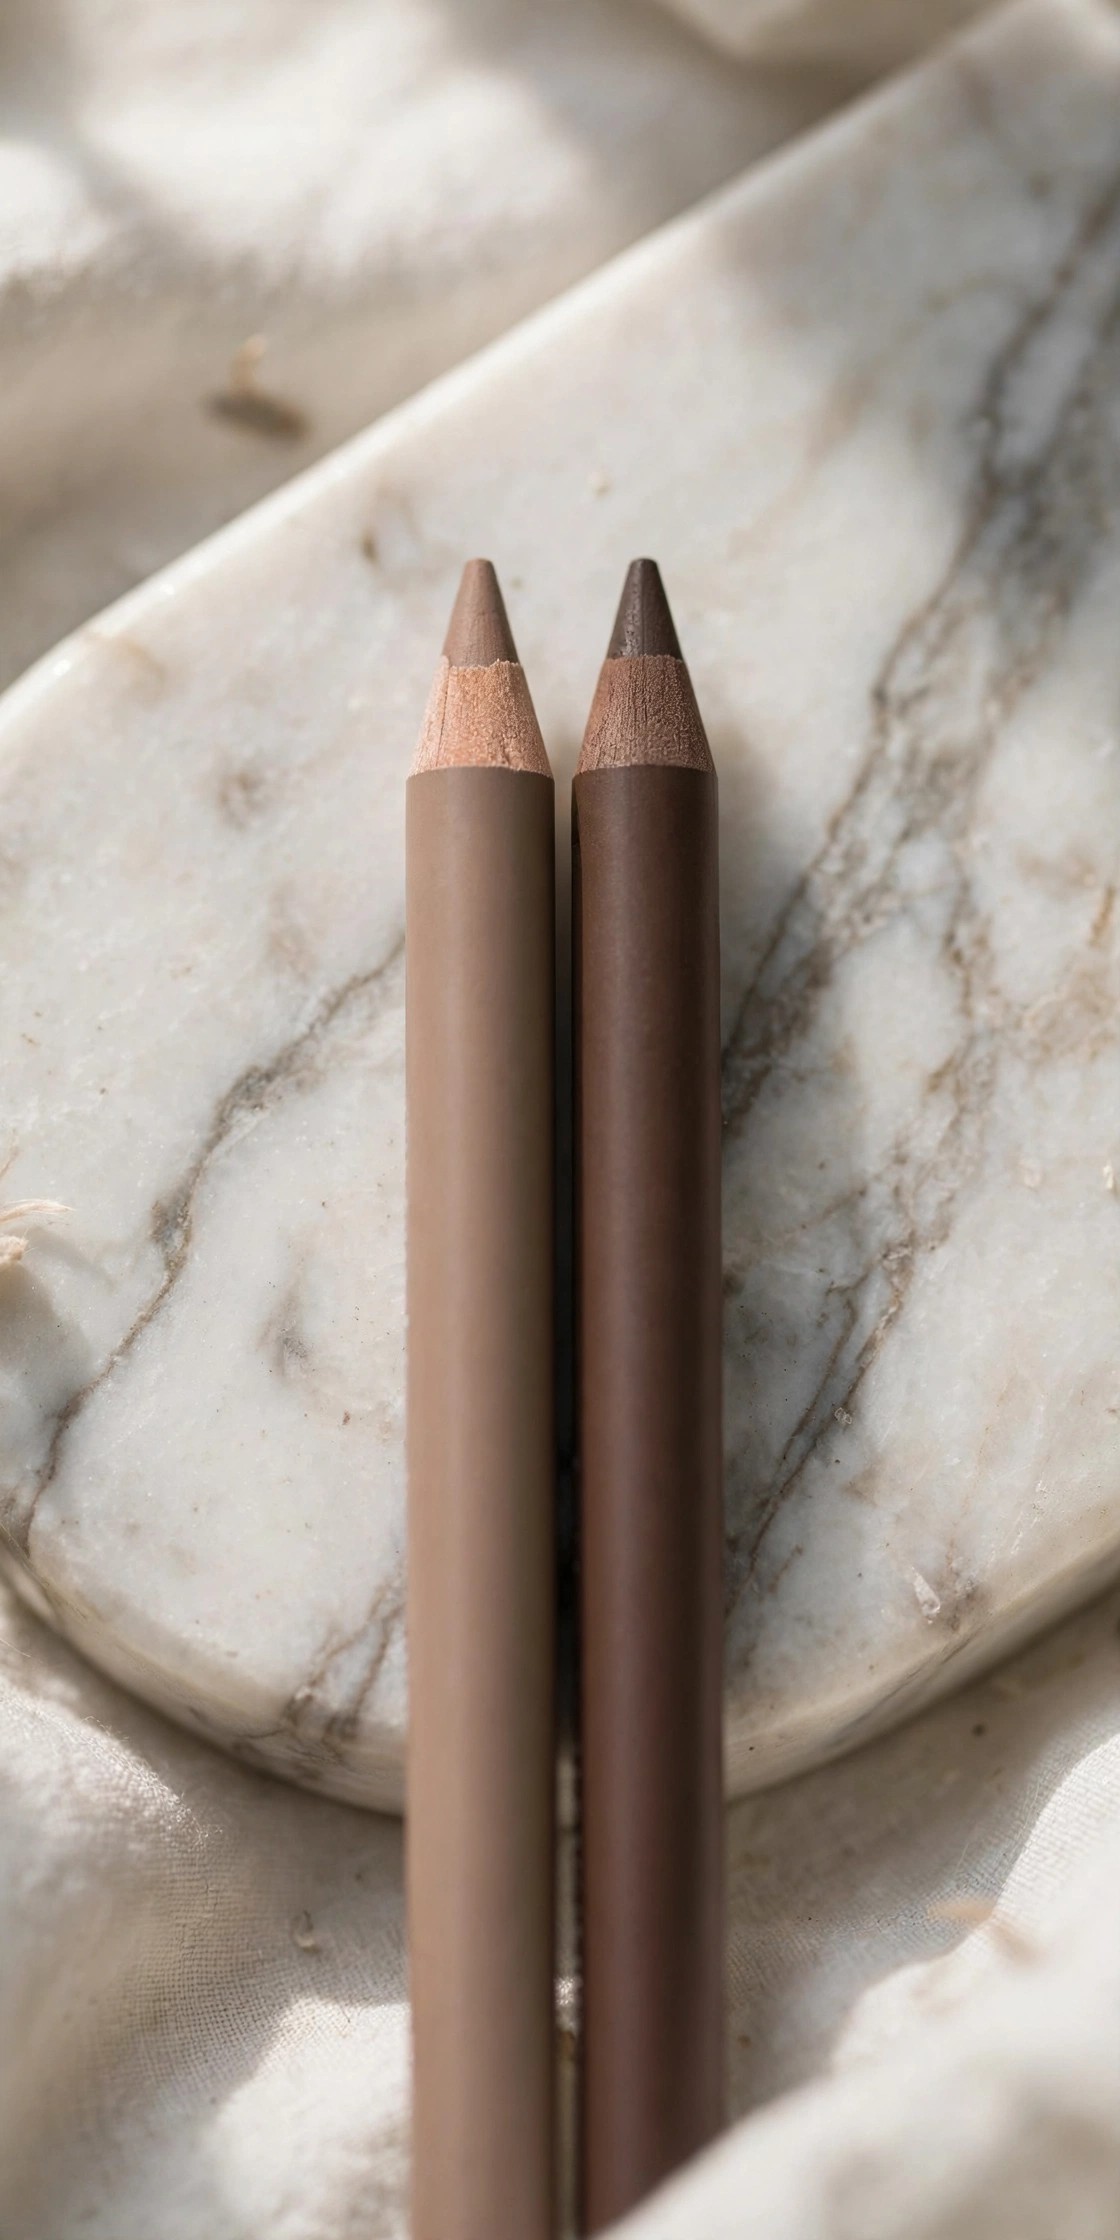
The classic mature-brow error is going too dark — dark brows against softening features look harsh and stamp-like. Choose a shade one step lighter than your brow hair (or your current hair color if it’s dyed). You can always build depth; you can’t un-darken a heavy brow without starting over.
Try this: when torn between two shades, take the lighter one — applied with a light hand it reads as natural depth.
Avoid: black or near-black on anyone except the darkest natural brows — it ages the eye area instantly.
9. 🖌️ Fill the Tails First
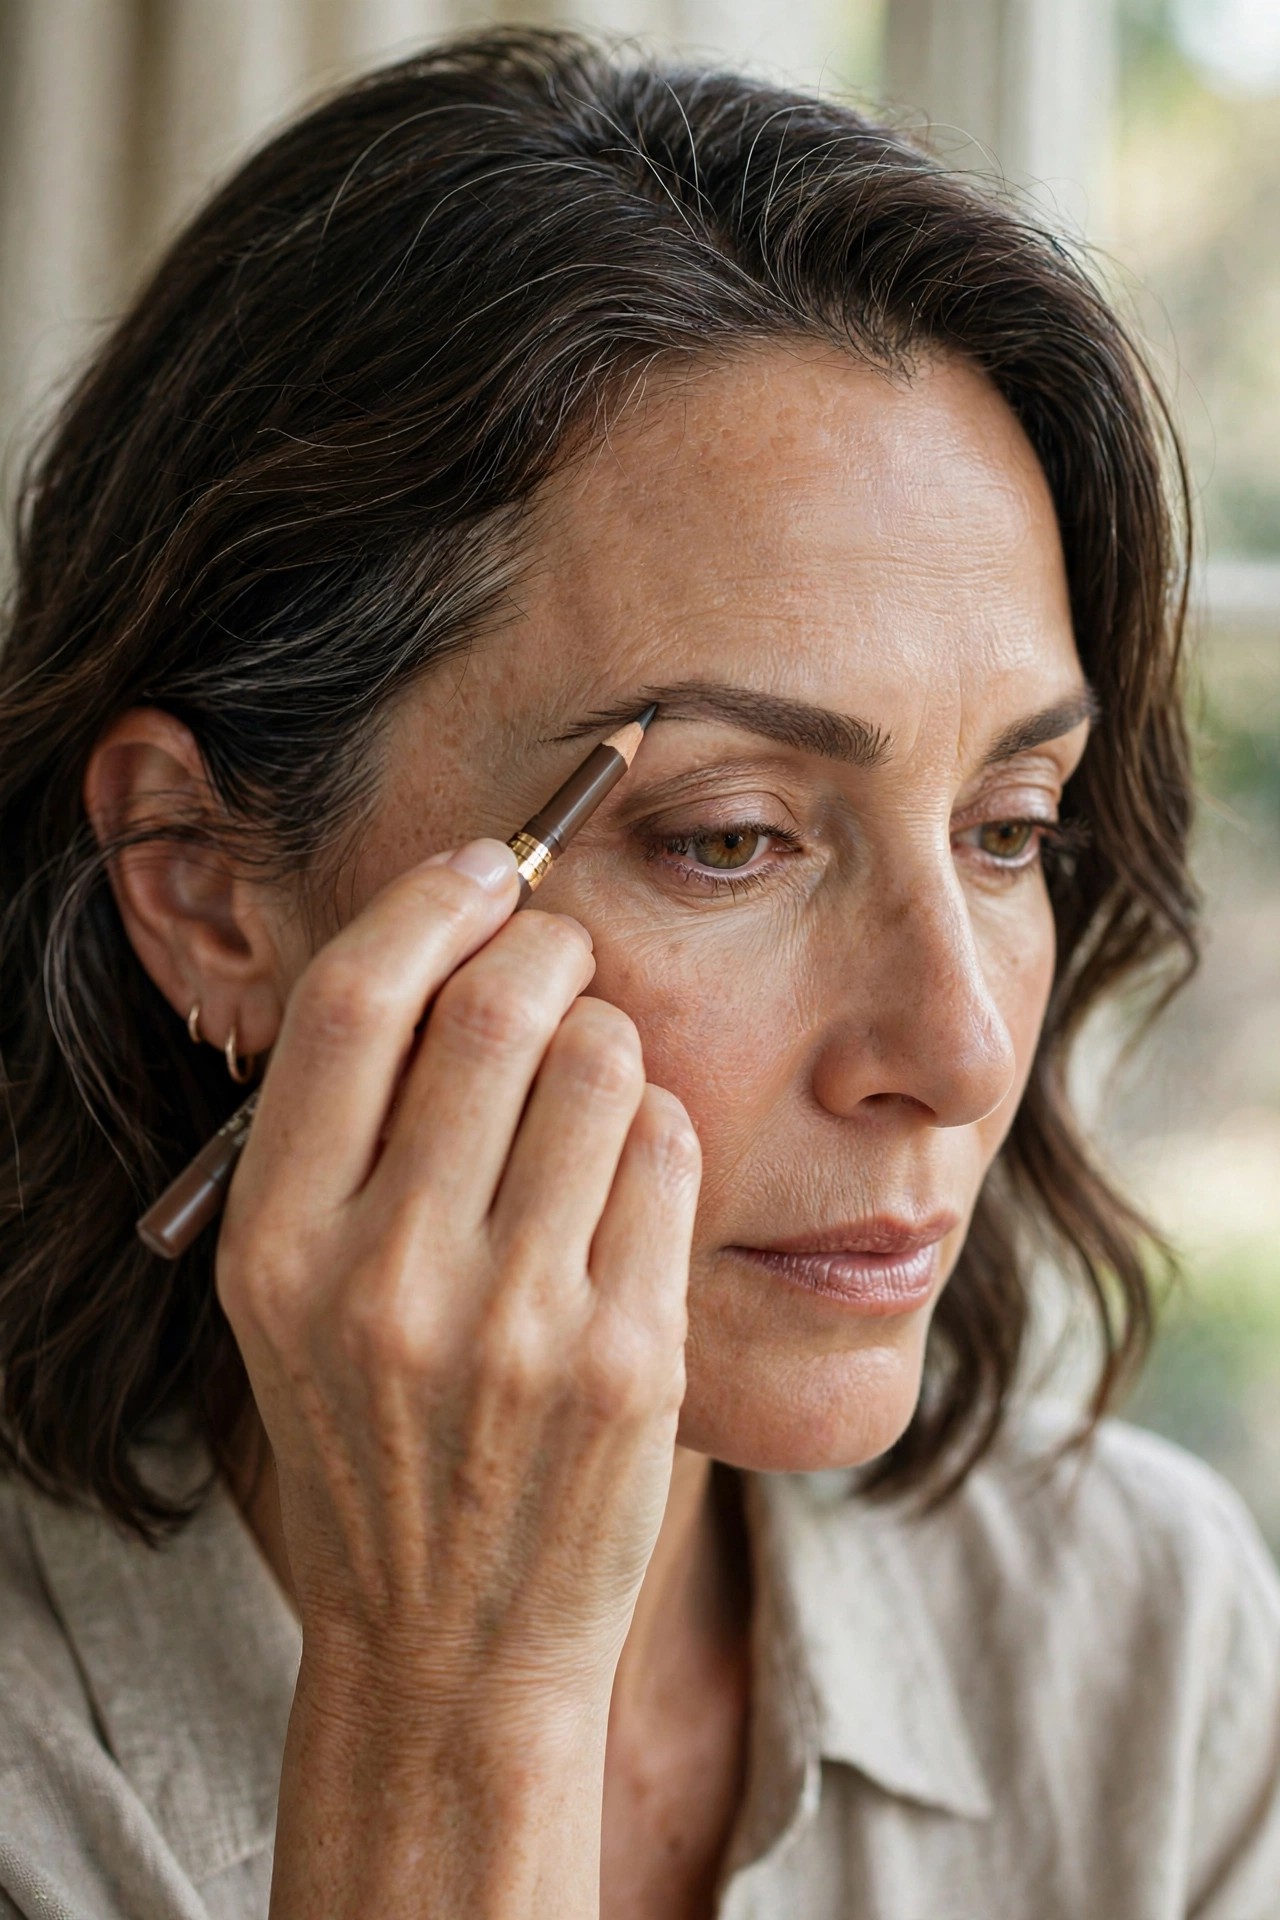
Tails thin first and matter most — they define the eye’s outer edge and create lift. Start filling at the tail and work inward, using the freshest product where density is lowest. By the time you reach the fuller middle, the pencil has less product left, which naturally keeps the front softer.
Try this: begin at the mapped tail end, work toward the arch with short upward strokes.
Pro note: A defined tail alone can make the whole brow look finished — try tails-only on rushed days.
10. 📈 Draw Hair-Like Strokes, Upward
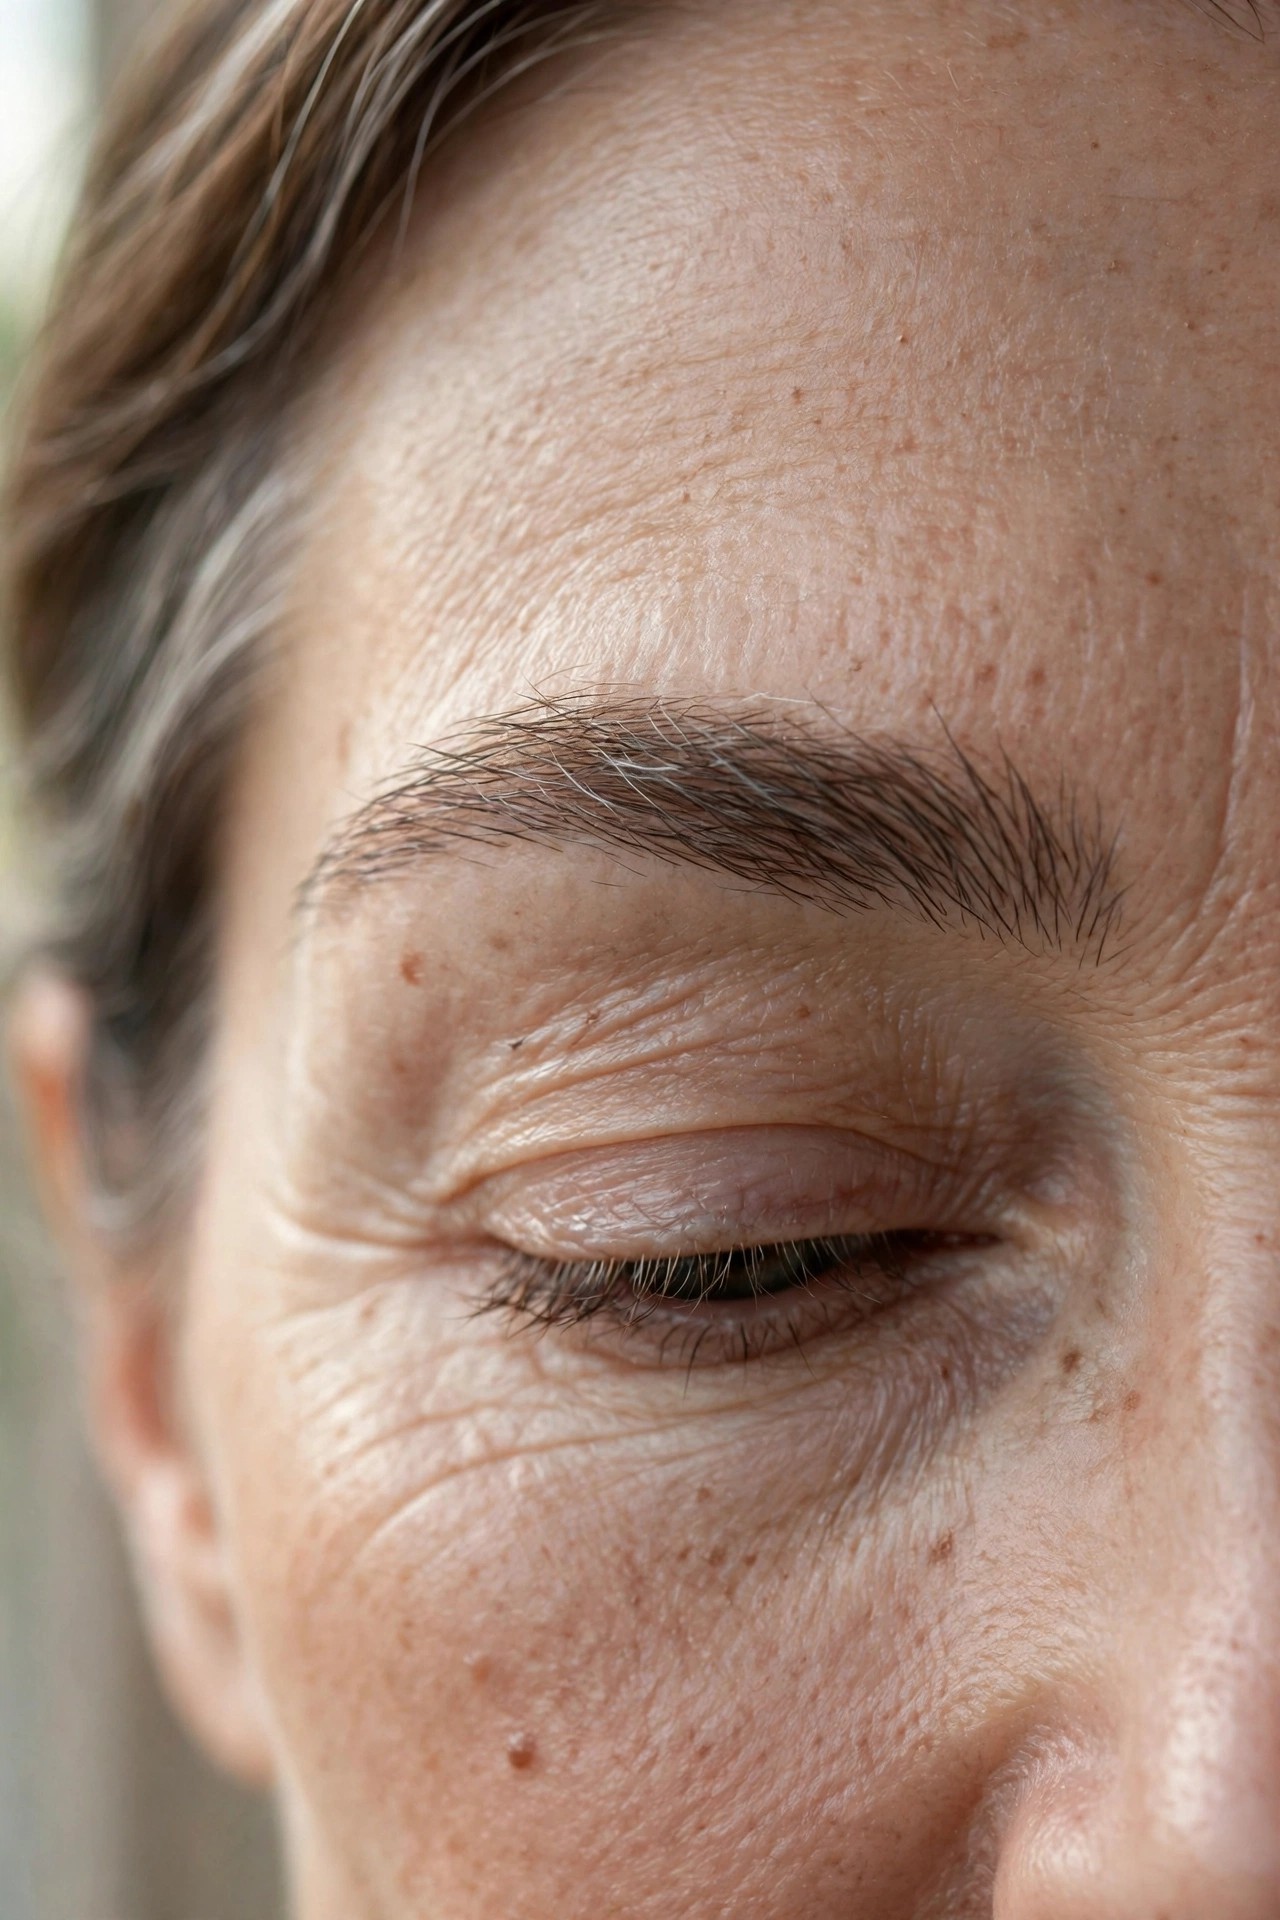
Forget shading and filling — think drawing individual hairs. Use short, light, upward flicks that follow your natural hair direction, each about the length of a real brow hair. Press lightly; the stroke should look like a hair, not a line. Ten believable strokes beat one solid block every time.
Try this: flick upward in the direction of growth, lifting the pencil at the end of each stroke.
Avoid: drawing one continuous line along the bottom edge — it’s the fastest route to the stencil look.
Rest your elbow on a table while you draw. A braced hand makes steadier, finer strokes — freehand brows are where wobbles (and harsh lines) come from.
11. 🌫️ Keep the Front Third Whisper-Soft
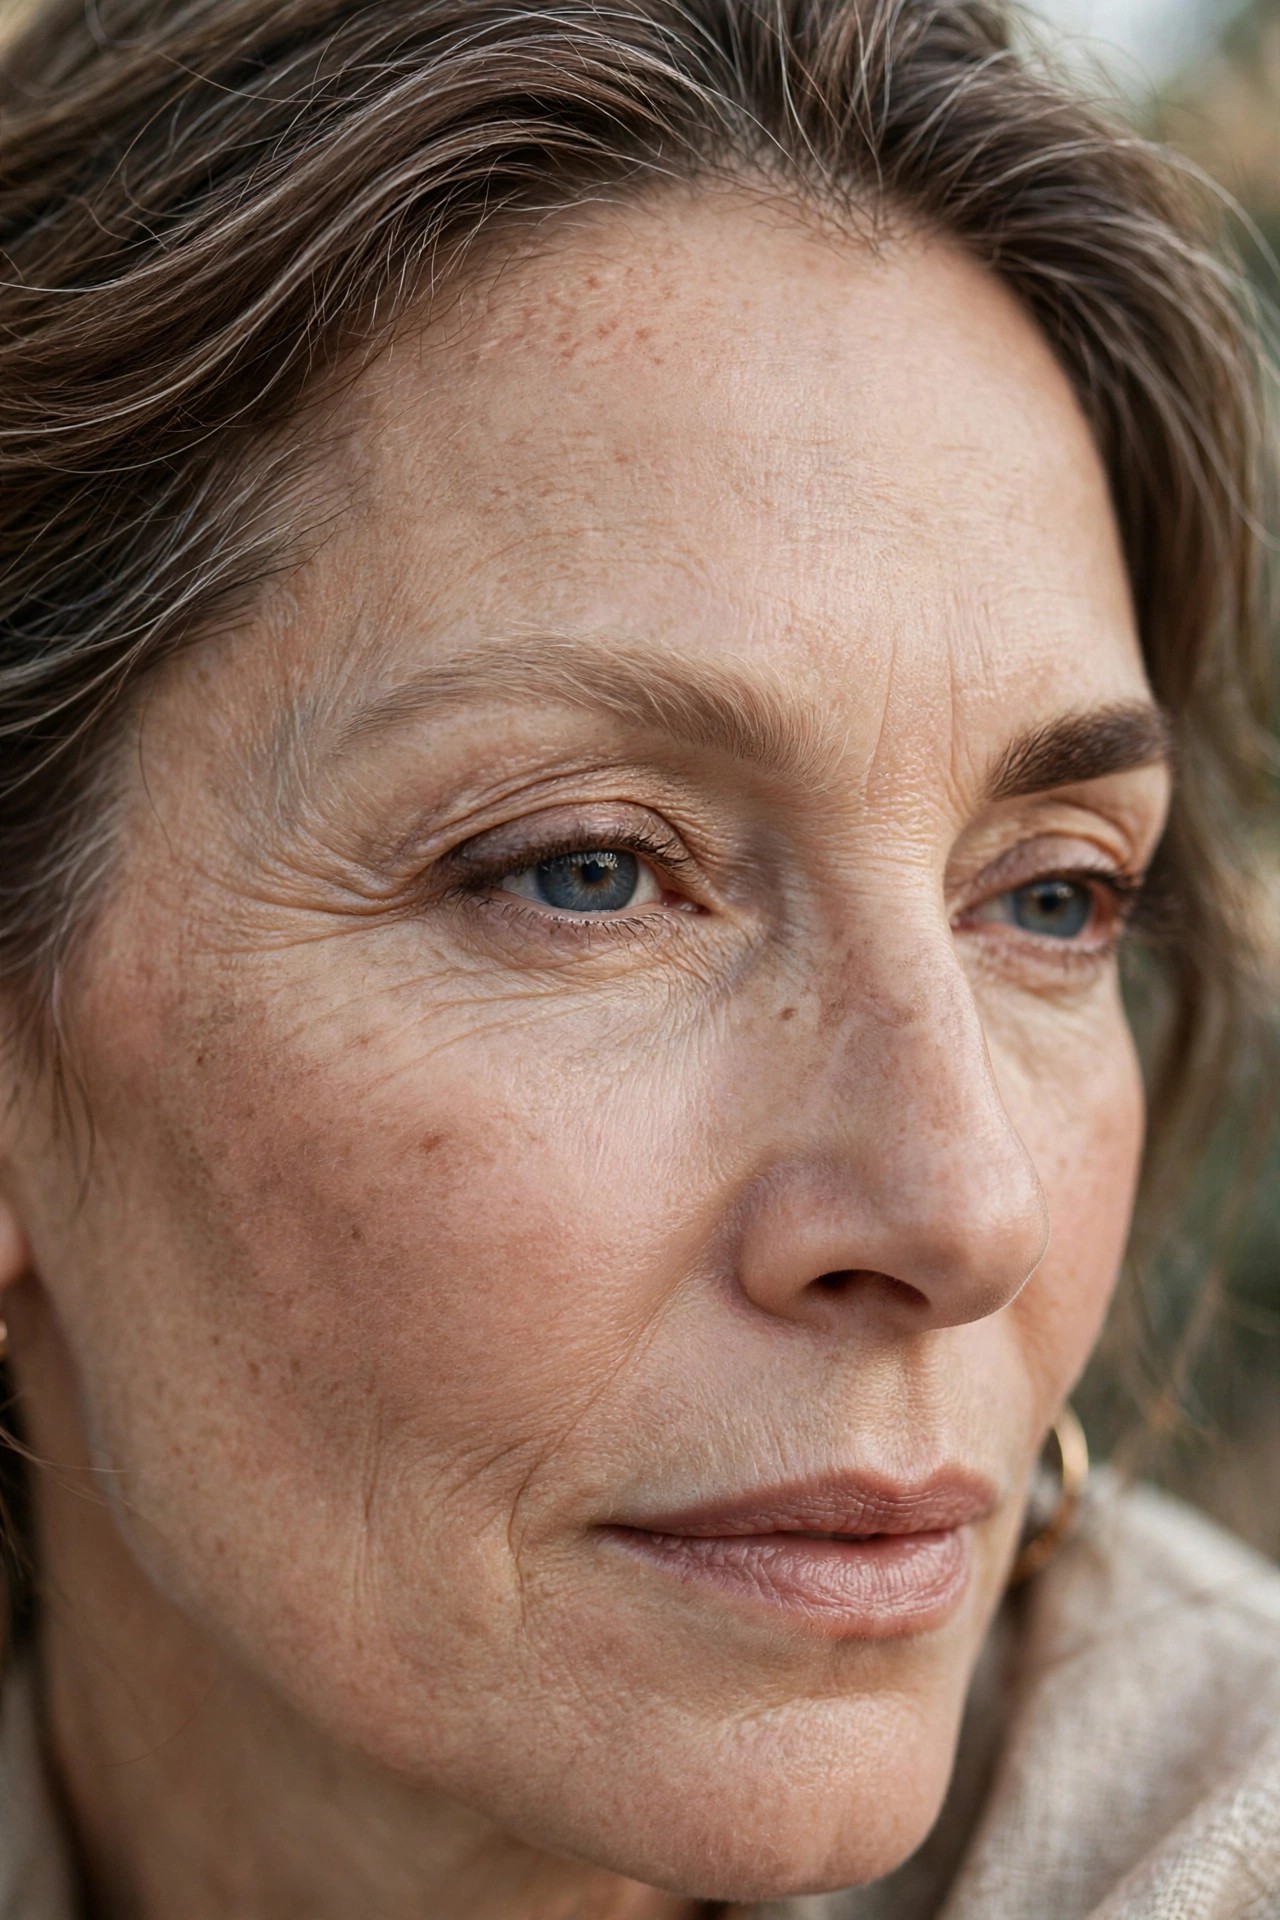
The front of the brow should be the lightest, softest part — a gradient that deepens toward the tail. Use only the residue left on your pencil for the front third, with the lightest upward flicks. A soft front looks youthful and natural; a heavy front looks stamped and severe.
Try this: don’t reload product for the front — use what’s left, flicked upward and outward.
Pro note: If the front still looks heavy, brush the spoolie through it firmly — it lifts excess product right off.
12. 🌀 Spoolie Through Everything
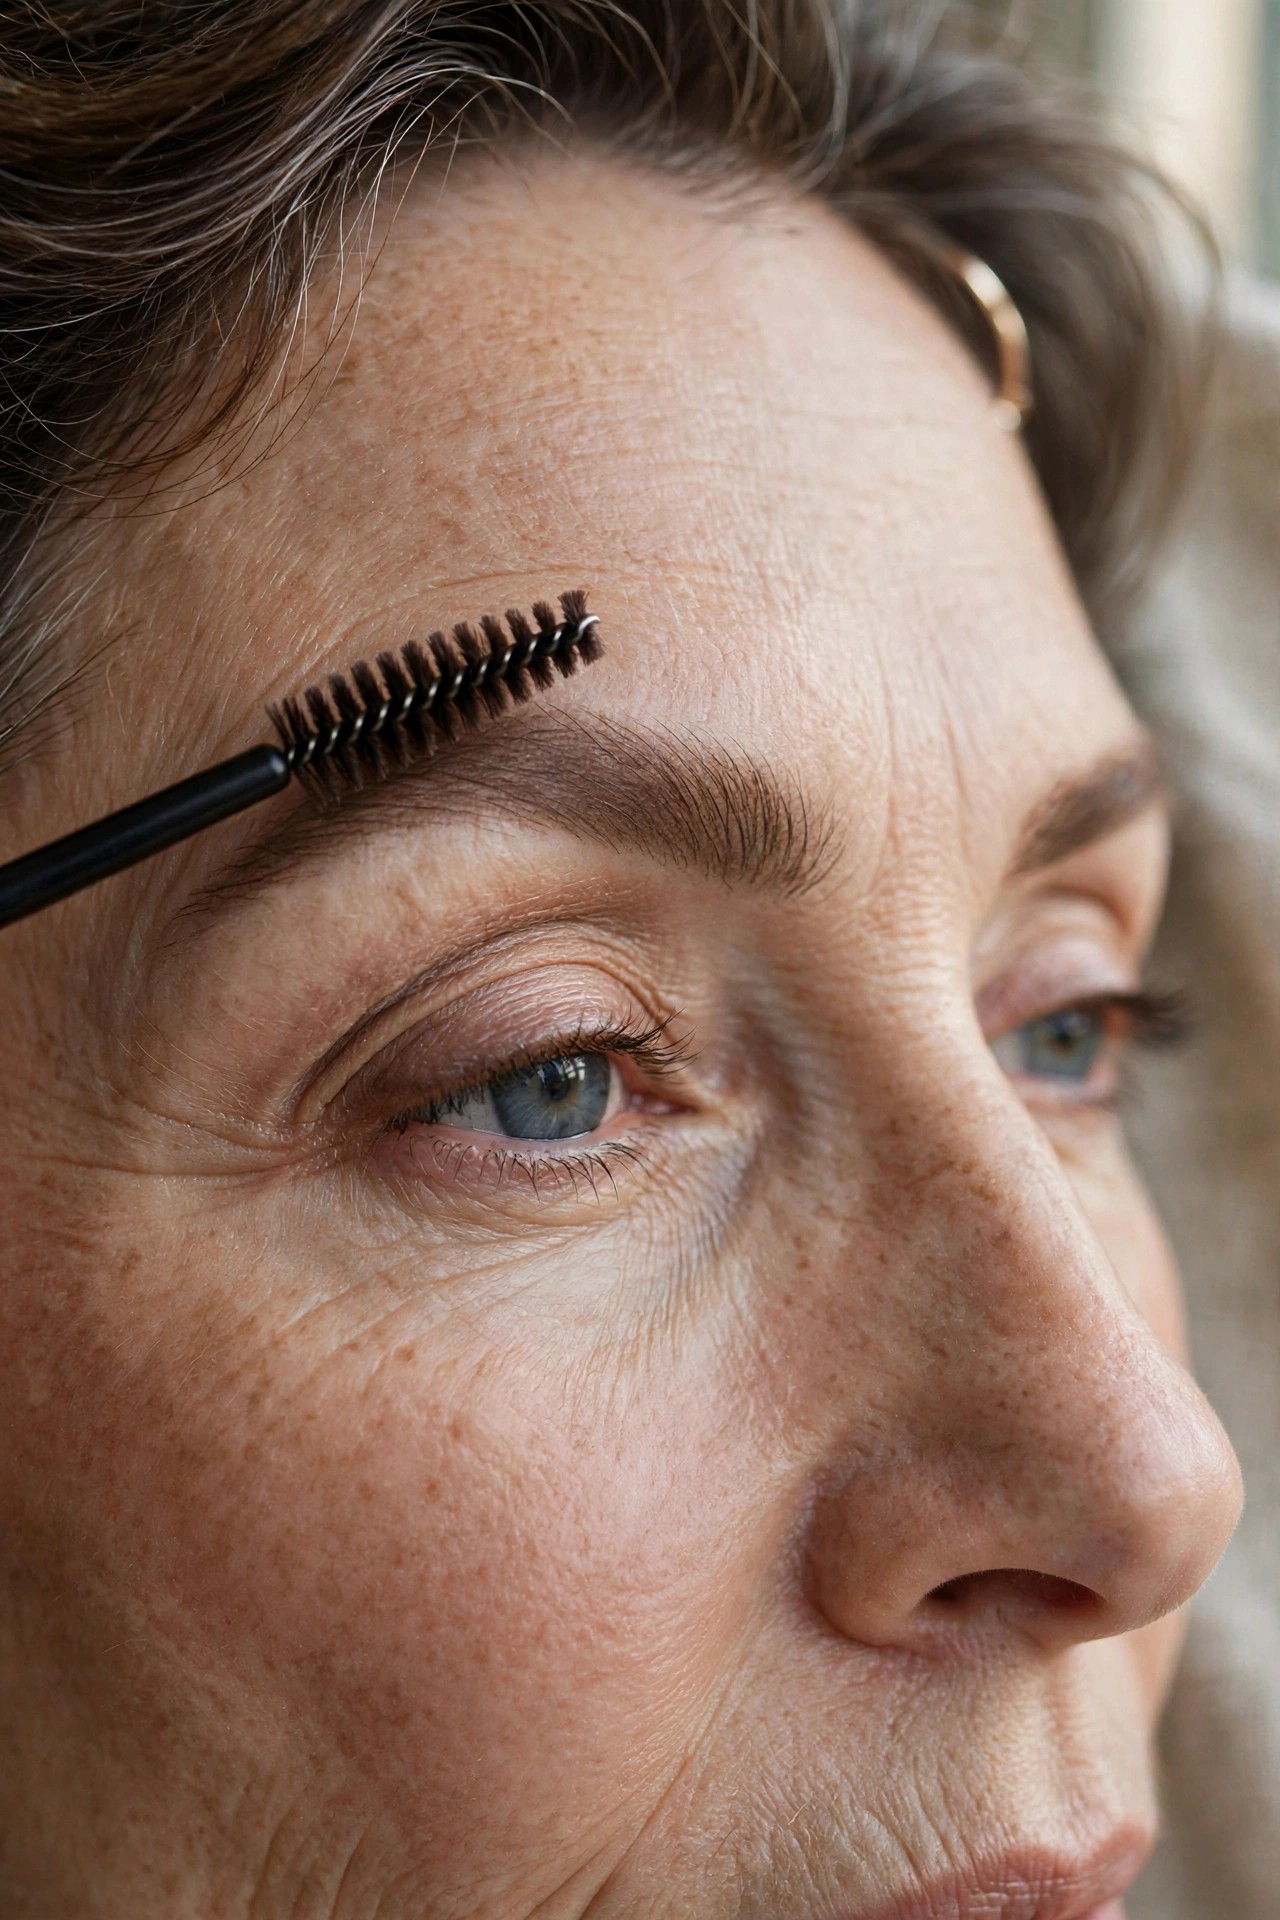
This is the step that erases “drawn-on.” Brush the spoolie through the entire brow — up, then over in the direction of growth — to diffuse every stroke into the surrounding hair. What looked like pencil a moment ago now looks like denser brow. Skip this and the strokes stay visible; do it and they vanish into fullness.

Try this: spoolie up first to blend, then smooth over in the growth direction to finish.
Avoid: brushing so hard you remove the product — firm but gentle is the pressure.
13. 💨 Set With a Tinted Gel
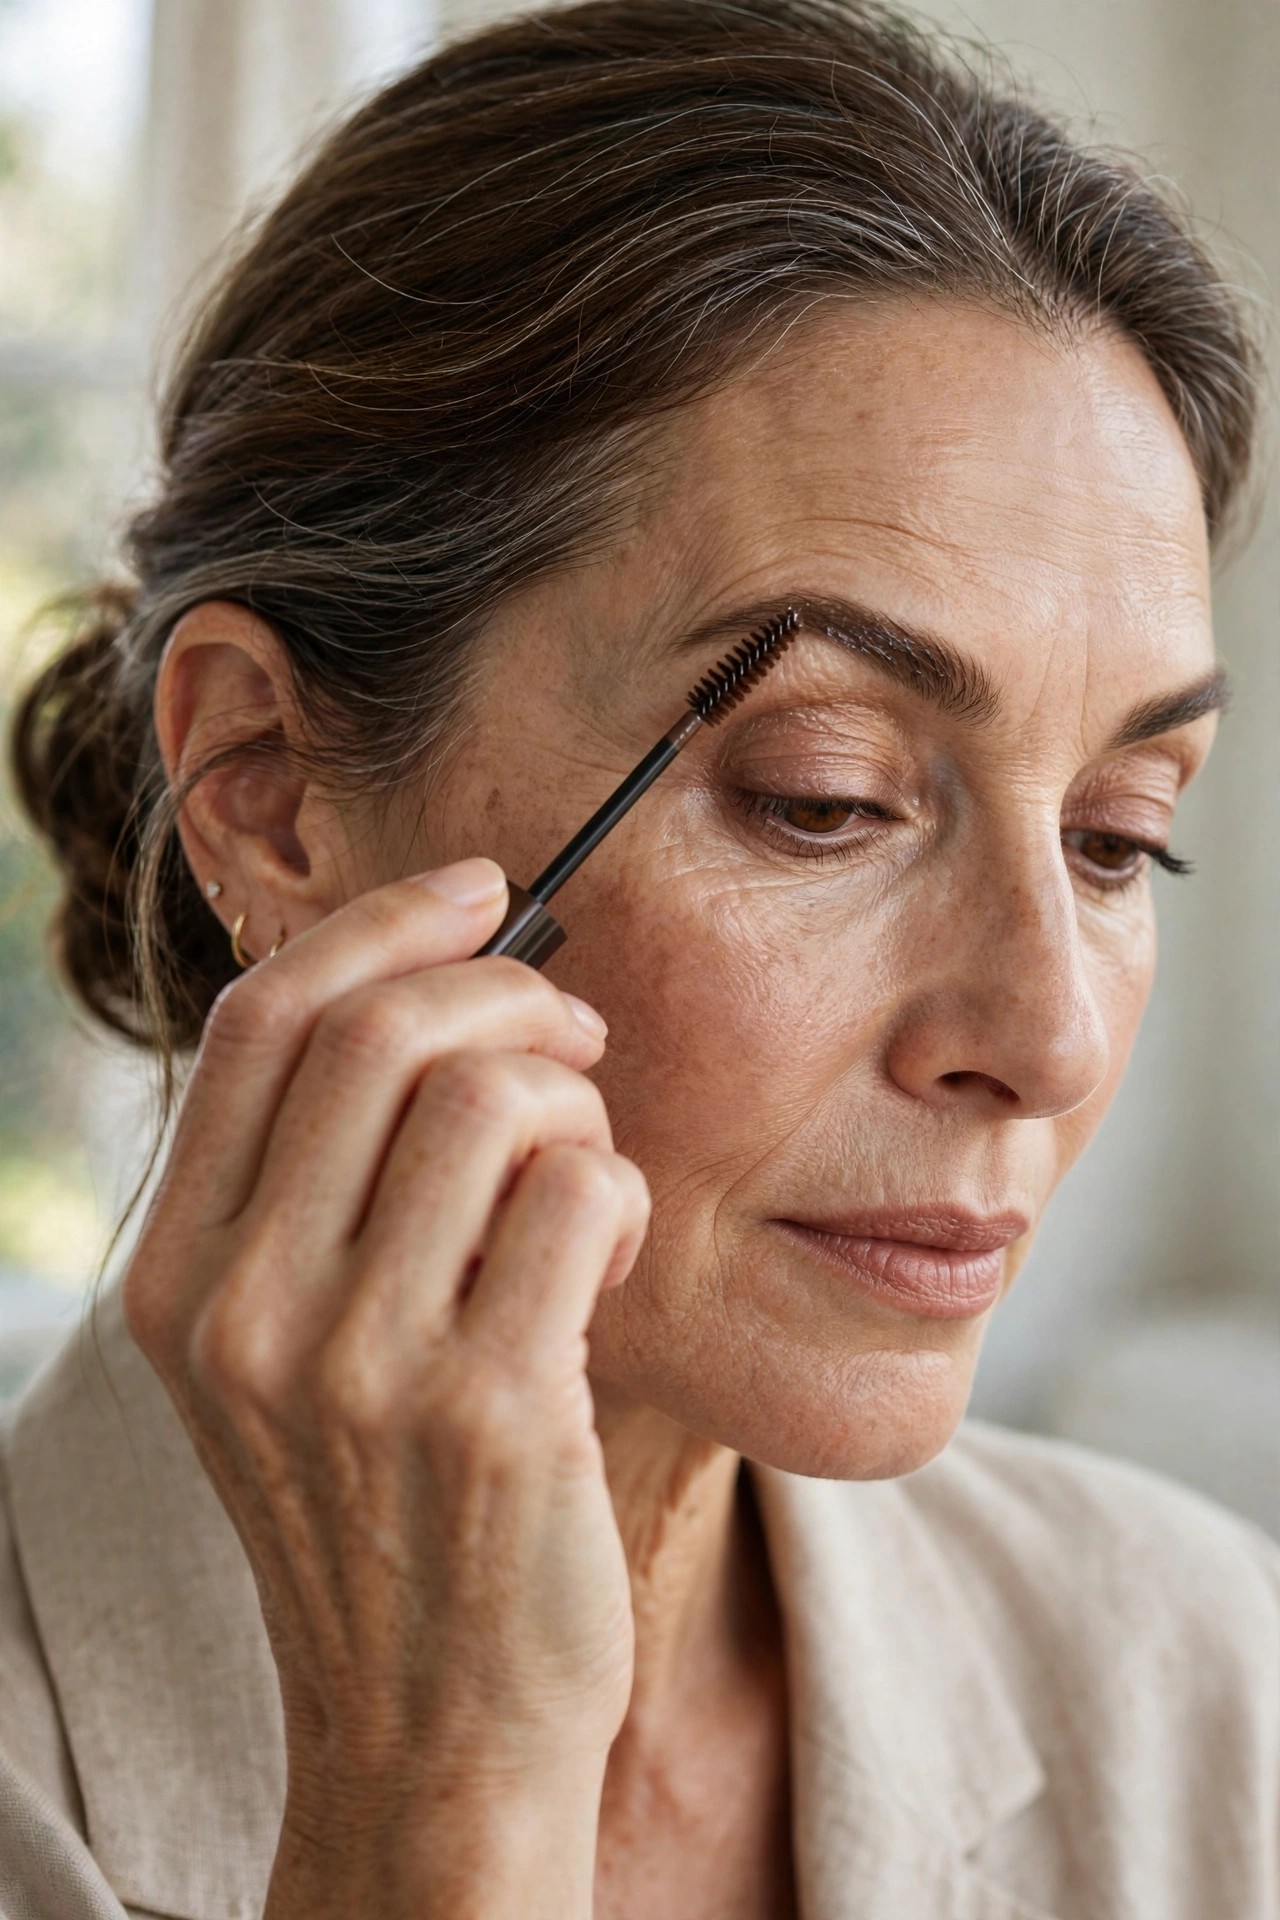
A swipe of tinted brow gel does three jobs: it locks your pencil work in place, coats existing hairs so they look thicker, and adds a whisper of color to gaps the pencil missed. Brush it upward and slightly outward, following the hair direction you set with the spoolie.
Try this: tinted gel in your pencil shade, brushed up and out, one pass.
Pro note: Clear gel sets without adding color — choose it on days your pencil work is already perfect.
14. ✨ Clean Up Beneath the Arch
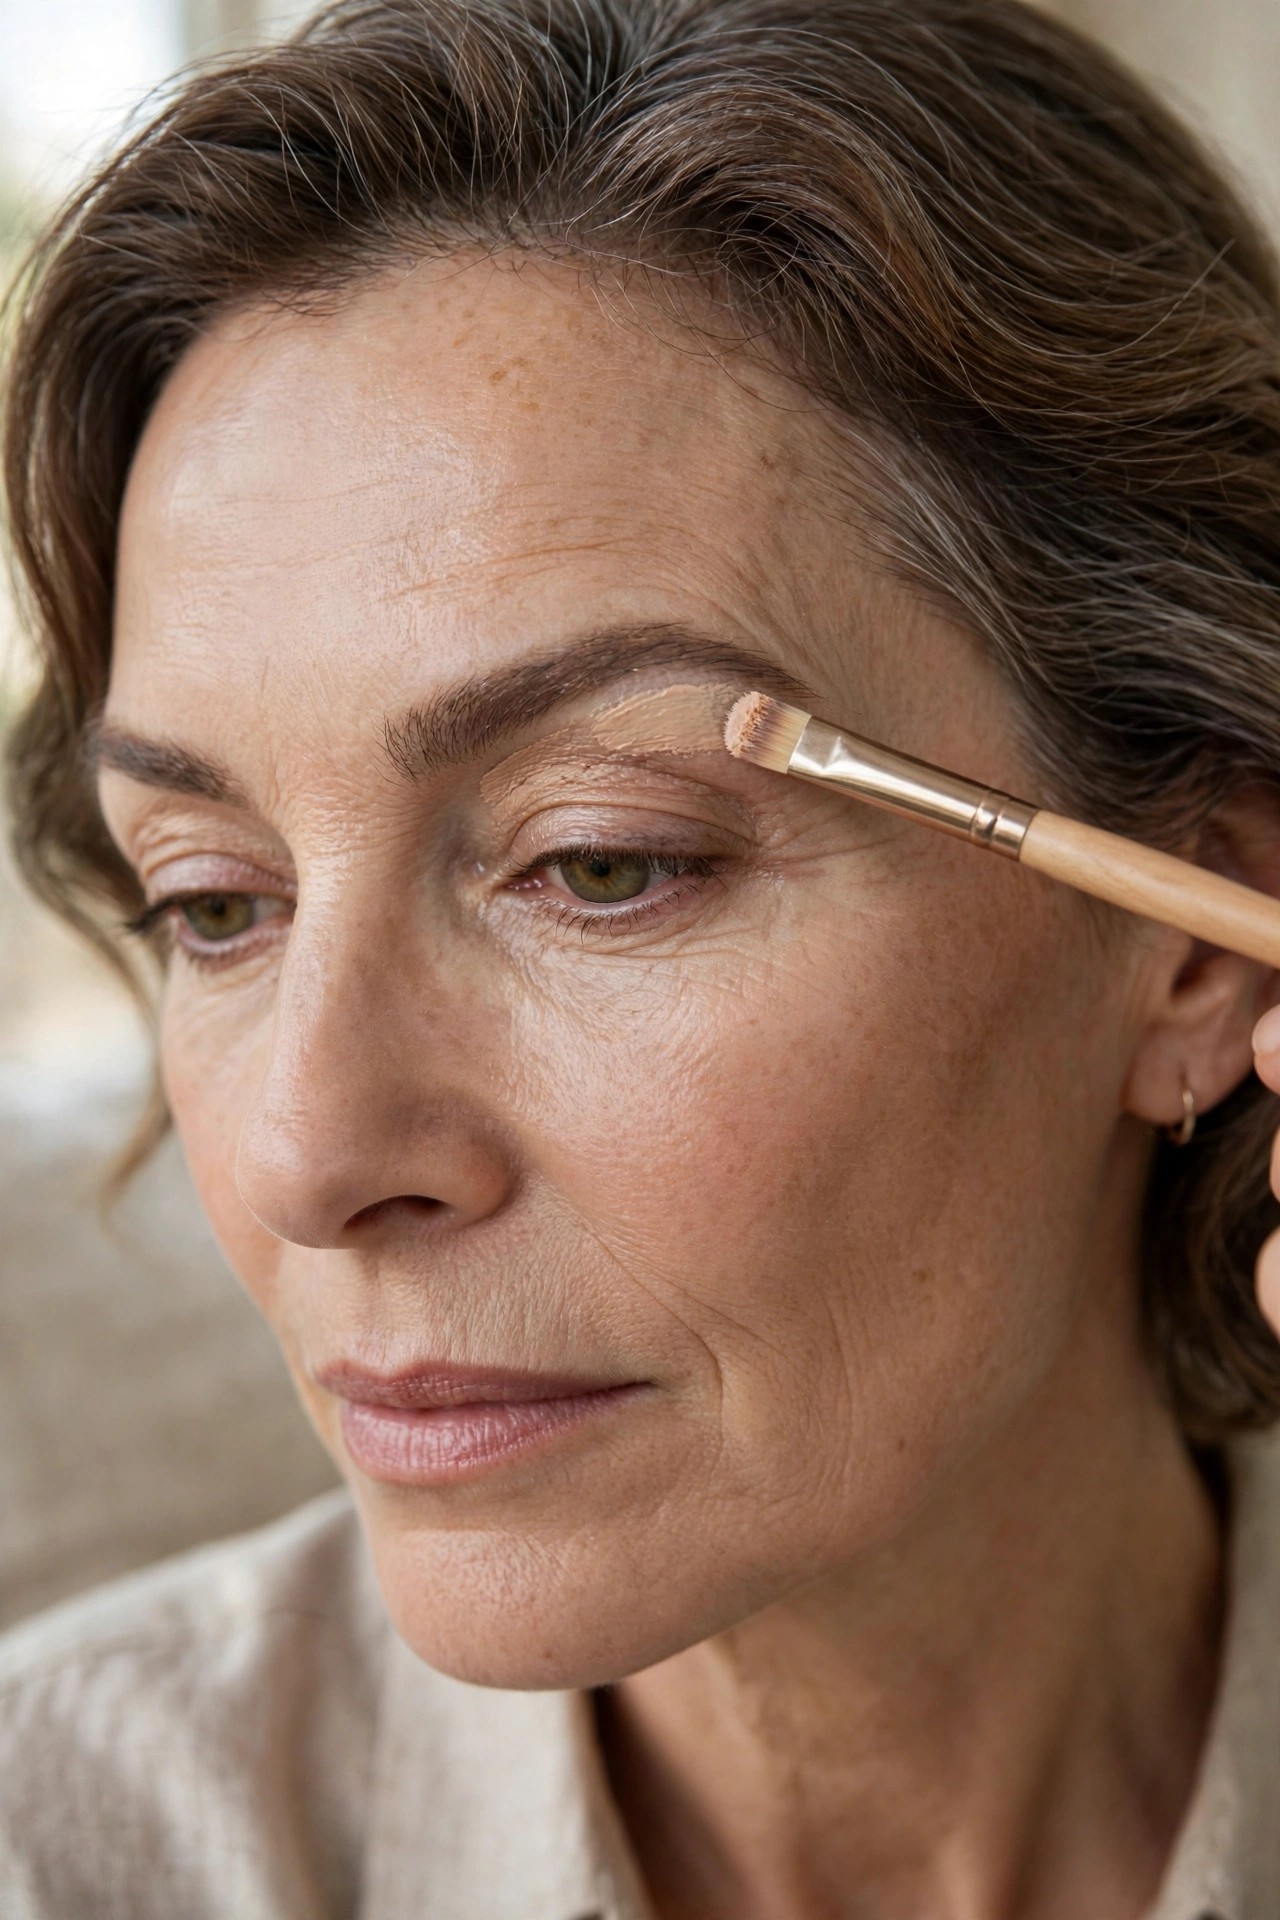
Run a small flat brush with a touch of concealer — or a matte bone-colored shadow — just beneath the arch, along the brow bone, and blend downward. This crisp line beneath the brow defines the shape, cleans up any stray strokes, and creates a subtle lifting effect for the whole eye area.
Try this: concealer on a flat brush, one clean line under the arch, blended at the edges.
Avoid: shimmery highlighter here — it settles into fine lines and reads as dated.
15. 🩶 Welcome the Silver Strands
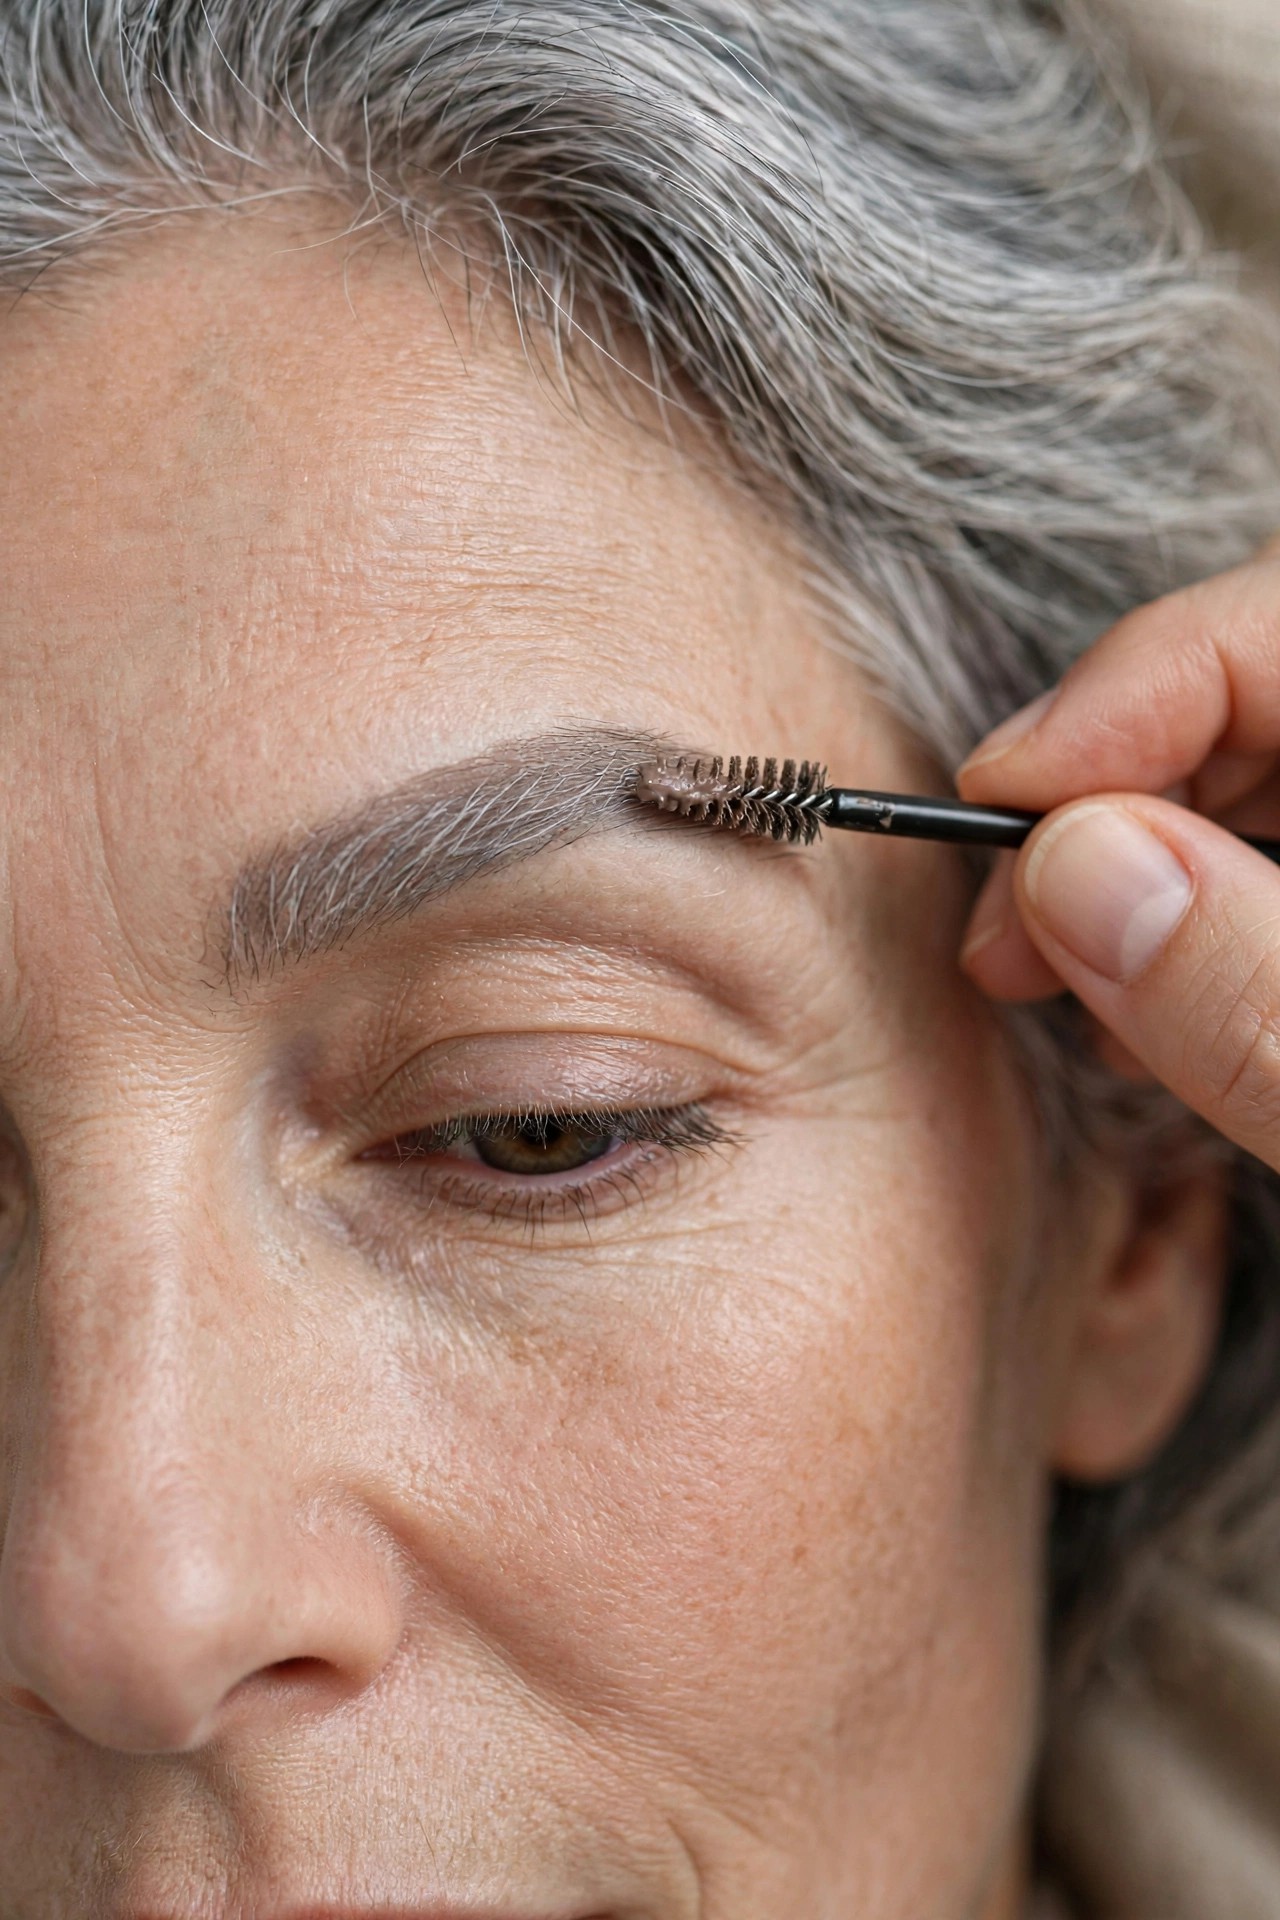
Gray and white brow hairs aren’t a flaw to hide — but they do need color to keep brows defined. A tinted gel in soft taupe or light brown coats silver hairs and revives their presence without dyeing or harshness. The result reads as natural dimension, not cover-up.
Try this: tinted gel in soft taupe, worked through the grays with the spoolie end.
Pro note: If your hair is dyed, match the gel to your hair color, not your grays — harmony matters more than exactness.
For special occasions, a professional brow tint (done by a technician experienced with mature skin) lasts 2–3 weeks and means you start every morning halfway done.
16. 🪄 The X-Mapping Trick for Sparse Brows
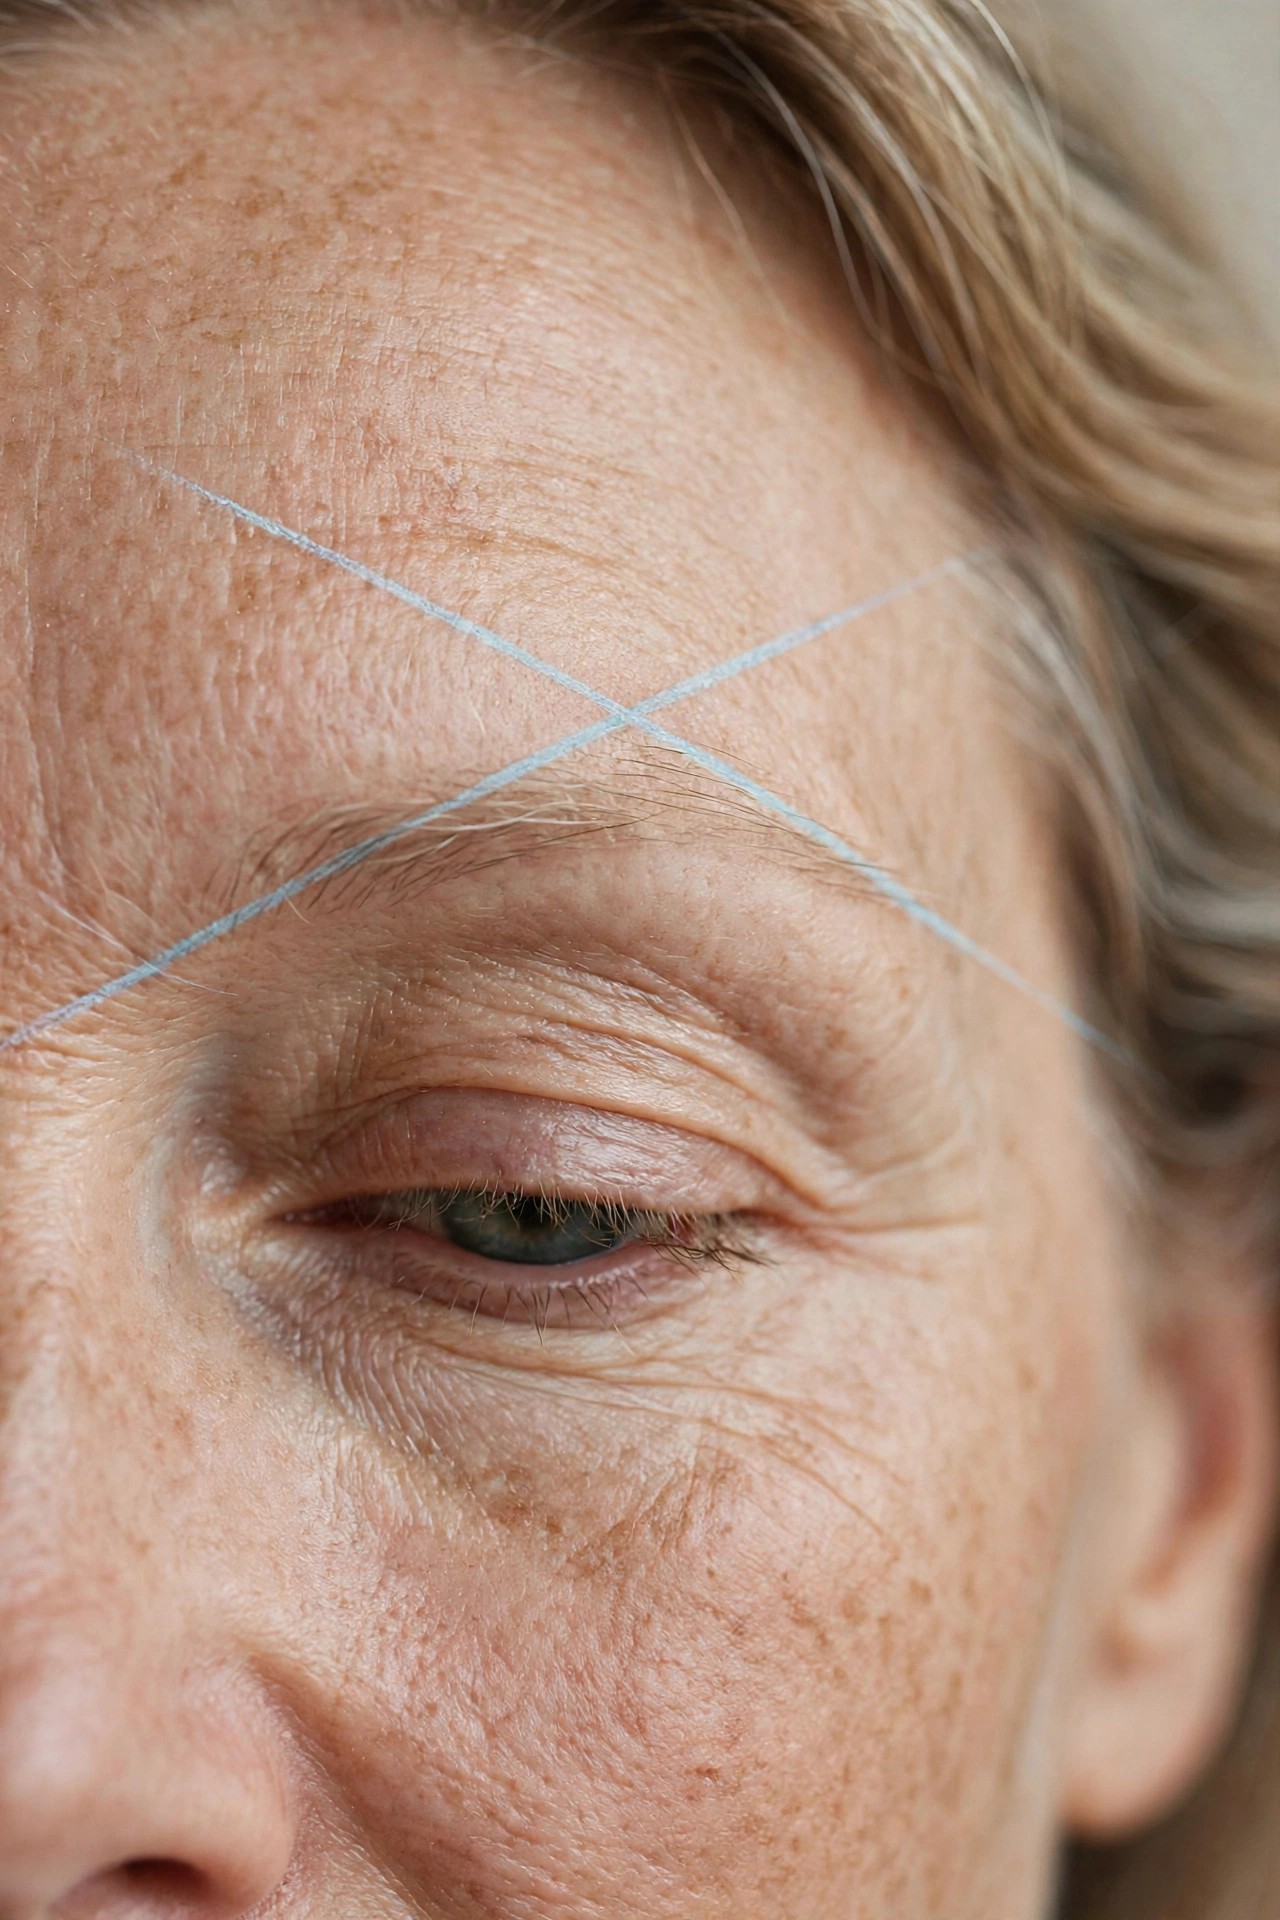
For very sparse brows, try the X trick: draw one light line angled upward through the brow area, then a second crossing it — connect the ends to form a soft, defined outline, then fill inside with hair strokes. It gives structure to brows that have almost no natural shape left to follow.
Try this: light X through the brow zone, connect the ends softly, fill with upward strokes.
Avoid: pressing hard on the outline — it should be a whisper you fill, not a fence you color inside.
17. 🌙 Brow Powder for Large Sparse Areas

Where gaps are wide rather than spotty, powder beats pencil. Press a matte brow powder (or a matte eyeshadow in your brow shade) into the sparse area with a small angled brush — it creates a soft shadow of color that reads as density from any distance, without a single visible stroke.
Try this: angled brush + brow powder, pressed (not swept) into the sparse zone, edges diffused with a spoolie.
Pro note: Powder over pencil strokes adds dimension — the combination looks more like real brow than either alone.
18. 💧 Go Waterproof on Humid Days
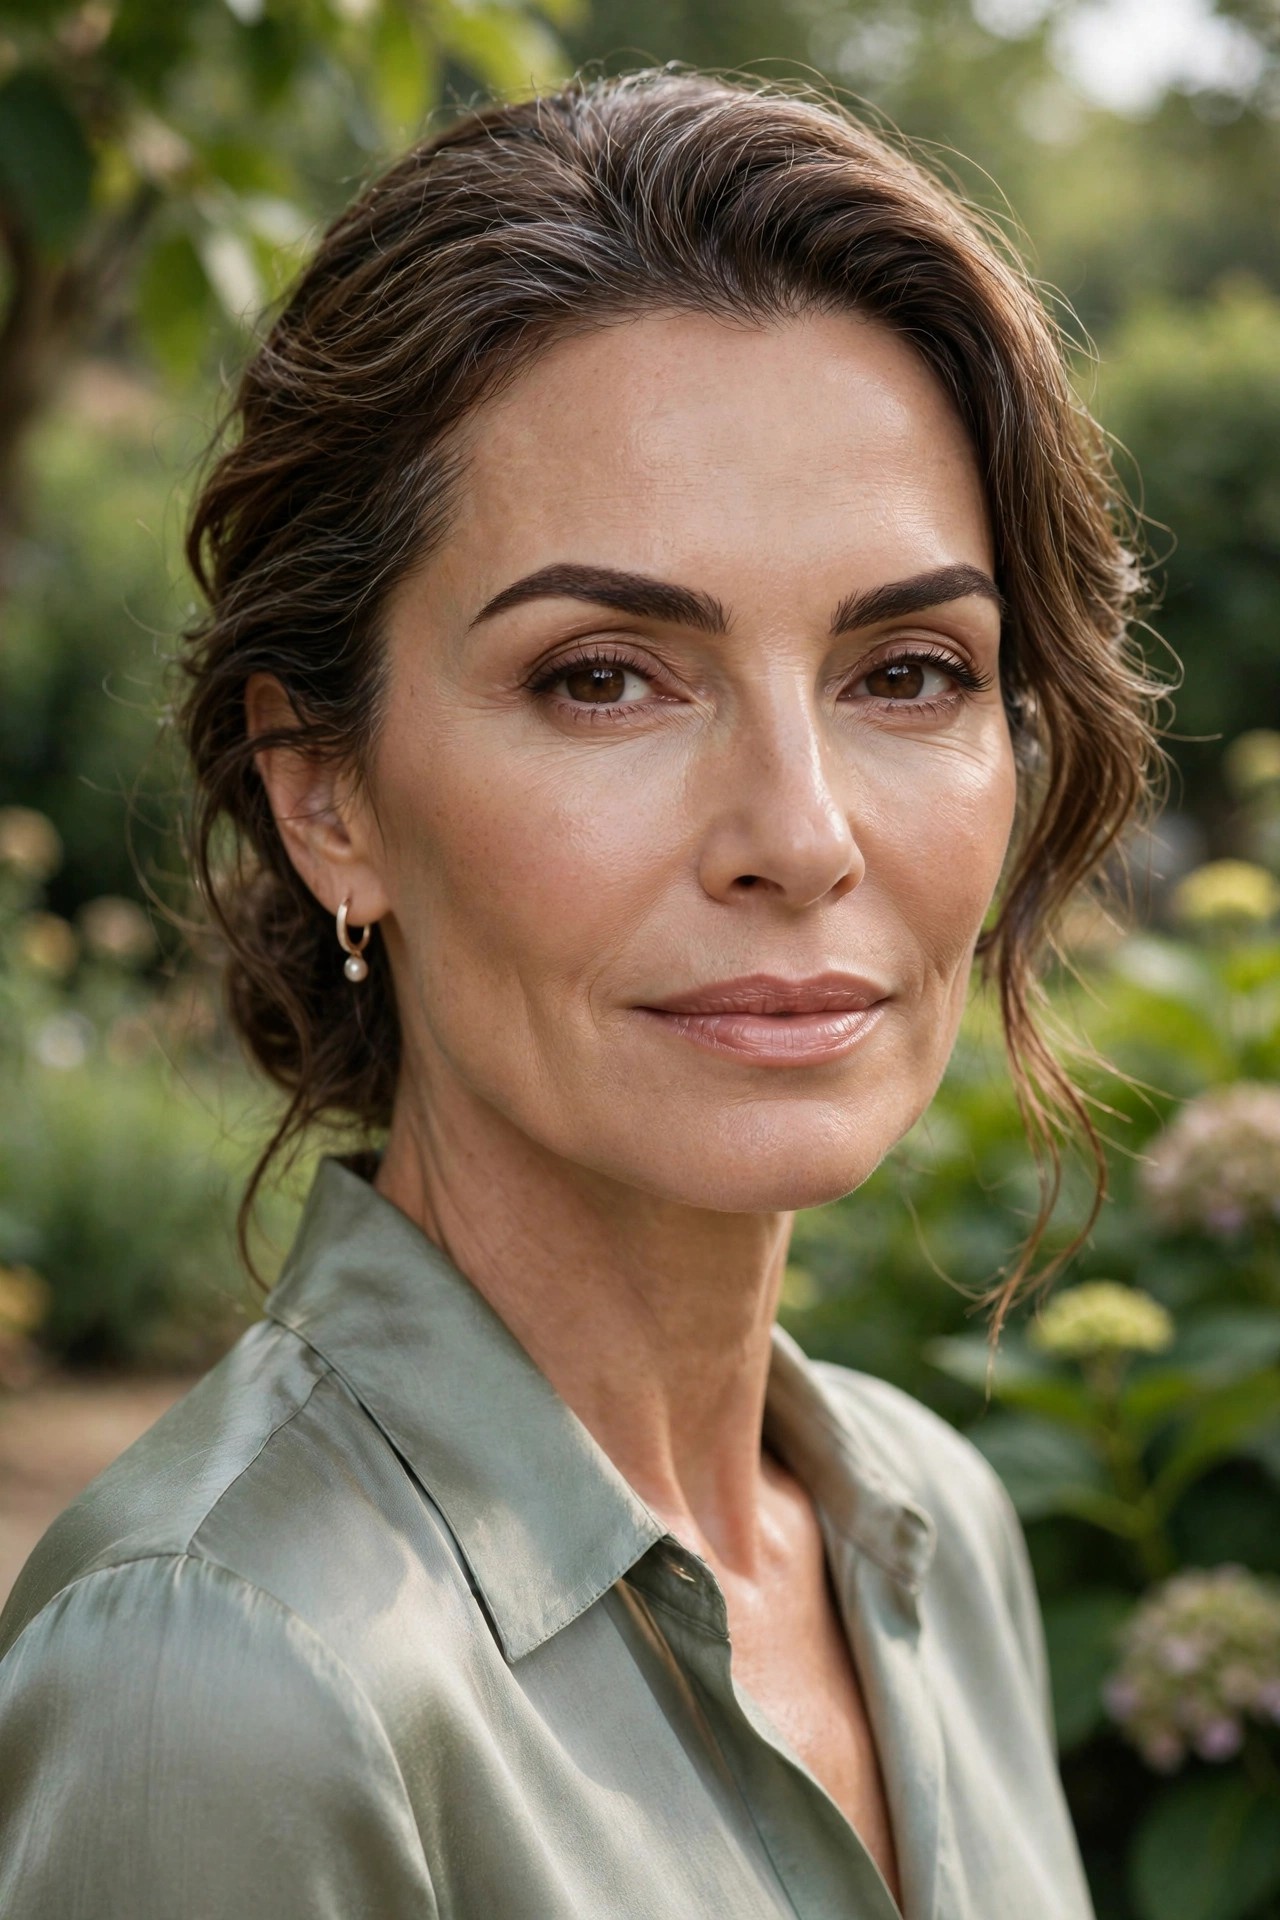
Brow work that survives a dry office can melt by noon in humidity — and nothing ages a look faster than a migrated brow. On hot or humid days, switch to waterproof pencil and gel formulas. They cost the same and hold the shape you worked to build.
Try this: waterproof versions of your usual pencil and gel, June through September.
Avoid: touching your brows during the day — even waterproof formulas shift under constant handling.
19. 🪞 The Three-Foot Check
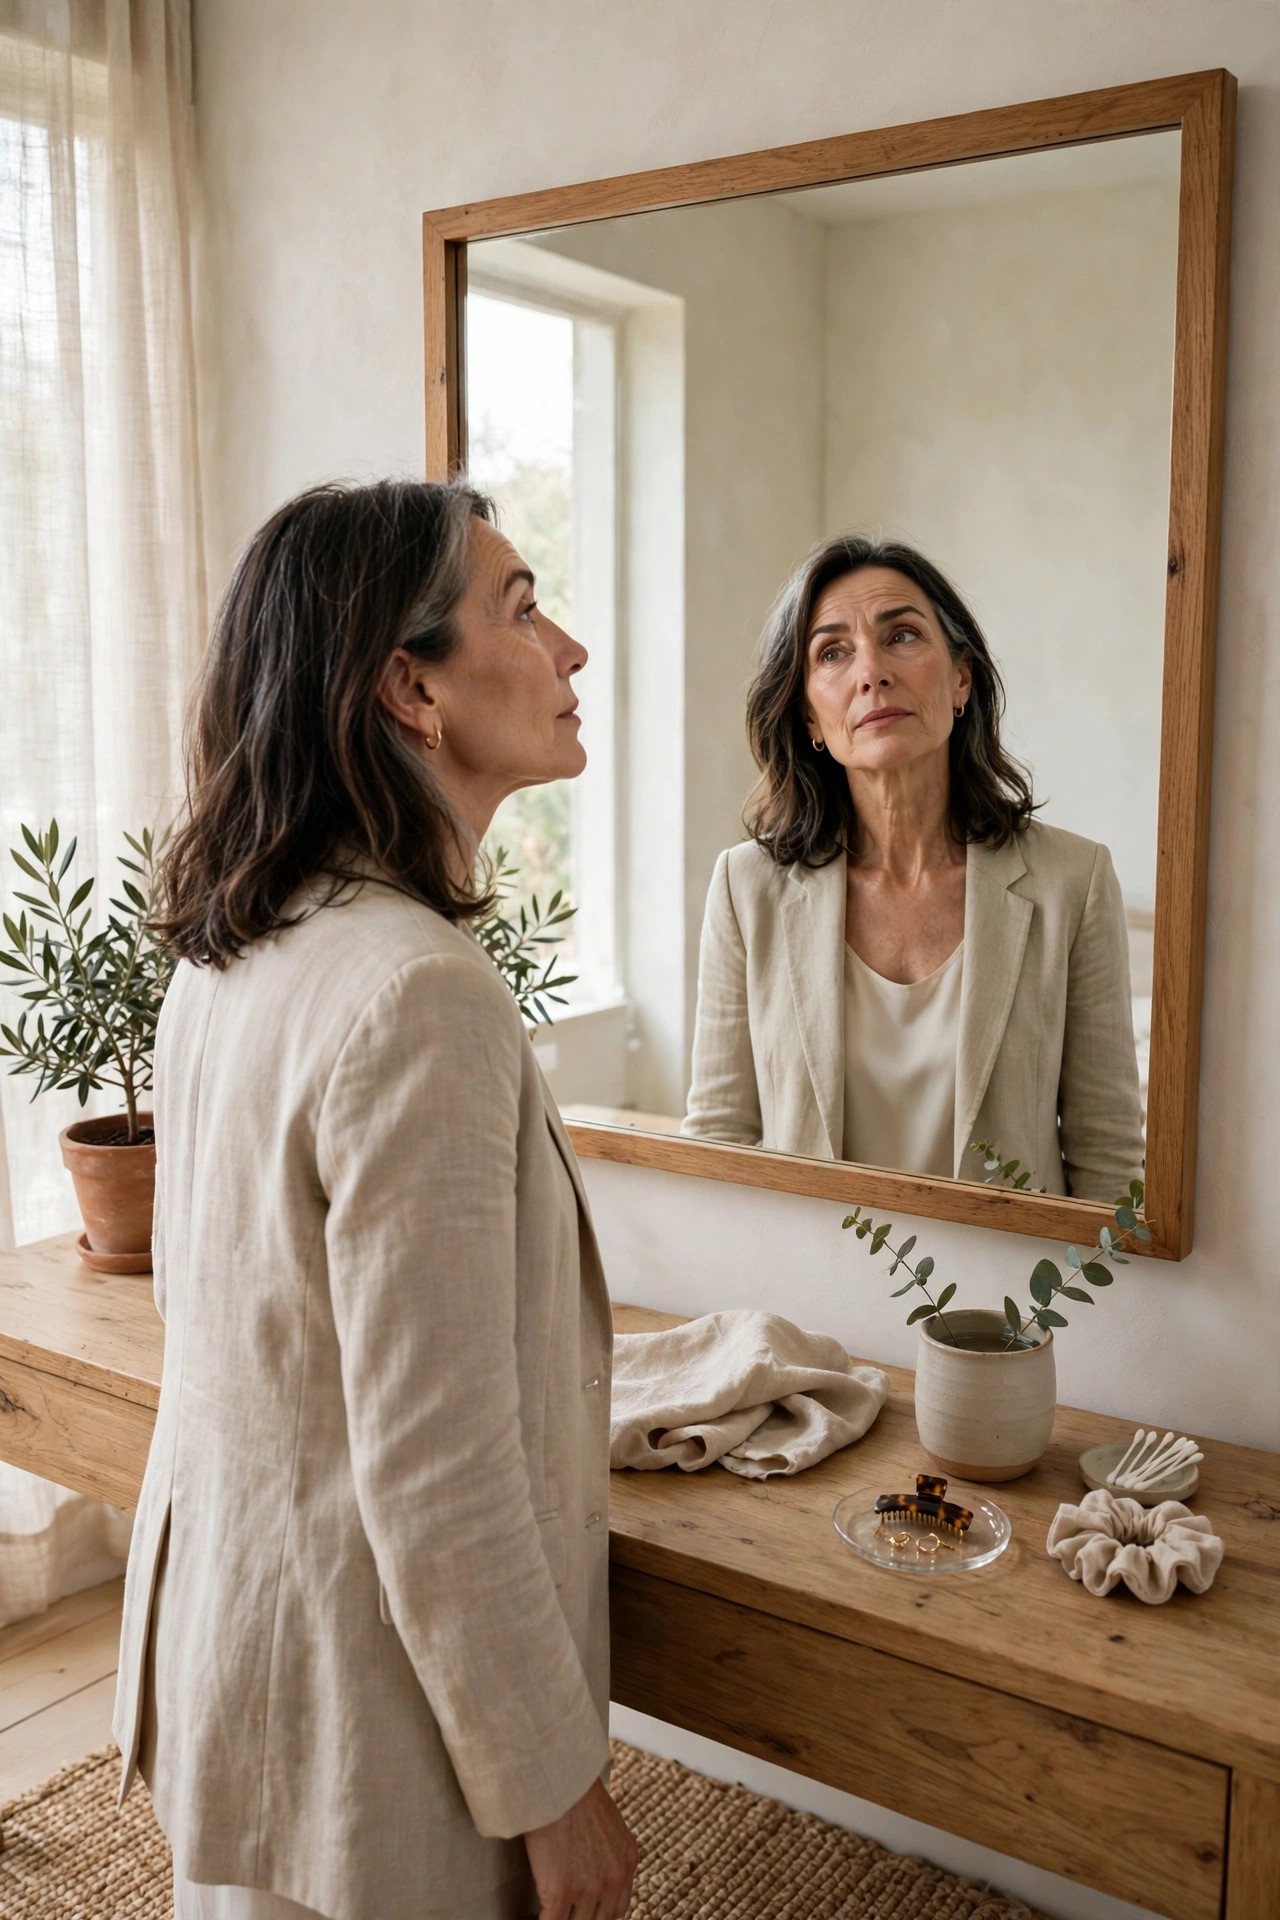
Step back three feet from the mirror — that’s the distance the world sees your brows from. Up close, every brow looks imperfect; from three feet, you see the truth: shape, symmetry, and whether they frame your face or shout at it. Adjust only what bothers you from back here.
Try this: three-foot check after every brow session; fix only what reads wrong at distance.
Pro note: Slight asymmetry is normal and natural — chasing perfect symmetry is how brows get overdone.
20. 🧼 Erase Mistakes With a Cotton Swab
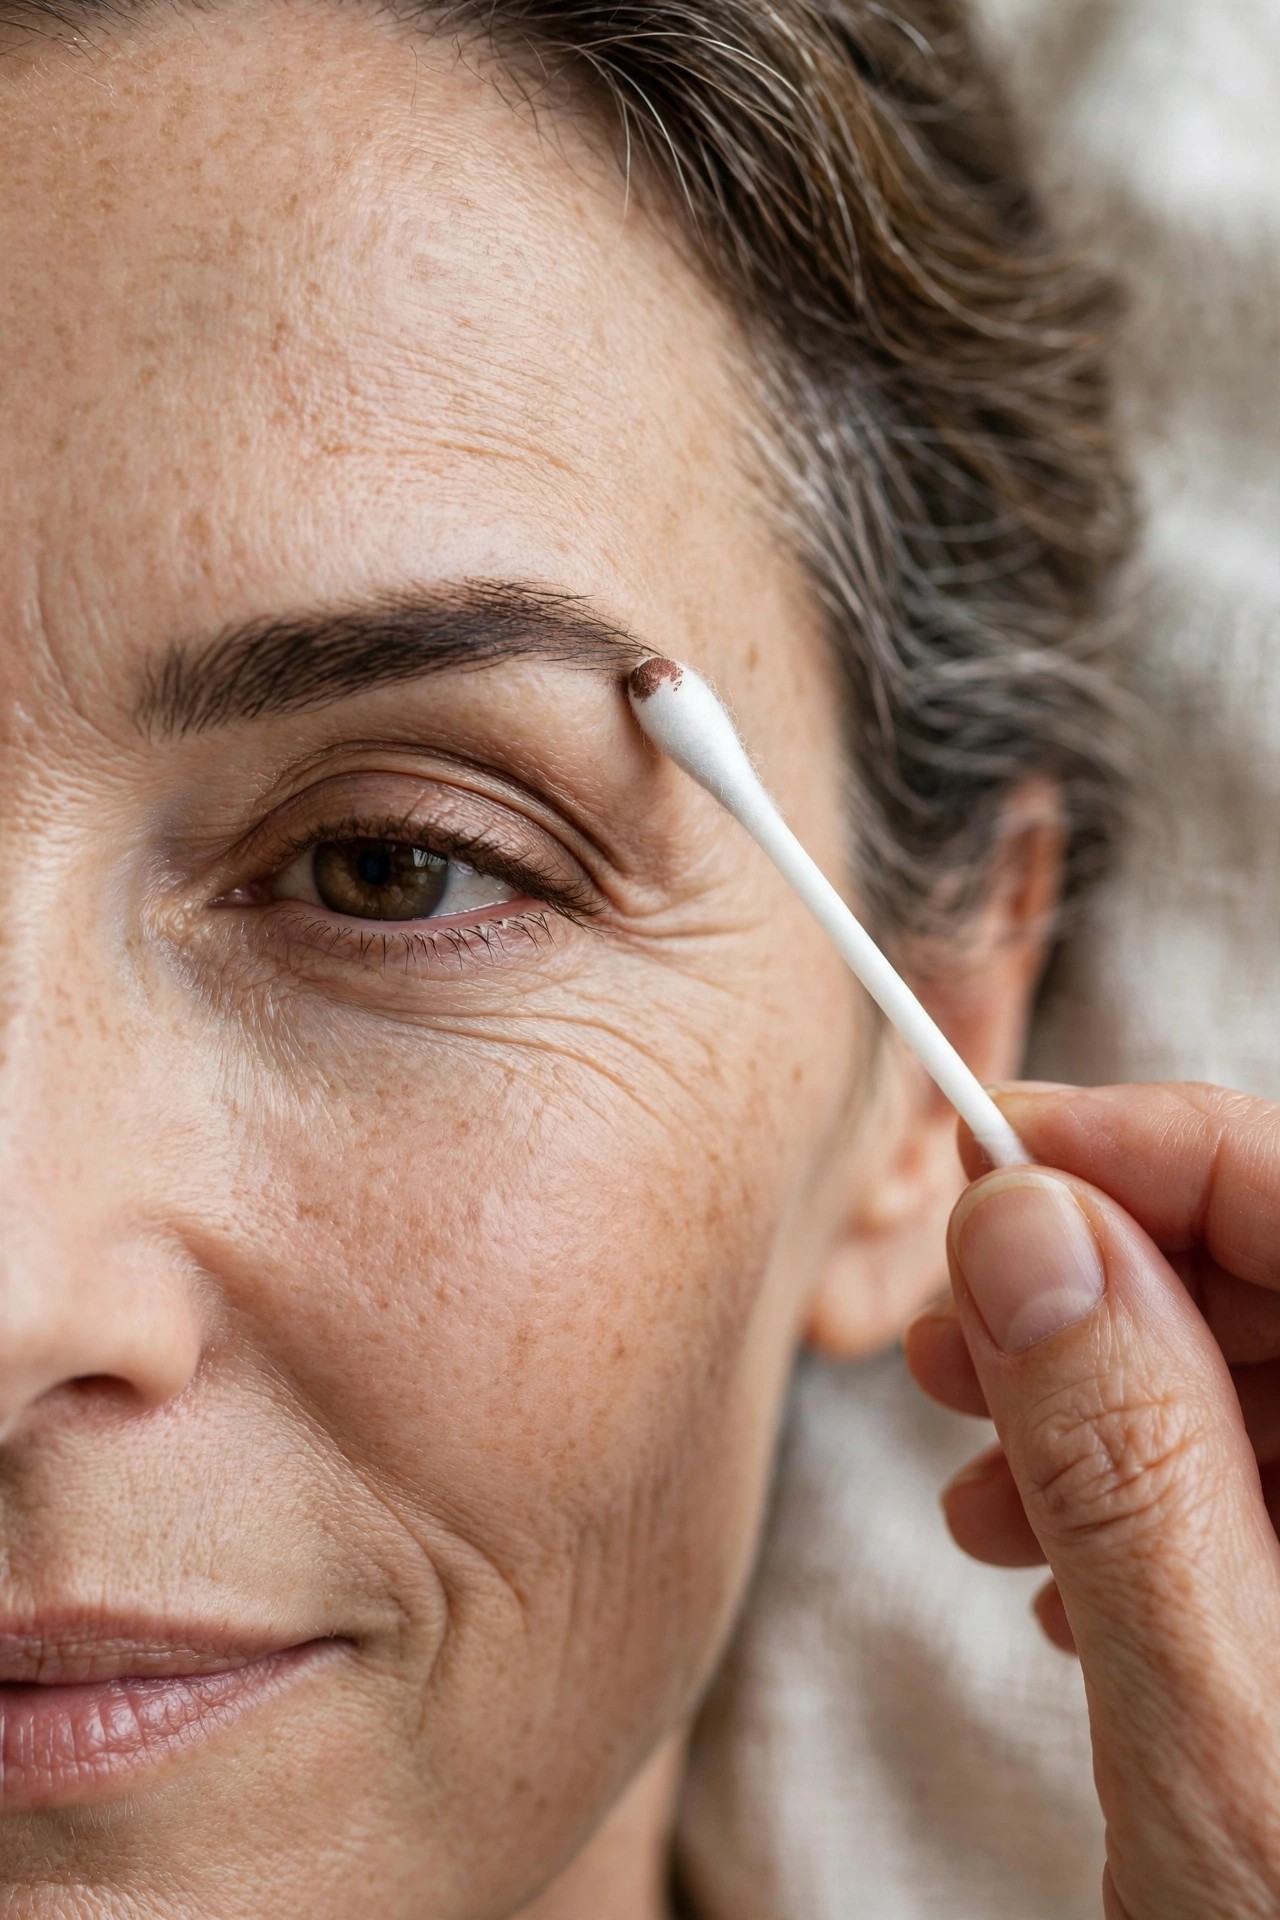
Went too heavy on one spot? Don’t start over — wrap a cotton swab around the area and roll it gently over the excess. The swab lifts product precisely without disturbing the good work around it. For sharper cleanup, dampen the swab with a touch of micellar water first.
Try this: dry swab for softening, barely-damp swab for precise erasing.
Avoid: rubbing with a tissue — it smears product across the whole brow instead of lifting it.
21. 📸 The Photo Test

Your final judge: a daylight selfie. Cameras flatten and reveal — brows that looked fine in the mirror can photograph too dark, too light, or uneven. One photo tells you more than ten minutes of mirror study, and you can adjust in seconds while the products are still workable.
Try this: one front-facing daylight photo after every new technique; adjust once, then stop.
Pro note: Save your best brow photo — it’s your reference for every future brow day.
❓ Eyebrow FAQs for Women Over 50
What is the best brow product for thinning brows over 50?
A fine-tip pencil for drawing hair-like strokes in sparse areas, plus a tinted gel to coat existing hairs and set everything. For larger sparse zones, add a matte brow powder. The pencil-plus-gel combination covers nearly every brow situation after 50.
How do I deal with gray or white eyebrow hairs?
Coat them with a tinted gel in soft taupe or light brown — it revives their color and presence without harshness. Match the gel to your hair color for harmony. For longer-lasting results, a professional brow tint every few weeks handles grays at the root.
Should I still pluck my eyebrows after 50?
Barely. Remove only obvious strays well below the brow line, and never shape the top edge. After 50, every hair contributes fullness you can’t afford to lose — when in doubt, leave it. Less maintenance is one of the genuine perks of mature brows.
Can I get microblading after 50?
Yes, if your skin is healthy and not overly thin or sensitive — but choose a licensed technician experienced specifically with mature skin, and ask to see healed (not fresh) photos of their work on clients over 50. Start conservative; pigment can always be added, never easily removed.
Why do my brows look different from each other?
Because they are — natural asymmetry is the rule, not the exception, and it becomes more noticeable as density thins. Aim for harmony, not identical twins: map both, fill to match the fuller one lightly, and check from three feet away where small differences disappear.
Your brows don’t need to be perfect — they need to look like yours: soft, defined, and intentional. The nineties took the hair; these 21 steps give you back the shape. That’s not chasing youth. That’s just good framing.
📖 Keep Reading
- 👀 Eye Makeup for Hooded Eyes Over 50: 12 Lift & Open Techniques — pair your new brows with lifted, open eyes.
- ⏰ Everyday Makeup Routine Over 50: 12 Steps to a Fresh 5-Minute Face — the 30-second brow step inside a complete 5-minute routine.
- 🚫 20 Makeup Mistakes to Avoid Over 50 (and the Easy Fixes) — including the brow mistakes that age you most.
Discover more from Fashinate Style
Subscribe to get the latest posts sent to your email.