
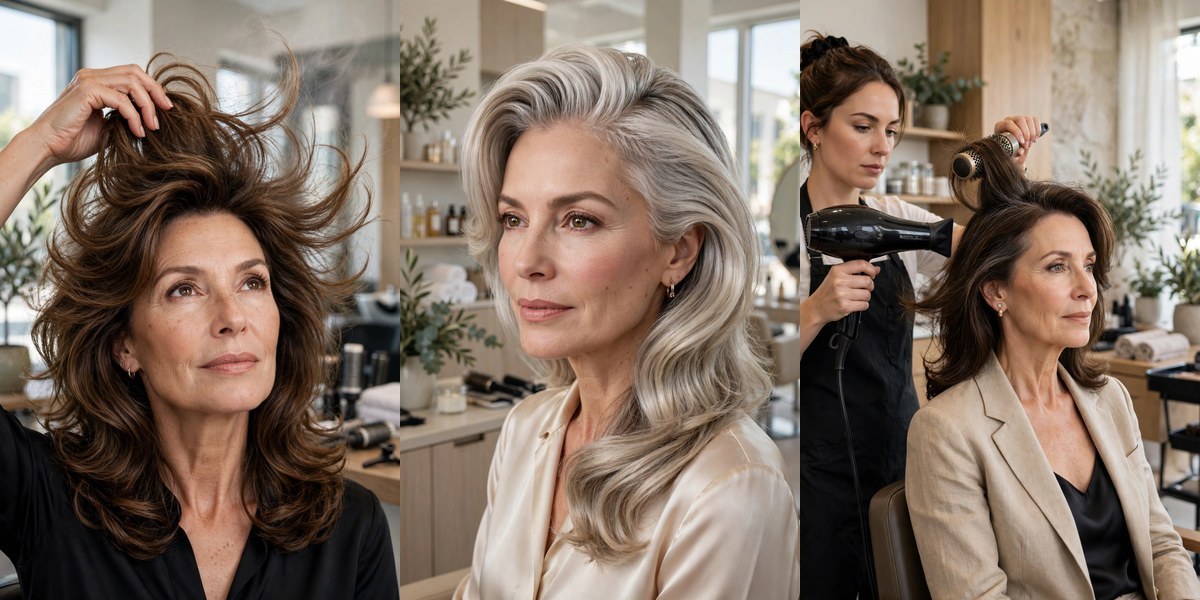
My hairdresser watched me wrestle with my flat crown for a full minute before she gently took the brush out of my hand. “You’re styling the ends,” she said. “Volume lives at the roots — everything you’re doing is happening two inches too low.” That one sentence changed my hair more than any haircut ever had.
If your hair has thinned after 50, you know the frustration: it looks decent leaving the bathroom mirror and completely defeated by lunch. Gravity, finer strands, and less natural body at the root conspire to pull everything downward. A new cut helps, but here’s what most articles won’t tell you — technique matters more than the cut. The same haircut can look twice as full depending on how you dry, part, and set it.
Below are 18 volume-boosting techniques that work on the hair you already have. No salon appointment required, no complicated routine — most take five minutes or less, and several work overnight while you sleep.
🌬️ The Volume Basics
- Volume starts at the root, never at the ends. Lift the base and the rest follows; fiddling with the tips does almost nothing.
- Wet hair is your window. About 80% of your volume is decided before your hair is fully dry — that’s when roots are moldable.
- Light products, strategic placement. Mousse and root powder belong at the crown only, never pulled through the ends where they weigh hair down.
- Heat creates the shape, cool air keeps it. Always finish with a cool blast so the lift you built actually stays.
1. 💨 The Flip-and-Dry Root Lift
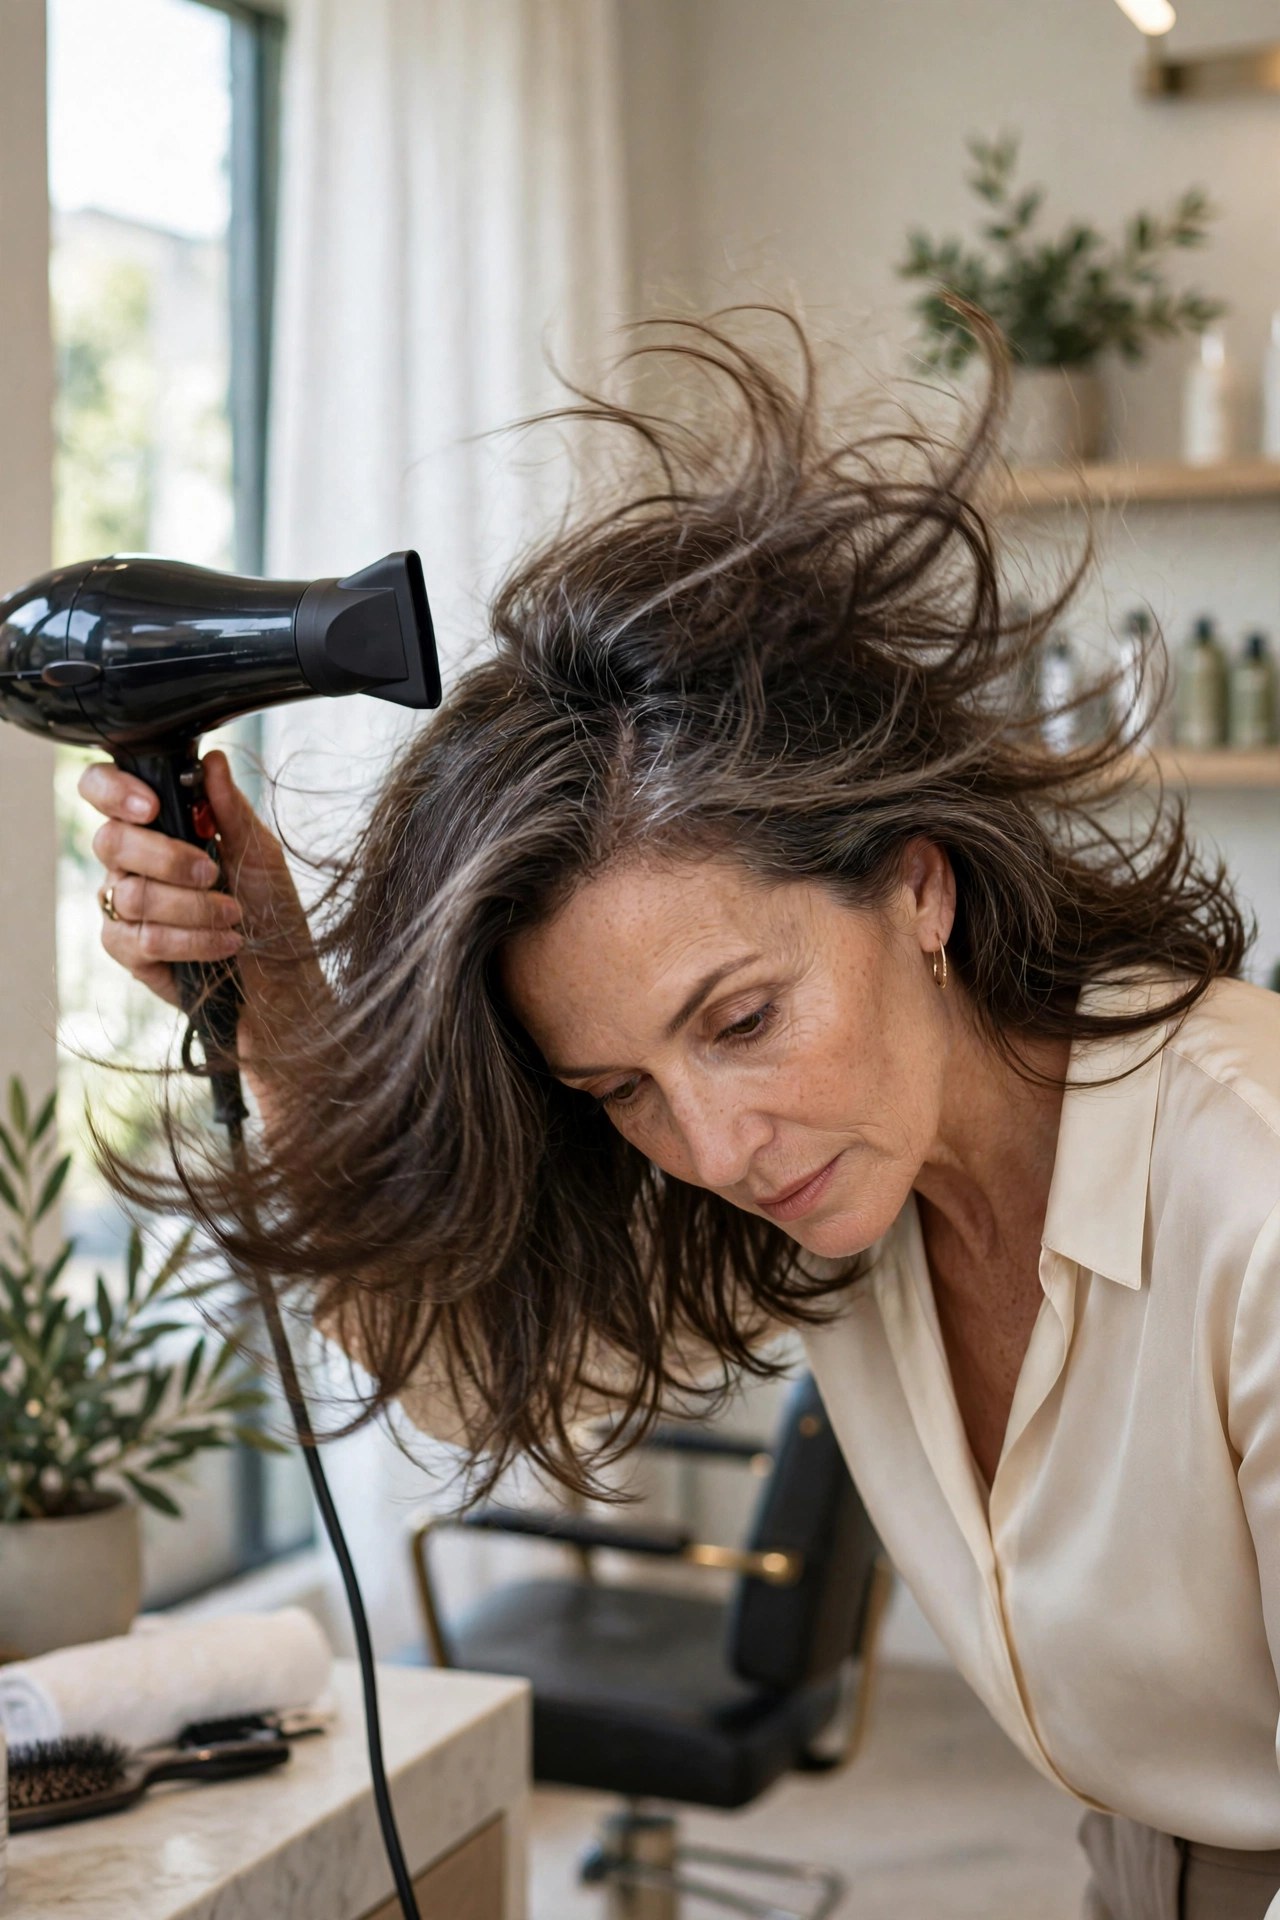
Flip your head upside down and dry your hair with the airflow aimed at the roots, not the lengths. Drying against gravity trains the roots to stand up instead of lying flat, and it takes the same amount of time as drying upright.
Try this: towel-dry until damp, flip forward, rough-dry roots on medium heat with your fingers, then flip back and smooth only the ends.
Best for: mornings when your hair is freshly washed and completely flat.
Pro note: Don’t blast the ends while upside down — they dry last and frizz first. Keep the dryer’s focus on the first two inches.
2. 🌀 The Velcro Roller Crown Set
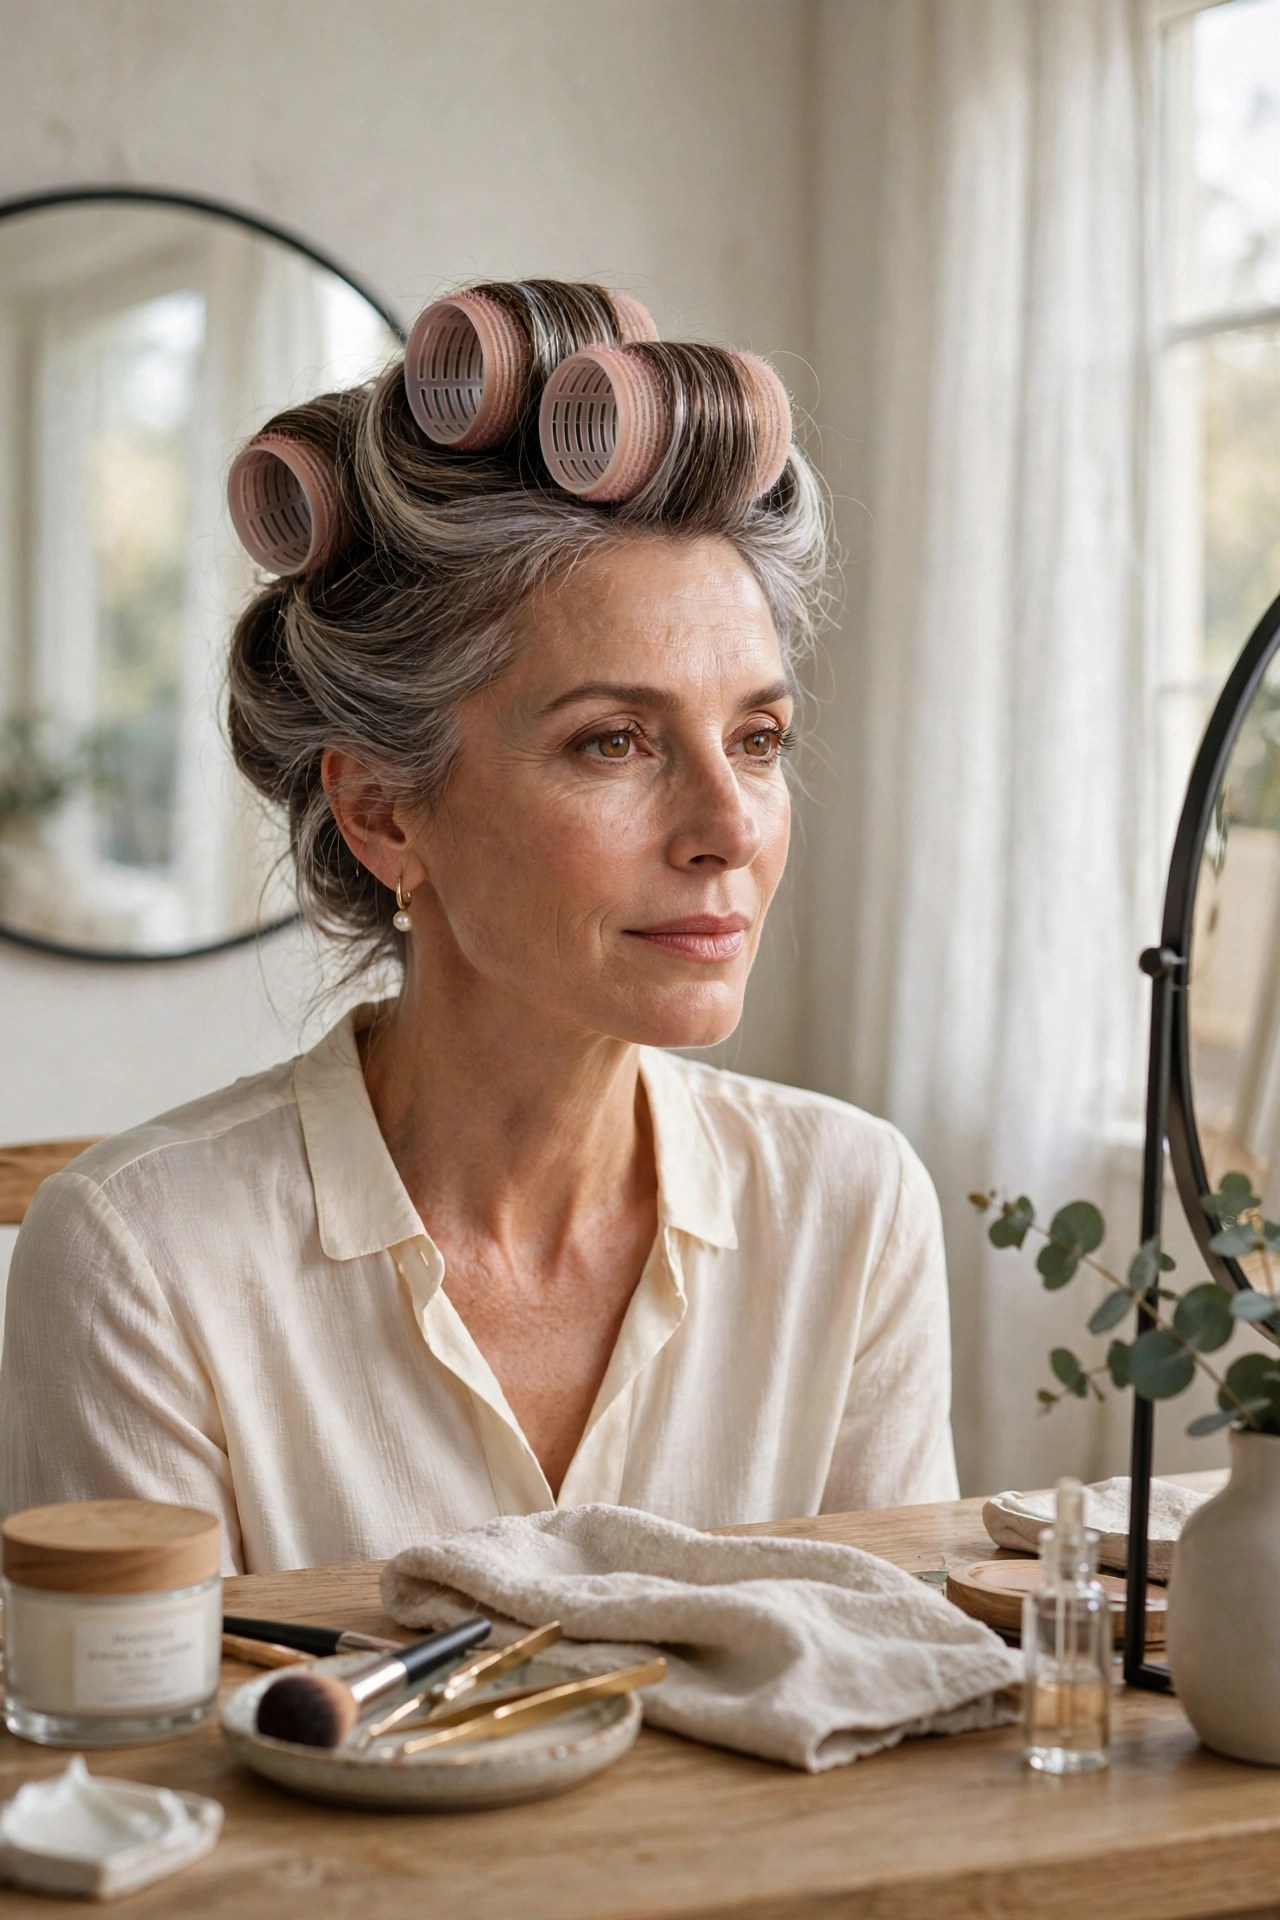
Three jumbo velcro rollers across the crown give you salon-level lift with zero skill. The rollers hold the roots upright while they cool, and cooling is what locks the shape in — skip it and the lift collapses within the hour.
Try this: on warm, nearly-dry hair, roll three large sections straight up off the crown, leave for 10 minutes (do your makeup meanwhile), remove and finger-comb.
Best for: days when you want volume that survives past noon.
Pro note: Use the largest rollers you can find — small ones create curl, jumbo ones create lift, and lift is the goal here.
3. ❄️ The Cool-Air Lock-In Blast
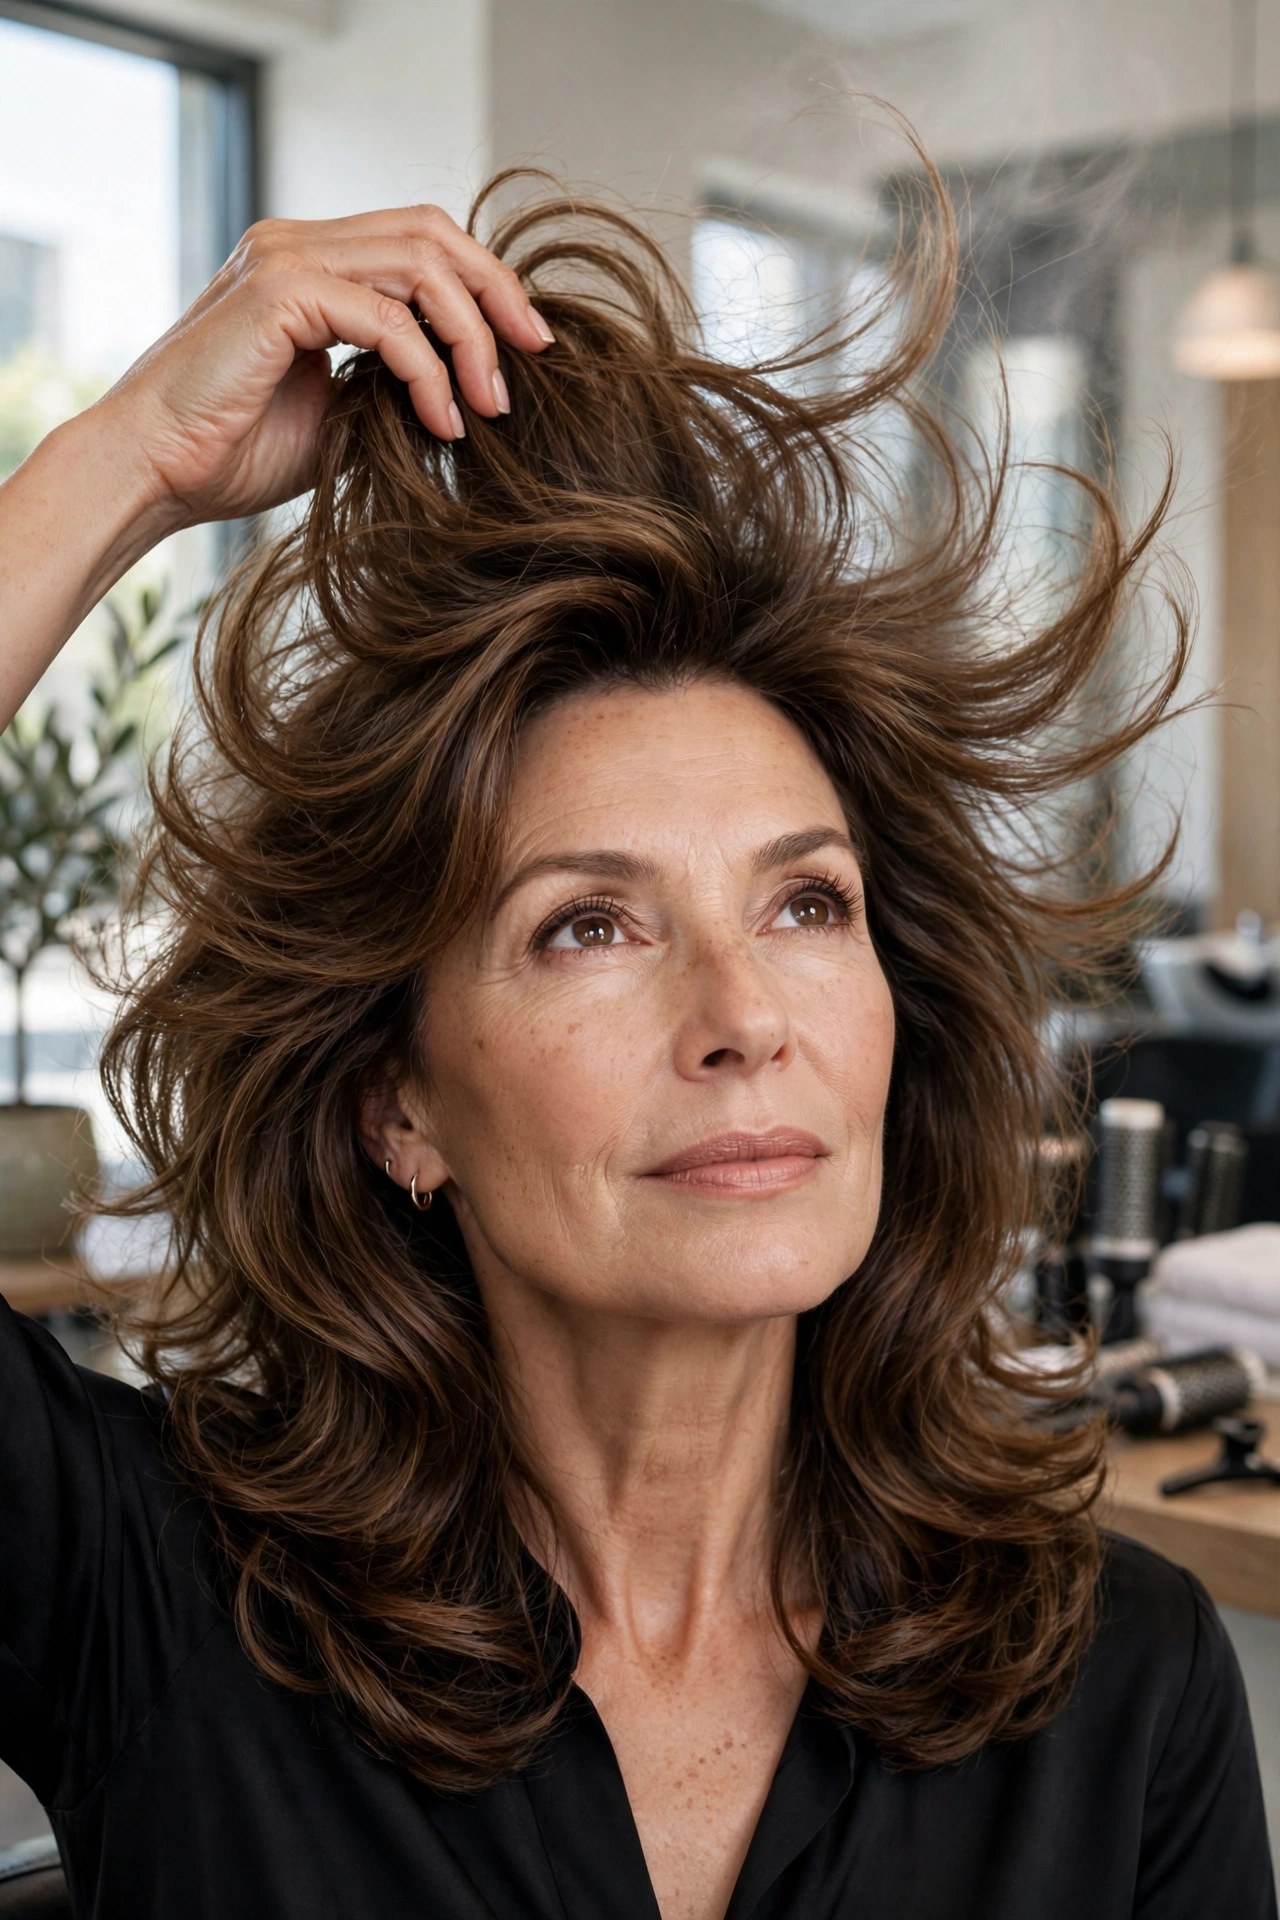
Every blowout should end with 30 seconds of cool air aimed at the roots. Heat softens the hair’s bonds so you can shape them; cold air sets that shape in place. Skipping the cool shot is the number-one reason morning volume disappears by 10 a.m.
Try this: finish every drying session by switching to cool, lifting sections at the crown, and blasting each for 5 seconds.
Best for: every single blow-dry, no exceptions.
Pro note: Lift the hair UP with your fingers while the cool air hits — you’re freezing the root in its lifted position.
4. ↔️ The Deep Side-Part Switch
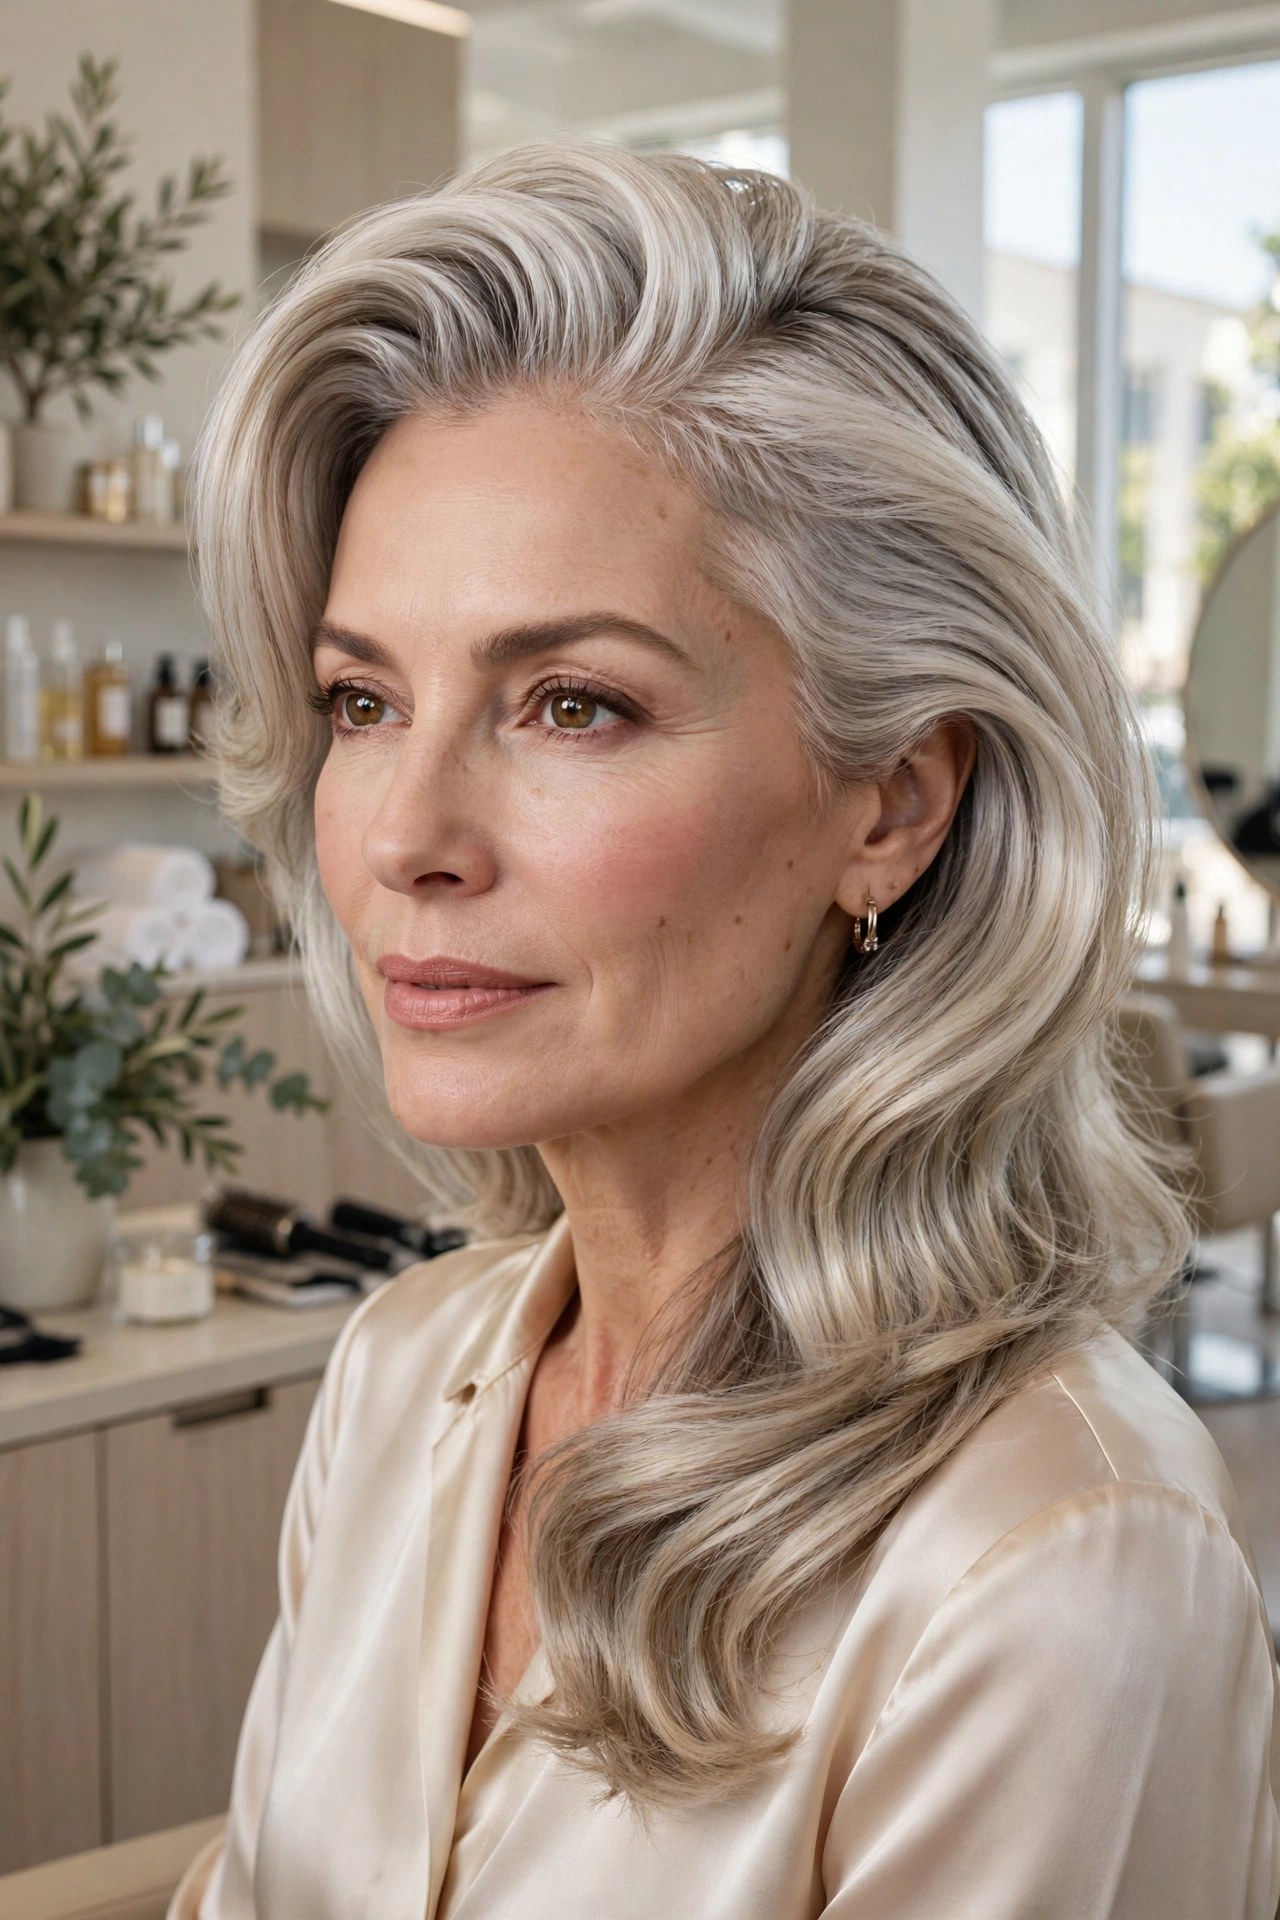
Moving your part two inches to the side instantly doubles the hair covering your crown. A deep side part piles more hair over the thinning zone and creates natural lift where the hair changes direction — it’s the fastest volume trick in existence.
Try this: on damp hair, create a deep part above the arch of one eyebrow, sweep everything across, and dry the front section away from the part.
Best for: disguising a sparse crown or widening part line in under a minute.
Pro note: Switch sides every few months so your hair doesn’t get trained flat in one direction.
5. 〰️ The Zigzag Part Camouflage
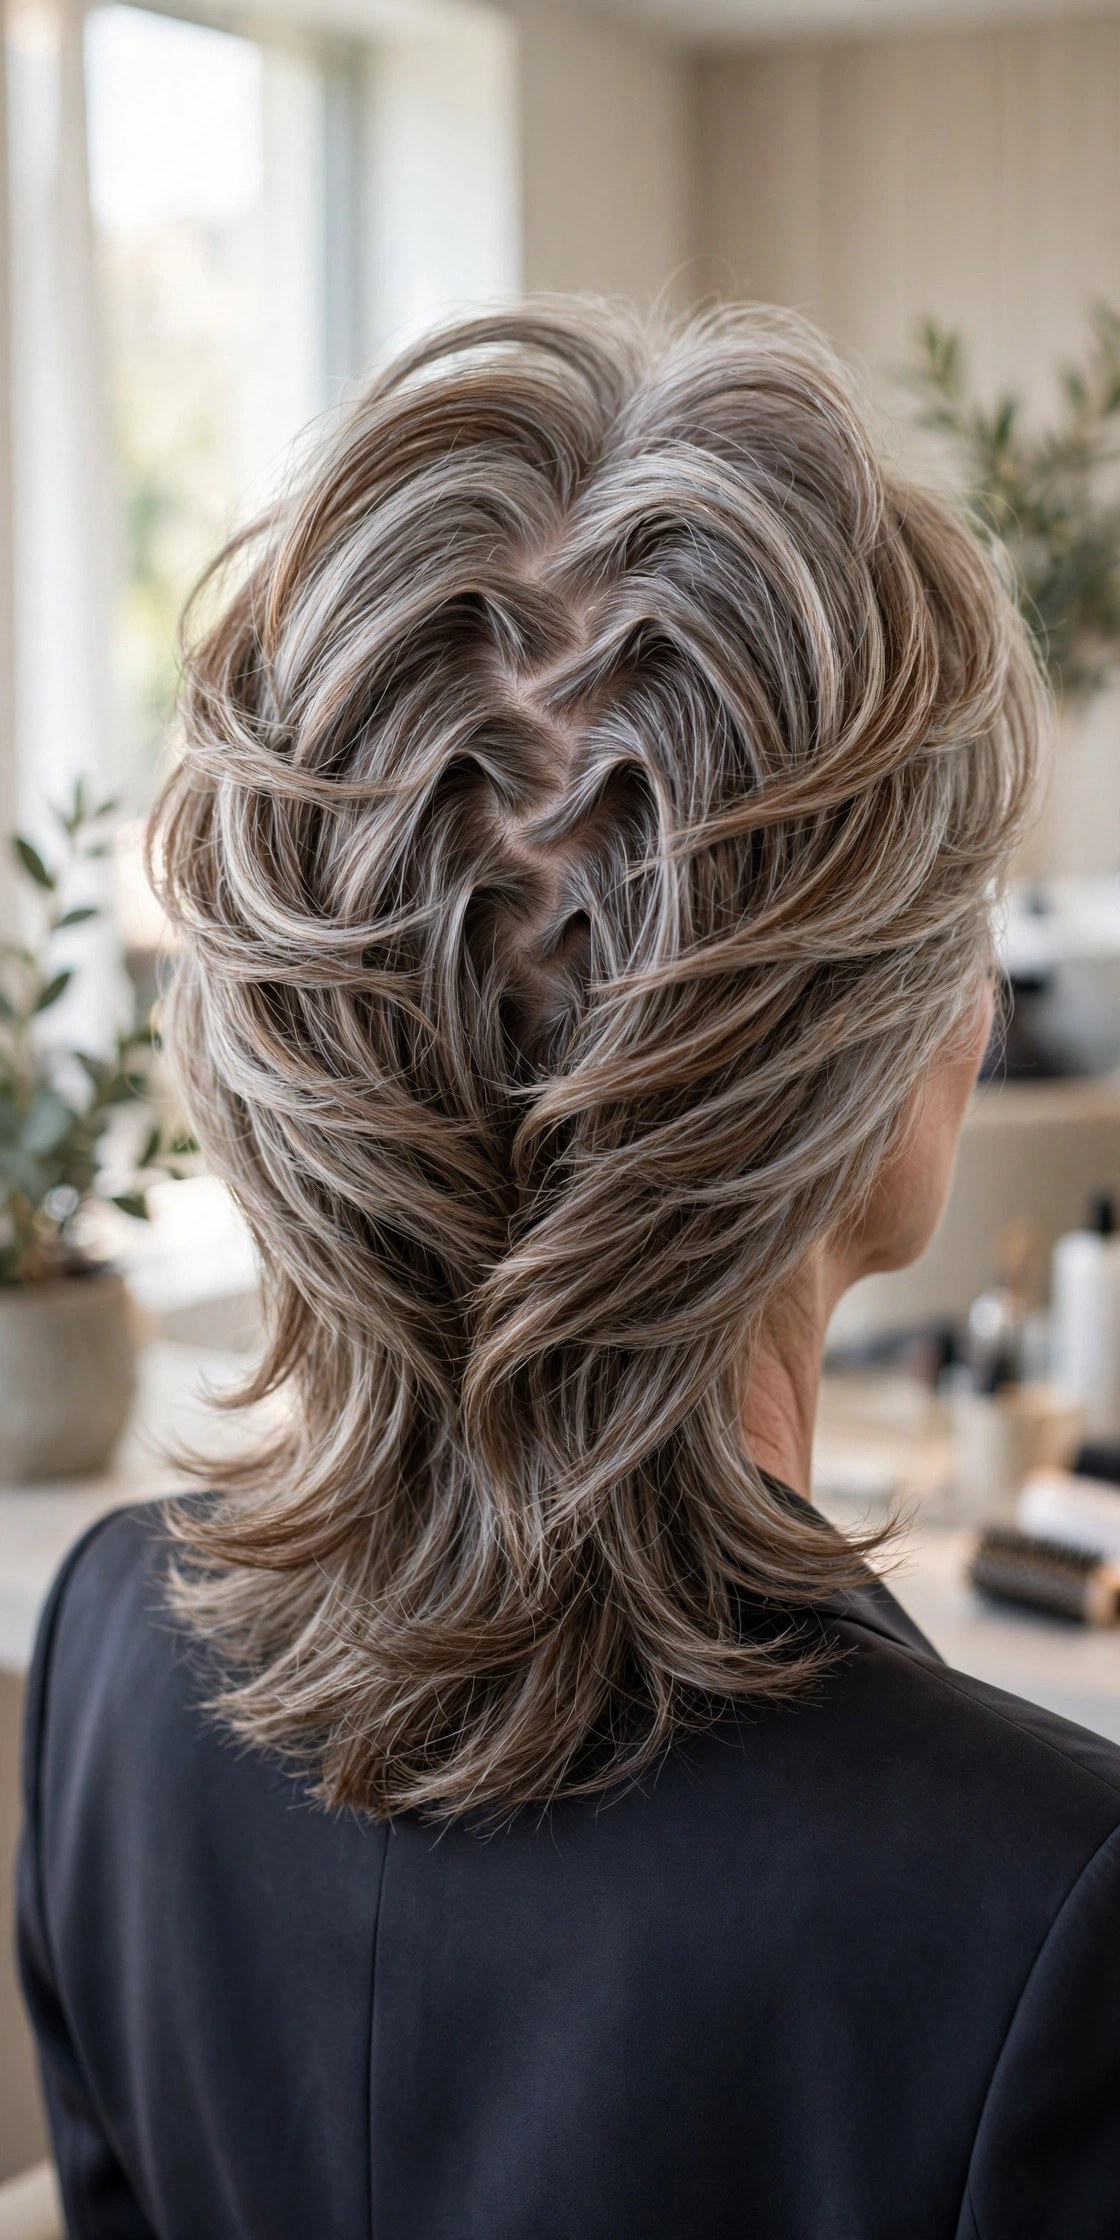
A zigzag part breaks up the straight line of scalp that makes thinning obvious. Where a center part shows a clean strip of skin, a zigzag scatters the eye across overlapping strands — the same hair, dramatically fuller-looking.
Try this: use the tail of a comb to draw a loose zigzag from forehead to crown, then gently loosen with fingertips so it looks natural.
Best for: updos, ponytails, and days when your part looks wider than usual.
Pro note: Keep the zigzag soft and irregular — a perfect zigzag looks intentional in the wrong way.
6. 🪮 The Round-Brush Bounce Blowout
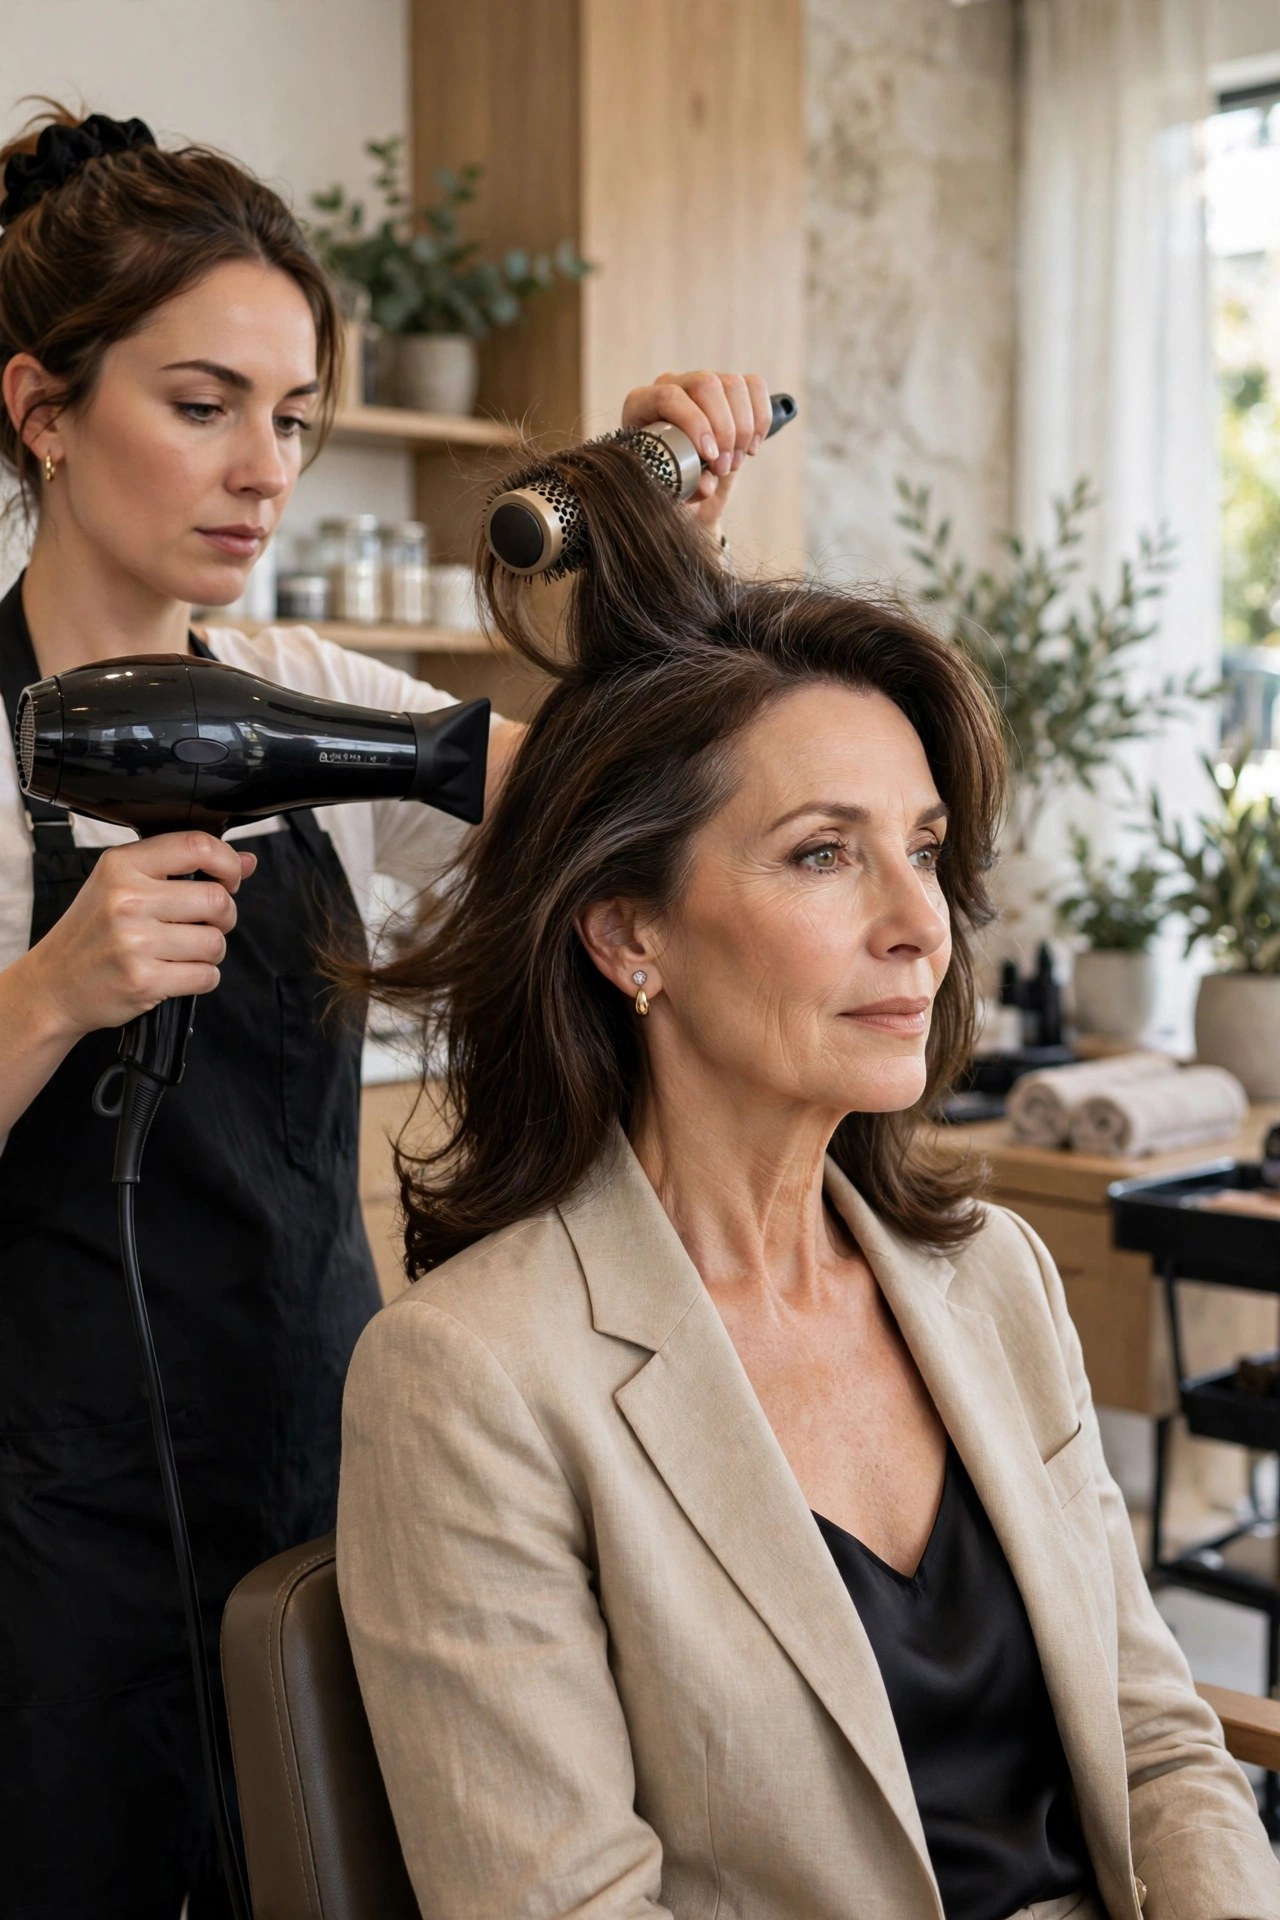
A medium round brush is a volume machine: it lifts each section at the root while smoothing the lengths, giving you bounce and fullness in one motion. The key is rolling the brush UP and away at the crown rather than pulling hair flat against your head.
Try this: work in 2-inch sections, place the brush at the root, roll upward while following with the dryer, and hold each section up for 3 seconds to cool.
Best for: bob and lob lengths where you want that bouncy, just-left-the-salon curve.
Pro note: A ceramic or thermal round brush holds heat and sets the bend faster — worth the small upgrade.
7. 🫧 The Mousse-Only-at-the-Roots Method

Mousse gets a bad reputation from the crunchy 80s, but a golf-ball of modern lightweight mousse applied ONLY to damp roots is pure lift. The mistake is raking it through the lengths, where it coats fine strands and drags them down.
Try this: flip damp hair forward, smooth mousse through the roots and crown with your palms, then style as usual — nothing on the ends.
Best for: fine hair that goes limp within hours of washing.
Pro note: Less is more. Start with half of what you think you need; you can always add, but over-applied mousse goes sticky fast.
8. 🪞 The Gentle Back-Comb Revival
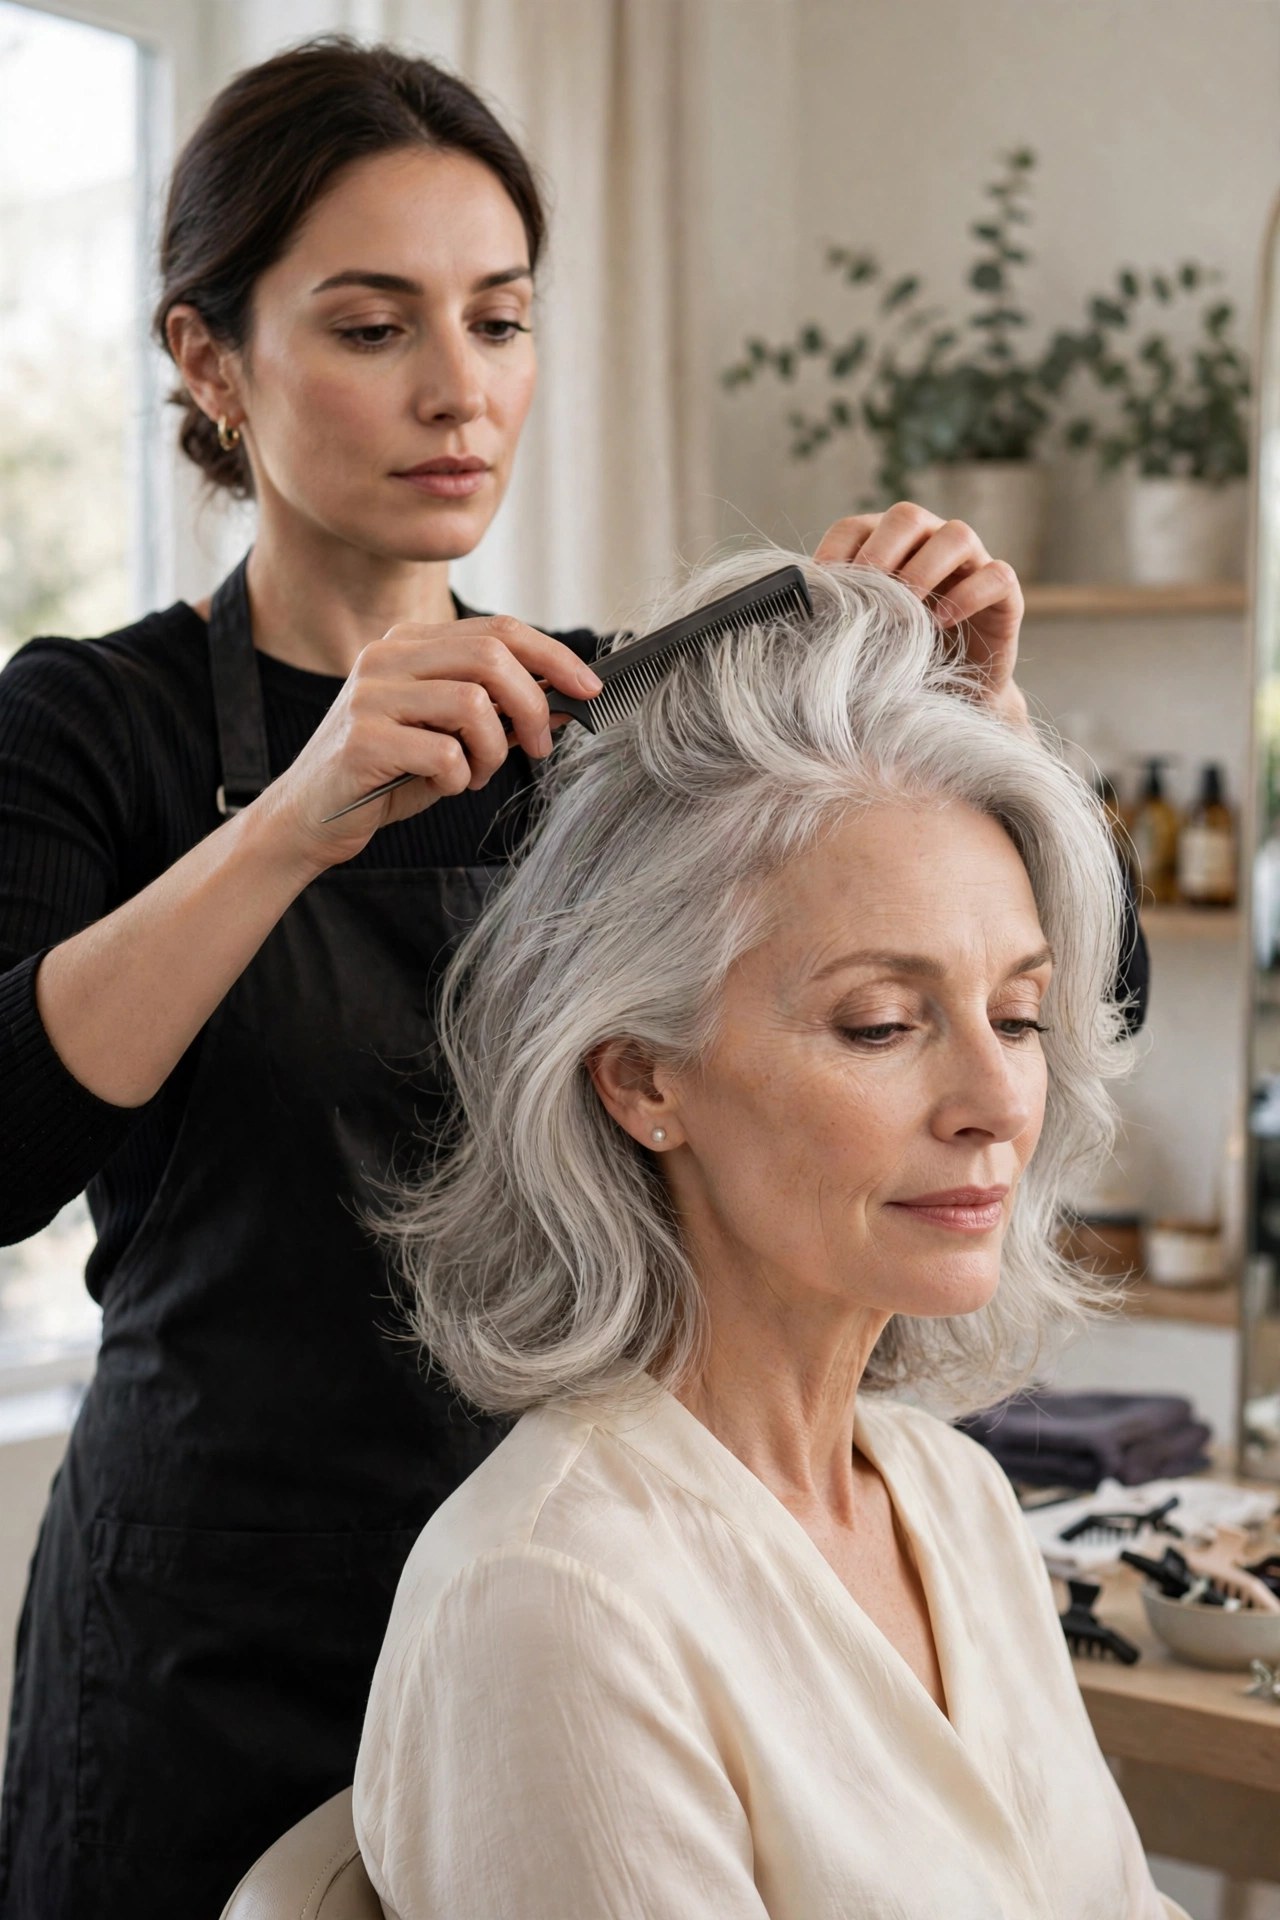
Backcombing done wrong breaks fragile hair; done gently, it’s still the quickest way to build a cushion of volume at the crown. The secret is three light strokes per section with a fine-tooth comb, then smoothing only the top layer over it.
Try this: take a 2-inch section at the crown, hold it straight up, push the comb down toward the scalp 3 times, then lay the next section smoothly over it to hide the work.
Best for: special occasions and photos when you need maximum lift in two minutes.
Pro note: Never backcomb dry, product-free hair — a whisper of light hairspray first gives the comb something to grip without tearing.
9. 🌙 The Second-Day Root Revival
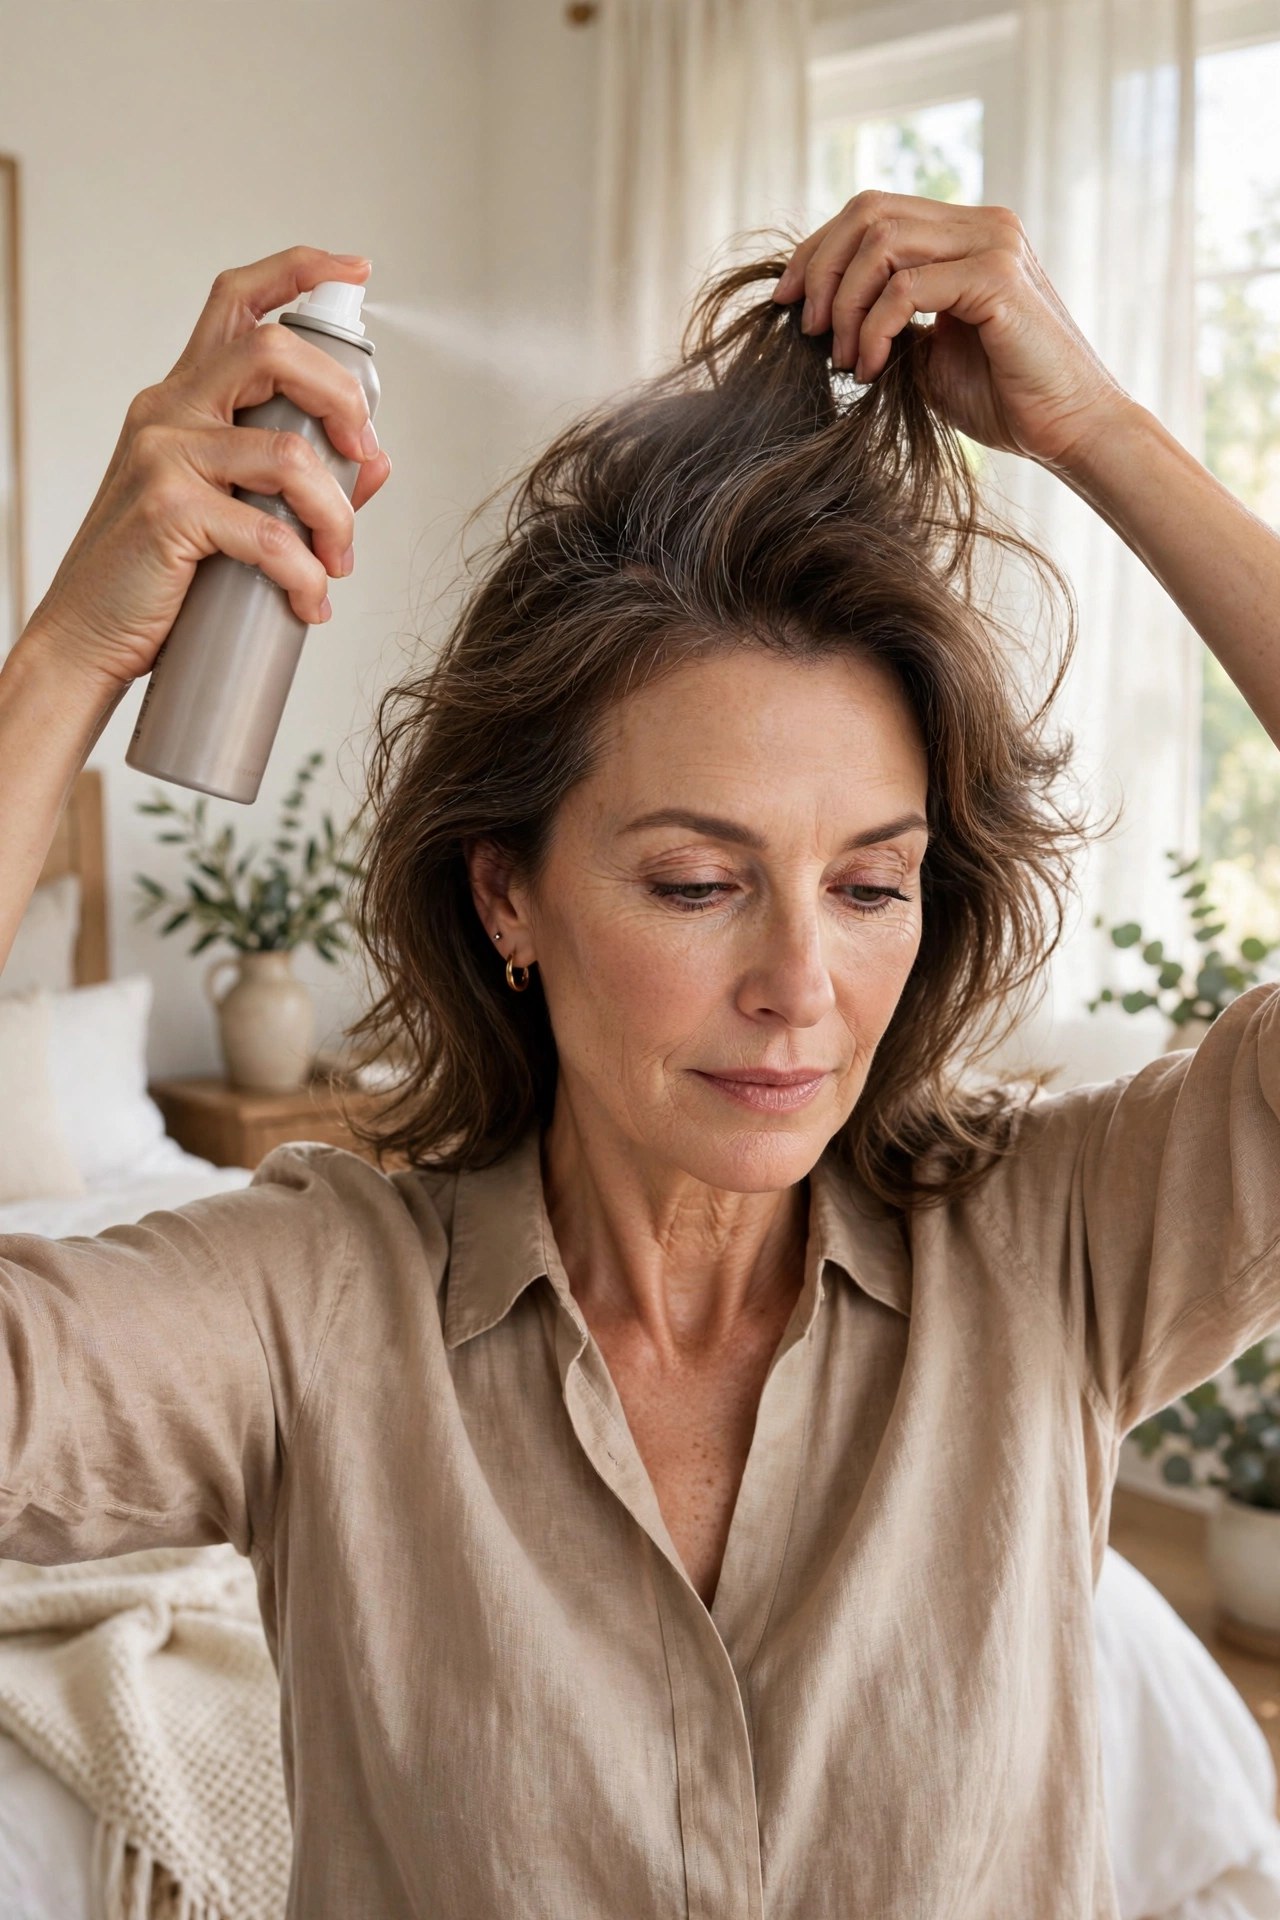
Day-two hair is actually easier to volumize than freshly washed hair — it has more grip and texture. A sprinkle of dry shampoo at the roots absorbs oil and adds friction, which is exactly what fine, slippery strands need to stand up.
Try this: lift sections at the crown, mist dry shampoo 6 inches from the scalp, wait 60 seconds, then massage in with fingertips and flip.
Best for: stretching your style to day two or three without washing.
Pro note: Apply it the night BEFORE for best results — it absorbs oil while you sleep and you wake up with grip already built in.
10. 📌 The Pin-Curl Overnight Set
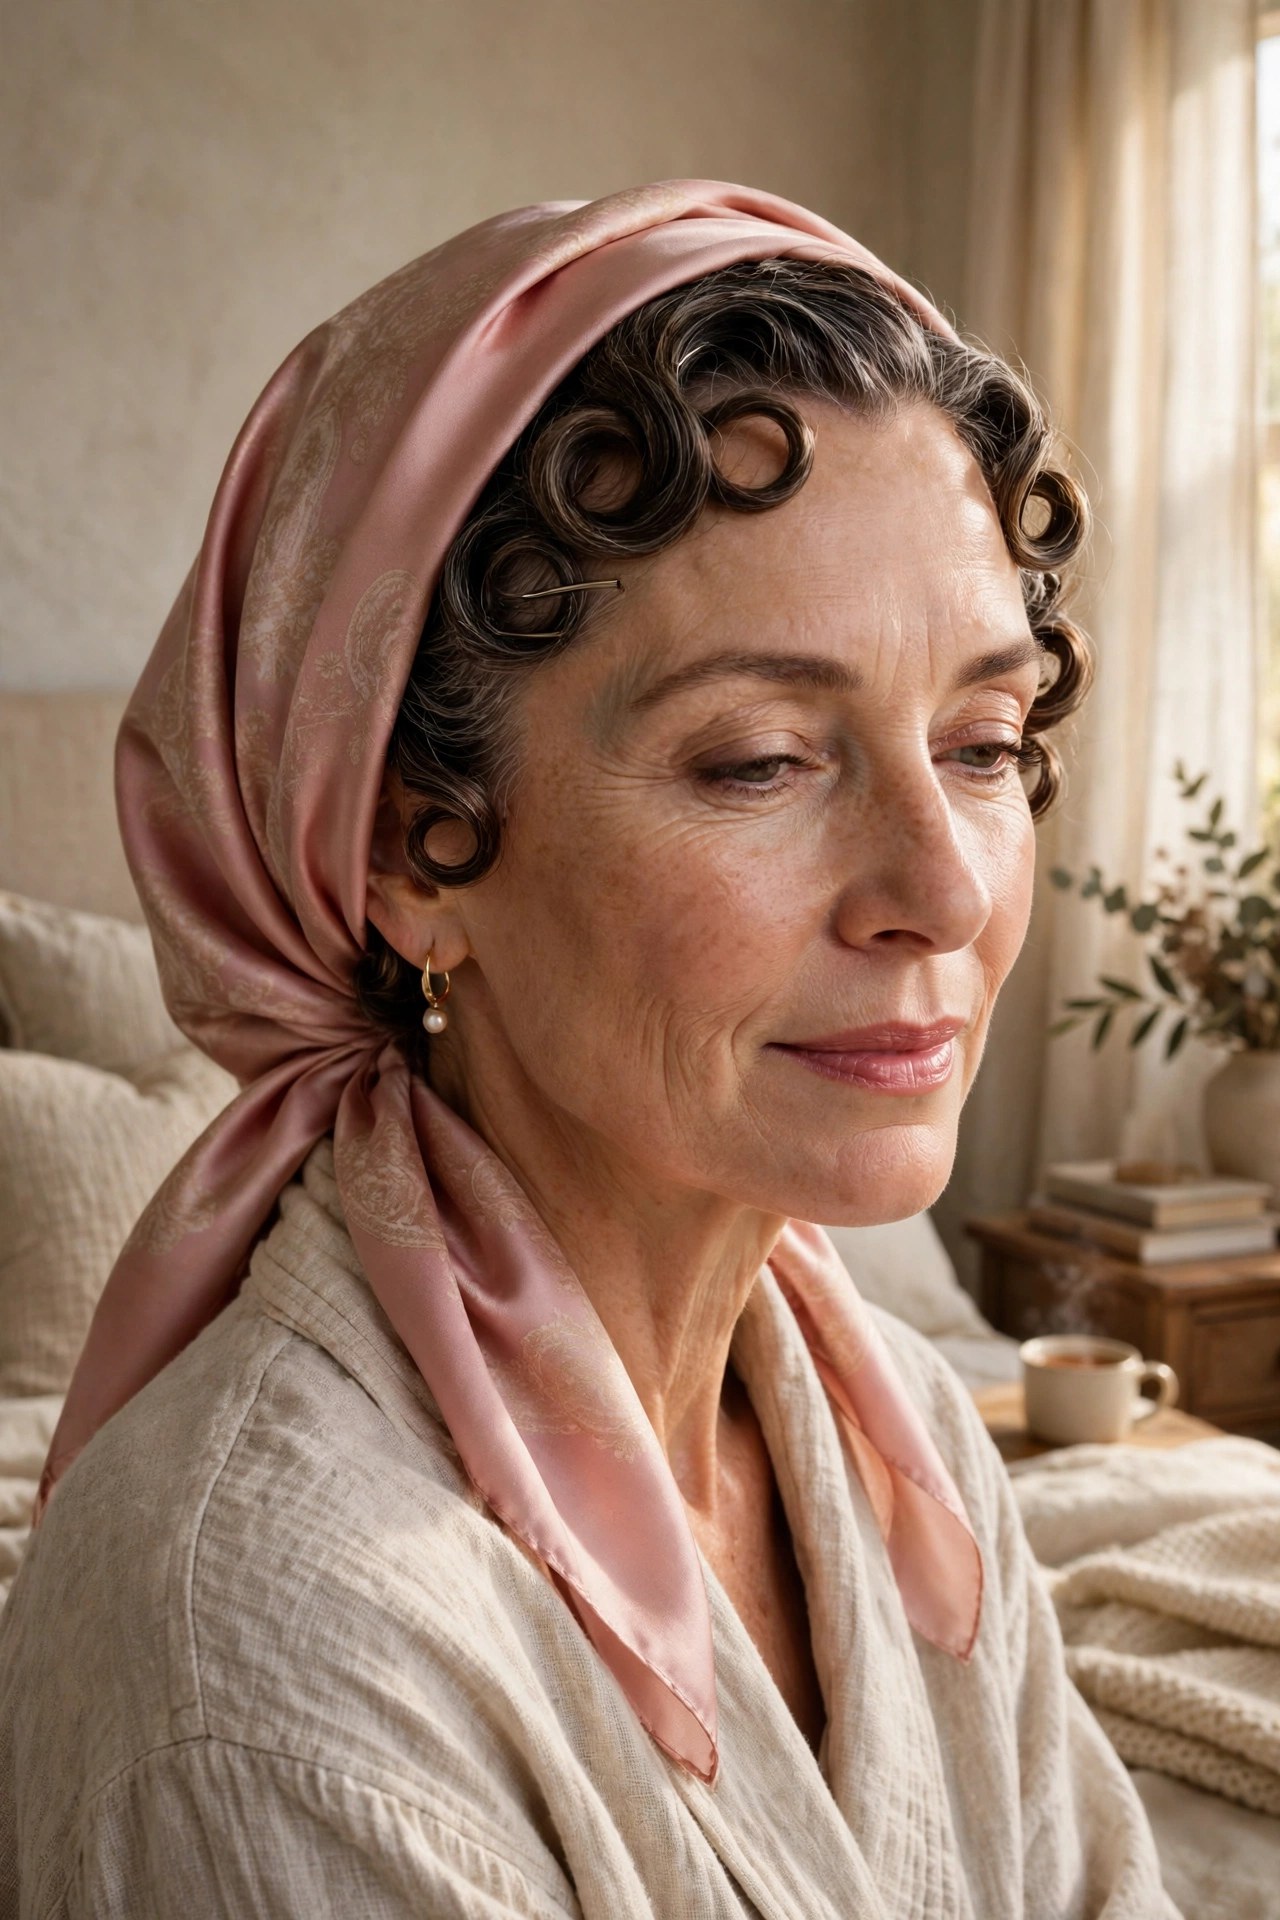
Pin curls sound old-fashioned until you wake up with a head of soft, full waves and zero morning effort. Wrapping damp or mousse-touched sections into flat pin curls before bed sets natural-looking body that no morning styling can quite replicate.
Try this: on slightly damp hair, twist 6-8 sections into flat curls against the scalp, pin, cover with a silk scarf, and release in the morning.
Best for: women who’d rather do the work at night and sleep through the styling.
Pro note: Keep the curls FLAT to the head (not standing up) — they’re setting volume at the root, not making ringlets.
11. ✨ The Root-Powder Dusting Trick
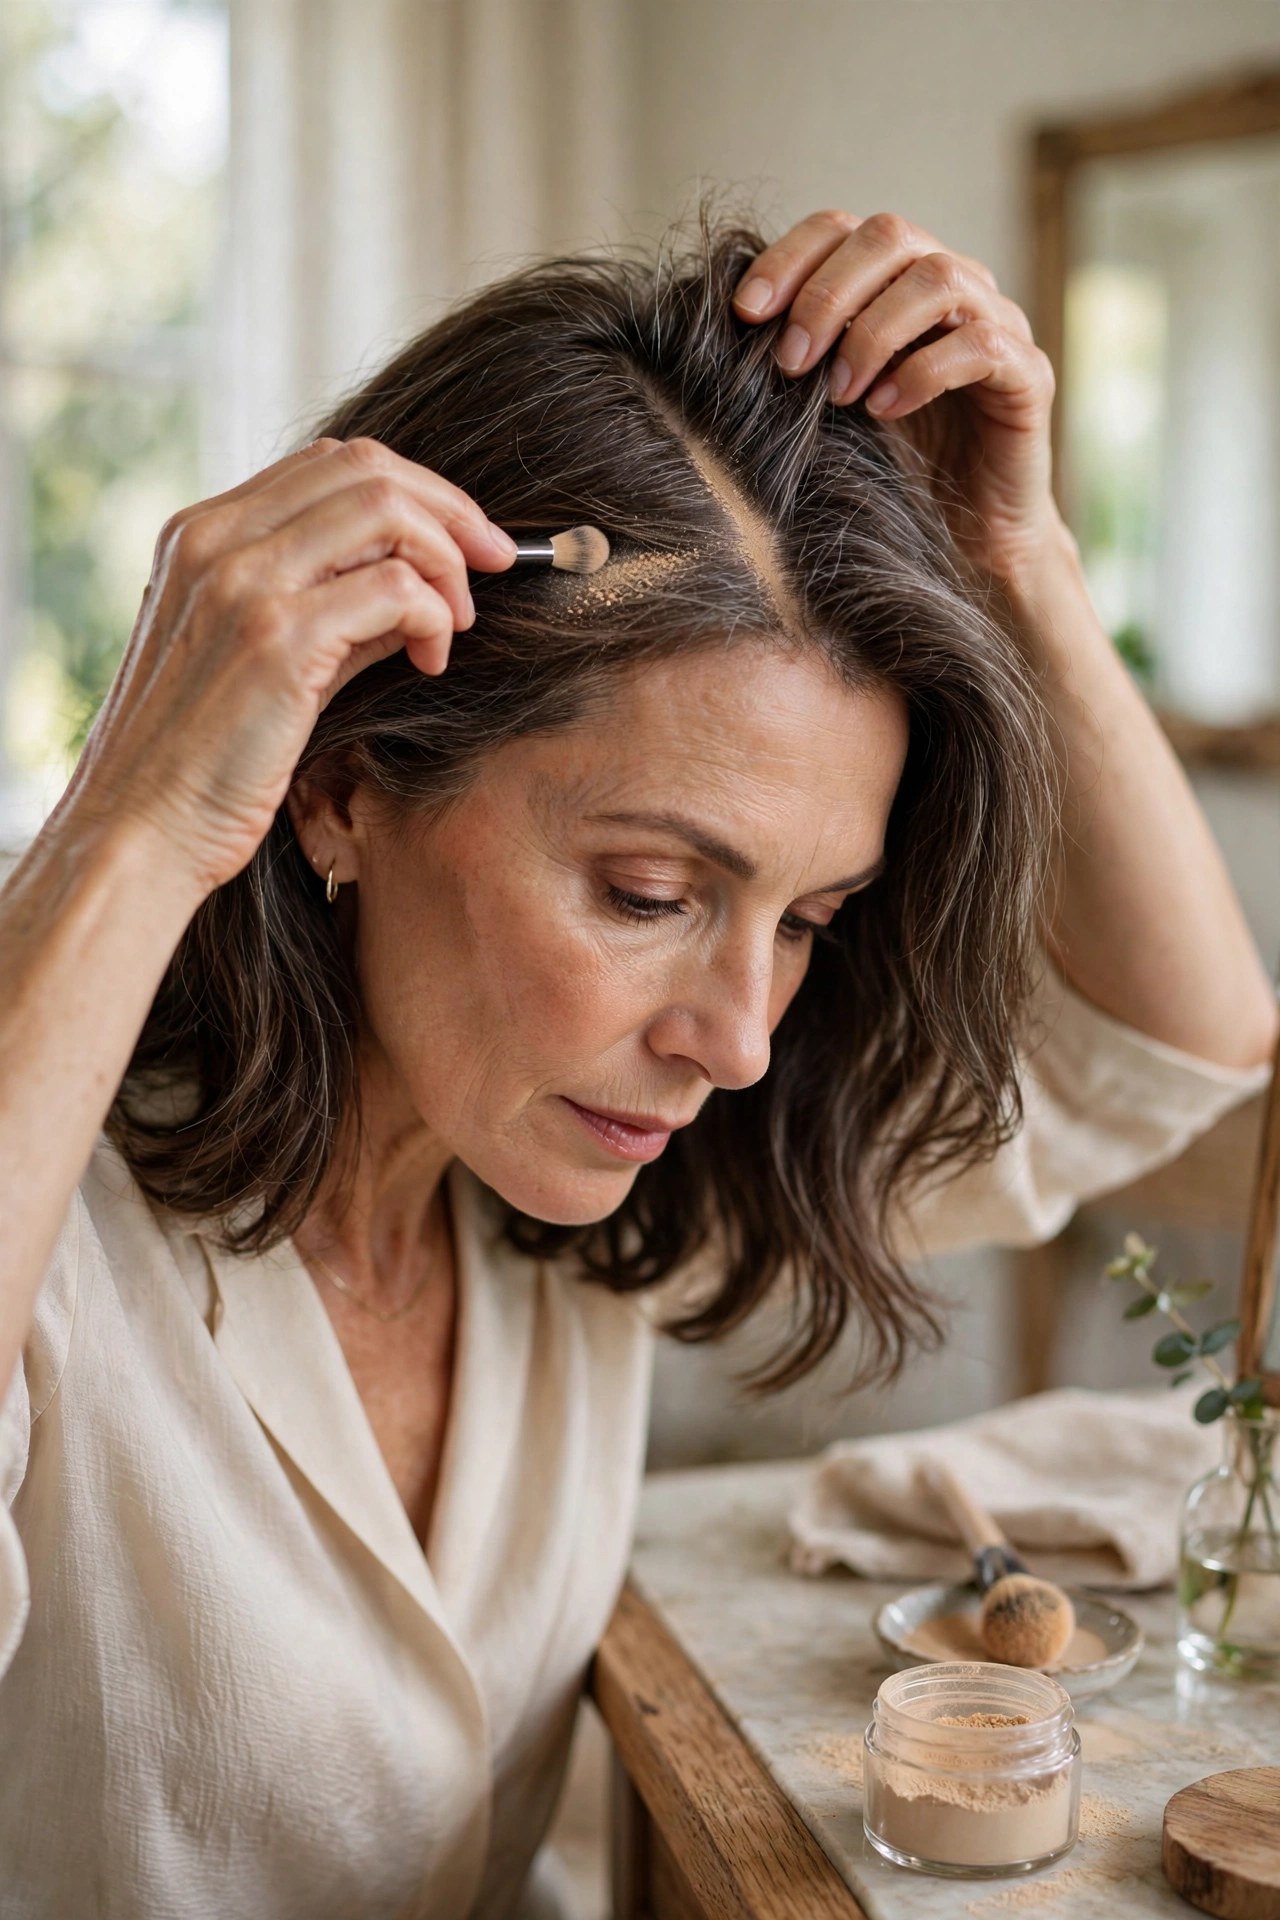
Volumizing powder is the closest thing to instant density in a bottle. A tiny dusting along the part and crown makes each strand grip its neighbors, so fine hair stops sliding flat and starts holding itself up — the effect is immediate.

Try this: sprinkle a small amount directly onto the roots at the crown and along the part, then work it in with your fingertips using a lifting motion.
Best for: emergency volume before walking out the door — it takes 20 seconds.
Pro note: Apply to DRY hair only. On damp hair it clumps, and you’ll use three times more than you need.
12. 🦆 The Crown Clip Lift

Duckbill clips are the laziest volume tool ever invented: clip them at the crown while your hair air-dries or while you finish getting ready, and the roots dry standing up. It’s the same principle as rollers with none of the rolling.
Try this: on damp hair, lift 3-4 sections at the crown and clip each at the base so it stands upright; remove after 15-20 minutes.
Best for: air-dry days and multitasking mornings.
Pro note: Clip with the teeth pointing toward the scalp for maximum lift — and don’t pull them out sideways, which drags the root flat again.
13. 💧 The Diffuser Air-Dry for Fine Hair
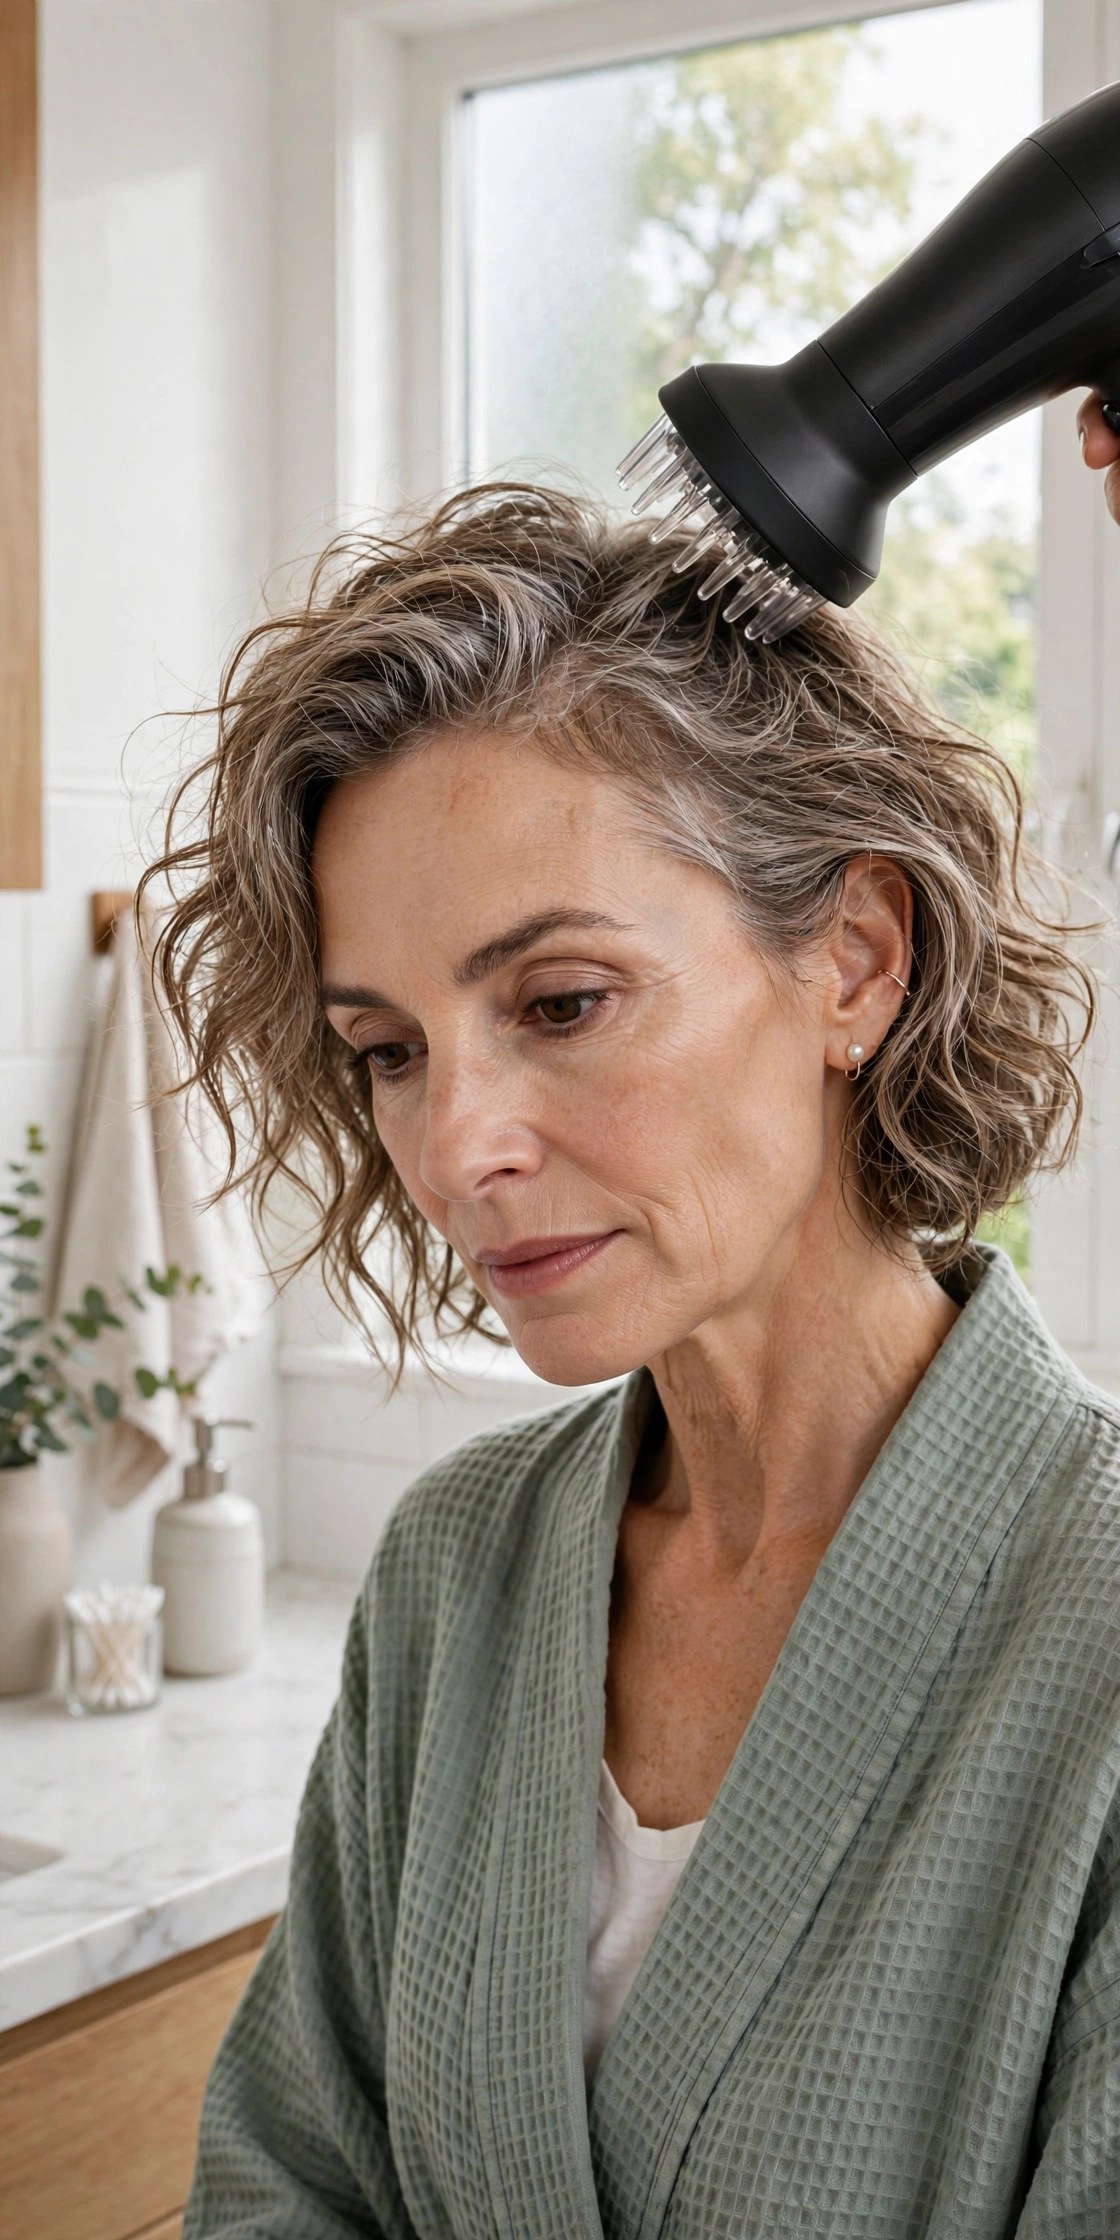
If your fine hair has any wave at all, a diffuser is transformative: it dries hair without blasting it flat, so your natural texture scrunches up into real, touchable volume. Air-drying without one just lets gravity win.
Try this: scrunch a little mousse into damp hair, cup sections into the diffuser bowl, and dry on low heat with the diffuser pressed close to the scalp.
Best for: wavy or wavy-ish fine hair that falls flat when air-dried loose.
Pro note: Don’t touch your hair while it dries — every touch breaks the wave pattern before it sets.
14. 🌬️ The Upside-Down Cool Finish
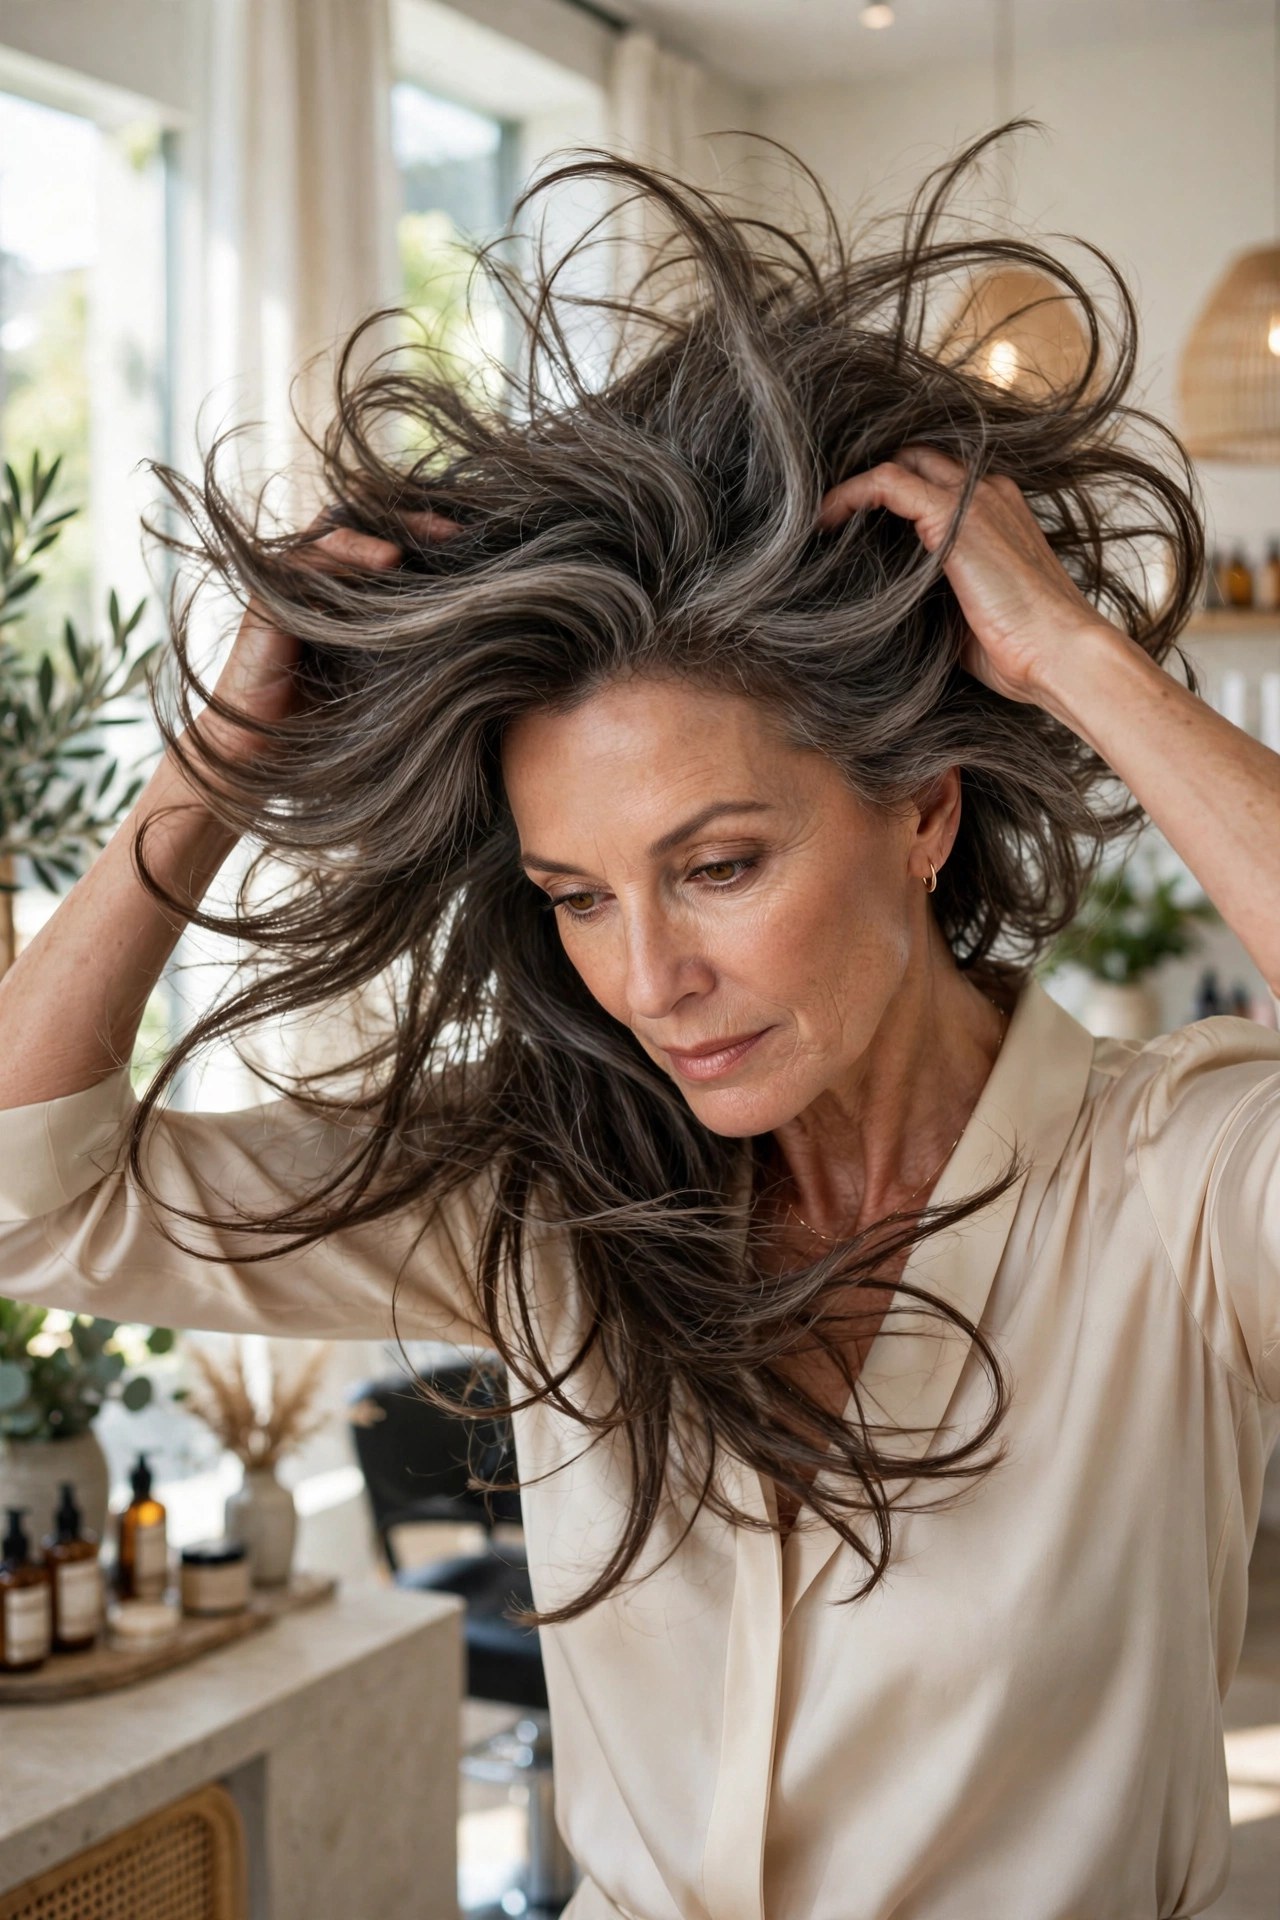
Combine the flip with the cool shot and you get the highest-impact 60 seconds in this entire list. Flip forward, blast cool air directly into the roots while shaking them gently with your fingers, and flip back — the lift is dramatic and it holds.
Try this: after any styling, flip forward, cool-blast the roots for 30 seconds while finger-shaking, then flip back and arrange.
Best for: the final step of literally any routine on this list.
Pro note: Shake, don’t rake — your fingers should jiggle the roots, not comb through the lengths.
15. 🎀 The Half-Up Crown Boost

Gathering the top half of your hair into a loose half-up style physically lifts the crown — and the slight pull creates tension that holds volume for hours. It’s a style AND a technique: the ponytail anchors the lift.
Try this: gather the top section loosely, secure with a soft tie or clip at the crown (not tight), then gently tug the hair above the tie upward for extra height.
Best for: medium to long fine hair that needs crown lift without heat.
Pro note: Leave the half-up slightly loose — a tight pull flattens everything below it and defeats the purpose.
16. 👆 The Finger-Coil Texture Scrunch

Texture reads as fullness. Twisting small sections around your finger while they’re warm from the dryer, then scrunching them apart once cool, creates separated, piecey texture that makes fine hair look like there’s simply more of it.
Try this: on warm, nearly-dry hair, twist 1-inch sections around your finger, let cool for a minute, then scrunch upward to break them apart.
Best for: straight fine hair that looks one-dimensional and flat.
Pro note: A pea-sized amount of light styling cream on your fingertips first helps the twists hold without stiffness.
17. 🔄 The Alternating-Direction Blow-Dry
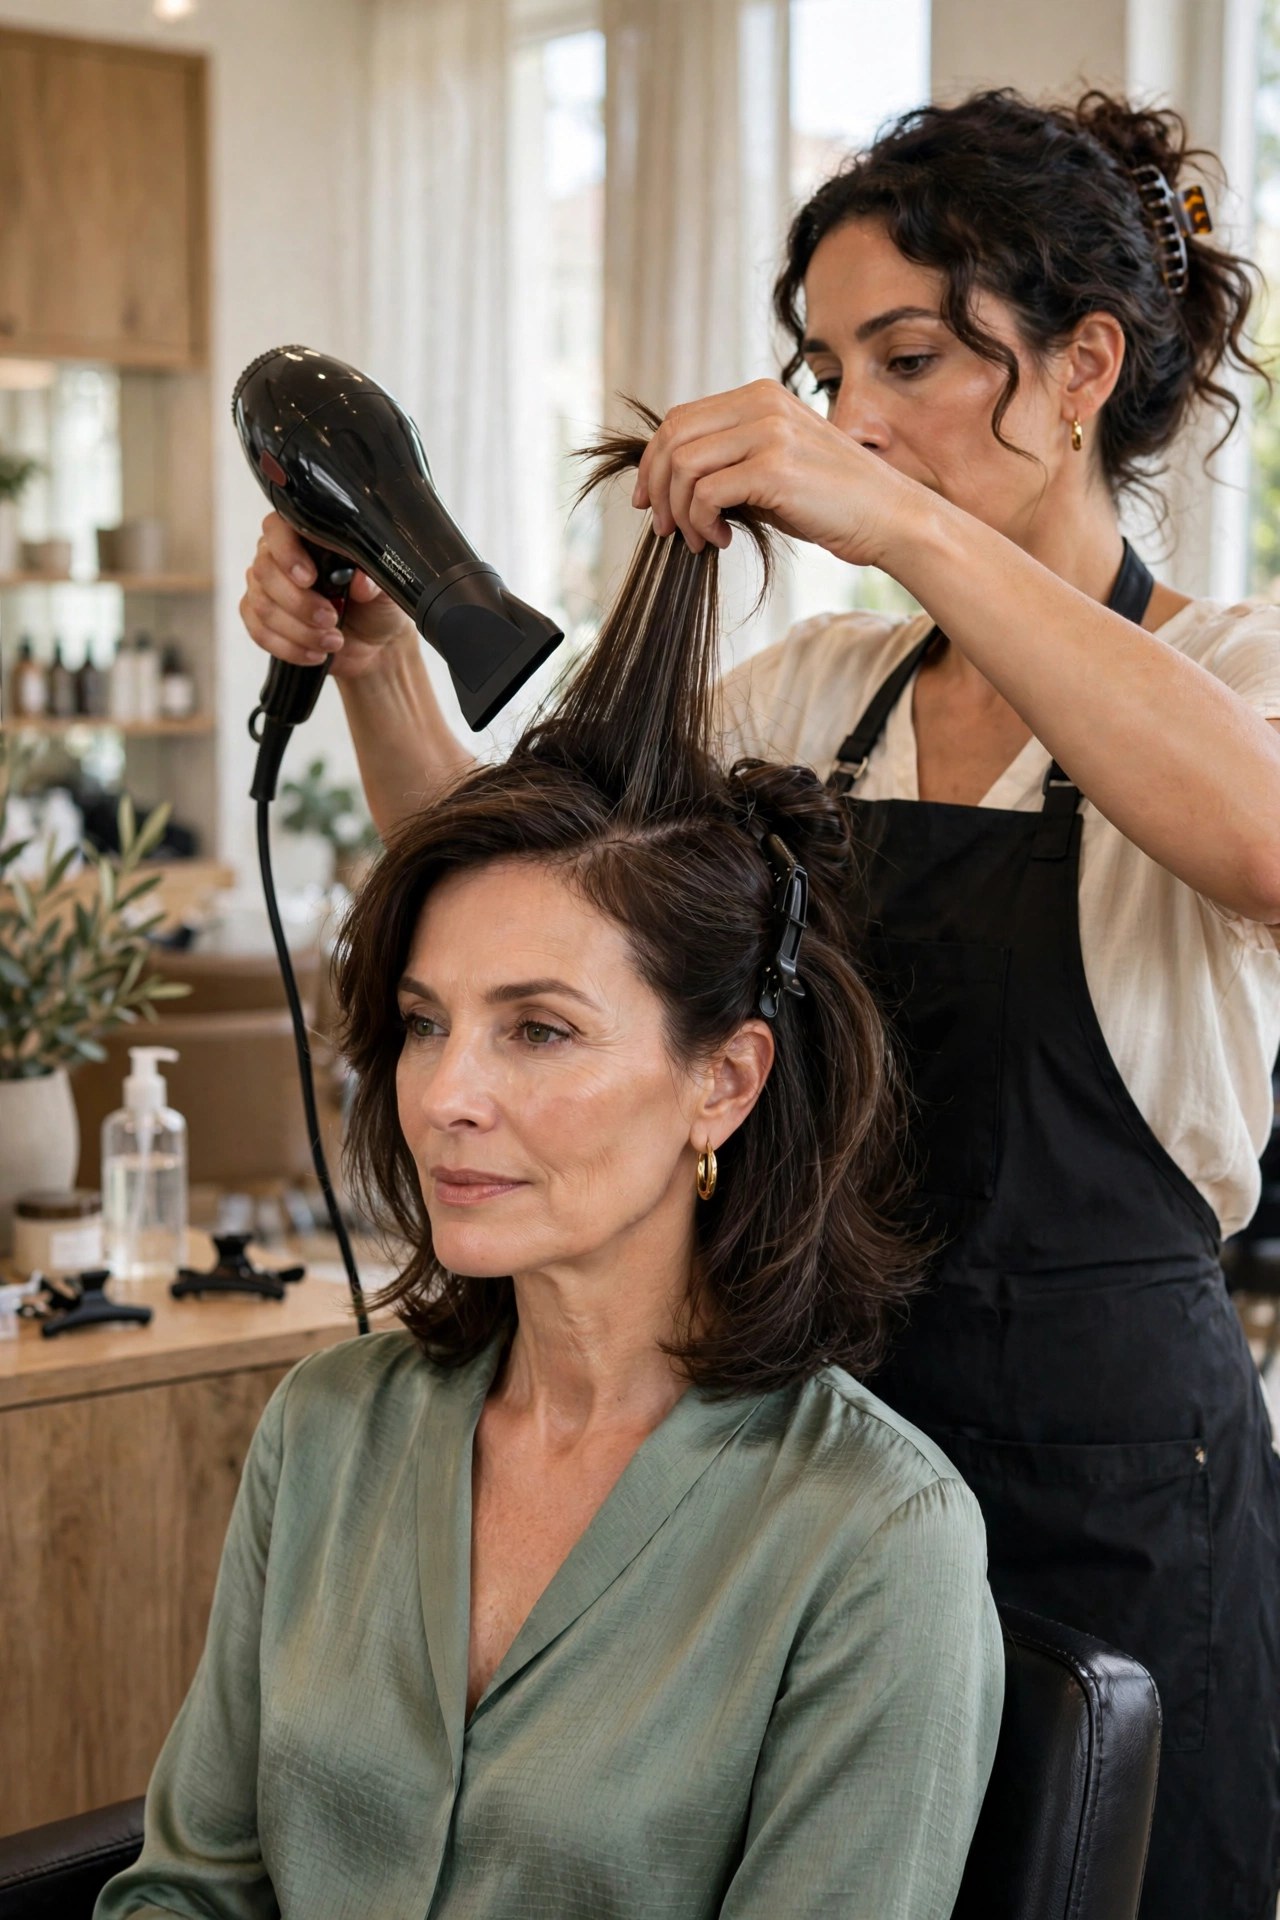
Drying every section in the same direction trains hair to lie flat in one sheet. Alternating — one section dried left, the next right — builds crisscrossing lift at the root that reads as serious body from every angle.
Try this: dry the crown in alternating directions section by section, always lifting up and away from the scalp, then settle everything with one final smooth pass.
Best for: hair that always falls into the same flat parting no matter what you do.
Pro note: This works best with a nozzle attachment — concentrated airflow gives you control over each section’s direction.
18. 🌃 The Nighttime Pineapple Lift
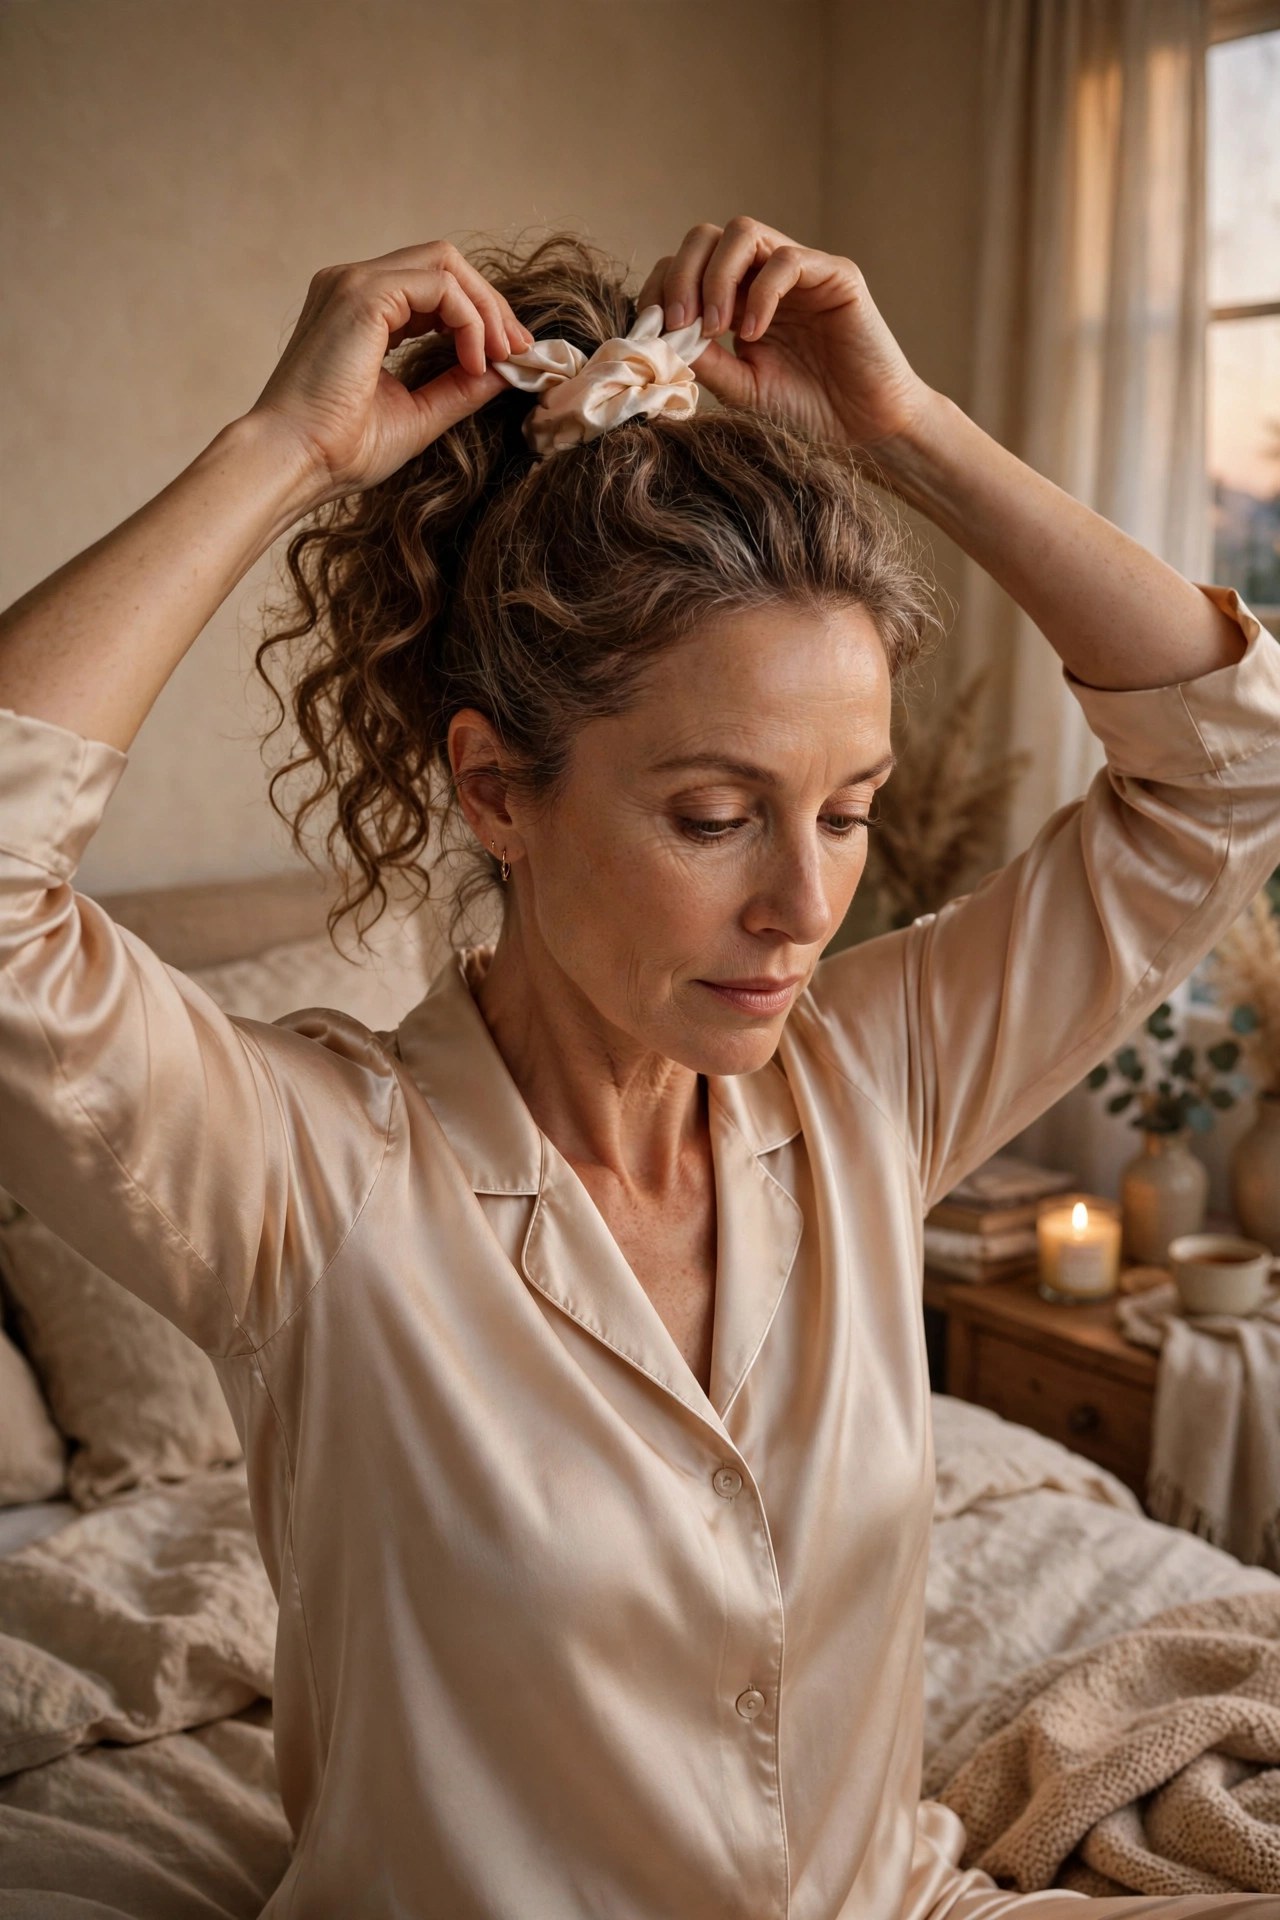
A loose, high pineapple ponytail before bed keeps your roots lifted all night instead of pressed flat against the pillow. You wake up with the crown already standing — sometimes all it needs is a quick flip and you’re done.
Try this: gather dry hair into a very loose high pony with a silk scrunchie (no pulling), sleep on a satin pillowcase, and release in the morning.
Best for: preserving second-day volume and waking up with lift already built in.
Pro note: Keep it LOOSE — a tight pineapple causes breakage at the tie point, which thinning hair can’t afford.
19. 💆 The Two-Minute Scalp Massage Wake-Up
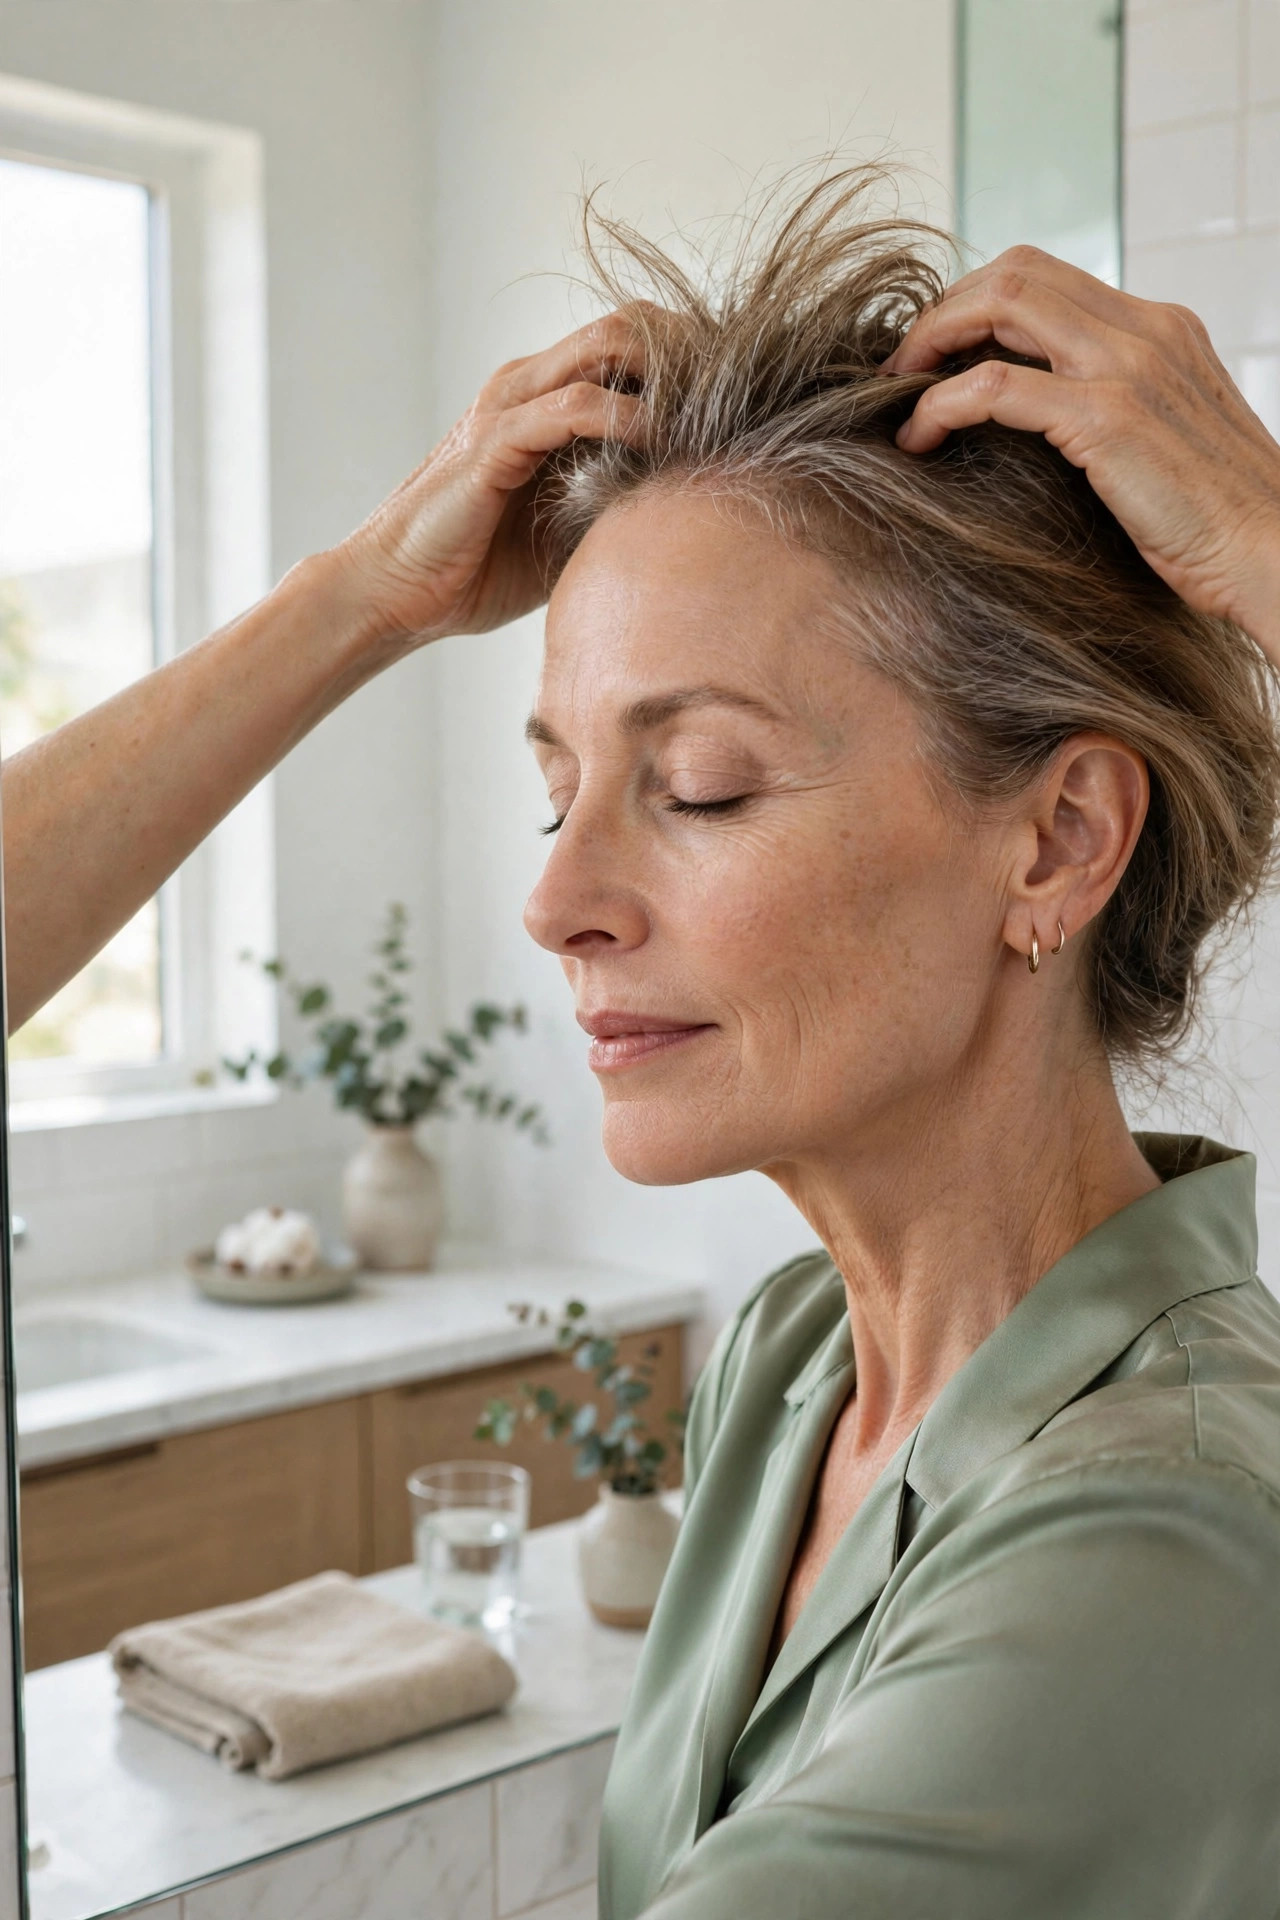
Before you reach for any product, spend two minutes working your fingertips firmly over your whole scalp in small circles. The massage manually lifts every root off the scalp while boosting circulation — and hair that starts the day standing up stays standing up.
Try this: on dry hair, press fingertips (never nails) into the scalp and move the skin itself in slow circles, working from hairline to nape for a full two minutes before styling.
Best for: flat morning hair and anyone whose volume collapses within an hour of styling.
Pro note: Do it before product, not after — massaging once mousse or powder is in just redistributes it and kills the lift you built.
Layer two or three of these techniques instead of relying on just one. A mousse-at-the-roots dry + crown clips + cool-air finish takes the same ten minutes as a regular blowout — but the volume compounds, and each technique makes the next one work better.
Wash your hair at night when you can. Sleeping on freshly washed fine hair crushes it flat by morning, but second-day hair has the texture and grip that every technique on this list feeds on.
🚫 Mistakes That Flatten Fine Hair
- Drying straight down with a paddle brush — it smooths, but it also presses every root flat against your scalp.
- Heavy oils and creamy masks on the roots — keep rich products on the mid-lengths and ends only.
- A stubborn center part on sparse-crown days — switch to a side or zigzag part when your part line looks wide.
- Aggressive backcombing on dry, product-free hair — it tears fragile strands; always use a light mist first and keep strokes gentle.
- Touching your hair all day — every pat presses the roots down and transfers oil from your hands. Style it, then leave it alone.
❓ Volume for Thinning Hair FAQs
Can I really get volume in thinning hair without getting a new haircut?
Absolutely. A haircut sets the foundation, but volume is created during styling — at the root, while the hair is damp. The techniques above work on any cut, and many women find that fixing their drying routine alone makes their current haircut look twice as full.
What is the fastest volume trick when I only have five minutes?
Flip your head upside down, blast cool air into the roots for 30 seconds while shaking them with your fingers, then flip back. It takes one minute and delivers the most visible lift of any single technique here.
Will backcombing damage my fine, thinning hair?
Aggressive backcombing can break fragile strands, yes. But gentle backcombing — three light strokes per section on hair prepped with a light mist — is safe for occasional use. Save it for special occasions rather than every day, and always smooth the top layer over it.
Are volumizing products safe for fragile hair over 50?
Lightweight mousses, root powders, and dry shampoos are fine when used at the roots only and washed out regularly. Avoid heavy waxes, thick creams, and anything applied to the lengths of fine hair — those cause buildup that makes thinning look worse.
How do I make my volume last all day?
Three things: set the shape while the hair cools (rollers, clips, or just holding sections up), finish with cool air, and don’t touch your hair. Volume dies from heat, gravity, and handling — control those three and morning lift survives until evening.
✅ Your 5-Minute Volume Checklist
- ☐ Apply product to damp ROOTS only — never the ends
- ☐ Dry roots first, lifting up and away from the scalp
- ☐ Set the crown with clips or rollers while it cools
- ☐ Finish with a 30-second cool-air blast, flipped forward
- ☐ Choose a side or zigzag part on sparse-crown days
- ☐ Hands off for the rest of the day!
Volume isn’t about having more hair — it’s about making the hair you have stand up, spread out, and catch the light. Pick two or three techniques from this list, practice them for a week, and watch your mirror start telling a very different story.
📖 Keep Reading
- 25 Hairstyles for Thin Fine Hair Over 50 That Double the Volume — when technique meets the right cut: styles engineered for maximum fullness.
- 19 Short Haircuts Over 60 for Thin Hair That Add Instant Fullness — short cuts that build body into the shape itself.
- 31 Short Shag Haircuts for Fine Hair That Add Real Volume — shaggy layers that fake fullness with pure texture.
Discover more from Fashinate Style
Subscribe to get the latest posts sent to your email.