
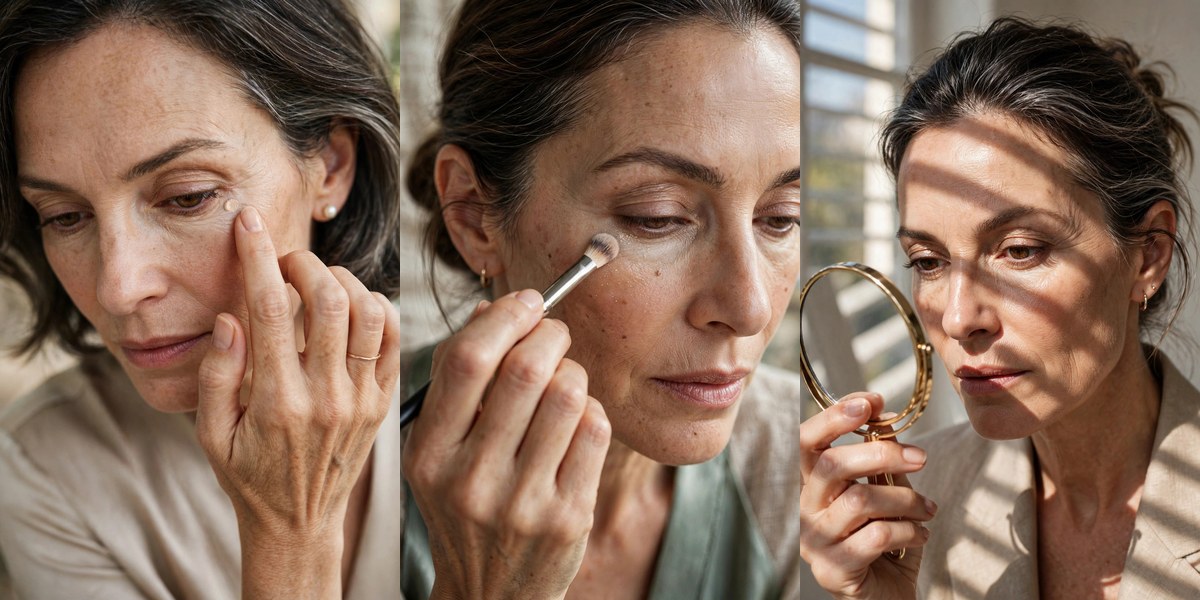
Here’s the myth that ruins more under-eyes than any bad product: more concealer covers more. On mature skin, the opposite is true — every extra layer is another layer that can crease, cake, and settle into fine lines by noon. The women with the brightest under-eyes aren’t using more product. They’re using less, placed better.
Below are 19 crease-free concealer techniques for mature skin — from prep to placement to setting and pro-level refinements — each designed around one principle: thin, targeted layers that move with your skin instead of fighting it. No expensive products required; the technique is the product.
⚡ The 60-Second Basics
- Less is the whole game: if you can see the concealer sitting on your skin, you’ve used too much.
- Prep beats product: hydrated under-eyes need half the concealer dry ones do.
- Wait between layers: 30 seconds of patience prevents 90% of creasing.
- Set the crease, not the face: powder belongs in the fold line only — nowhere else under the eye.
1. 🧴 The 15-Minute Eye Cream Rule
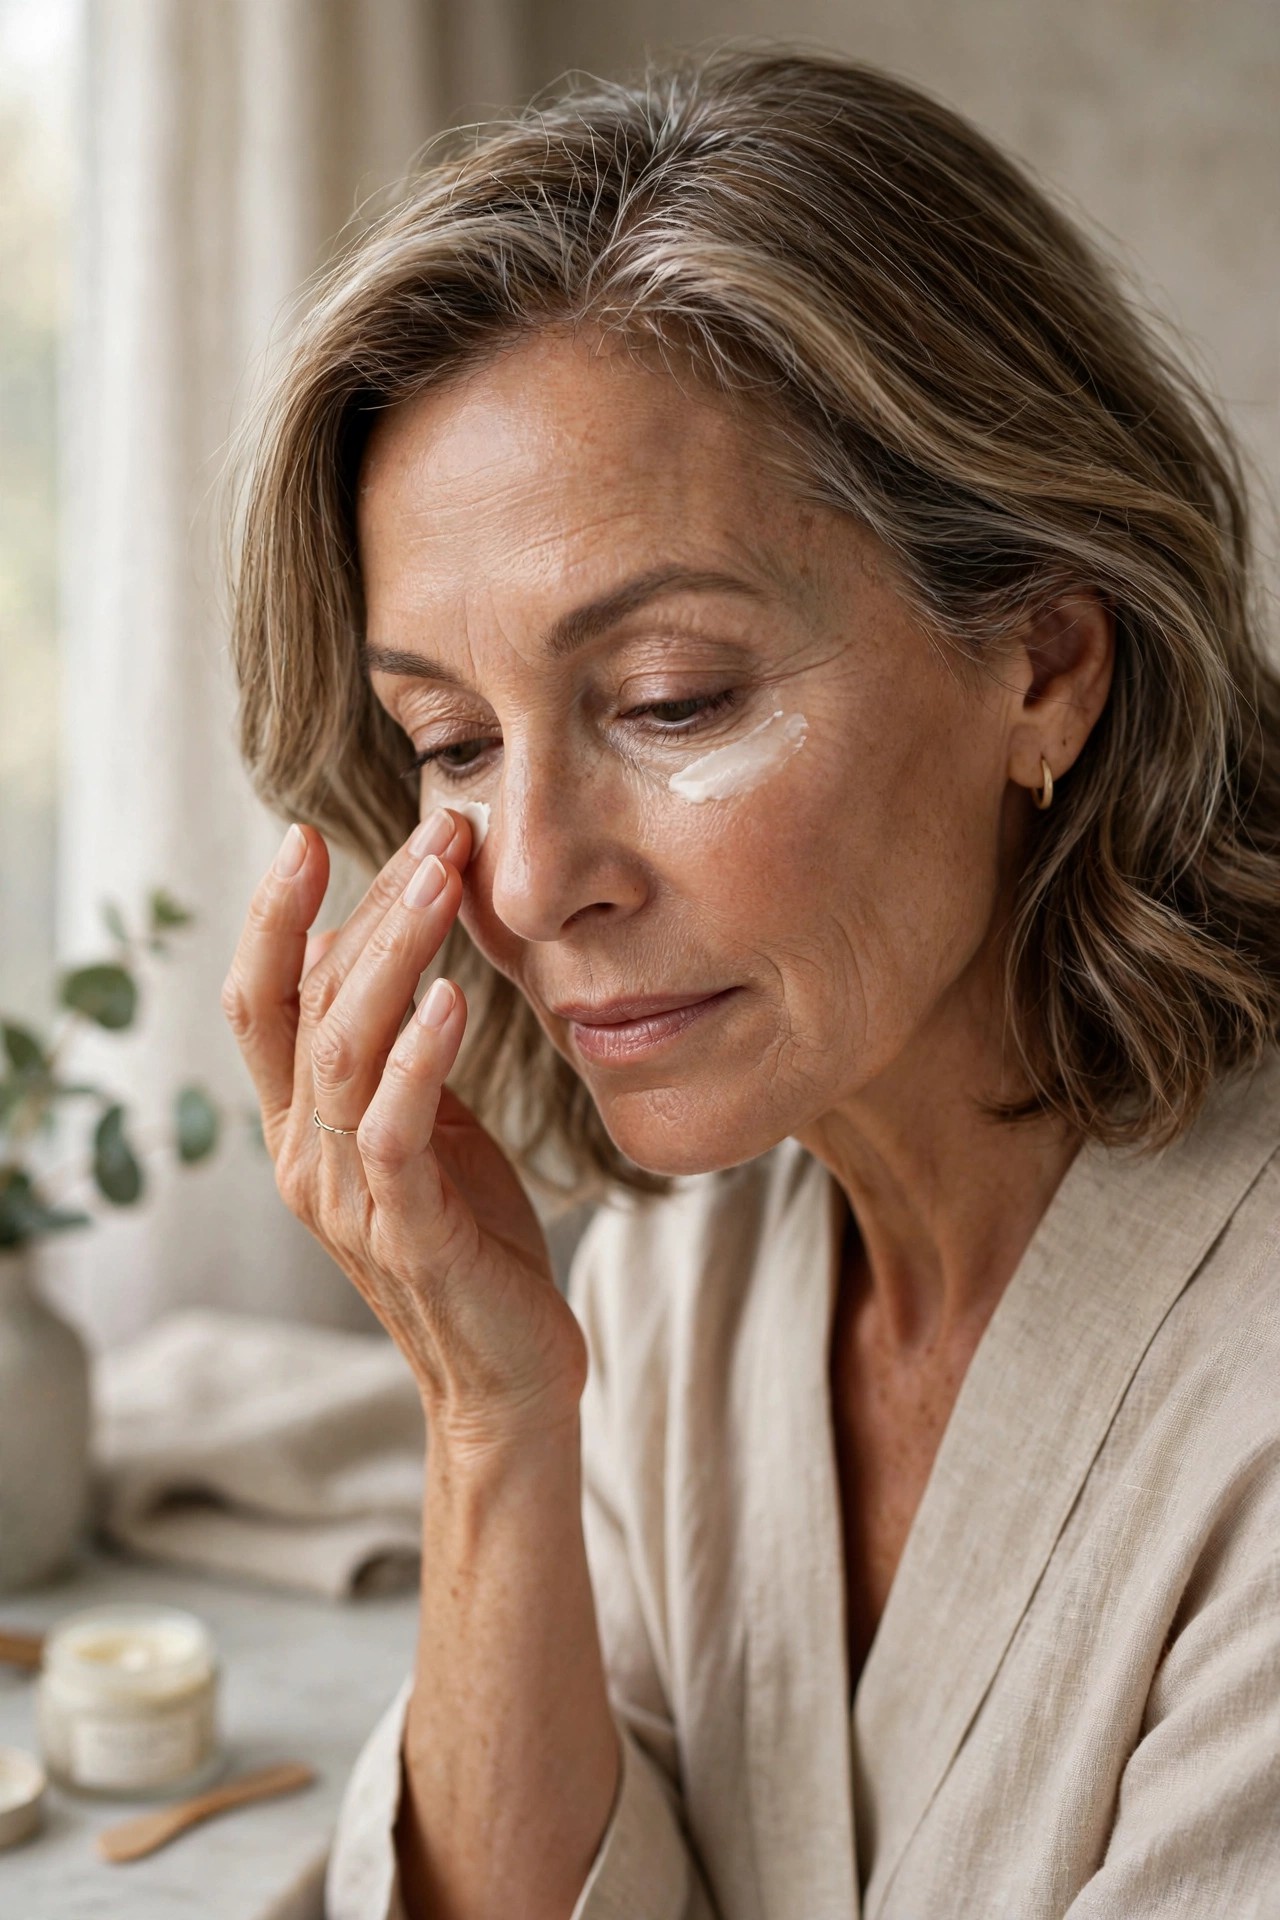
Apply a thin layer of eye cream or hydrating serum and let it absorb for 10–15 minutes before any makeup — while you get dressed, make coffee, or do your hair. Concealer applied over tacky, unabsorbed cream slides straight into lines. Absorbed hydration, on the other hand, plumps the area so concealer has less texture to navigate.
Try this: eye cream on waking; concealer 15 minutes later, after dressing.
Pro note: If you’re short on time, press a cool damp cloth over the eye cream for 60 seconds to speed absorption.
2. 💧 Thin, Fast-Absorbing Layers Only

Rich, heavy eye creams feel luxurious but leave a slippery film that breaks concealer down by midday. For makeup days, choose a lightweight, fast-absorbing formula — gel or light lotion texture — and use half what you think you need. The goal is softened skin, not a moisturized slick.
Try this: pea-size gel eye cream, pressed — not rubbed — under each eye.
Avoid: layering facial oil under concealer; oil and concealer separate within hours.
3. 🎯 Color-Correct Before You Conceal

A sheer peach or orange corrector on the darkest shadows means you need half the concealer — and half the concealer means half the creasing. Dot corrector only where darkness is deepest (usually the inner corner and tear trough), blend it thin, then add concealer on top. Two thin specialized layers beat one thick compromised one.
Try this: peach corrector on the inner corner + tear trough, then a whisper of concealer over it.
Pro note: Fair skin: peach. Medium to deep skin: orange. The corrector should neutralize, not add visible color.
4. 🌡️ Warm It on Your Ring Finger
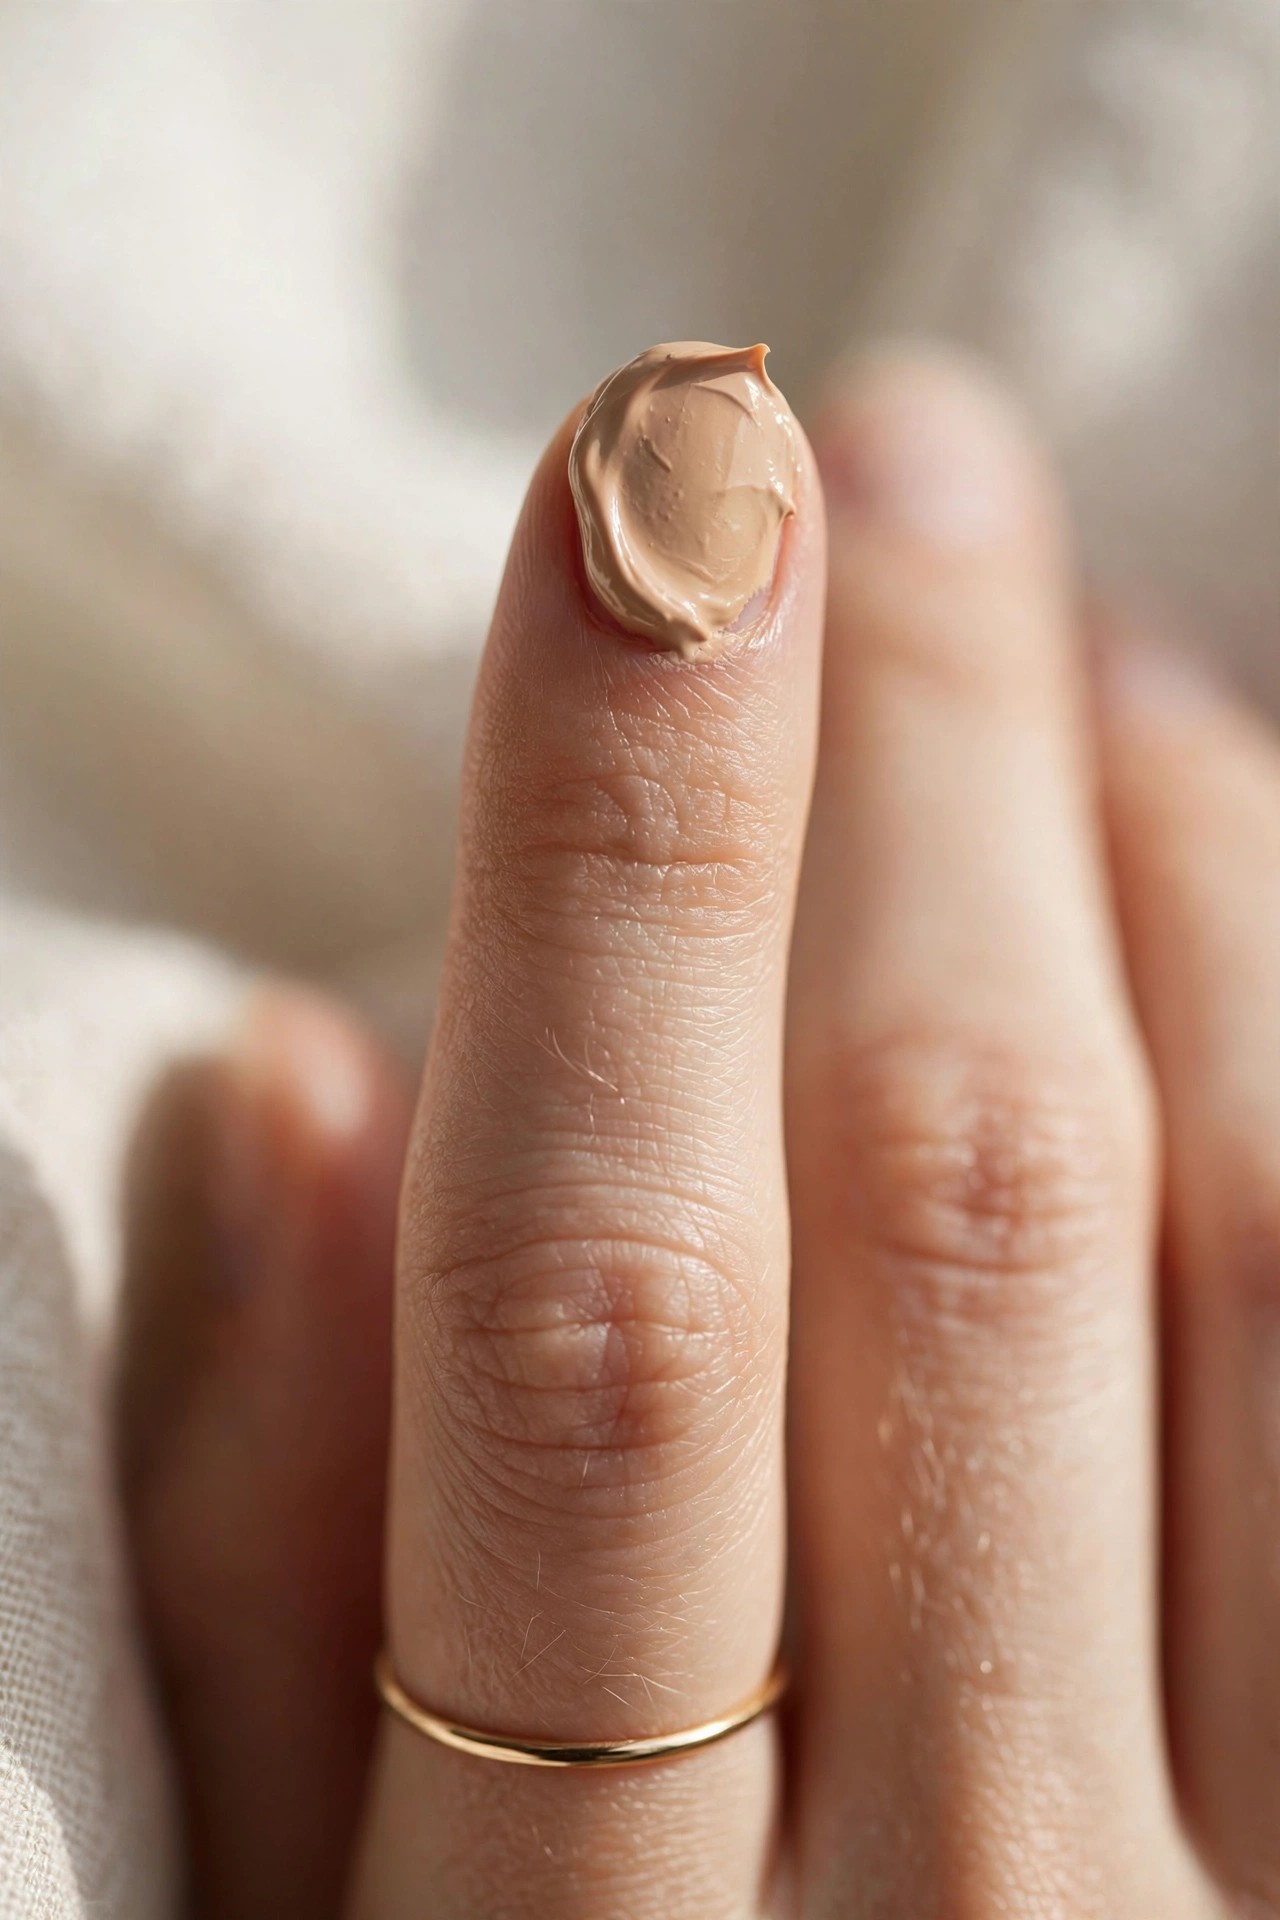
Cold concealer straight from the tube is stiff — it drags, skips, and sits on top of skin. Dot it onto your ring finger first and let body heat soften it for 20 seconds. Warmed concealer spreads in a thinner, more even veil and melds with skin instead of masking it.
Try this: dot on the ring finger, wait 20 seconds, then tap onto skin.
Avoid: warming between palms — you’ll lose half the product to your hands.
5. 📍 The Inner-Corner-Only Start
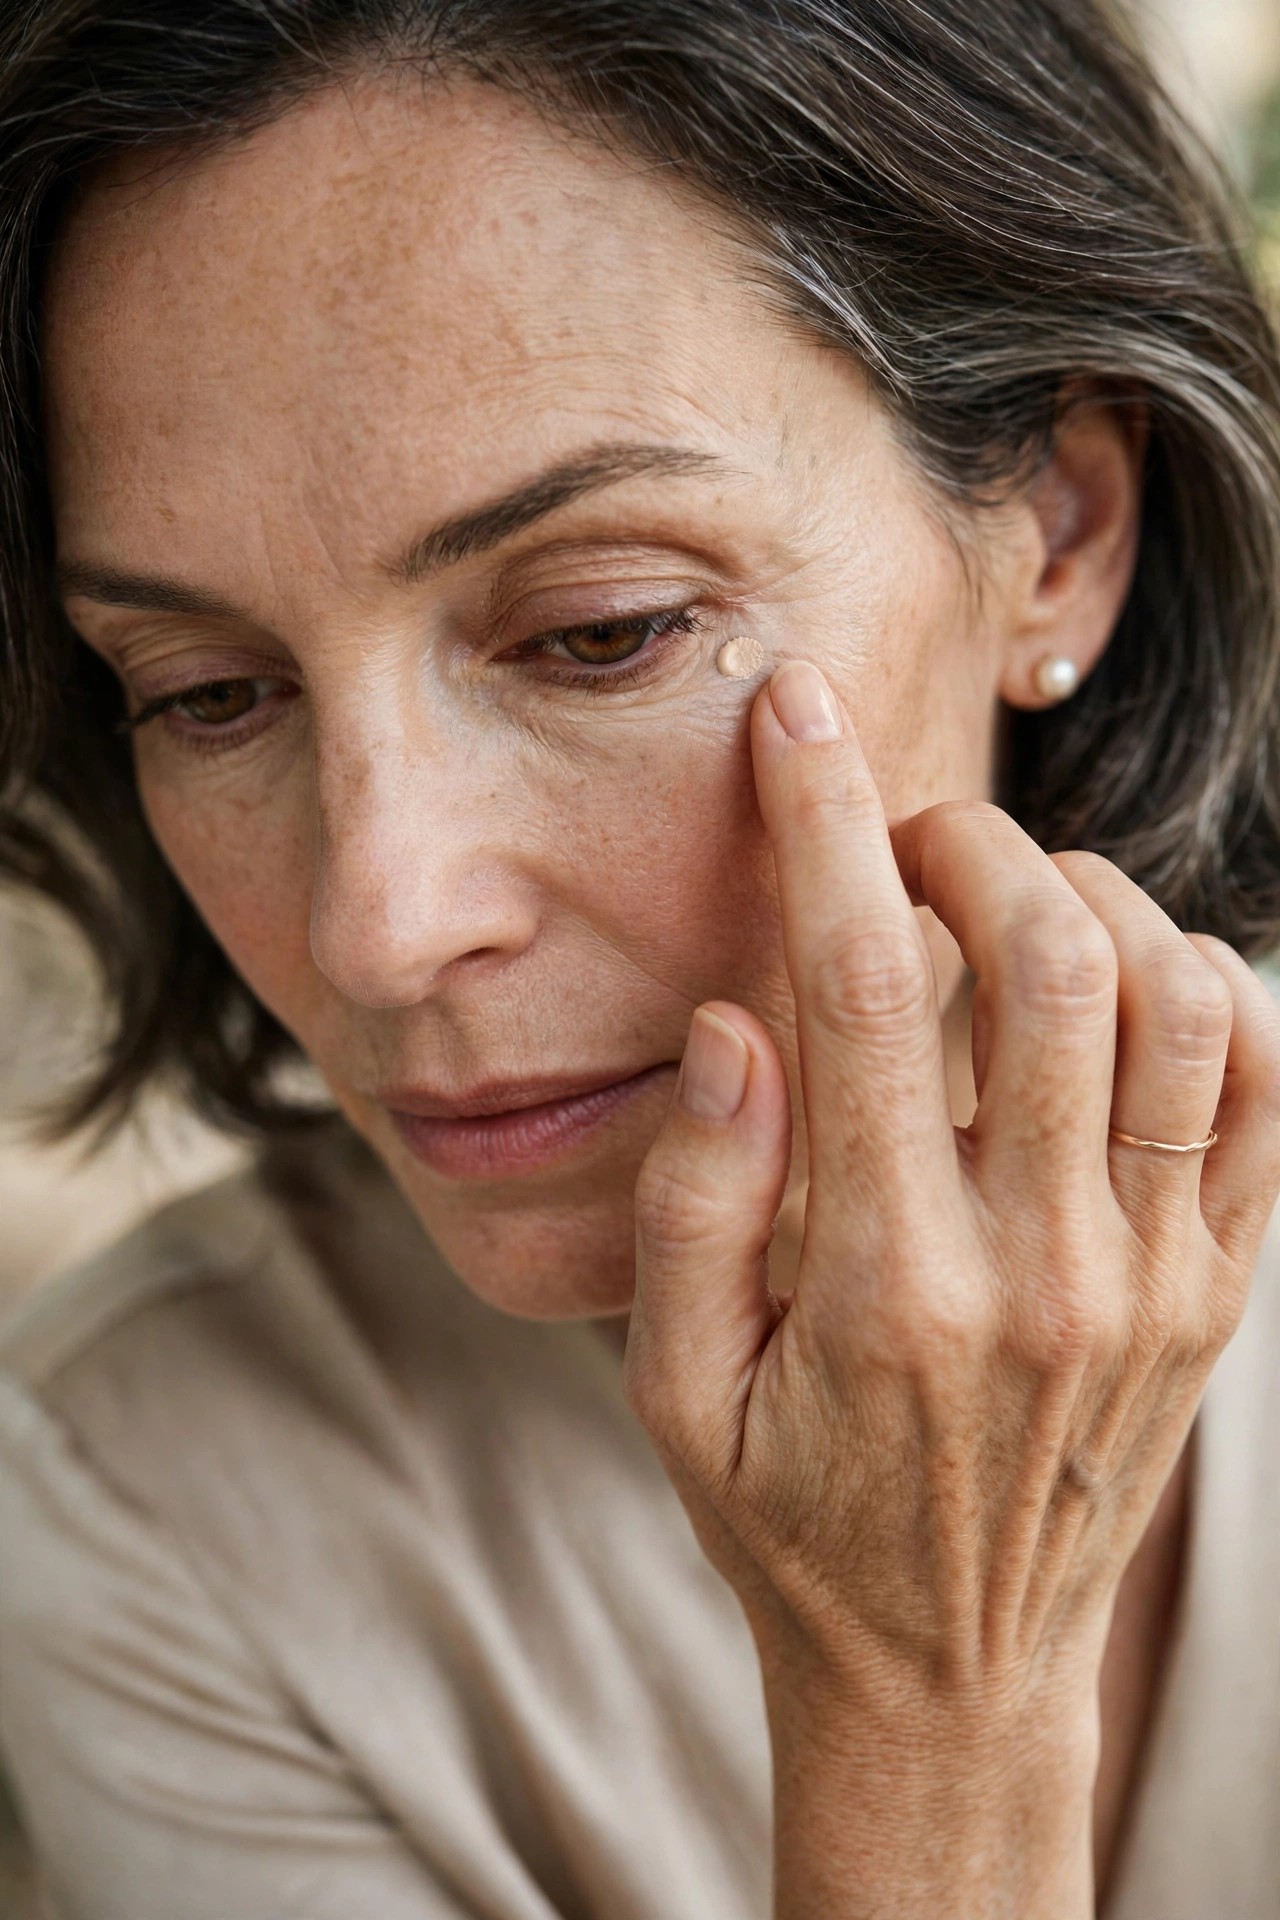
Forget the Instagram triangle. Start with a single dot of concealer at the inner corner — the shadowed hollow beside the nose — and tap it outward just until the darkness lifts. For many women, this one dot is the entire concealer step. The skin that doesn’t move when you smile needs the least help; start there and stop when the shadow’s gone.
Try this: one dot at the inner corner, tapped outward with your ring finger, stop when bright.
Pro note: Brightening just the inner corner creates a wide-awake effect that a full under-eye coat never achieves.
Apply concealer AFTER foundation, not before. Foundation already evens out half the discoloration, so you’ll automatically use less concealer — and less concealer is the entire point.
6. 🔺 Skip the Triangle

The famous under-eye triangle — drawn from lash line down to cheek — deposits concealer across skin that doesn’t need it, including the mobile area that creases most. On mature skin, that triangle becomes a crease map by afternoon. Replace it with targeted dots: inner corner, mid tear-trough shadow, and a tiny touch at the outer corner if needed.
Try this: three small dots maximum — inner corner, tear trough, outer corner — blended separately.
Avoid: dragging one continuous shape; each dot gets its own tap-and-blend.
7. 👆 Tap, Never Drag
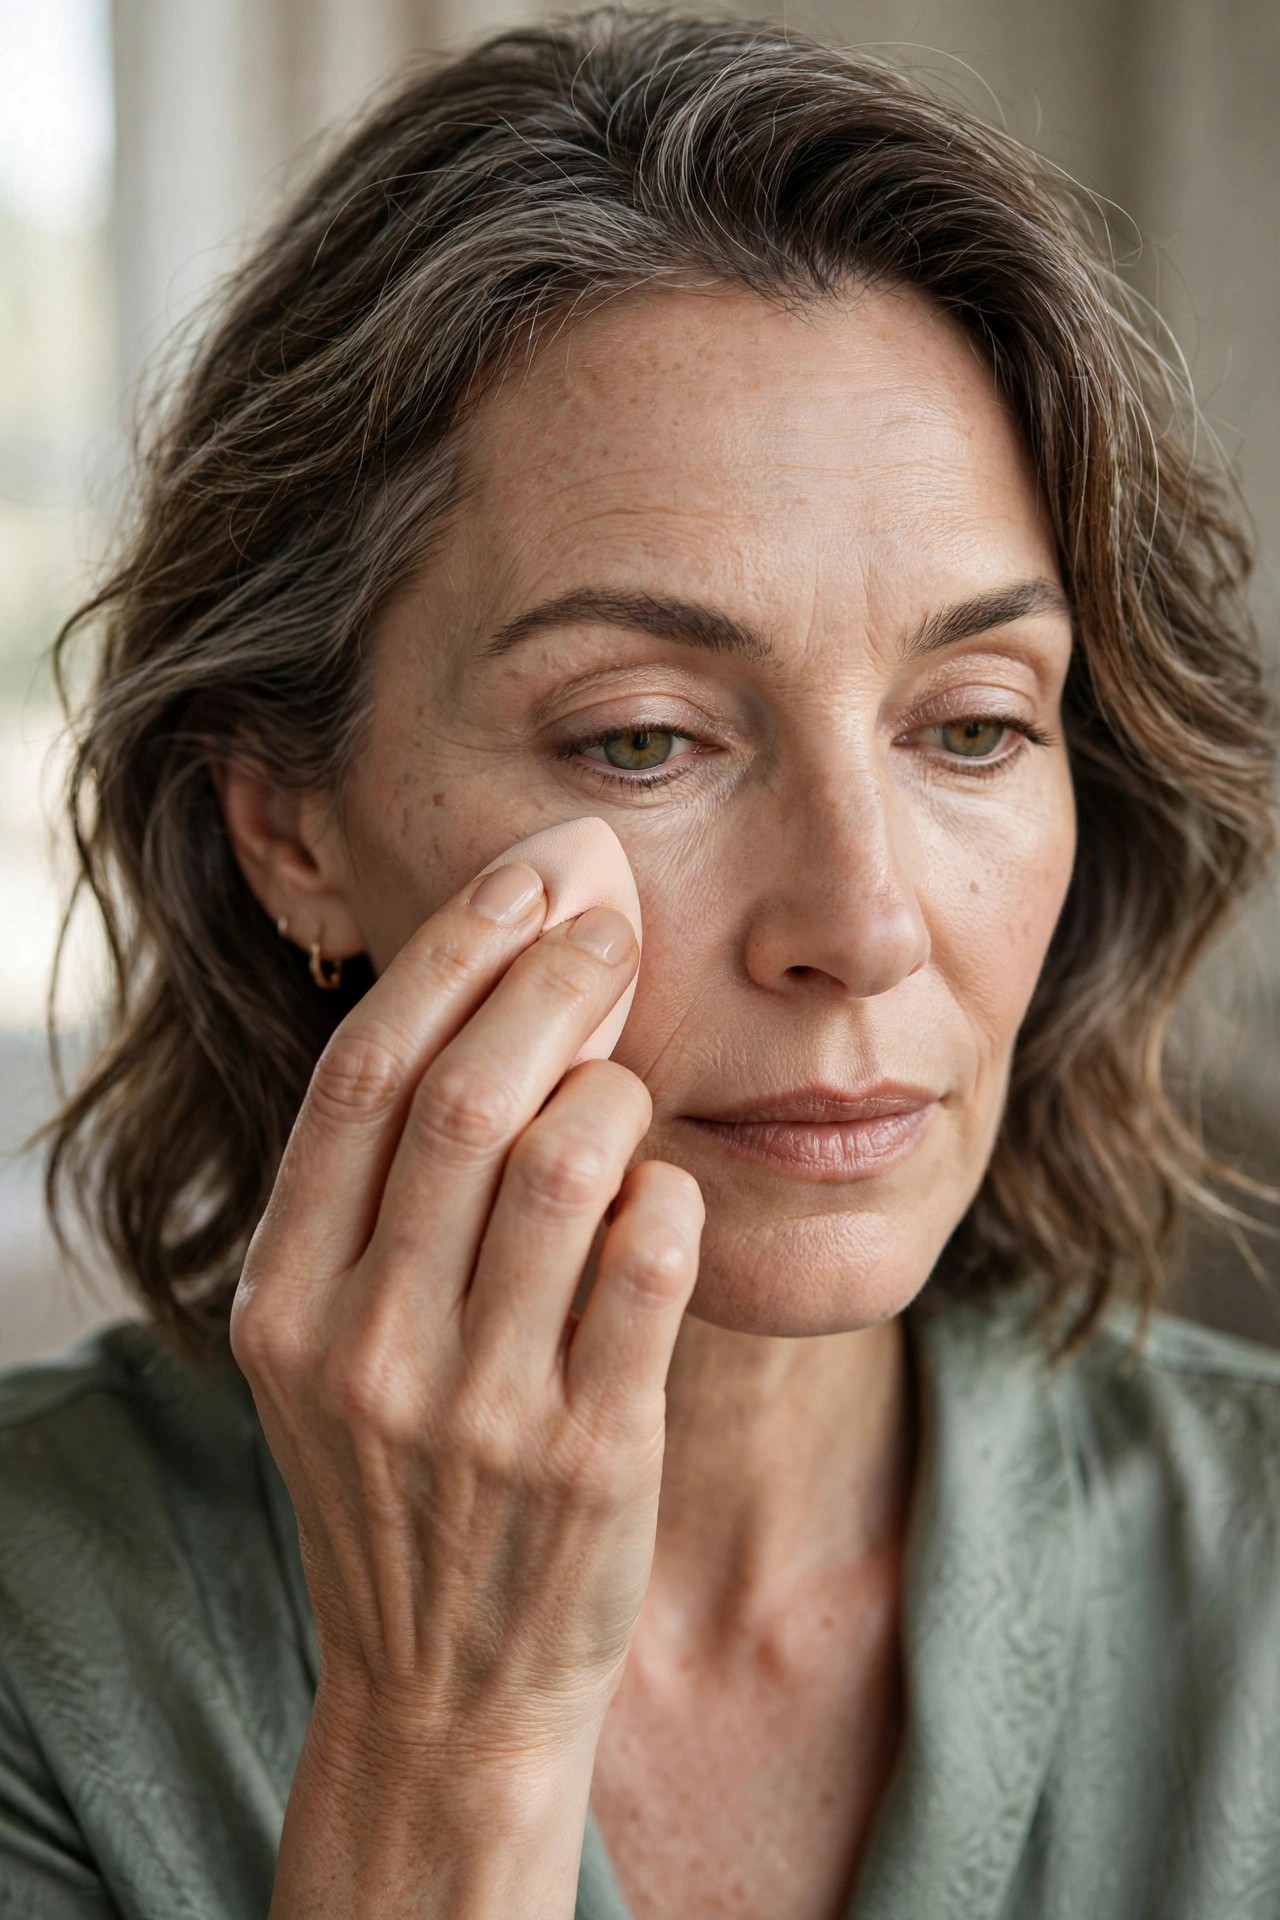
Dragging stretches the thinnest skin on your face and deposits product unevenly — thick where you started, thin where you stopped. Tapping (or bouncing a damp sponge) presses product straight down into an even veil without moving the skin at all. It’s slower by seconds and better by hours.
Try this: ring finger or damp sponge, straight up-and-down taps, zero lateral movement.
Pro note: If you must use a brush, use a small stippling motion — never paint strokes under the eye.
8. ⏳ The 30-Second Self-Set
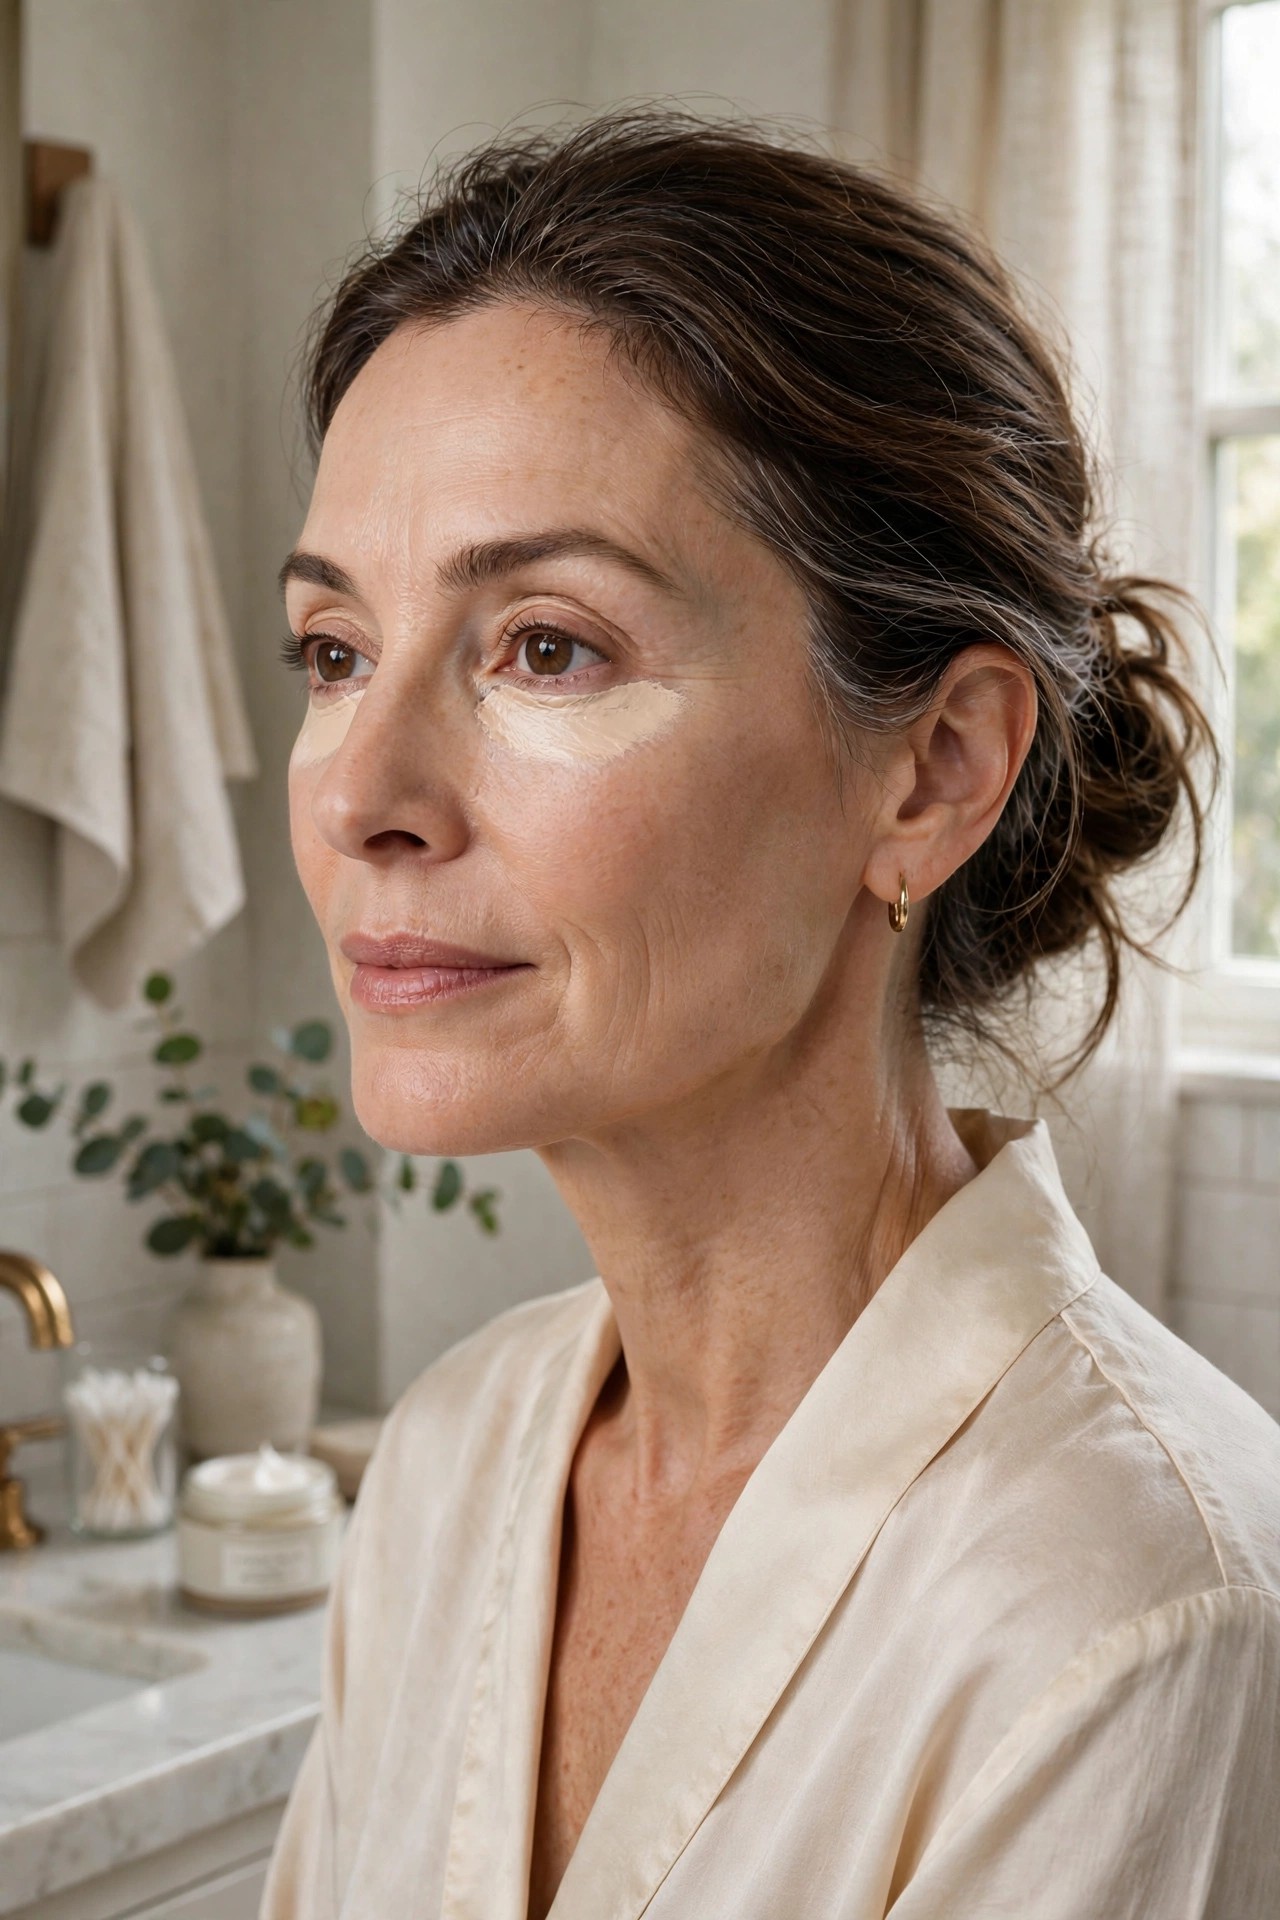
Most creasing comes from layering too fast. After applying concealer, wait 30 seconds before touching it again — let it settle and meld with your body heat. Then check: does it actually need more, or did the first layer do the job? Nine times out of ten, impatience — not darkness — is what causes the second layer.
Try this: apply, set a mental 30-second timer, reassess before adding anything.
Avoid: immediately piling on a second layer “just in case” — that’s how cakes are built.
9. 🪶 Micro-Set Only the Crease

Take the tiniest amount of finely-milled translucent powder on a small brush, tap off nearly all of it, and press it into the deepest fold line only — the one crease that always creases first. Leave the rest of the under-eye completely unset and dewy. Targeted setting locks the problem spot without aging the surrounding skin.
Try this: pin-head of powder, pressed into the single deepest crease, nowhere else.
Pro note: If you can’t see the crease without smiling, smile, set it, then relax — that’s exactly where product migrates.
If powder makes your under-eyes look dry no matter how little you use, skip it entirely. Mist a damp sponge with setting spray and tap it once over the concealer — you get the lock without a single particle of powder.
10. 💨 The Setting-Spray Sponge Seal

For a flexible, traceless seal: mist a clean damp sponge with setting spray and tap it gently over the concealed area. The spray melds the layers into one flexible film that moves with your expressions instead of cracking. It’s the closest thing to making concealer crease-proof.
Try this: one mist onto a damp sponge, tap over the under-eye once, done.
Avoid: spraying directly onto the under-eye — the force of the mist can move the concealer you just placed.
11. 🪞 The Midday Re-Mesh

When creasing appears at 2pm, do NOT add more concealer. Warm the area with a clean fingertip for five seconds, then tap gently to re-mesh the existing product back into a smooth veil. Only if darkness still shows through should you add one micro-dot — and usually, it won’t be necessary.

Try this: warm fingertip, 5 seconds, gentle taps — reassess before adding anything.
Pro note: Keep a clean fingertip (not a sponge) for this — body heat is what re-melts the product smooth.
12. 😊 Smile Lines Need Less, Not More

The same less-is-more law applies around the mouth. Place a tiny amount of concealer just above the smile-line crease, tap it downward to diffuse — never into the crease itself — and stop. Concealer packed into a moving fold will always betray you; concealer floated above it brightens without settling.
Try this: micro-dot above the crease, tapped down to diffuse, micro-set only if needed.
Avoid: stretching the skin taut while applying — it snaps back and takes the product into the fold with it.
13. 🧱 Foundation First, Concealer Second
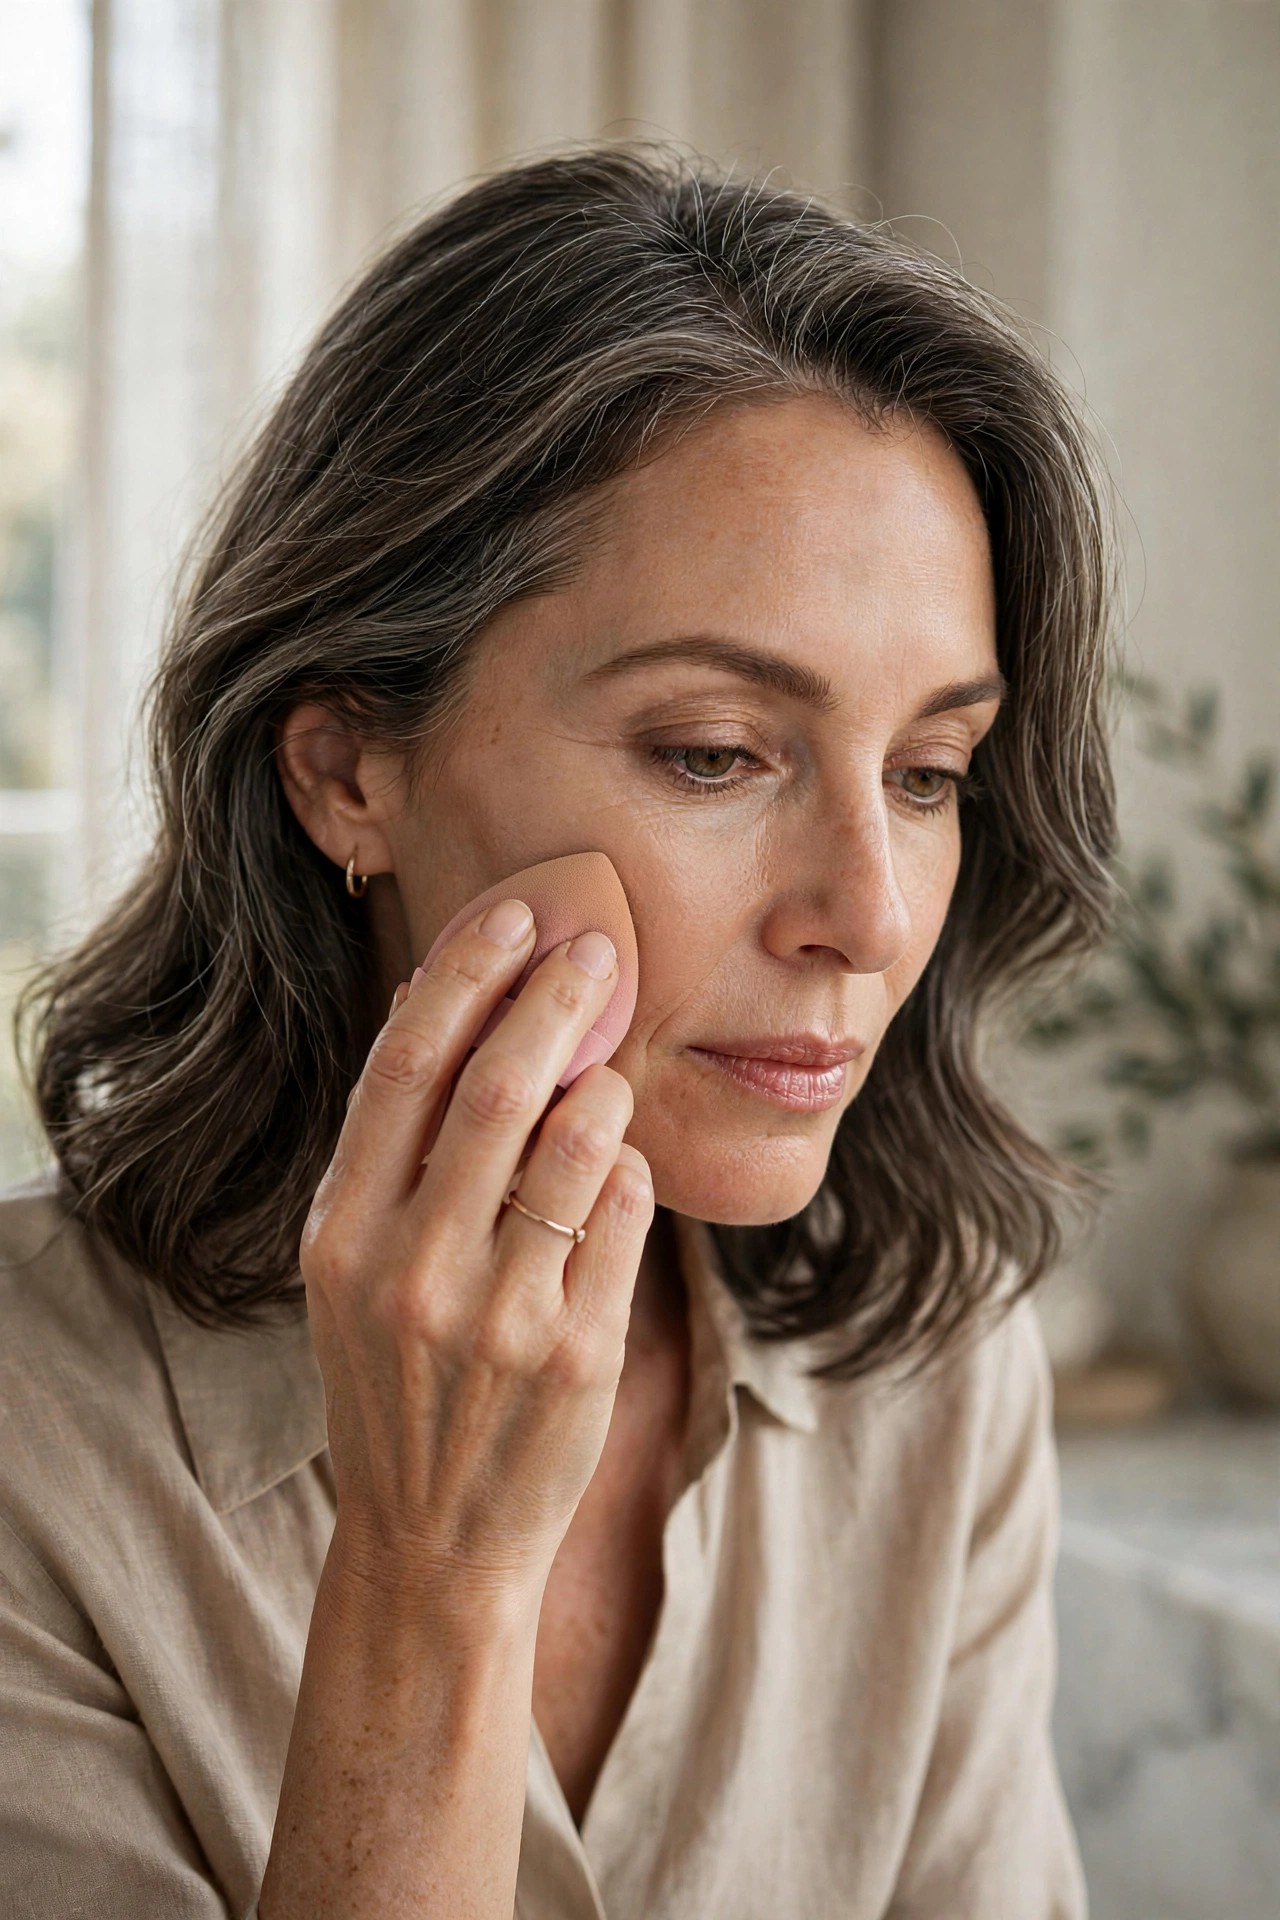
This ordering trick alone can halve your concealer use. Foundation already neutralizes redness and evens tone across the whole face — including half the discoloration under your eyes. Apply your full base first, then assess: the concealer you still need is usually a fraction of what you’d have used on bare skin.
Try this: complete foundation application, then dot concealer only on what still shows through.
Pro note: If you wear tinted moisturizer instead of foundation, the same rule applies — sheer base first, concealer second.
14. 🎨 Match Your Spots Exactly
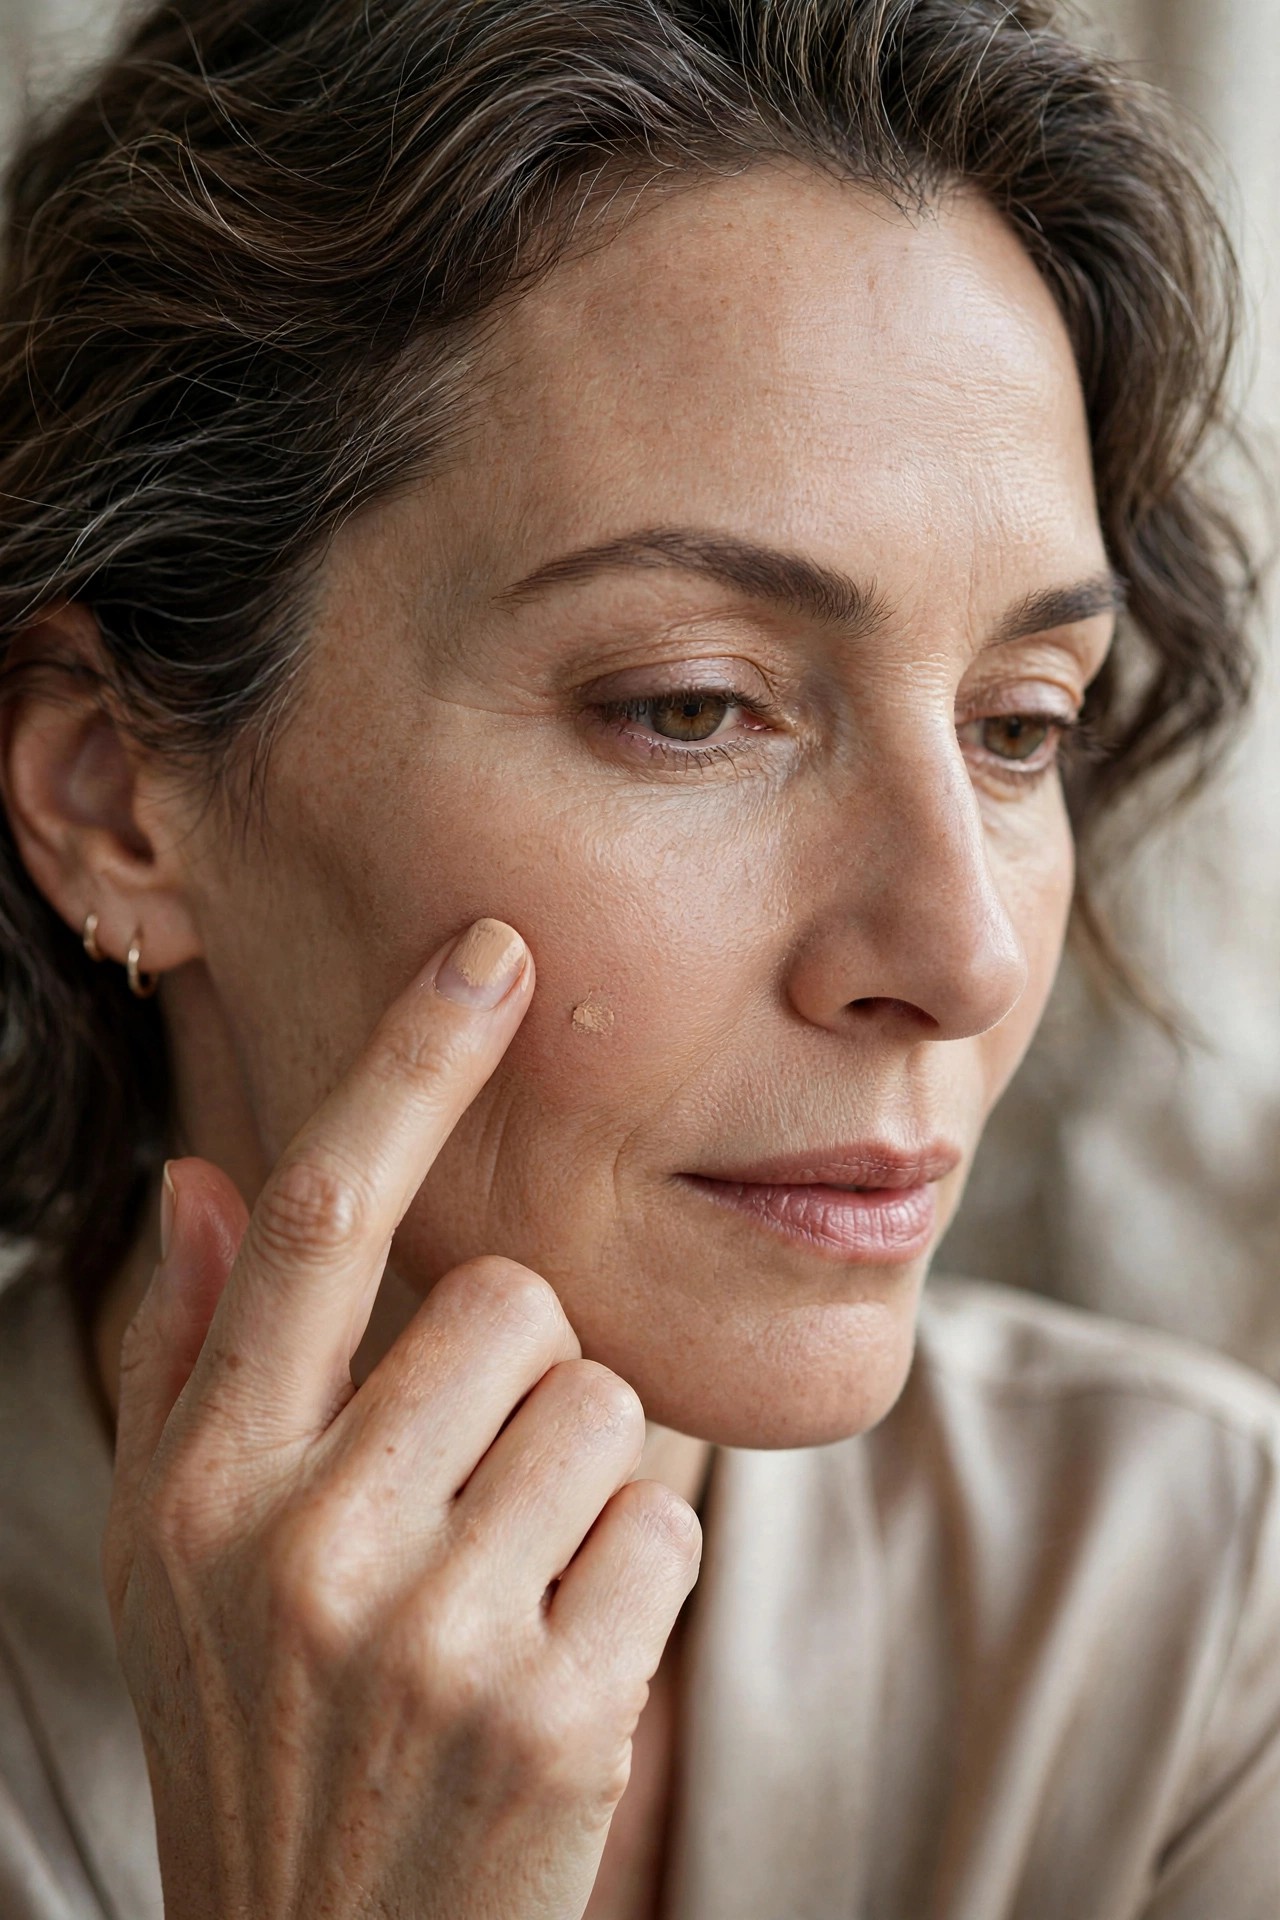
Under-eyes get brightening; everything else gets matching. For blemishes, age spots, and redness around the nose, your concealer should match your foundation exactly — not lighter. A lighter shade on a spot creates a pale dot that draws the eye; a matched shade disappears into the surrounding skin.
Try this: brightening shade for under-eyes, exact-match shade for spots and redness.
Avoid: one bright concealer for the whole face — it’s the fastest route to the raccoon-halo look.
15. 🖌️ The Tiny Brush for Pinpoint Work
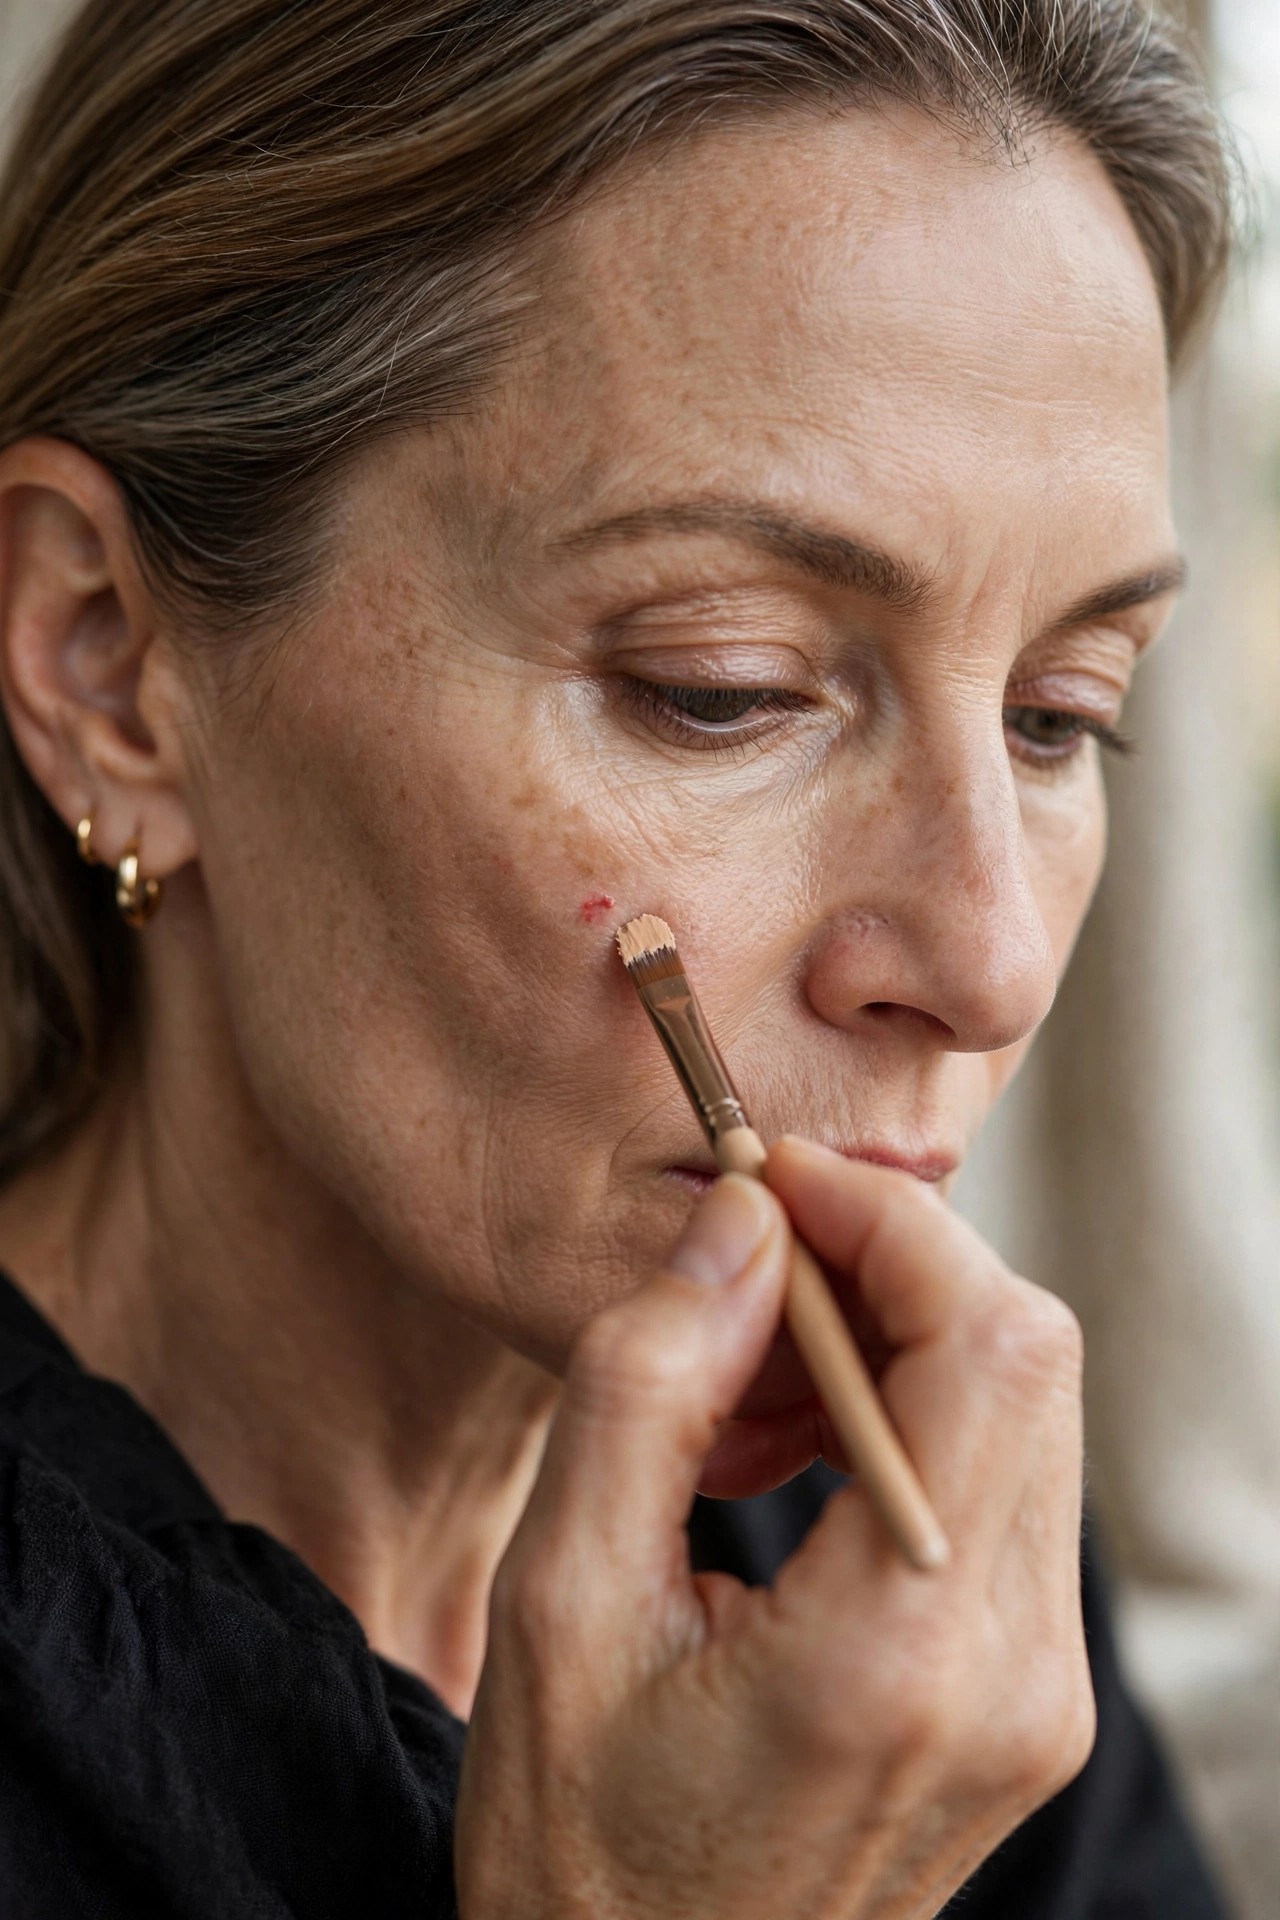
Fingers are wonderful for under-eyes and terrible for precision. For individual spots, broken capillaries, or the precise edge of a dark circle, switch to a tiny flat brush — the kind meant for detail work. It deposits product exactly where you want it with zero spread into surrounding skin.
Try this: small flat detail brush, product only on the very tip, pressed straight down onto the spot.
Pro note: Feather the edges with a clean fingertip afterward — precision placement, invisible blend.
Two concealers beat one: a brightening liquid for under-eyes and a higher-coverage cream for spots. Trying to make one formula do both jobs is why most concealer looks wrong by afternoon.
16. ❄️ The Cool-Press Set
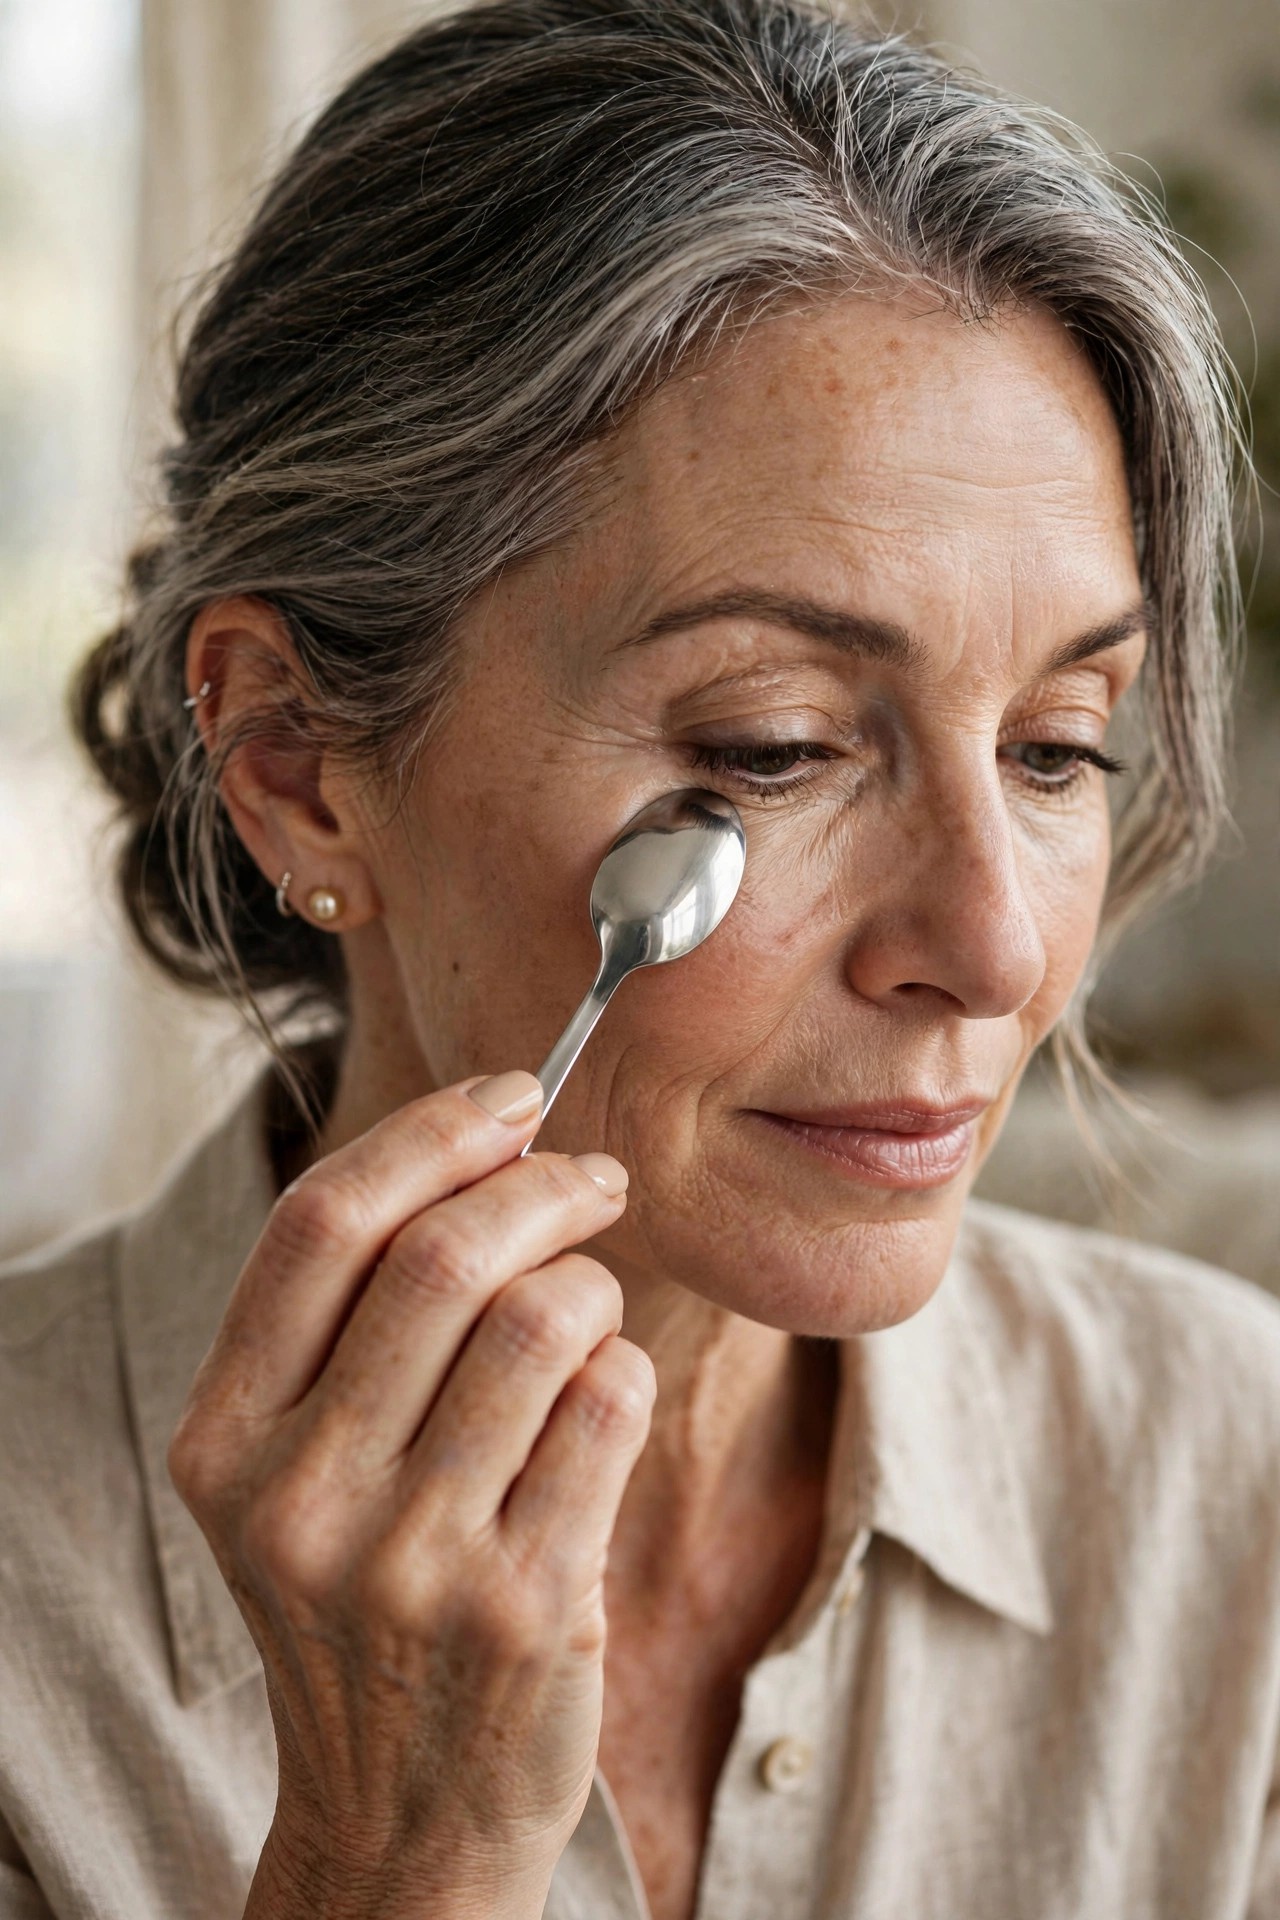
Heat melts concealer into lines; cool sets it in place. After blending, press the back of a chilled teaspoon — or a cool, damp sponge kept in the fridge — gently over the concealed area for ten seconds. The cool temperature firms the product film and tightens the look of the skin simultaneously.
Try this: chilled teaspoon back, pressed lightly over the under-eye for 10 seconds.
Avoid: ice directly on skin — too cold causes redness; chilled metal is plenty.
17. 💧 The Mist Sandwich

Sandwich your concealer between two whisper-light mists of hydrating setting spray: one on bare, prepped skin before concealer, one after blending. The first mist gives the product grip; the second melts everything into a single flexible layer. Concealers applied inside this sandwich outlast unmisted ones by hours.
Try this: mist → concealer → blend → mist again, each layer fully dry before the next.
Pro note: Use a hydrating, alcohol-free mist — alcohol-based sprays dehydrate the under-eye and cause the very creasing you’re preventing.
18. 📸 The Harsh-Light Check

Bathroom lighting is concealer’s best friend and your worst enemy — it hides every flaw in your application. Before you leave, check your under-eyes in the harshest light you have: a phone flashlight held at arm’s length, or direct sunlight. Harsh light reveals unblended edges, excess product, and shade mismatches while you can still fix them.
Try this: phone flashlight test every morning — 15 seconds that saves the whole day.
Avoid: trusting the magnifying mirror alone — magnification shows texture but lies about blend and color.
19. 🧼 Clean Tools, Clean Finish

A dirty sponge is a crease factory. Old product caked into your sponge or brush mixes with fresh concealer, creating a thick, uneven layer that deposits too much in some spots and drags in others. Wash your under-eye tools weekly with gentle soap, rinse thoroughly, and let them dry completely.
Try this: weekly wash for sponges and concealer brushes; replace sponges every 1–3 months.
Pro note: If your concealer suddenly starts creasing after weeks of perfect wear, the culprit is almost always a dirty tool — not the product.
⚠️ Mistakes That Age the Look
- Using concealer two shades too light — the raccoon halo draws more attention than the darkness did; go half a shade lighter, maximum.
- Applying before foundation — you’ll use twice as much covering what foundation would have handled for free.
- Setting the whole under-eye with powder — it dehydrates the area and guarantees a crepey finish by afternoon.
- Rubbing instead of tapping — every drag stretches delicate skin and deposits product unevenly.
- Adding more product at the first sign of creasing — re-mesh with warmth first; new layers only compound the problem.
❓ Concealer for Mature Skin FAQs
Should I apply concealer before or after foundation?
After — always. Foundation evens out much of the discoloration on its own, so applying concealer second means you automatically use less. Since less product is the entire secret to crease-free concealer on mature skin, the order genuinely matters.
How light should my under-eye concealer be?
Half a shade lighter than your foundation at most. The old advice of going two shades lighter creates a visible pale halo that emphasizes texture. For spots and redness elsewhere, match your foundation exactly instead of going lighter.
Do I need a color corrector under concealer?
Only where darkness is strongest — typically the inner corner and tear trough. A sheer peach (fair skin) or orange (medium to deep skin) corrector neutralizes blue and purple shadows so you need less concealer overall. Keep it thin; it’s a base, not a layer.
How do I stop concealer settling into lines during the day?
Use less product, place it only on shadowed areas, and let each layer self-set for 30 seconds. Micro-set only the deepest crease with a pin-head of powder. If creasing appears midday, warm the area with a clean fingertip and tap to re-mesh — don’t add more product.
Can I skip powder entirely under my eyes?
Yes — many women over 50 look better without it. Mist a damp sponge with setting spray and tap it over the concealer for a flexible seal with zero powder. If you crease badly in one spot, micro-set just that fold and leave everything else dewy.
📖 Keep Reading
- 💧 Best Foundation for Mature Skin Over 50: 12 Crease-Free Glow Secrets — the thin-layer base technique that pairs perfectly with minimal concealer.
- ⏰ Everyday Makeup Routine Over 50: 12 Steps to a Fresh 5-Minute Face — the 5-minute routine where concealer plays a supporting role, not the lead.
- 👀 Eye Makeup for Hooded Eyes Over 50: 12 Lift & Open Techniques — bright under-eyes plus lifted lids: the complete eye-area transformation.
✅ The Concealer Checklist
- ☐ Eye cream 15 minutes before makeup — thin, fast-absorbing formula
- ☐ Color-correct the darkest shadows first, then concealer
- ☐ Warm concealer on your ring finger; tap, never drag
- ☐ Inner corner first; skip the full triangle
- ☐ 30-second self-set before deciding you need more
- ☐ Micro-set only the deepest crease; re-mesh (don’t re-layer) at midday
Crease-free concealer was never about finding a magic product — it was about using less of a good one, in the right places, with patience. Your under-eyes will thank you by 5pm.
Discover more from Fashinate Style
Subscribe to get the latest posts sent to your email.