
Most family recipe books fail for one reason: they get treated as a craft project instead of an archive. People spend weeks choosing fonts and ribbon colors, then the finished book sits on a shelf because nobody can actually cook from it. The recipes families return to are the ones with real measurements, a clear source, and a story attached.
So build your book around the food your family genuinely makes — not the prettiest cards you can find. Gather the dishes that show up on ordinary Tuesdays and at every holiday table. This guide walks you through ten practical steps to gather, test, format and print a family recipe book that relatives will use, stain and pass down.
1. Start With the 10 Recipes Everyone Actually Cooks
Best for: anyone overwhelmed by a shoebox of clippings and no clear starting point.
Skip the temptation to include every recipe you’ve ever collected. Instead, ask five relatives a pointed question: “What do you cook at least once a month that came from our family?” The overlap in their answers becomes your core book. If three people name the same pot roast, it belongs. If only one person remembers a dish, save it for a future volume.
Ten to fifteen recipes make a complete, usable book. A hundred vague ones never get opened.
2. Interview the Cooks Before They’re Gone
Best for: capturing the recipes that live only in someone’s hands and memory.
Sit down with a phone recorder and cook alongside the person who knows the dish. Ask specific questions: How much is “a pinch”? What pan do you use? How do you know when it’s done? Watch their hands closely — grandma’s “medium heat” might mean a particular setting on her particular burner, and her “fold gently” might be a motion a written recipe can’t convey.
Try this: Type up your notes within 24 hours while the details are fresh. Add timings and visual cues like “onions should look glassy, about 6 minutes” so a stranger could follow it.
3. Photograph the Stained Original Cards
Best for: preserving the physical artifacts that carry the most emotional weight.
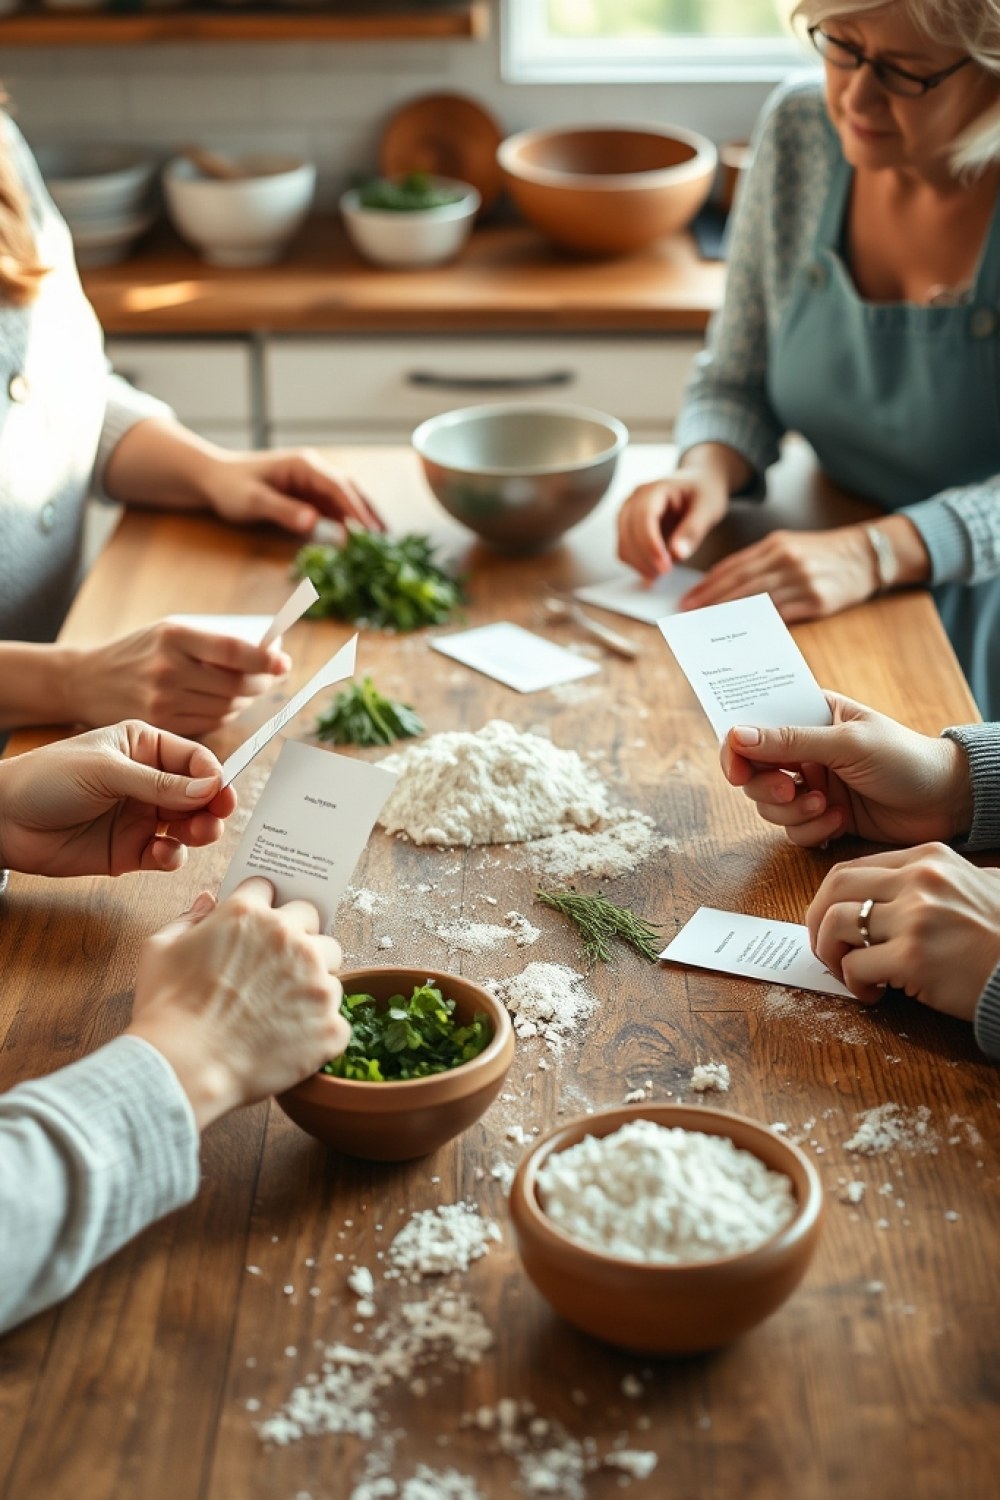
Scan or photograph every handwritten card, index card and margin note at 300 dpi minimum — front and back. The grease splatters, the crossed-out amounts, your aunt’s handwriting: that’s the emotional core of the book, so don’t tidy it away. Print a few full-page as “artifacts” between chapters.
Try this: Store the originals in acid-free sleeves in a cool, dry drawer away from the kitchen. Heat, steam and flour are what destroy cards, not time.
4. Give Every Recipe a Fixed Template
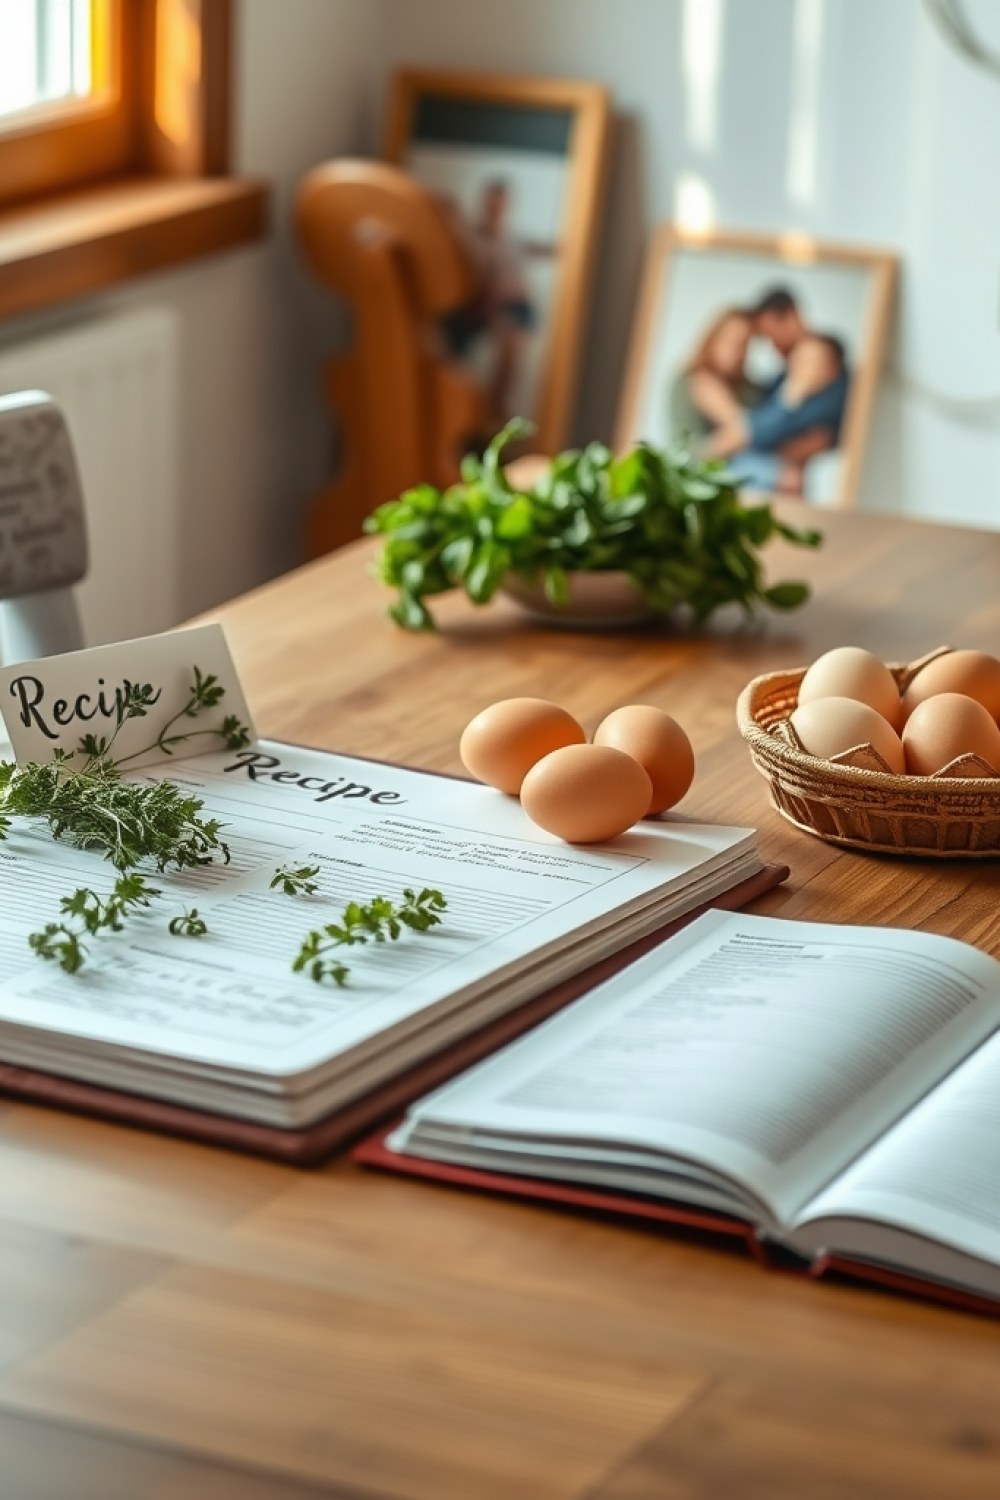
Best for: making a homemade book feel deliberate and easy to cook from.
Use the same layout for every recipe: title, who it came from, yield, ingredient list in order of use, numbered steps, oven temperature, pan size, and a notes line. Consistency is what separates a professional-feeling book from a scrapbook — your eye learns where to look, so you’re not hunting for the oven temp mid-recipe.
Try this: Free tools like Canva or a simple Word table work fine. Build one master page, then duplicate it for each recipe and swap the text.
5. Standardize Measurements Without Losing the Voice
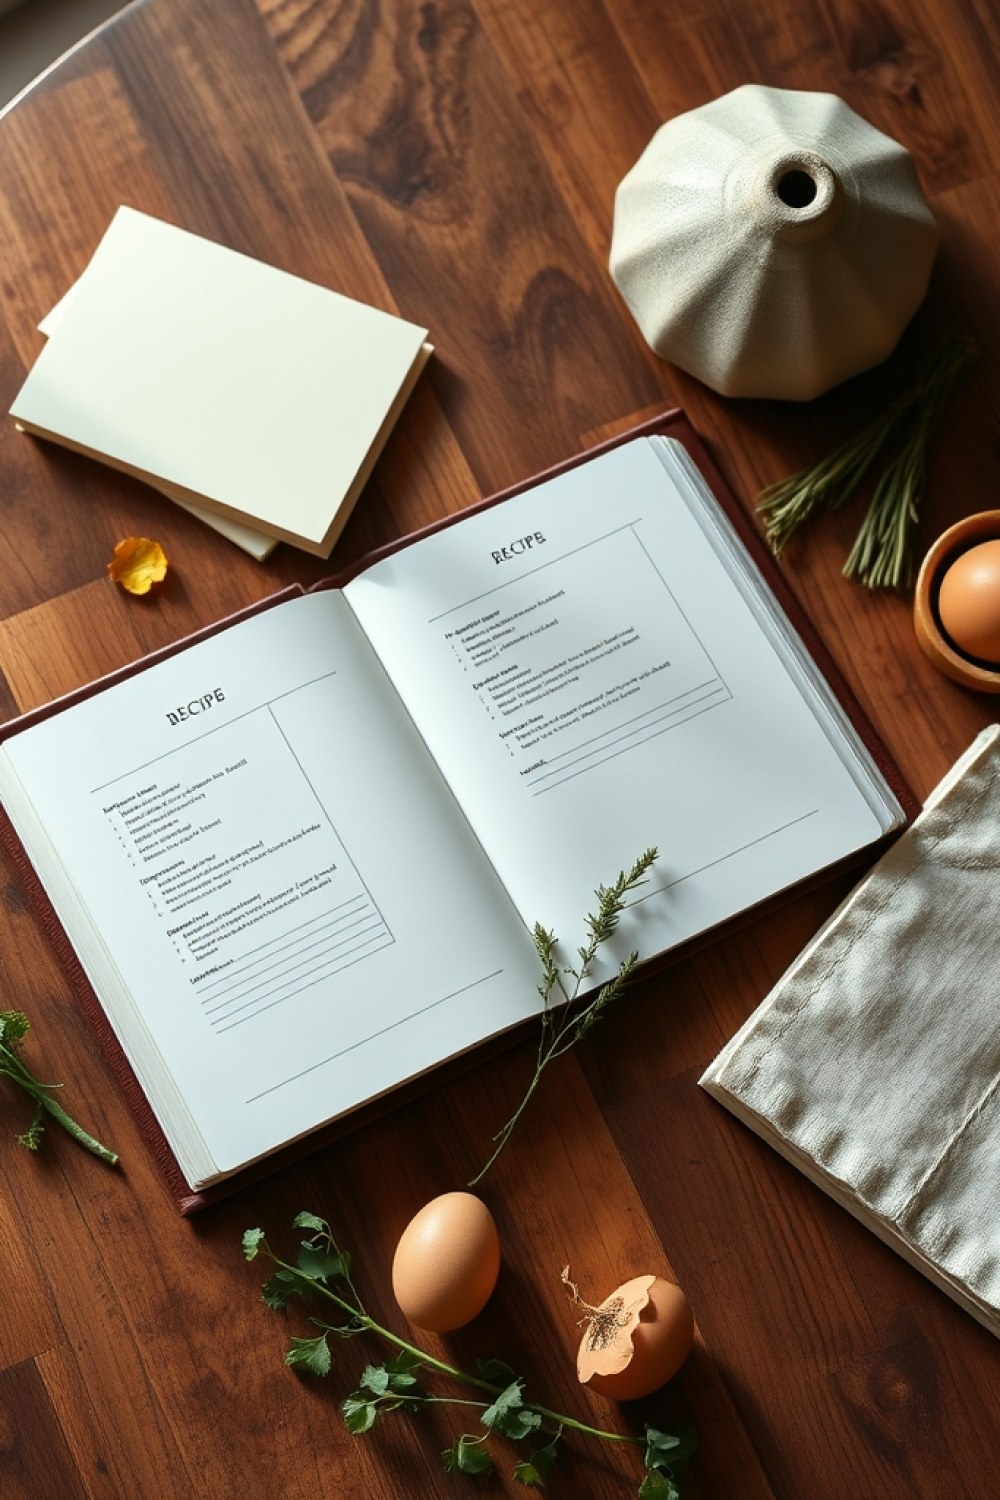
Best for: recipes written in cups, coffee tins and “enough flour.”
Convert vague amounts into grams or standard cups in the main ingredient list, then keep the original phrasing in a sidebar: “Nana always said a coffee cup.” You get accuracy plus character, and both the nervous beginner and the nostalgic reader are served.
Try this: Test-bake anything you convert before printing it. Old oven temperatures often run about 25°F hotter than modern ovens, so a 350°F instruction from a 1970s card may need adjusting.
6. Add One Story Line to Every Recipe

Best for: turning a recipe collection into something people read for pleasure.
Two sentences is enough. Where the dish came from, when it gets made, who fought over the last piece. Something like: “Made every Christmas Eve since 1962; Uncle Ray always got the burnt edge on purpose.” That single line does more work than a full page of decoration.
Try this: If you don’t know the story, ask the oldest relative who does. Record the answer verbatim — their phrasing is usually better than anything you’d write.
7. Organize by Occasion, Not Alphabet
Best for: books meant to be flipped through in search of a mood, not a title.
Alphabetical order is for databases. Family books work best grouped by when you cook: Every-Week Dinners, Holidays & Feast Days, Birthdays & Celebrations, Sick Day & Comfort Food, and Things from the Old Country. Readers find recipes by memory — they think “the soup we had when I was sick,” not “Minestrone.”
Try this: Add a simple index at the back listing every recipe by name and page, so alphabetical searching still works when someone needs it.
8. Choose a Binding That Survives the Counter
Best for: matching the format to how the book will actually be used.
A book that gets cooked from needs to lie flat and wipe clean. Go with spiral or wire-o binding and laminated covers at 8.5×11, printed at a local copy shop for roughly $8–15 each. For a keepsake, order a hardcover photo book from a print service instead.
Try this: If you can’t decide, make two versions — a working copy for the kitchen and a display copy for the shelf. Most families end up wanting both.
9. Add a Blank Pages Section for the Next Generation
Best for: families who want the book to keep growing instead of freezing in time.
Include 5–10 lined “Our Turn” pages at the back, using the same template, so kids and grandkids can write in their own additions and tweaks. It turns the book from an ending into a living document — and it’s often the page people cry over.
Try this: Print a short prompt at the top of each blank page: “Recipe name, who taught it to you, and the one thing you always change.” Prompts get filled in; empty lines don’t.
10. Print in Batches and Hand Them Out at a Gathering
Best for: getting the book into hands and getting real feedback fast.
Order copies for every household and give them out at Thanksgiving, a birthday or a reunion rather than mailing them one by one. A shared moment makes the book an event, not a package. Then ask each recipient to cook one recipe and report back.
Try this: Keep a shared note or group chat for corrections — typos, missing steps, “this needs more salt.” That feedback becomes edition two, and it comes almost free.
Questions About Making a Family Recipe Book
How many recipes should a family recipe book have?
Aim for 15 to 30 well-tested recipes rather than a large, thin collection. A focused book where every recipe has been cooked and checked is far more useful than 100 untested clippings. You can always add a second volume later.
What if I don’t have the original handwritten recipes?
Reconstruct them by cooking with the person who knows them, or by asking several relatives for their version of the same dish and comparing. Where memories conflict, print both versions side by side — the disagreement is part of the family history.
Should I make a printed book or a digital one?
Do both if possible: a printed spiral-bound copy for the kitchen and a PDF for relatives who live far away or want to reprint pages. Print is better for cooking from, digital is better for sharing and backing up.
How do I handle family disagreements about whose recipe is “the real one”?
Credit each version to the person who makes it and label them clearly, like “Aunt Marie’s Version” and “Mom’s Version.” Presenting them as variations instead of competitors keeps the book generous and gets both cooks to contribute.
Keeping the Book Alive After You Give It Away
A family recipe book isn’t finished when it’s printed — it stays useful only if people actually cook from it and write in corrections and new dishes. Set a light tradition: every year, ask relatives for one new recipe or one fix to an old one, and keep a folder for those submissions. Print an updated edition every few years.
That’s how a stack of stained cards becomes a book your grandchildren argue over.
Discover more from Fashinate Style
Subscribe to get the latest posts sent to your email.