
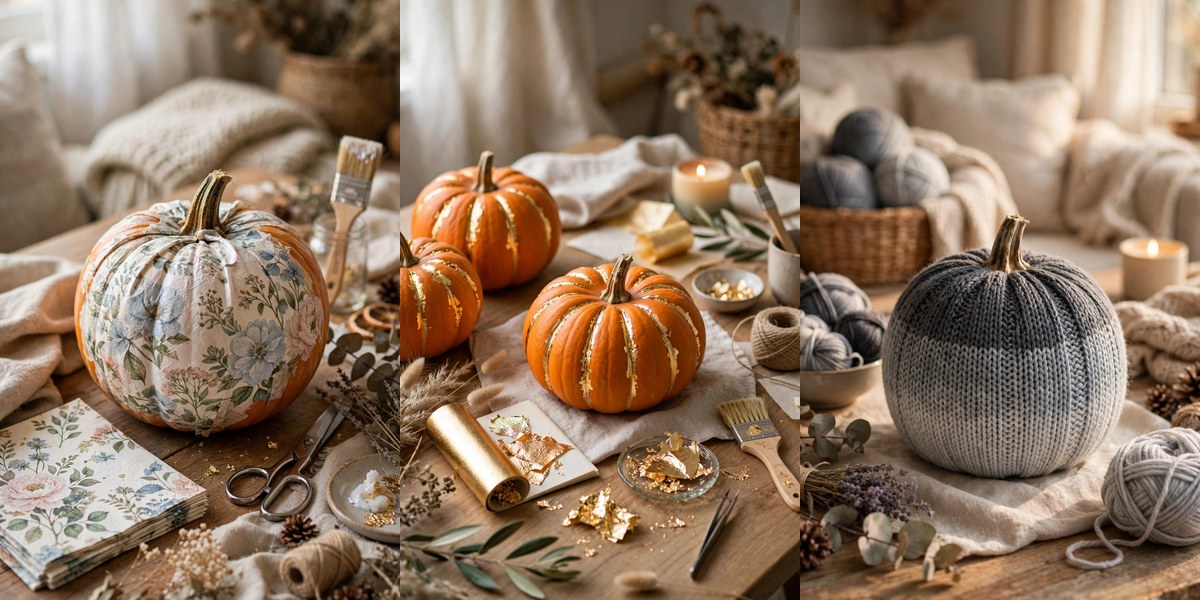
The smell of cinnamon drifting from the kitchen, leaves crunching underfoot, and a table scattered with paint pens and ribbon — that is the real scent of October at my house. Somewhere between the glue gun and the gold leaf, no-carve pumpkin season quietly became my favorite weekend ritual.
Here is what nobody tells you: putting down the carving knife doesn’t mean settling for boring. These no-carve pumpkin decorating ideas deliver every bit of the charm with zero slimy guts, zero sharp tools, and pumpkins that stay gorgeous for weeks instead of collapsing in three days.
Grab a pumpkin and pick your favorite. Most of these take under an hour, every single one is kid-safe, and the hardest part will be choosing which one to make first.
1. 📰 Decoupage Napkin Pumpkins
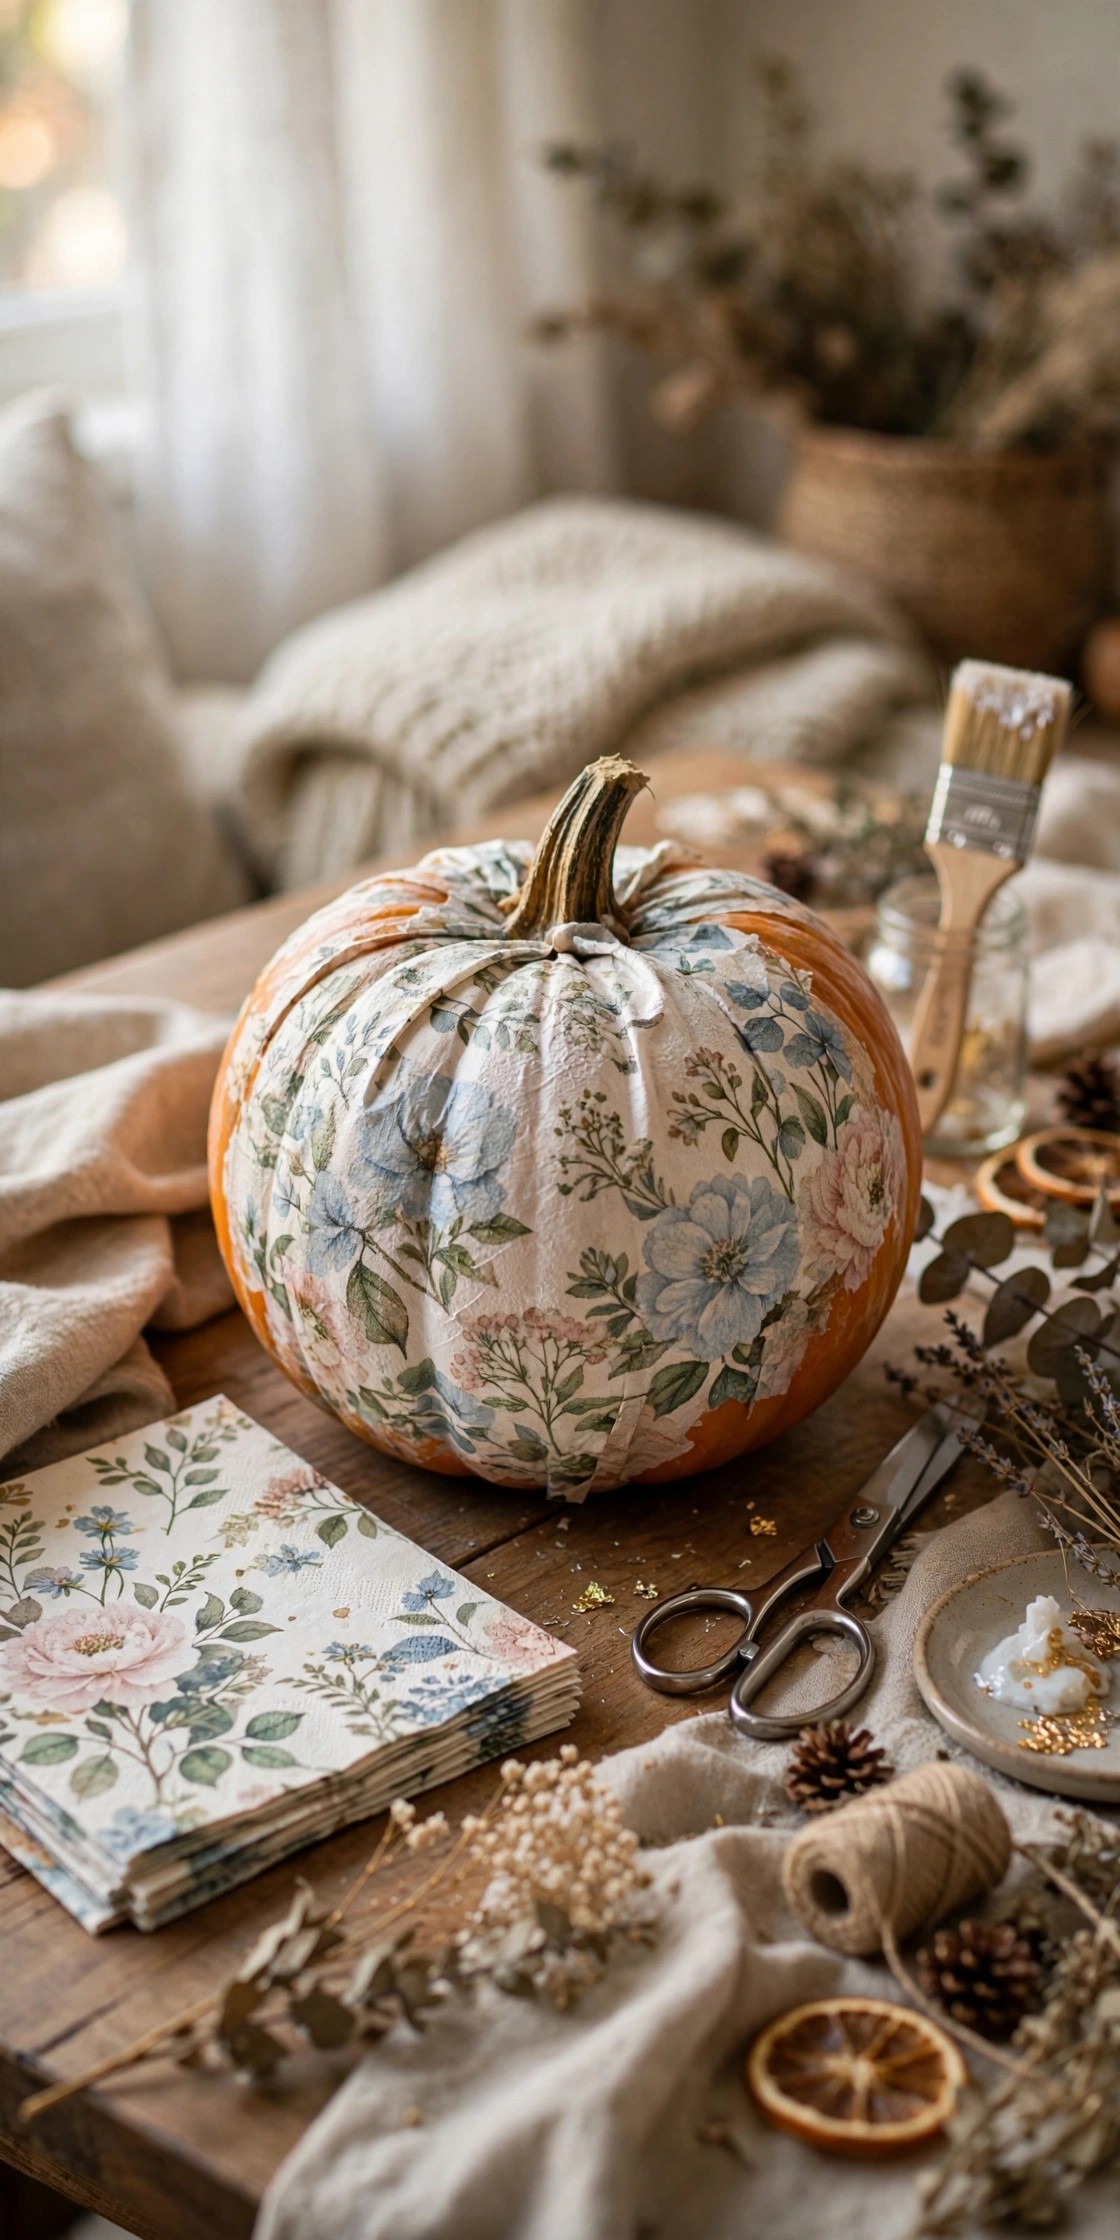
Tear pretty paper napkins into pieces and Mod Podge them onto a pumpkin — florals, Halloween prints, vintage maps all work. The result looks hand-painted by someone far more talented than you.
How to: Pumpkin + decorative napkins + Mod Podge + foam brush
Make it yours: Use the top printed ply of the napkin only — it lies flatter.
Kid-safe: Let little ones tear the napkins; you handle the glue.
2. 🌸 Pressed-Flower Pumpkins
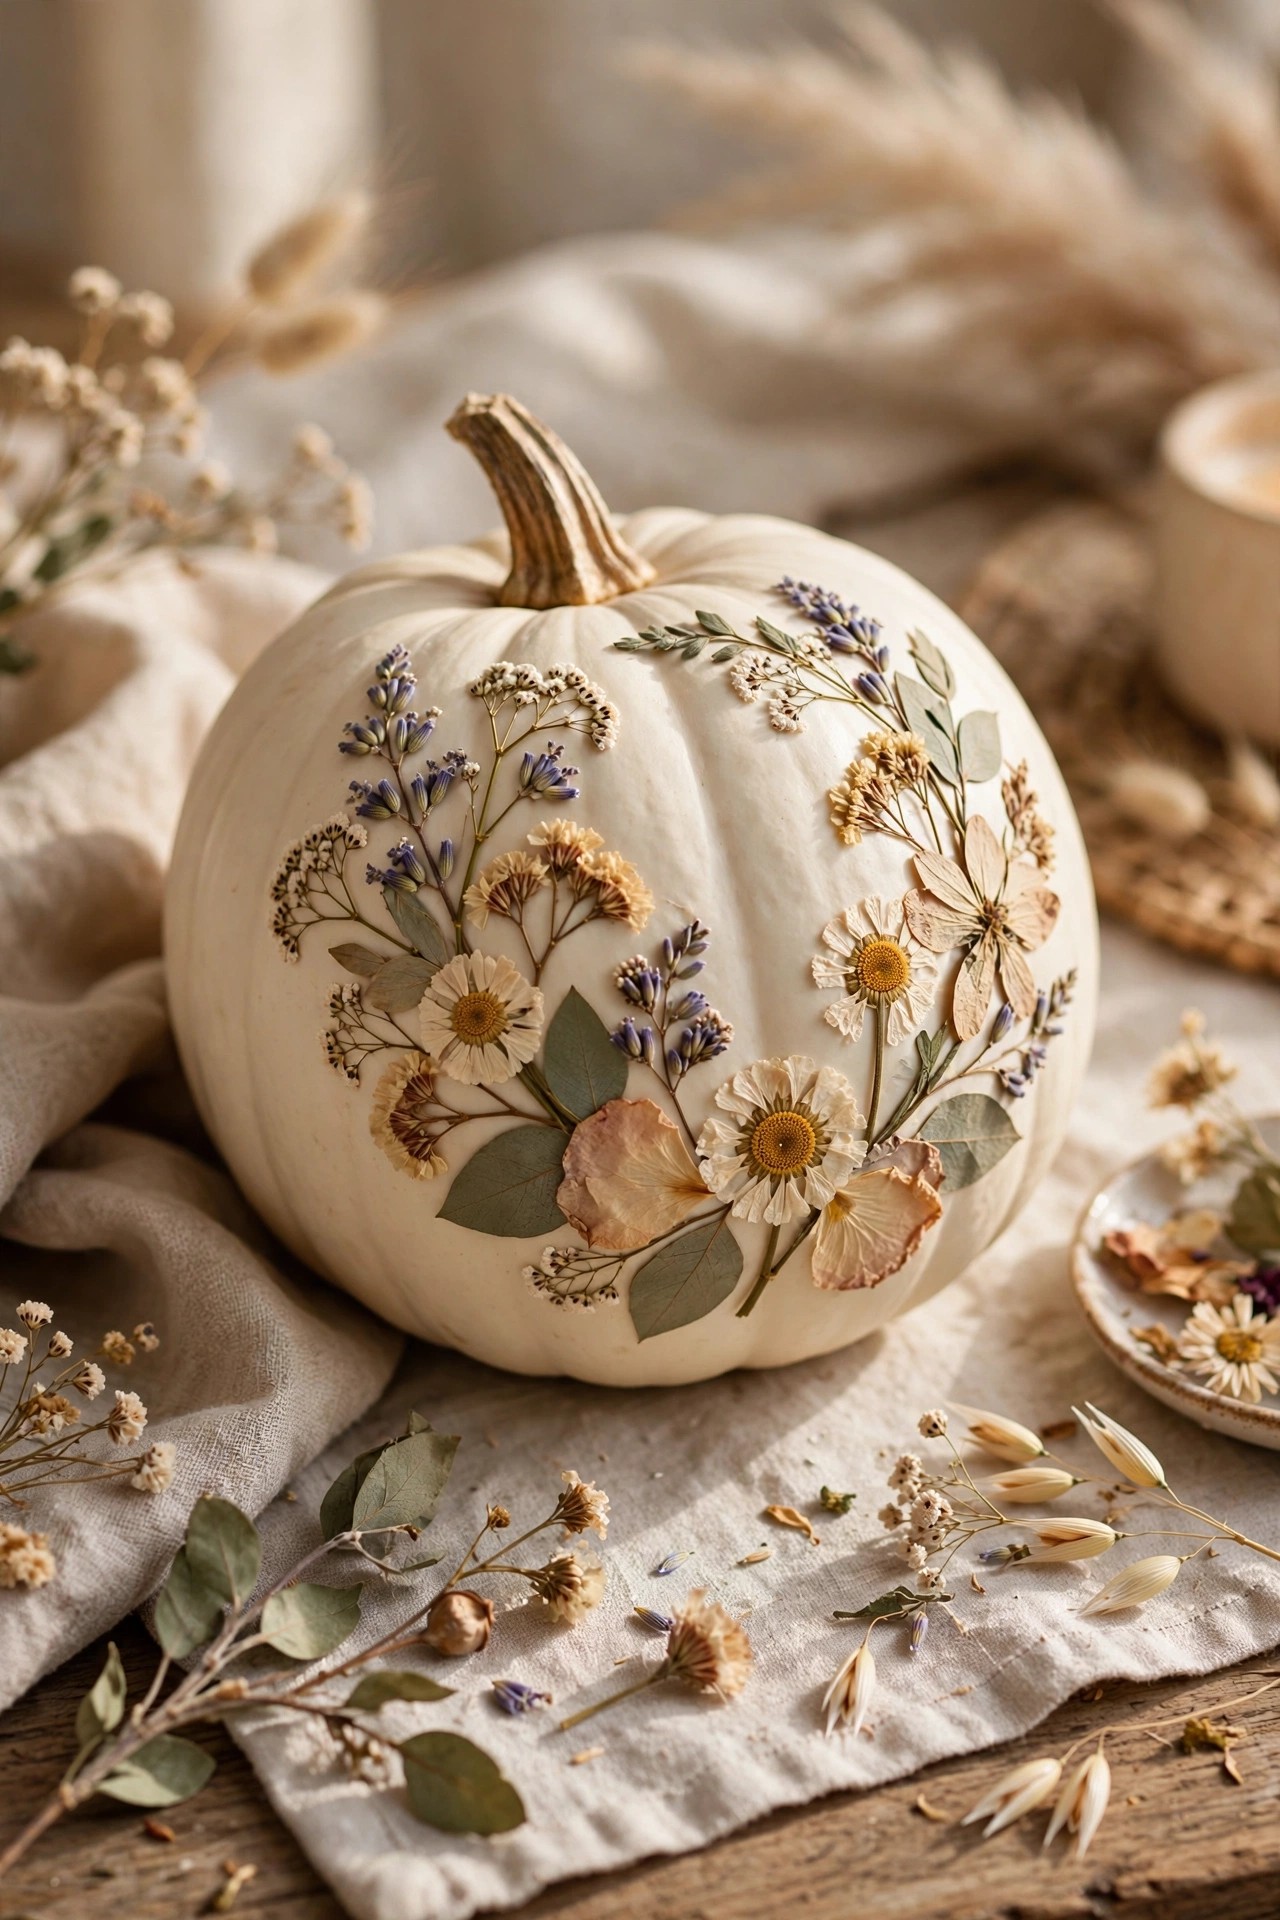
Press flowers for a week (or buy them pressed), then Mod Podge them onto a white pumpkin. Botanical, delicate, and the prettiest pumpkin on the block — full cottagecore energy.
How to: White pumpkin + pressed flowers + Mod Podge + tweezers
Make it yours: Cluster flowers around the stem like a crown.
Budget tip: Press garden flowers in a heavy book — free and personal.
3. ✨ Gold-Leaf Tip Pumpkins
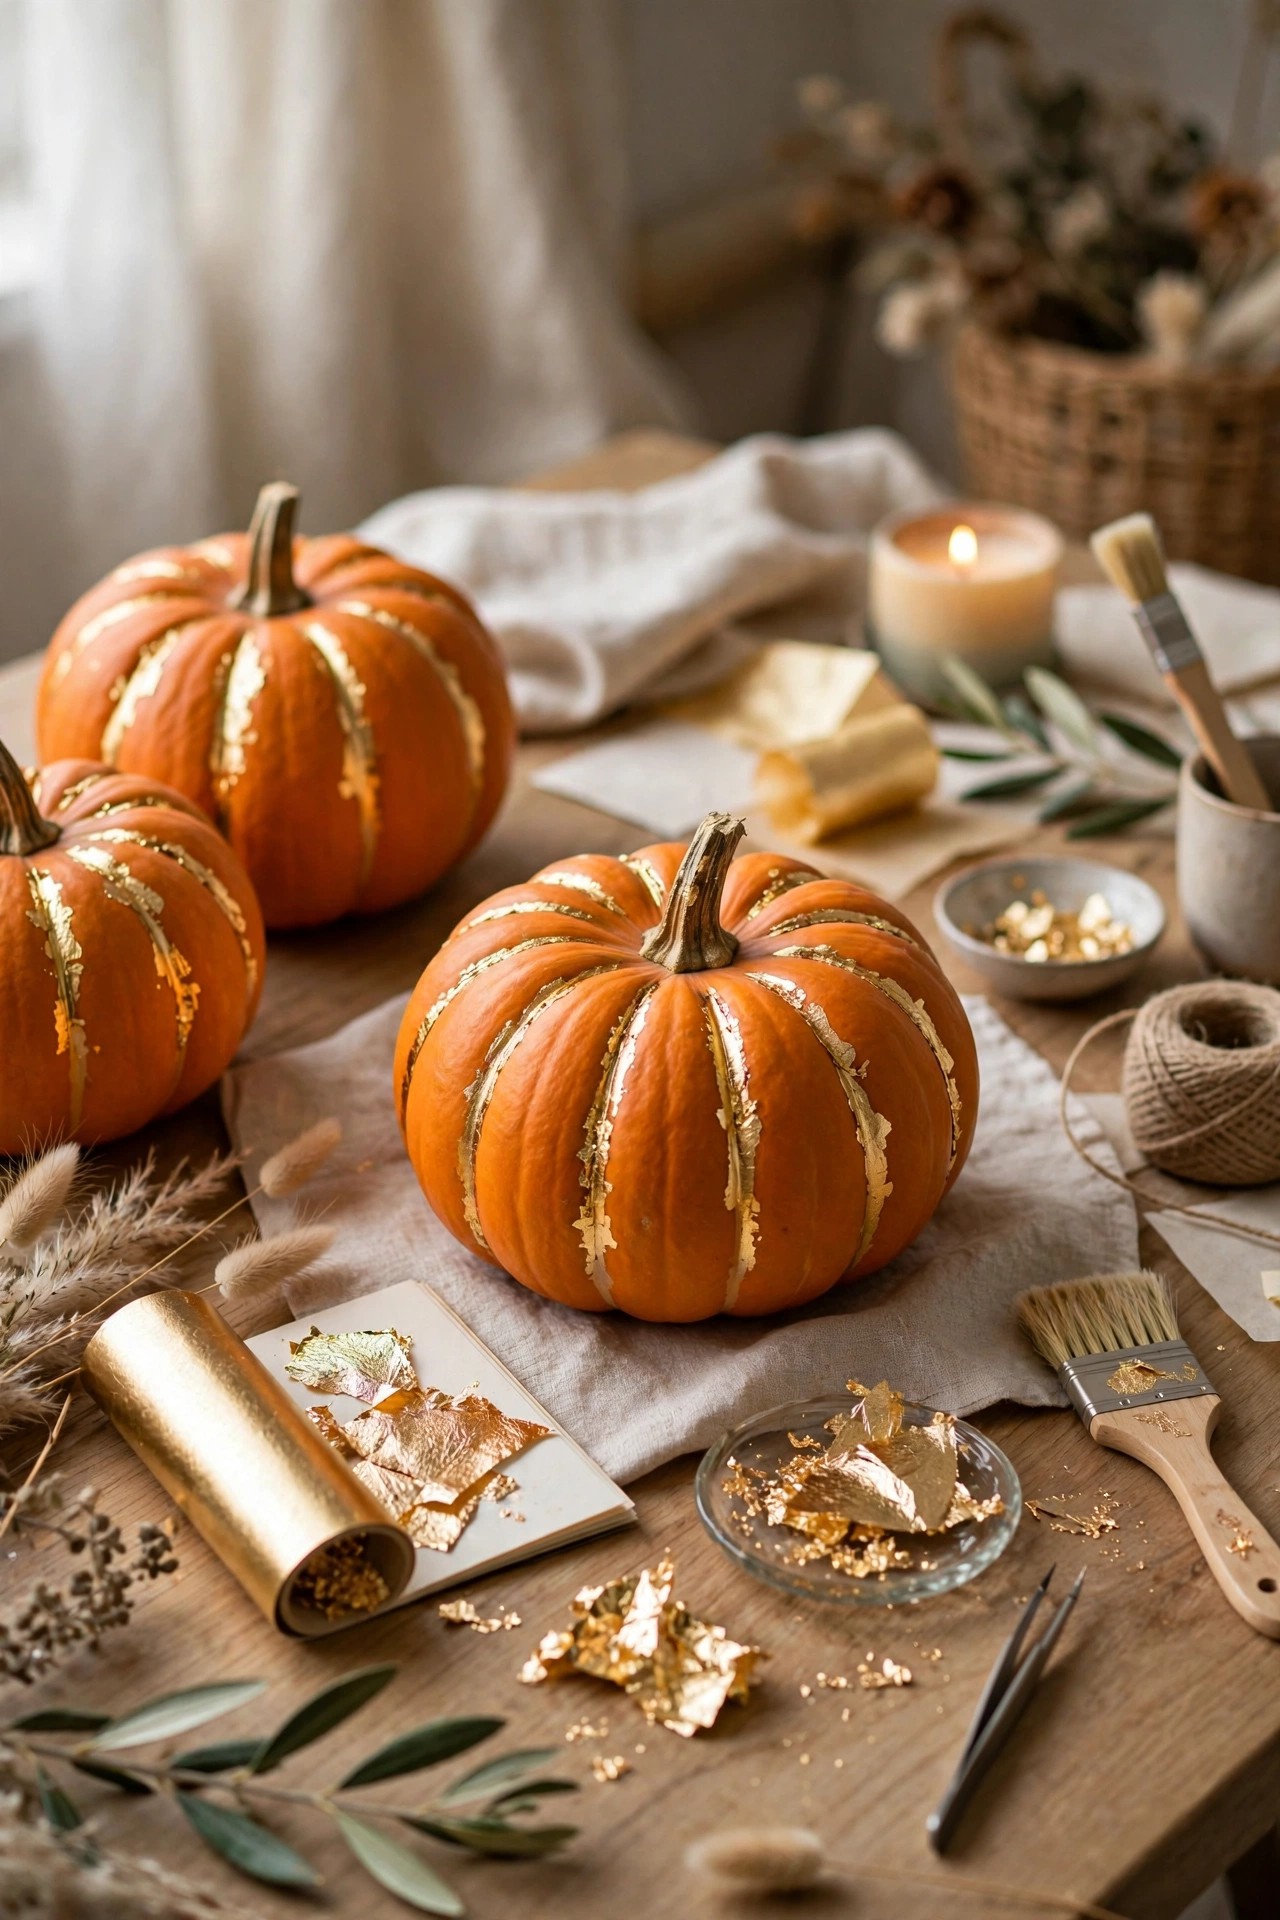
Brush adhesive size on the pumpkin’s ridges or stem, press on gold leaf sheets, and seal. A little gilding turns a $4 pumpkin into something that looks boutique-bought.
How to: Pumpkin + gold leaf sheets + adhesive size + soft brush + sealer
Make it yours: Gold-leaf just the stem for a subtle luxe touch.
Avoid: Working near a fan — gold leaf flies everywhere.
4. 🖤 Velvet Fabric-Wrapped
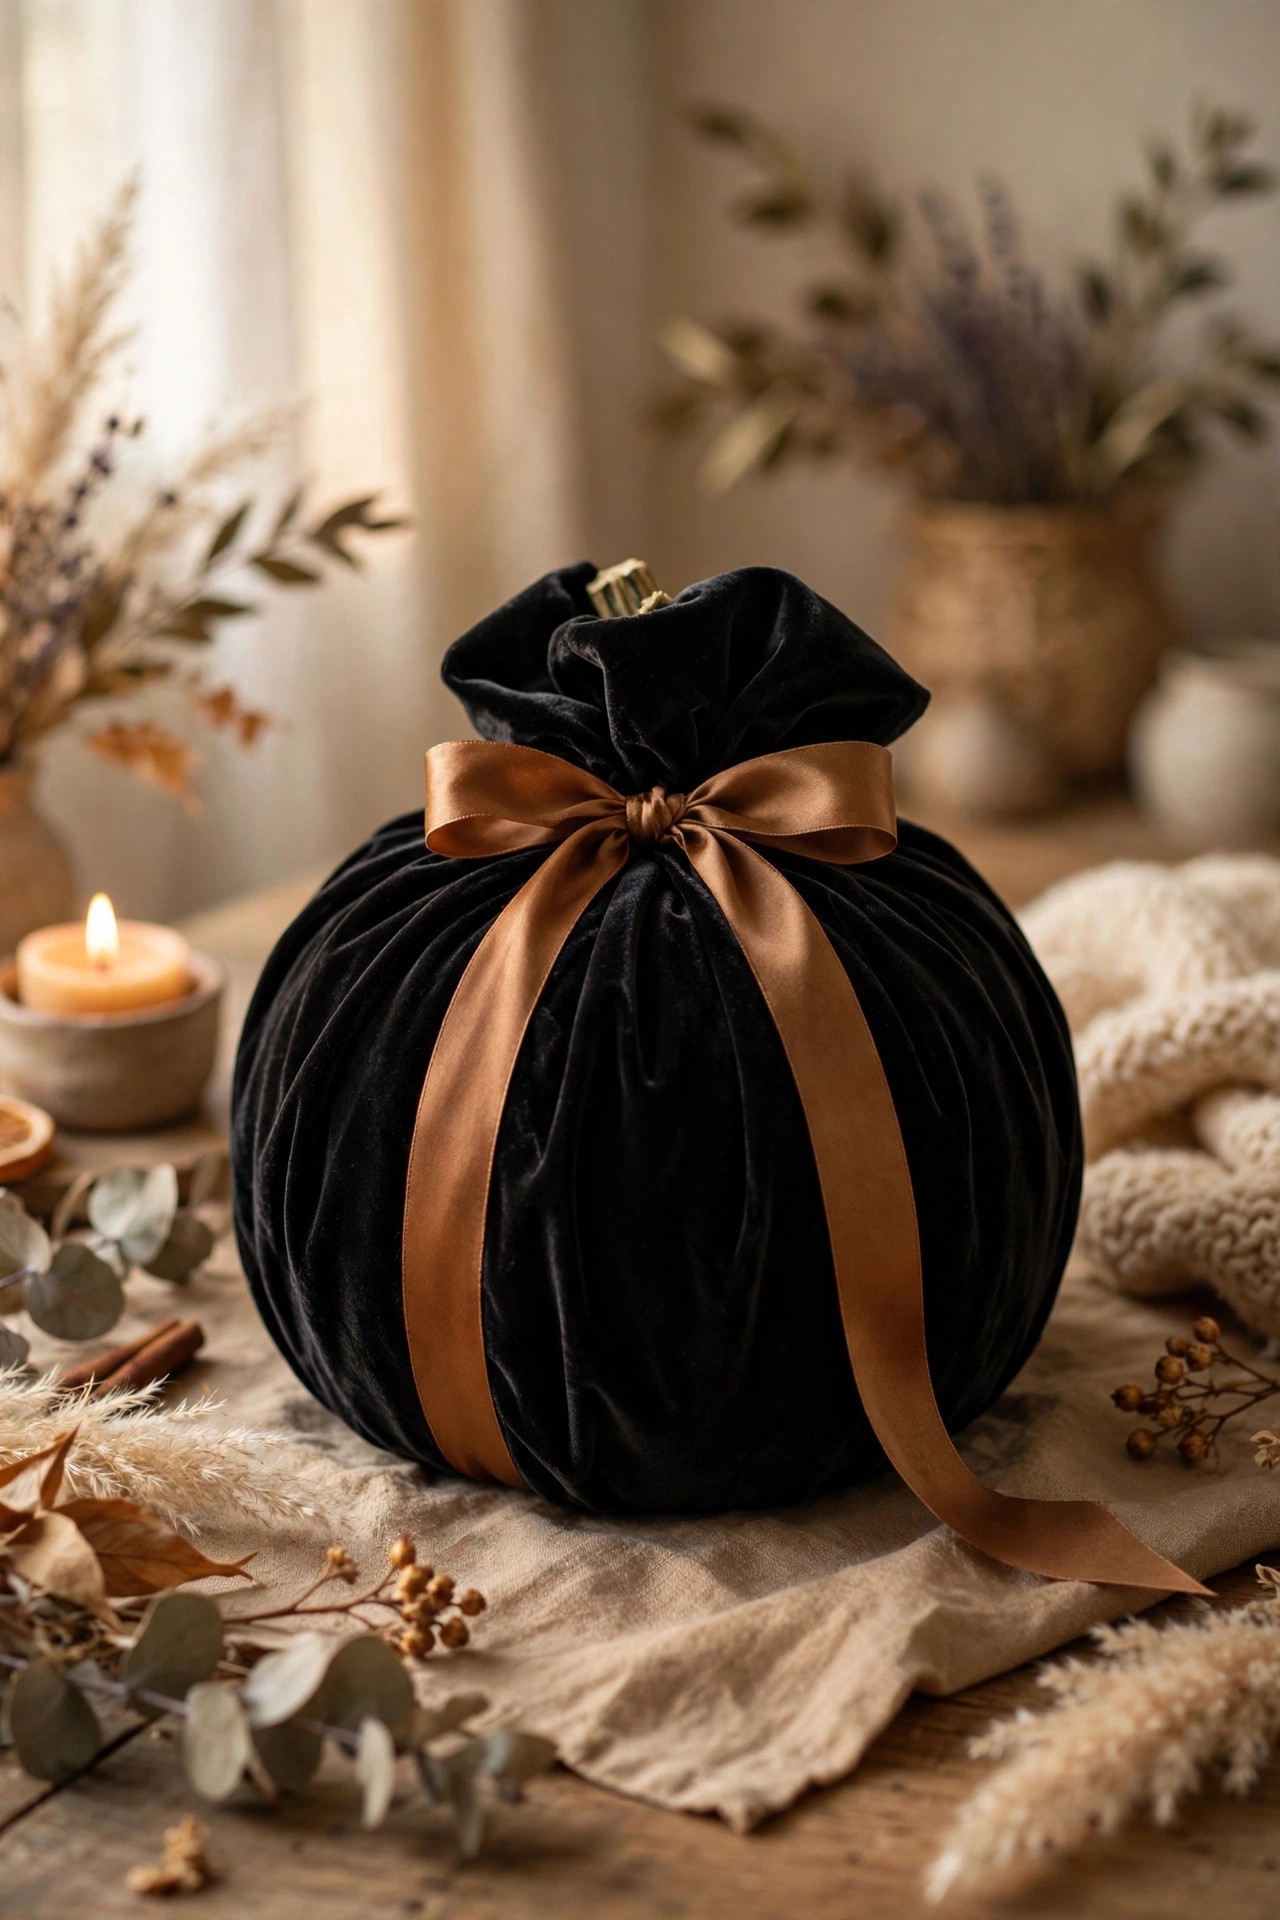
Wrap a pumpkin in velvet or linen, gather at the stem, and tie with ribbon — no glue, no paint, completely reversible. The fabric gathers into the ridges like a couture gown.
How to: Pumpkin + velvet or linen square + ribbon + real twig stem
Make it yours: Swap the fabric after Halloween for a Thanksgiving look.
Budget tip: Fat quarters from the craft store are the perfect size.
5. 🧶 Yarn-Wrapped Ombre
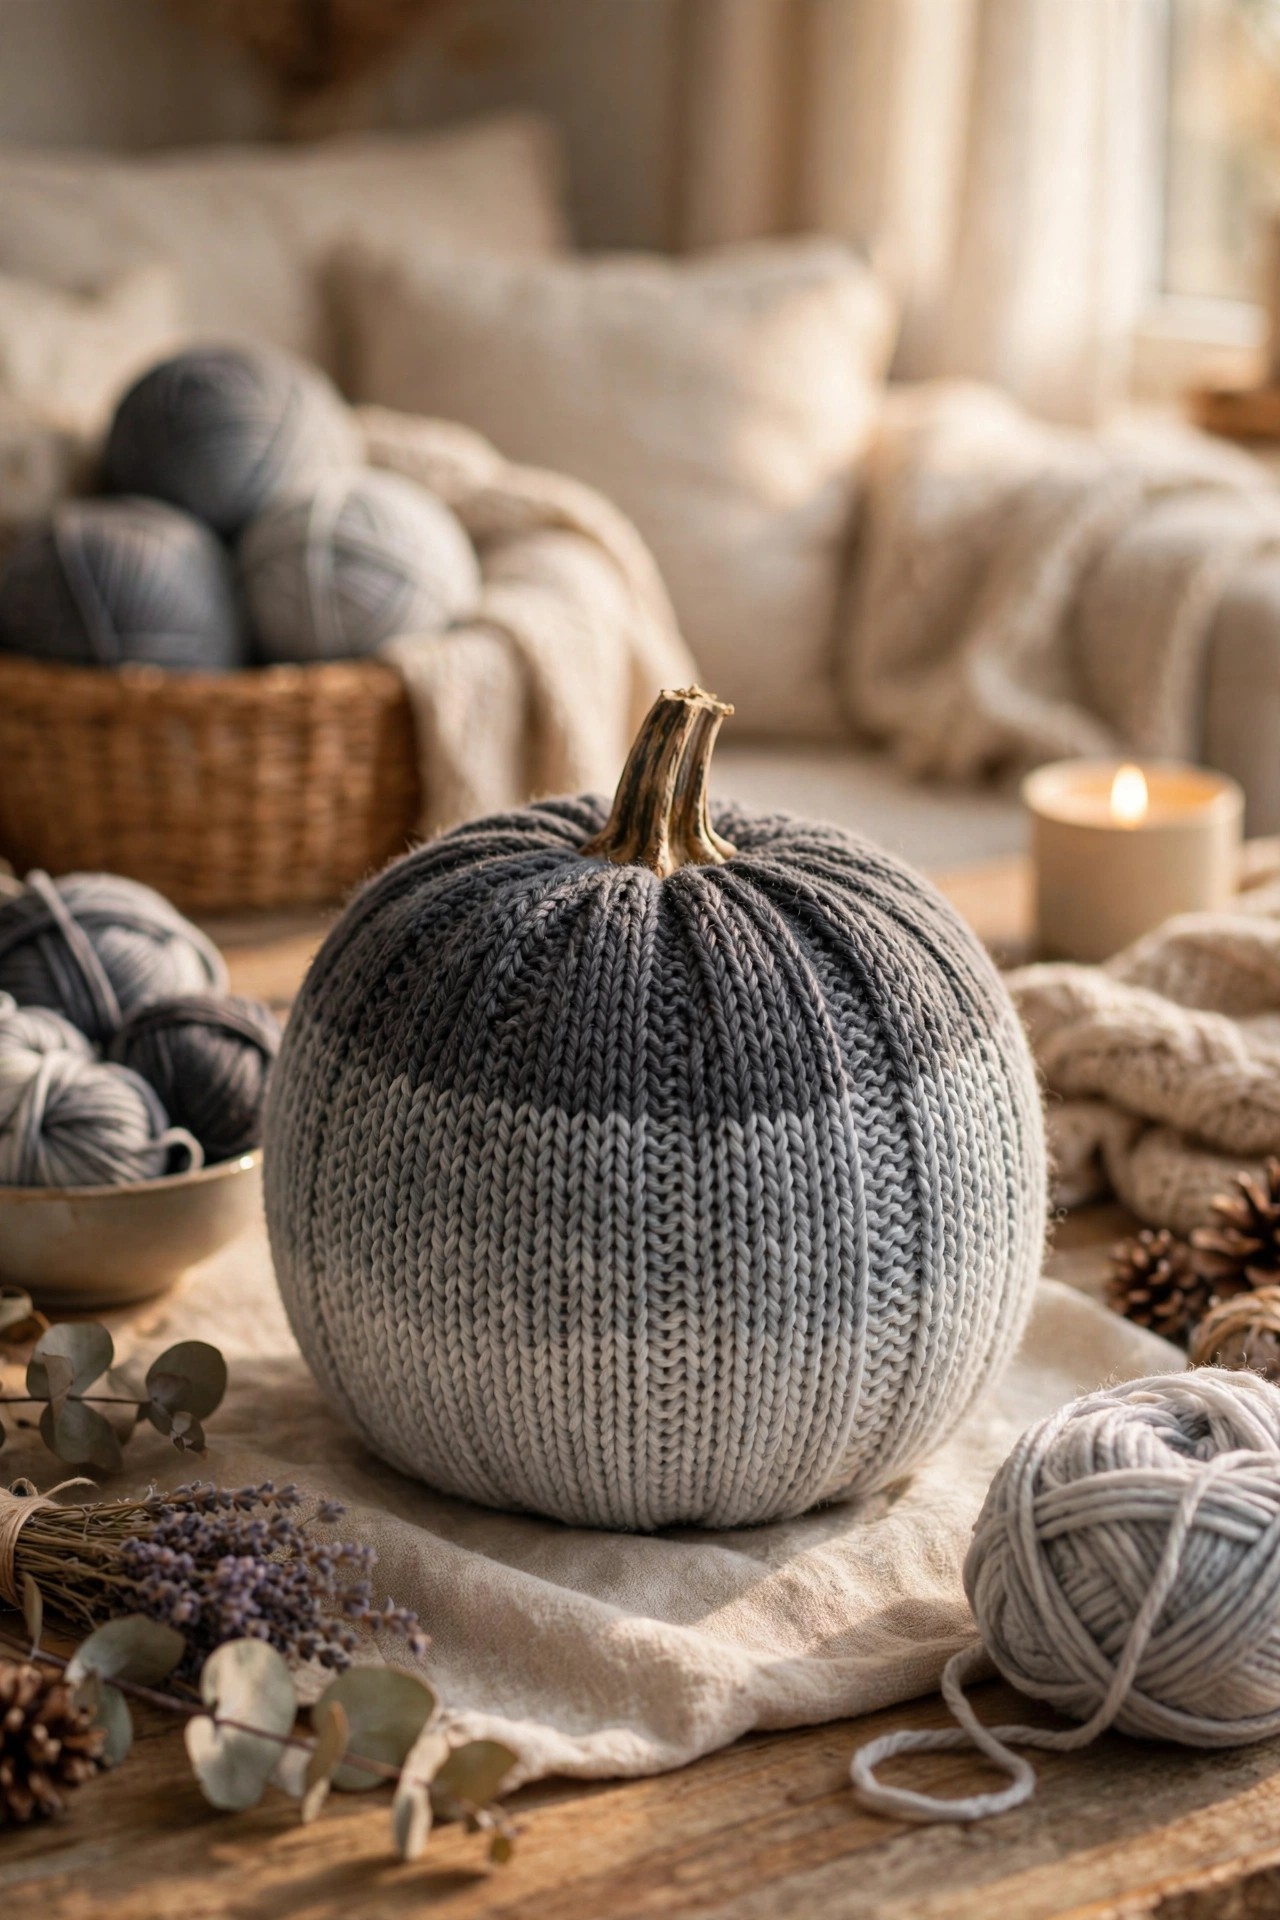
Hot-glue the yarn end at the stem and wind downward, switching colors every few rows for an ombre fade. Cozy, tactile, and weirdly meditative to make.
How to: Pumpkin + 3 yarn colors + hot glue gun
Make it yours: Try black to gray to white for a stormy ombre.
Kid-safe: Kids wind while you handle the glue gun.
6. 📼 Washi Tape Stripes
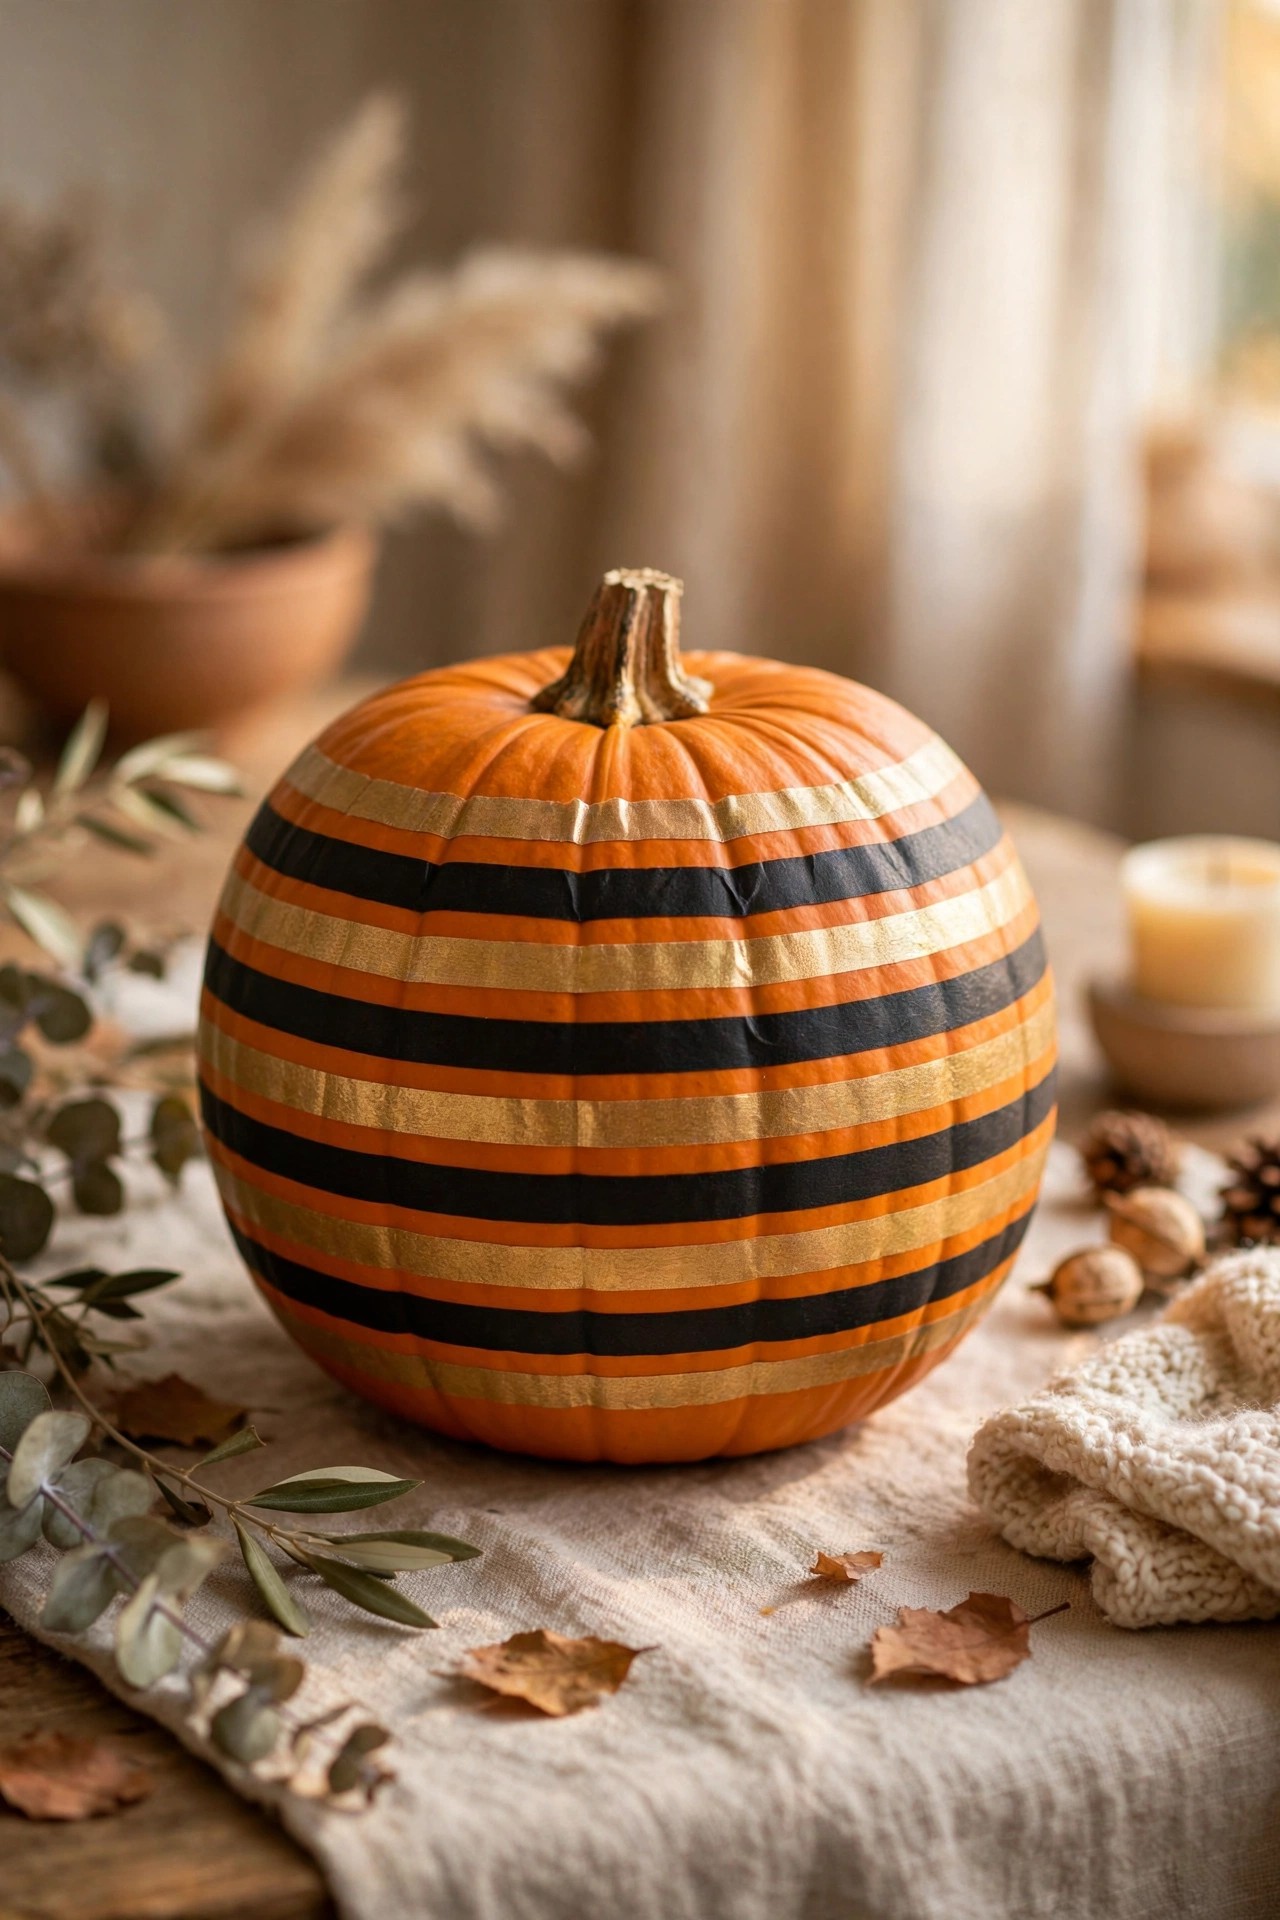
Wrap washi tape in stripes, chevrons, or random angles — it sticks to pumpkin skin beautifully and peels off cleanly. The fastest pumpkin makeover on this list.
How to: Pumpkin + washi tape in 2–3 patterns + scissors
Make it yours: Black and gold tape on a white pumpkin = instant chic.
Kid-safe: The ultimate toddler craft — zero mess, all sticking.
7. 🤍 Lace-Overlay Elegance
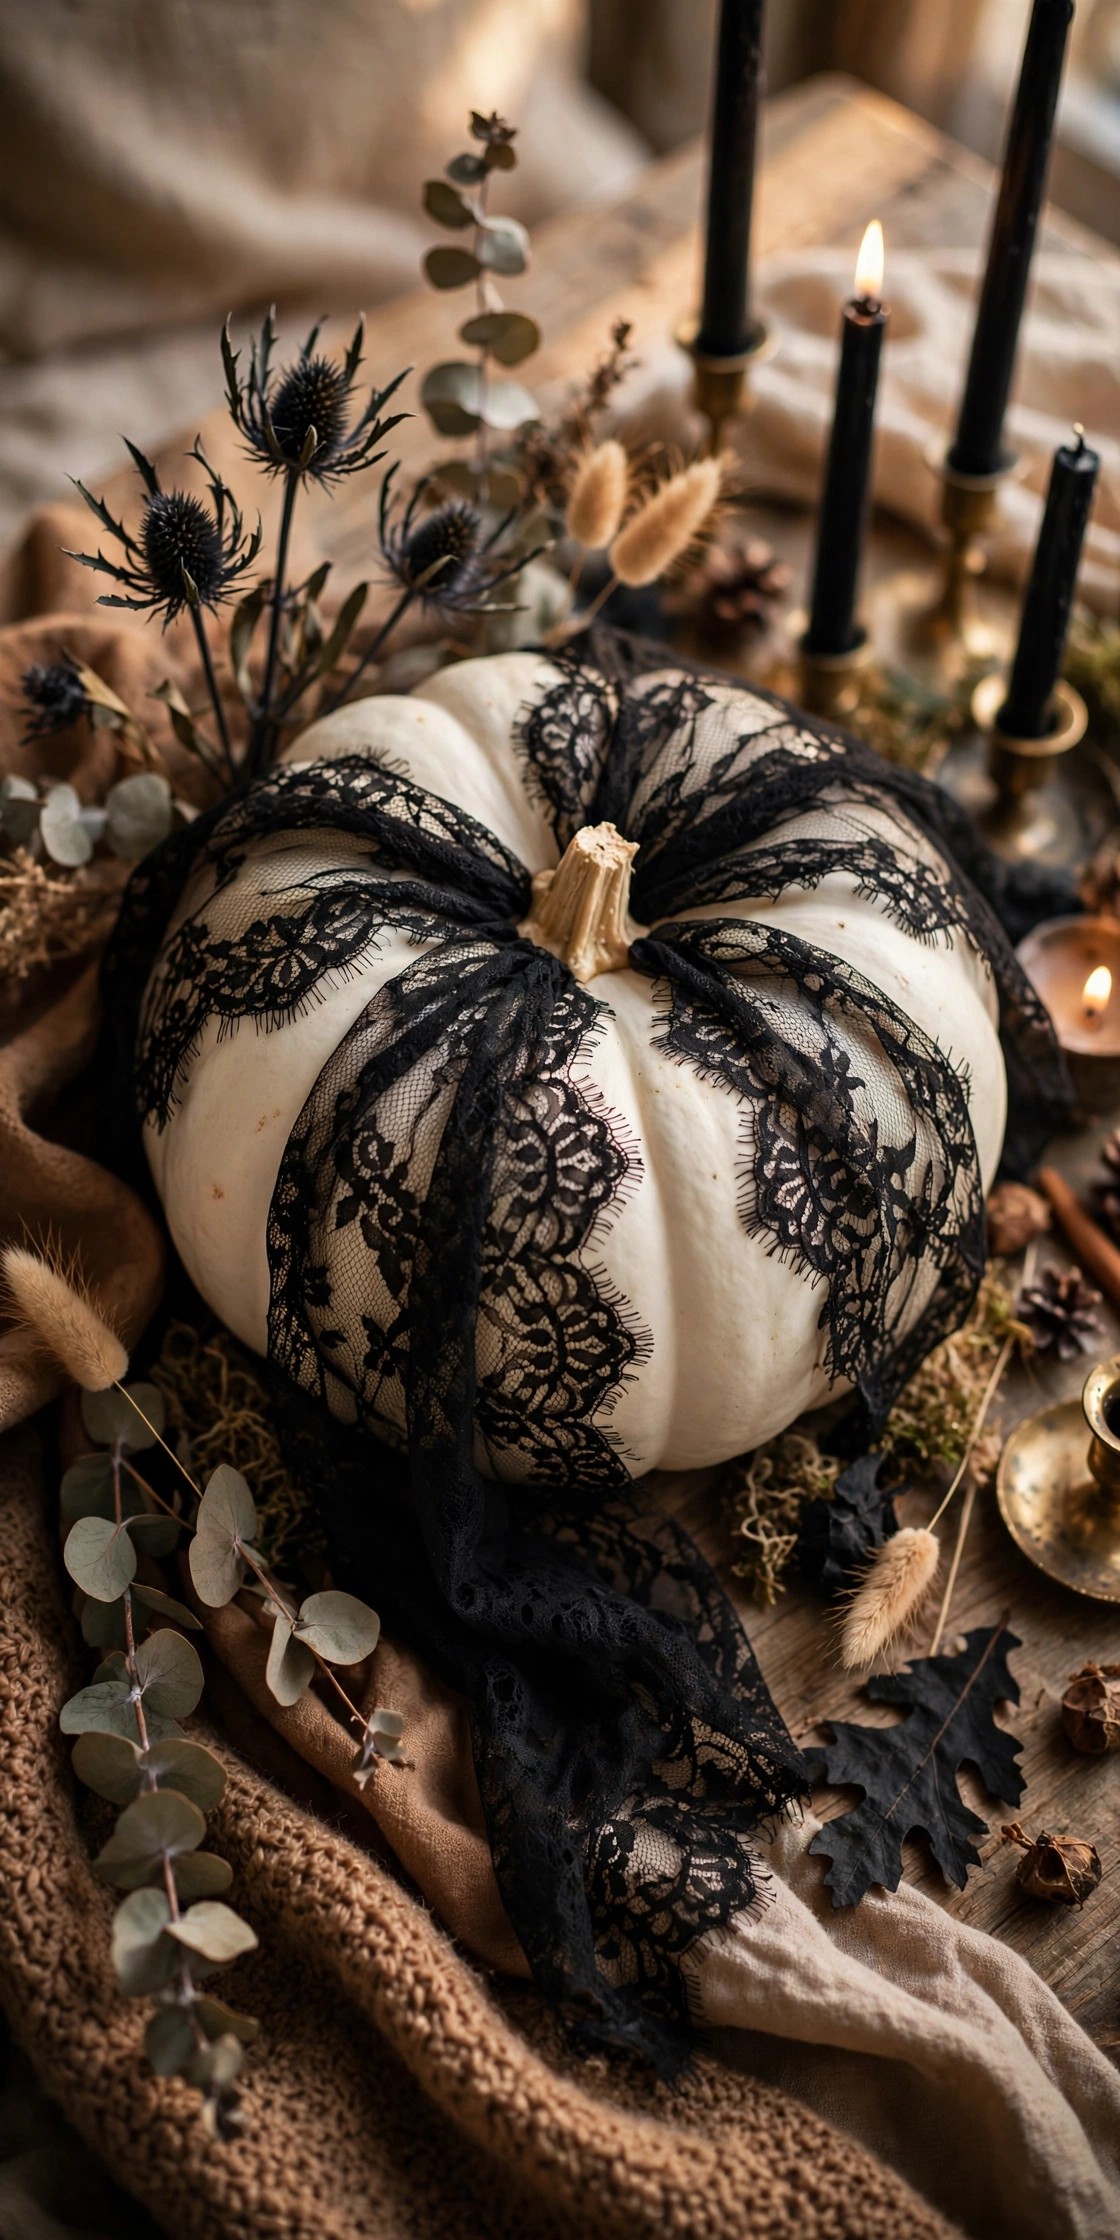
Drape black lace over a white (or white lace over orange) pumpkin and secure at the stem. Gothic romance in sixty seconds — it looks like the pumpkin is wearing vintage lingerie.
How to: Pumpkin + lace fabric scrap + ribbon at the stem
Make it yours: Layer two lace patterns for depth.
Budget tip: Thrifted lace curtains yield yards of overlay.
8. 🌵 Succulent-Topped Pumpkin
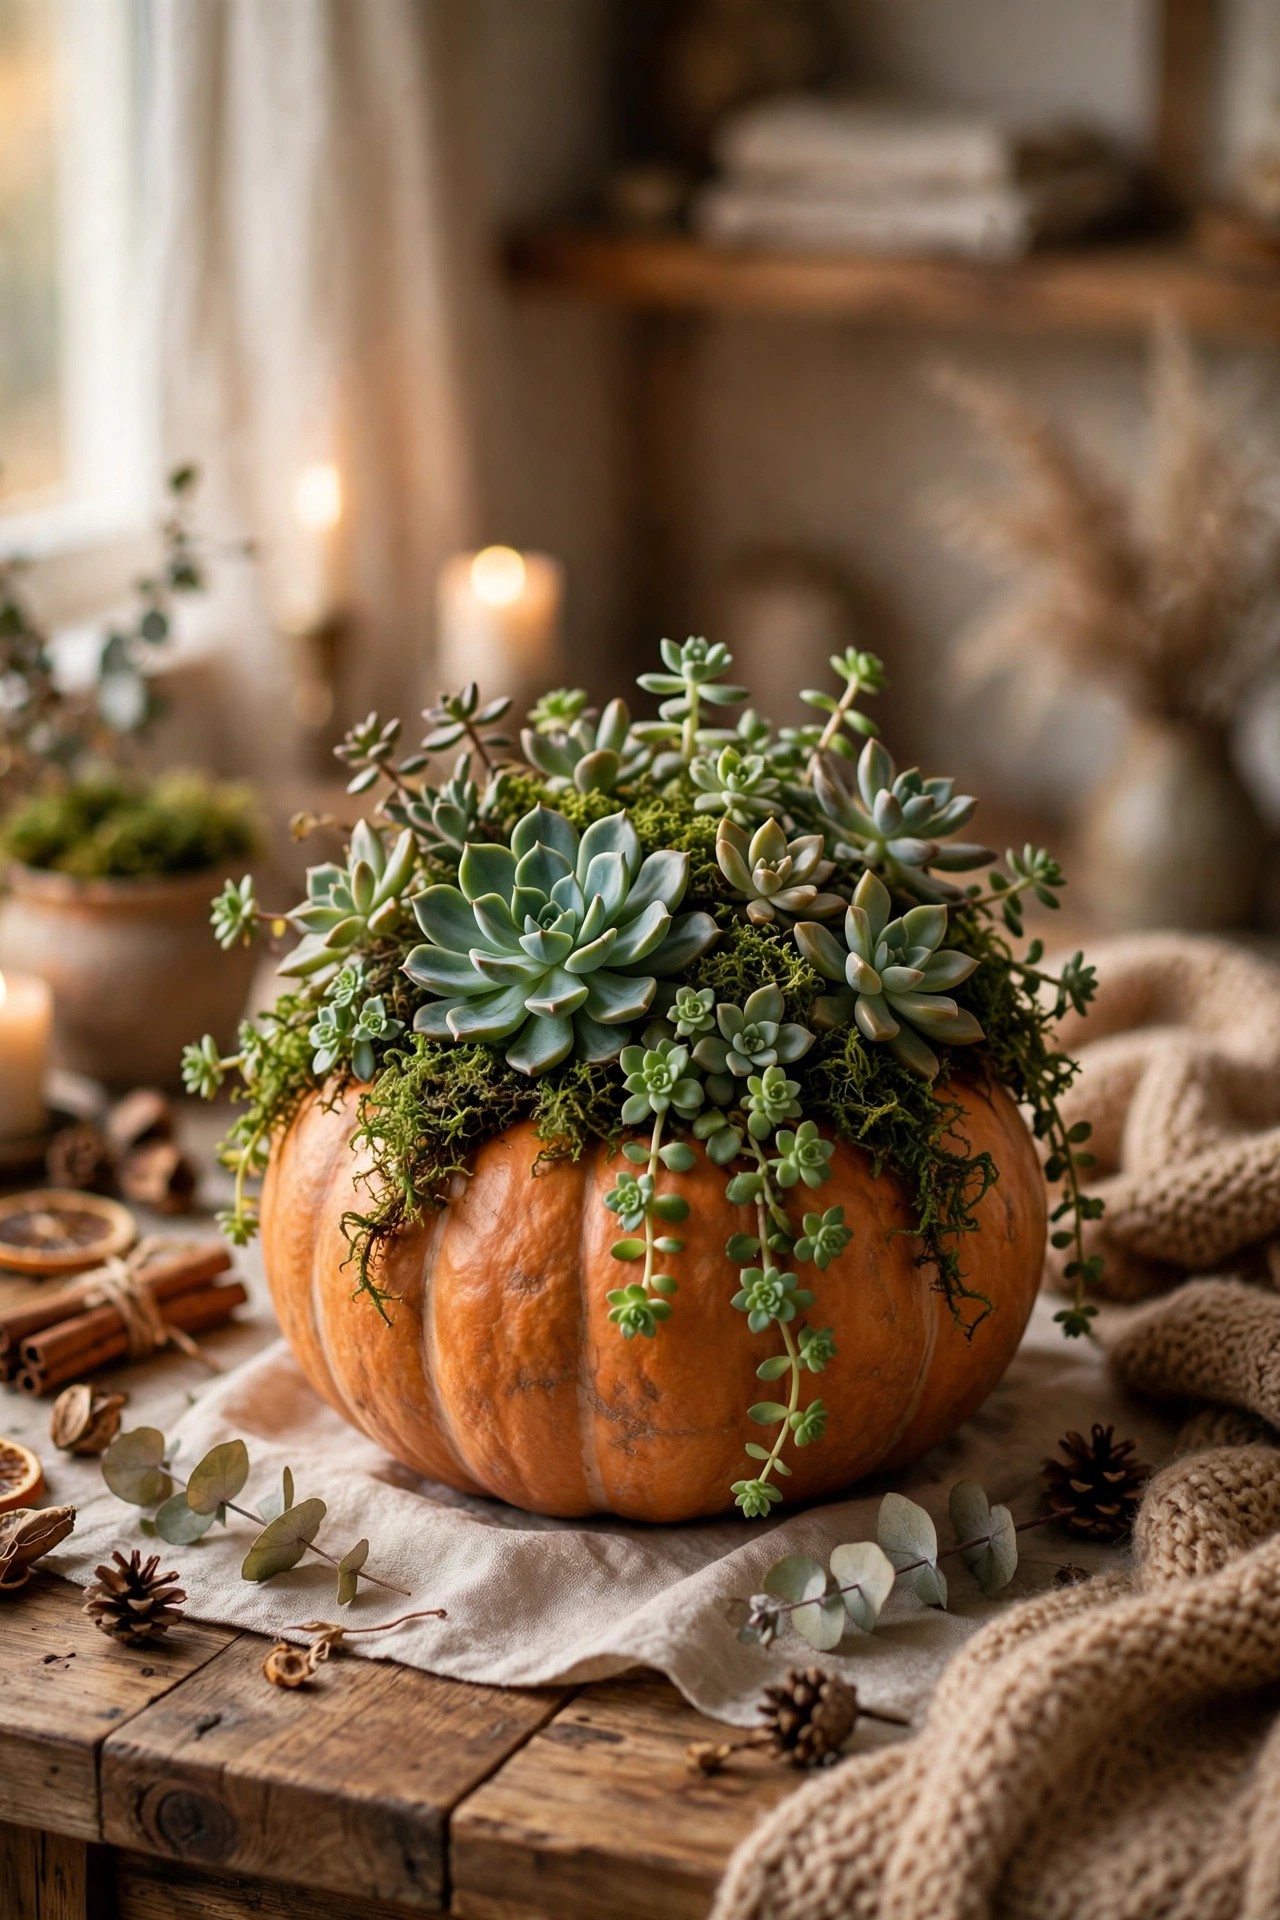
Glue moss to the pumpkin top, nestle in small succulents, and mist occasionally. It is a living centerpiece — and after fall, the succulents move to pots.
How to: Pumpkin + sheet moss + small succulents + hot glue + mister
Make it yours: Add tiny pinecones for a woodland feel.
Care: Mist the moss, not the pumpkin — pumpkins hate soaking.
9. 🌲 Moss-Covered Woodland
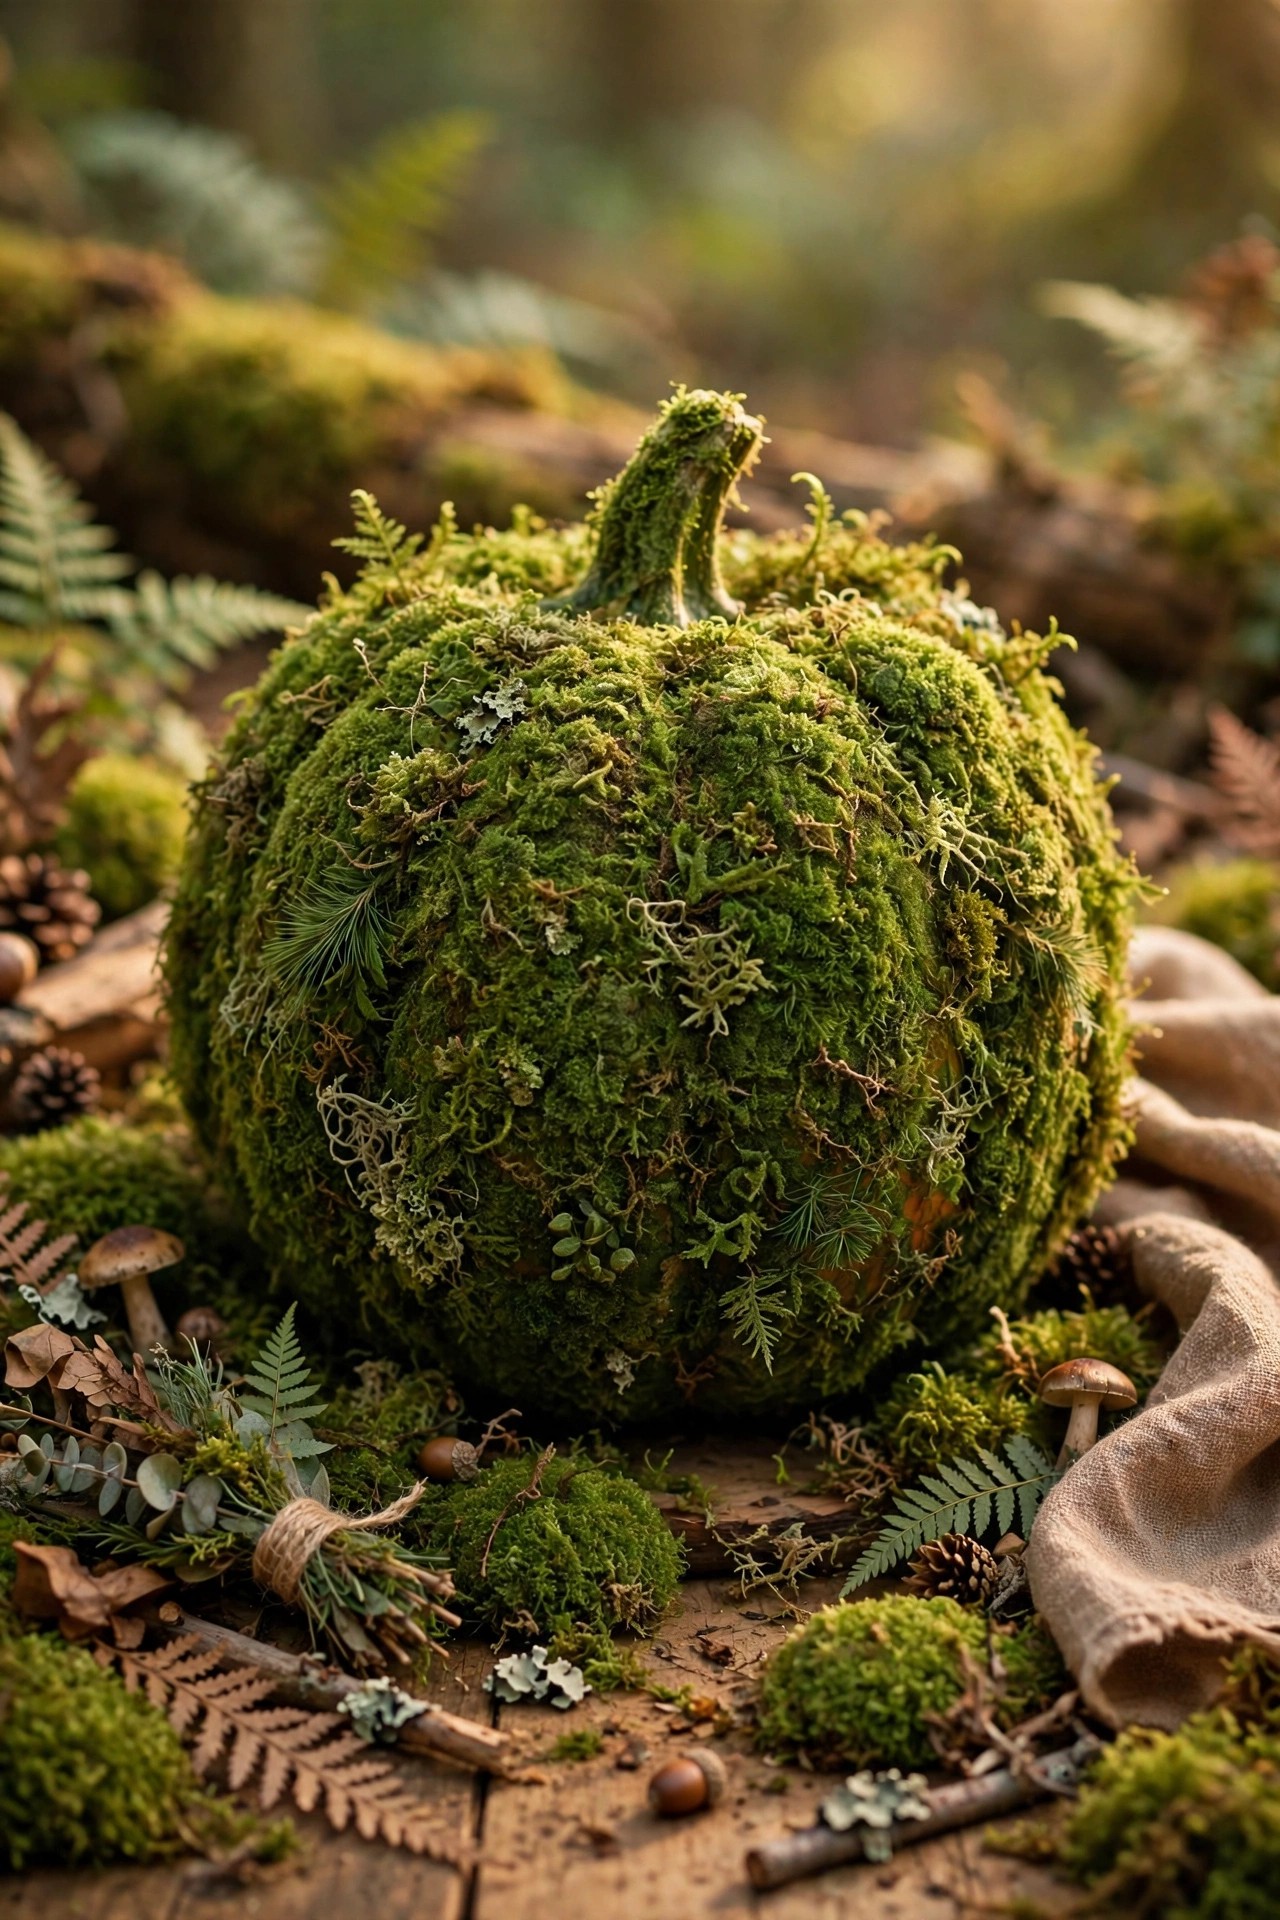
Cover the whole pumpkin in sheet moss with hot glue for a woodland creature of a pumpkin. Nestle it among ferns and it looks like it grew in an enchanted forest.
How to: Pumpkin + sheet moss + hot glue gun + ferns for display
Make it yours: Tuck in a few tiny mushrooms (craft store) for magic.
Avoid: Real damp moss indoors — use preserved sheet moss.
10. 🤍 Pearl & Bead Studded
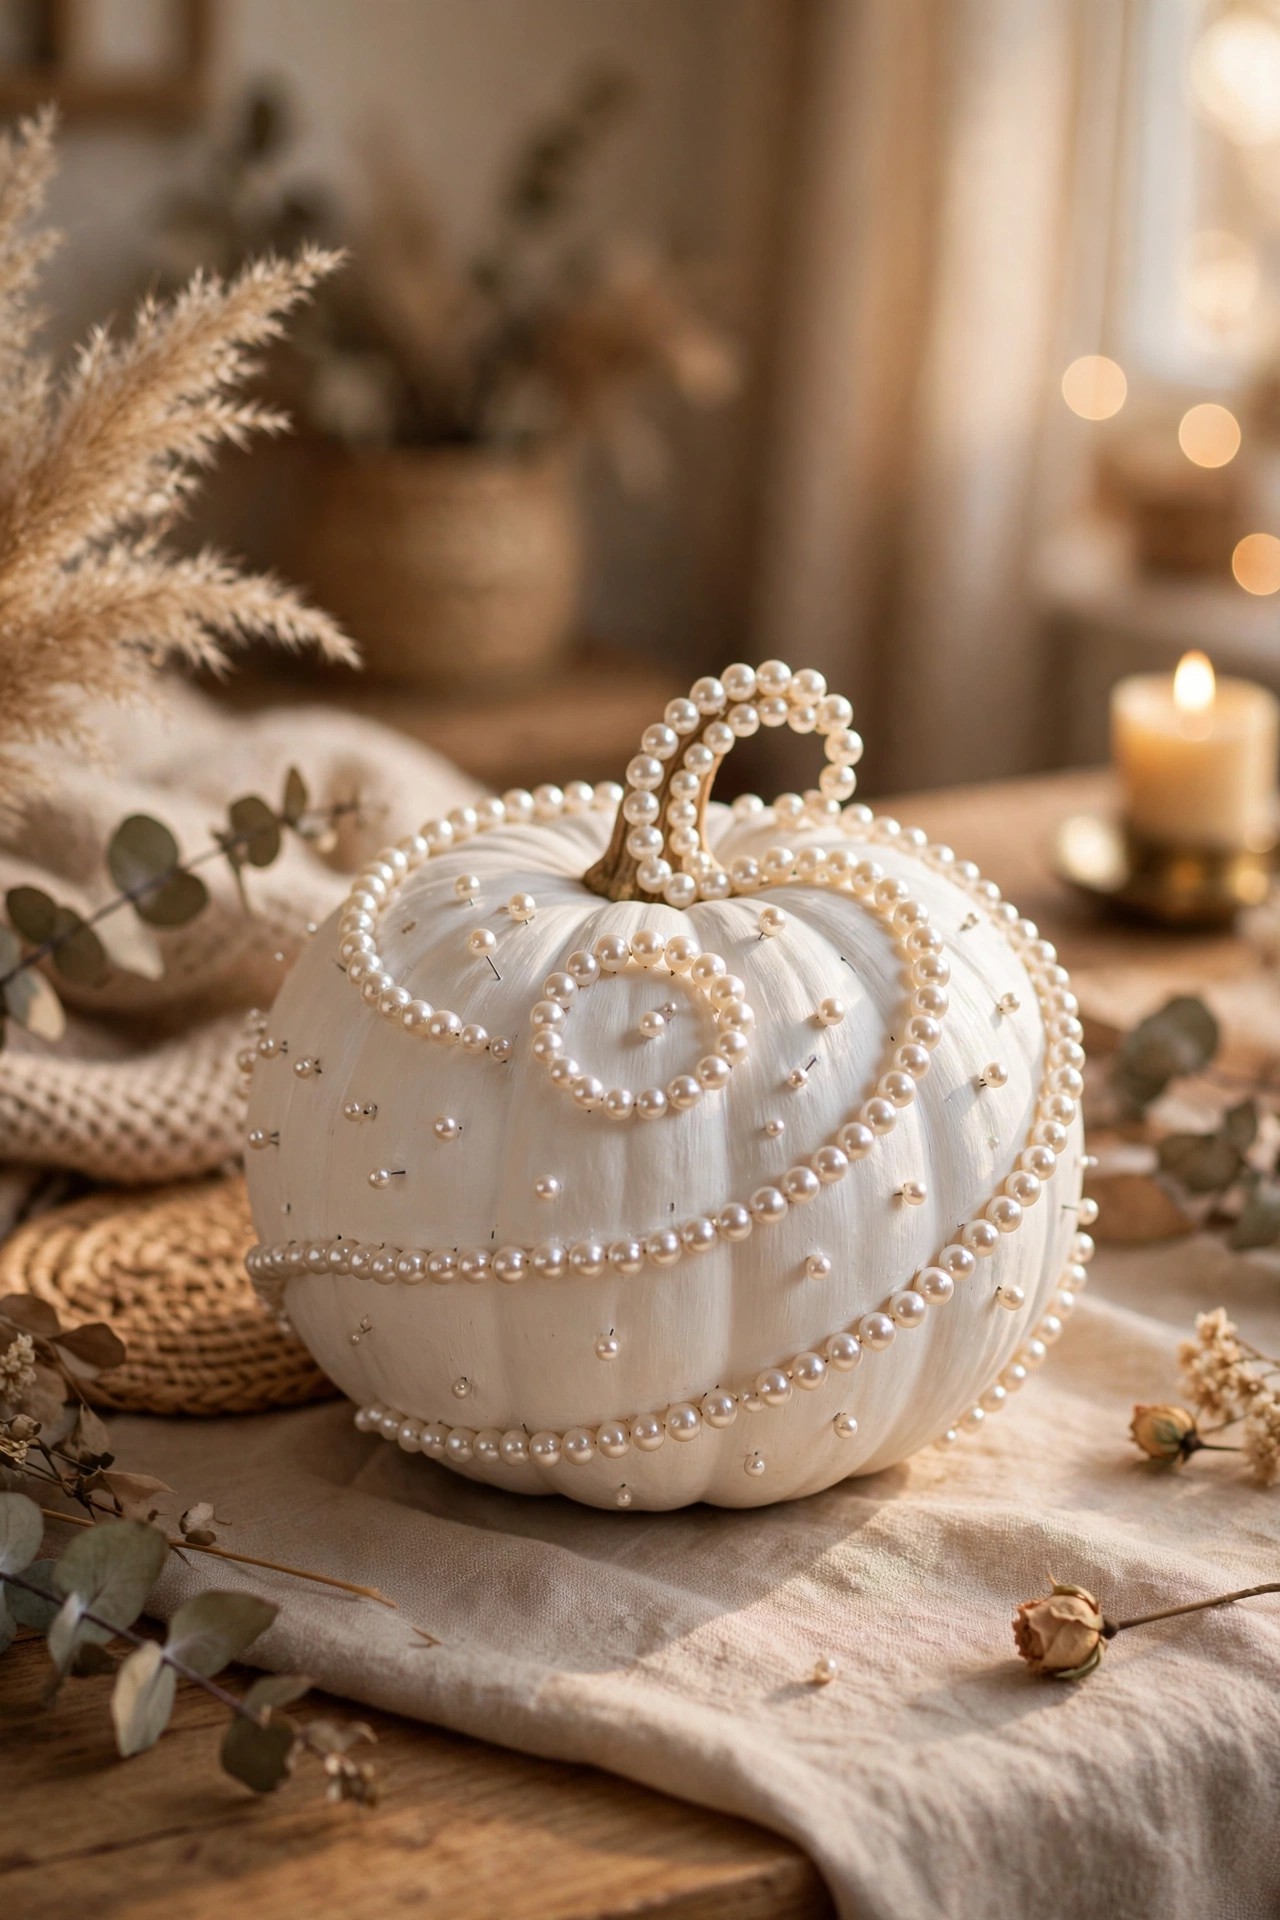
Push pearl-headed pins into a pumpkin in swirls, monograms, or constellations. Bridal-shower glam meets Halloween — unexpectedly stunning on a mantel.
How to: Pumpkin + pearl-headed pins + a pattern sketched lightly first
Make it yours: Spell a word — BOO in pearls is perfection.
Budget tip: One box of pearl pins decorates three pumpkins.
11. 🪡 Faux-Embroidery Marker Designs
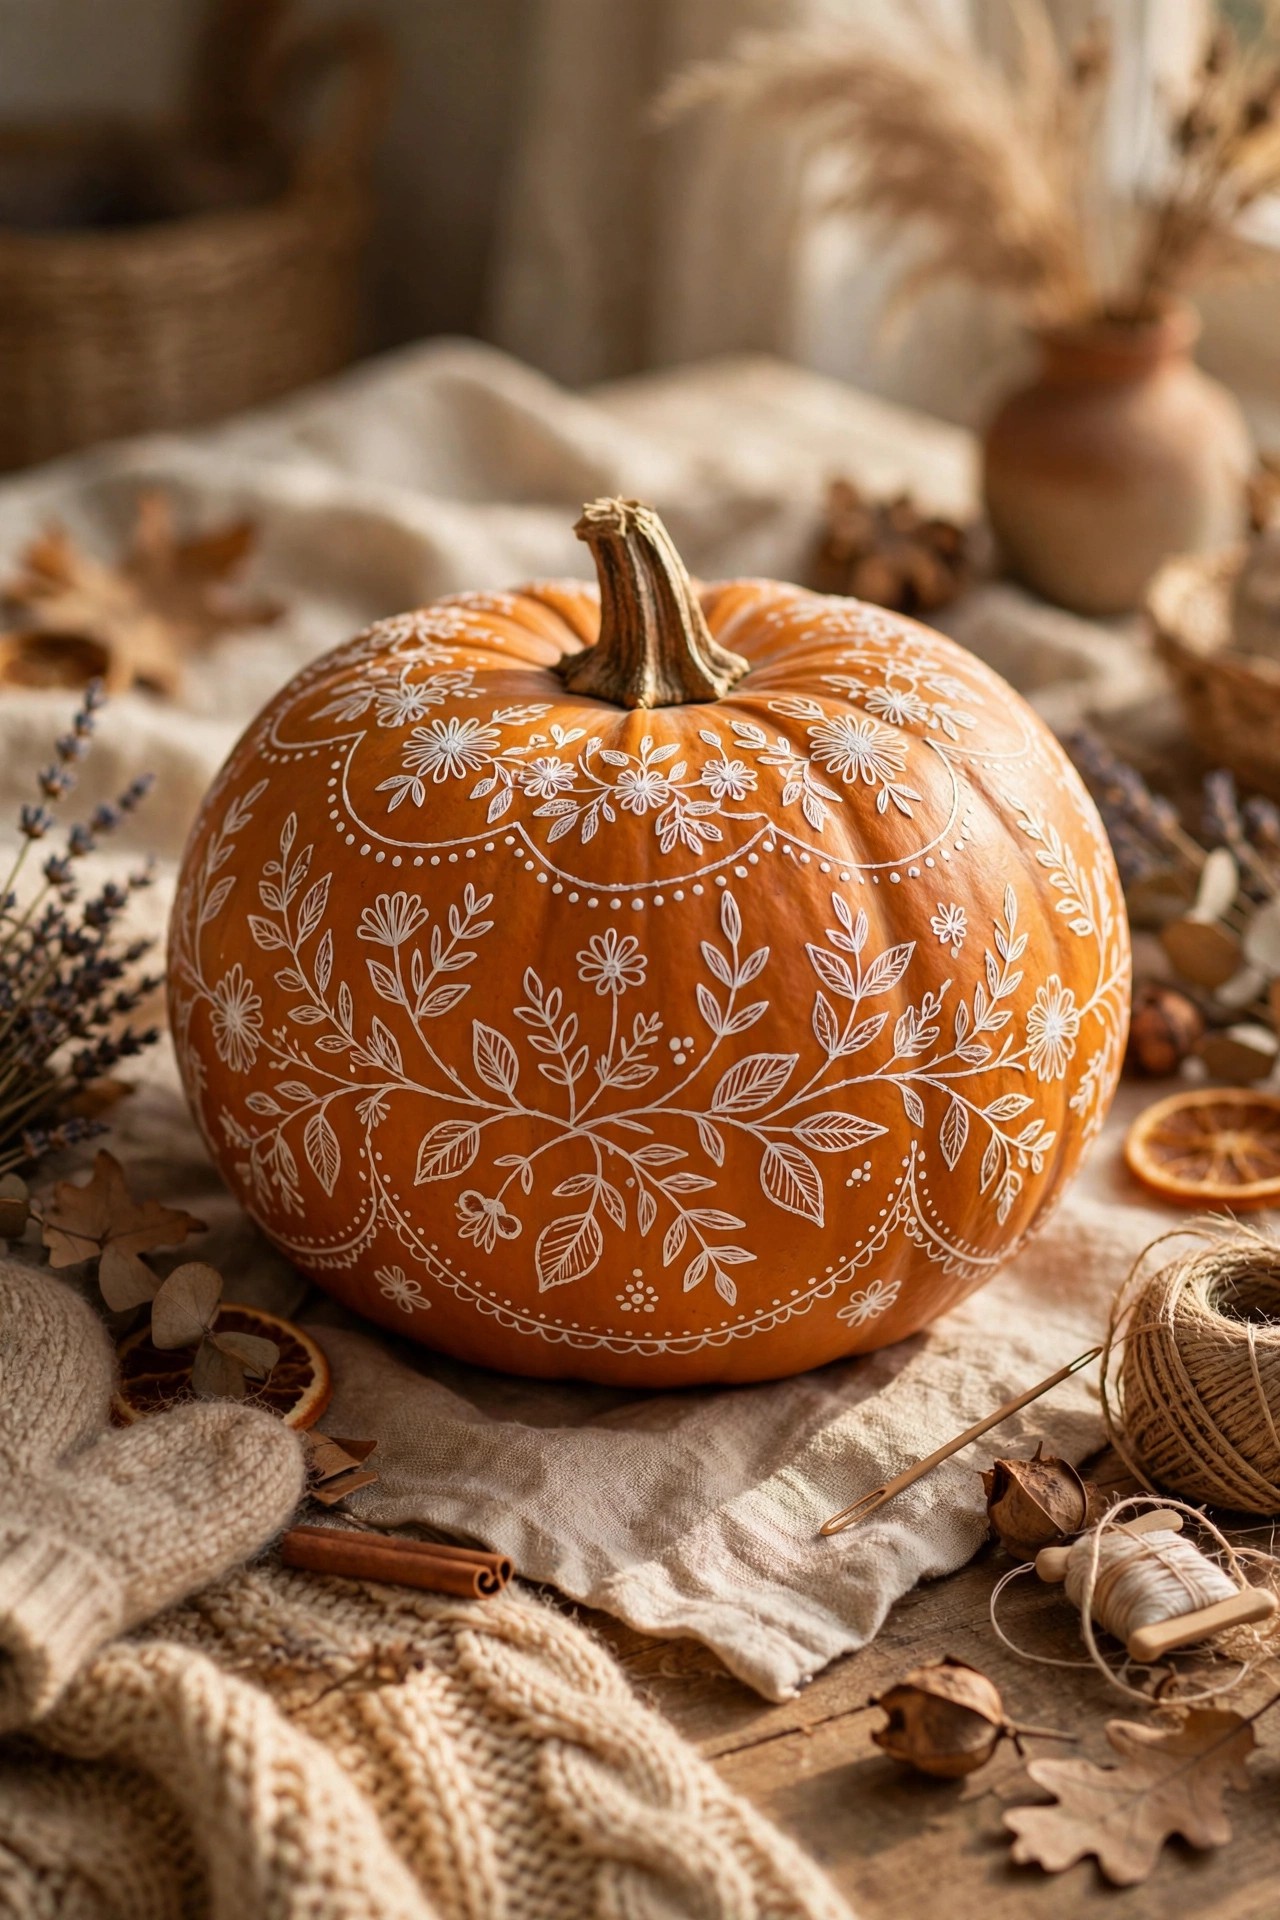
Draw running stitches, French-knot dots, and folk-art flowers with paint markers — it mimics embroidery without a single needle. Charming, detailed, and oddly addictive.
How to: Pumpkin + paint markers in 2–3 colors + a simple stitch-pattern guide
Make it yours: White marker on a dark green pumpkin pops beautifully.
Kid-safe: Older kids love this; it is basically fancy doodling.
12. 🔤 Monogram Vinyl Decals
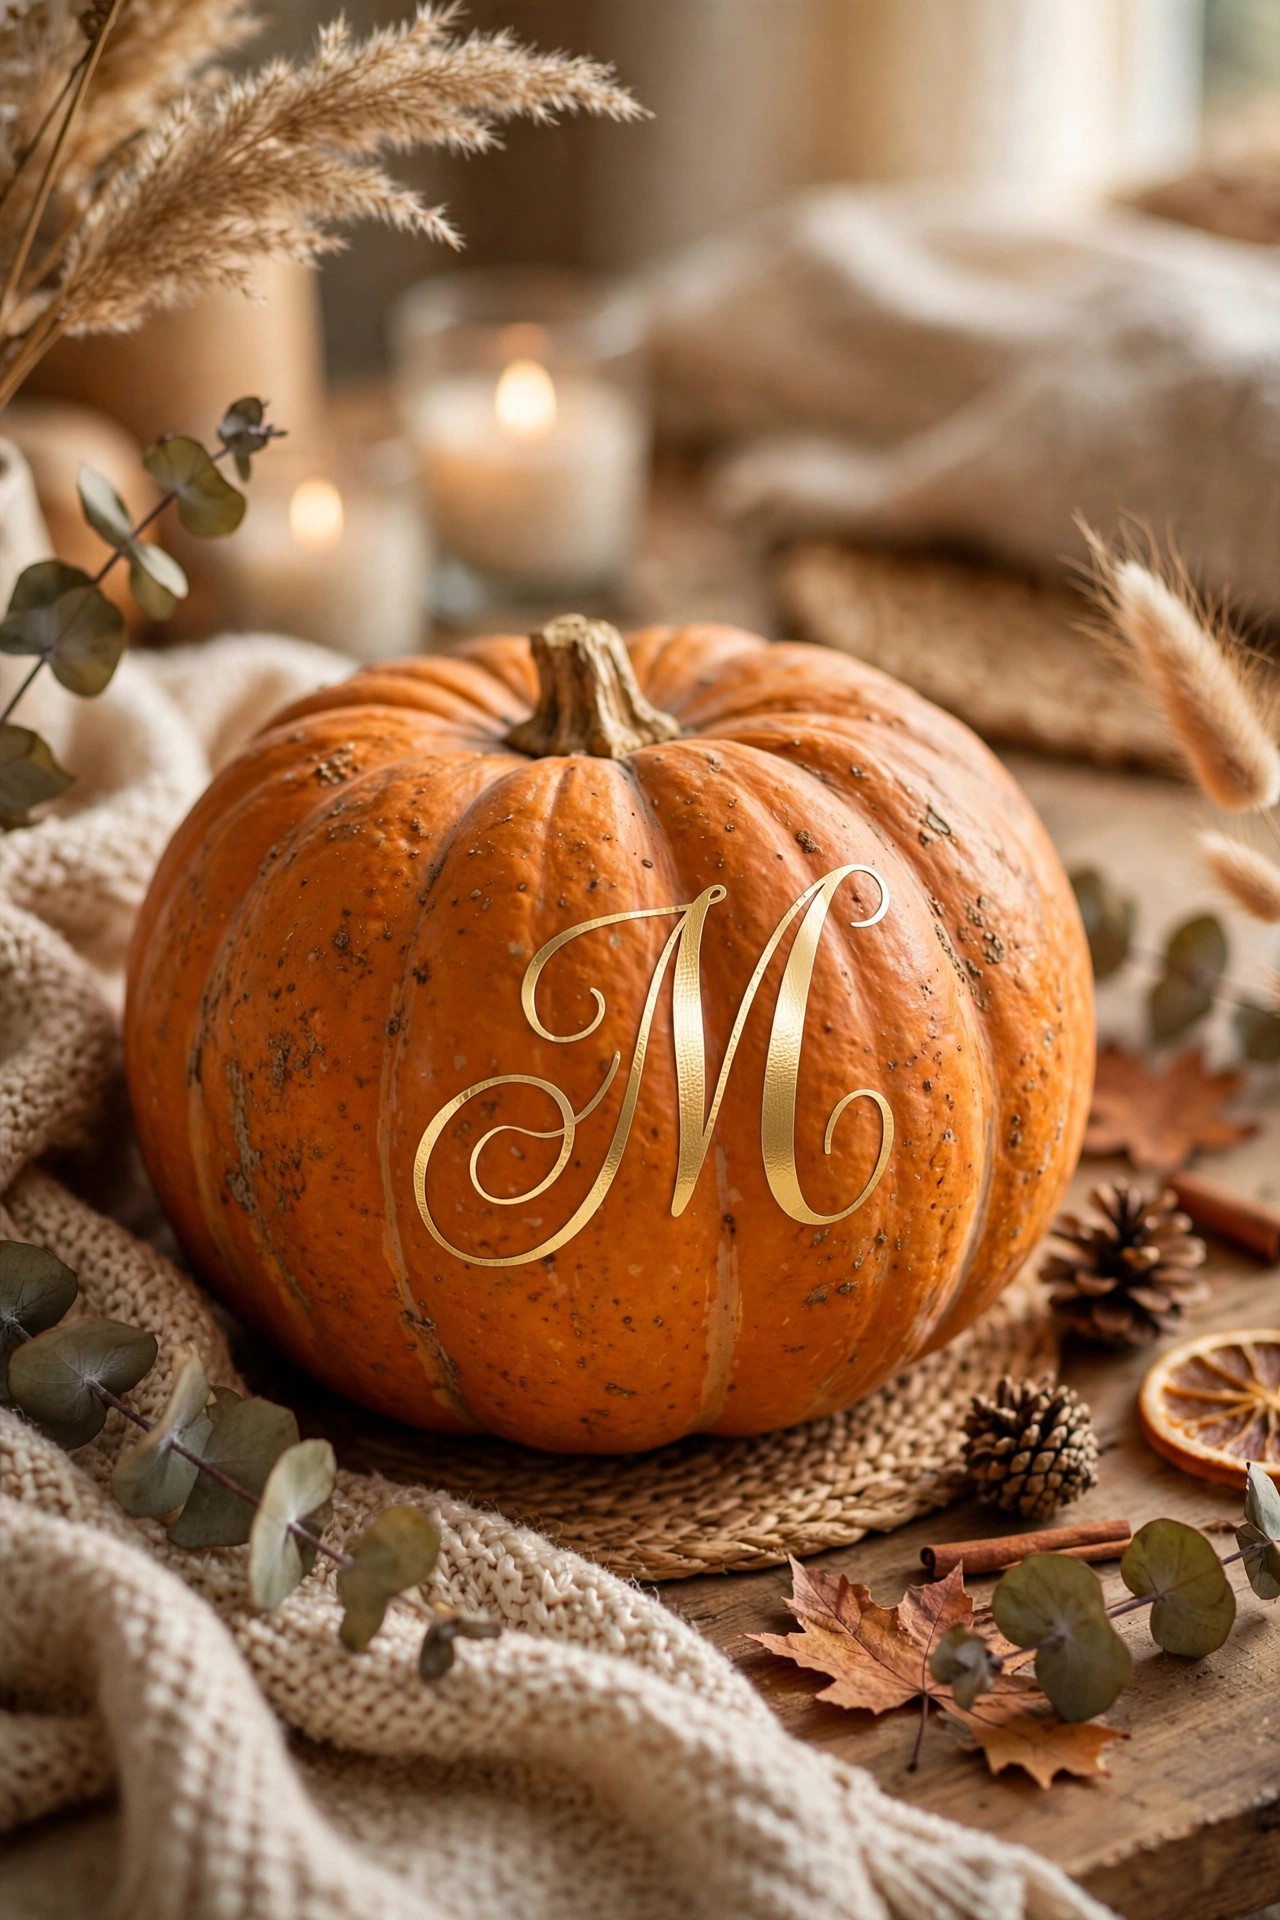
Cut a family initial from adhesive vinyl (or buy pre-cut) and press it on. Personalized pumpkins for every household on the street — great gift, too.
How to: Pumpkin + adhesive vinyl initial + transfer tape
Make it yours: Add “EST. 2026” under the initial for heirloom vibes.
Budget tip: Pre-cut vinyl letters skip the cutting machine entirely.
13. ⬛ Buffalo Check Painted
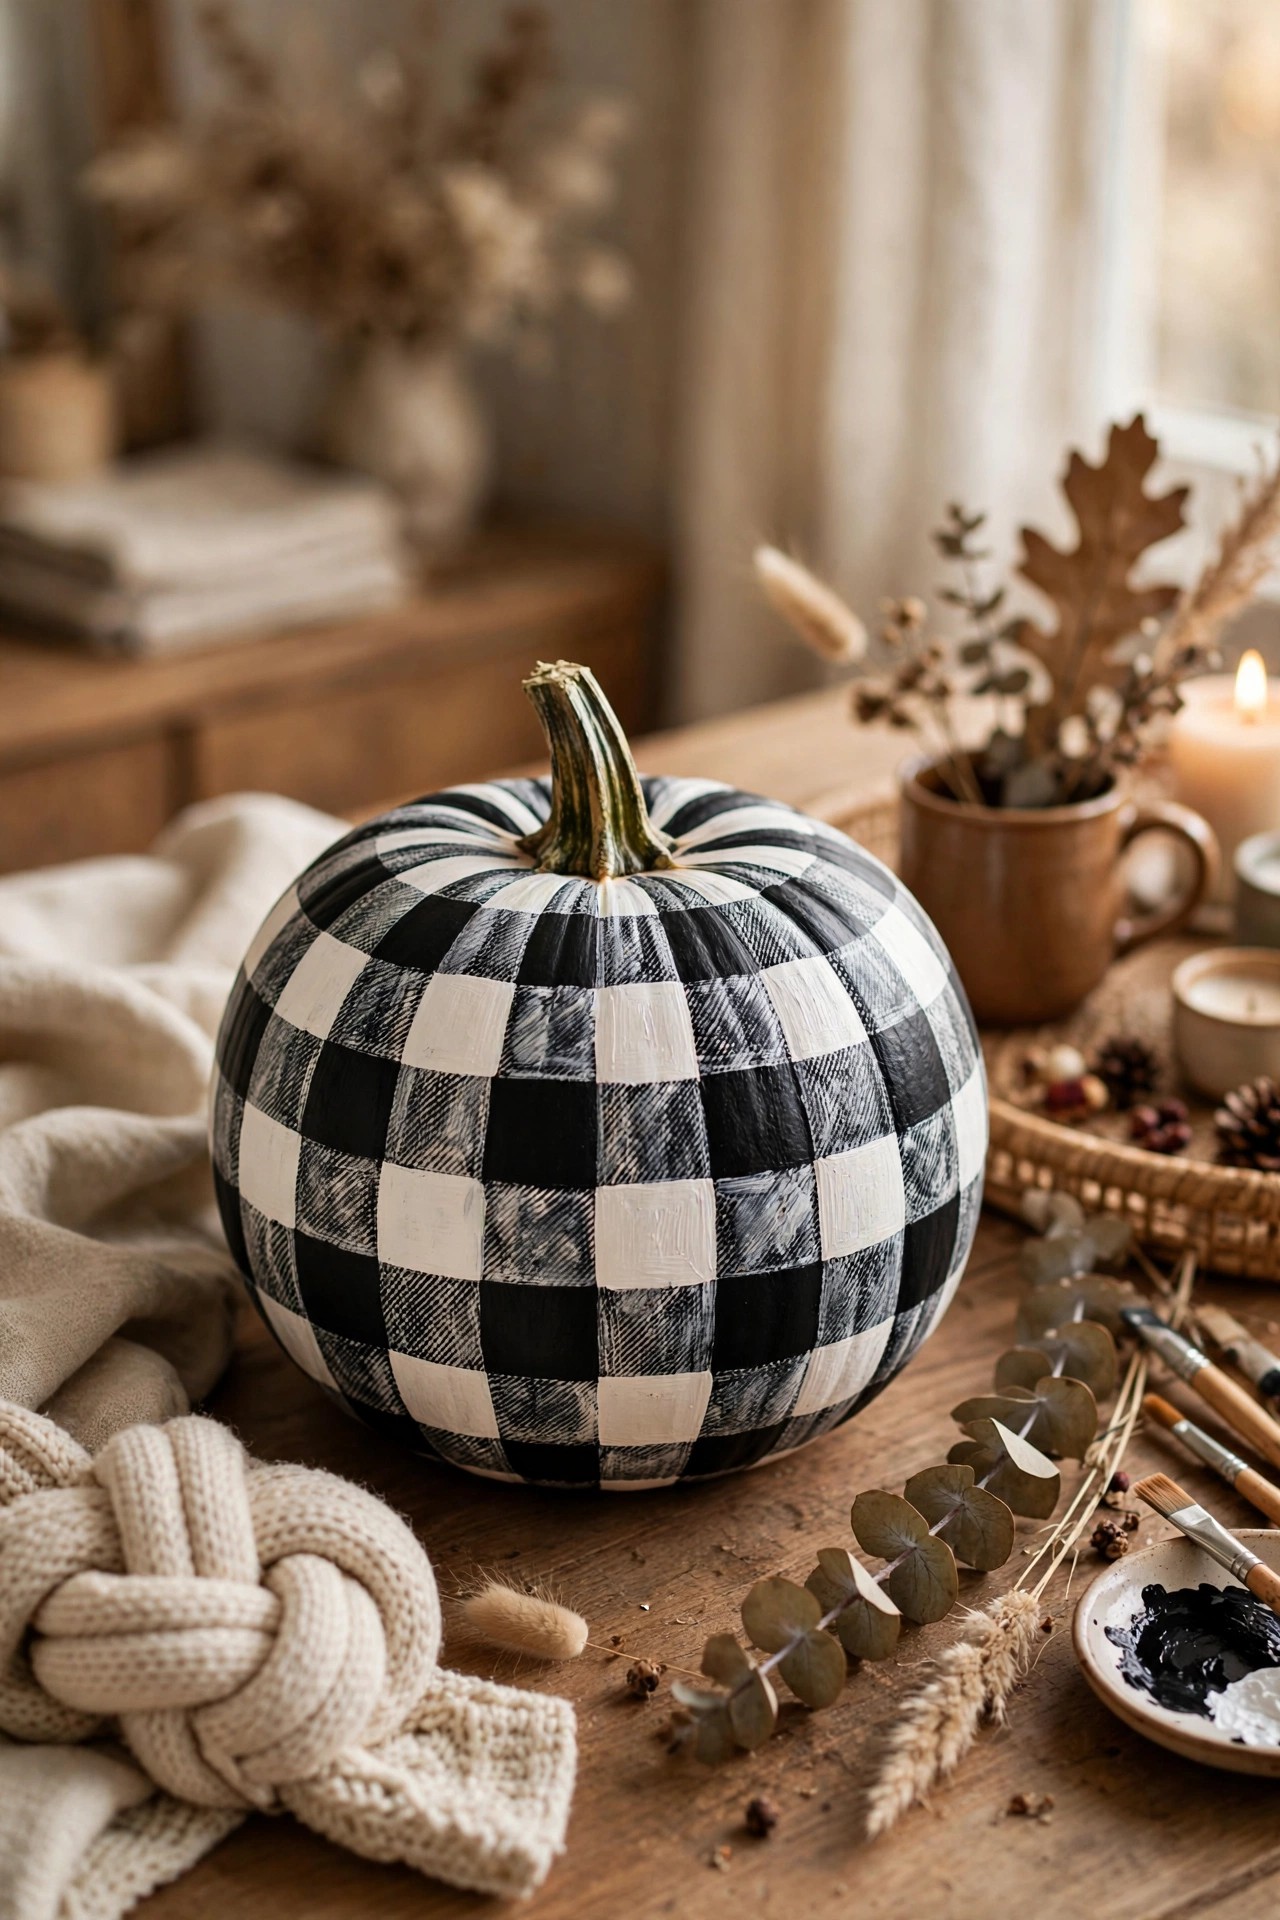
Paint a pumpkin white, then add black buffalo-check squares with a steady hand and painter’s tape. Graphic, modern, and it matches every plaid blanket you own.
How to: Pumpkin + white paint + black paint + painter’s tape
Make it yours: Try red-and-black check on an orange pumpkin.

Avoid: Rushing the tape lines — crisp edges make the pattern.
14. 💅 Marbled Nail-Polish Dip
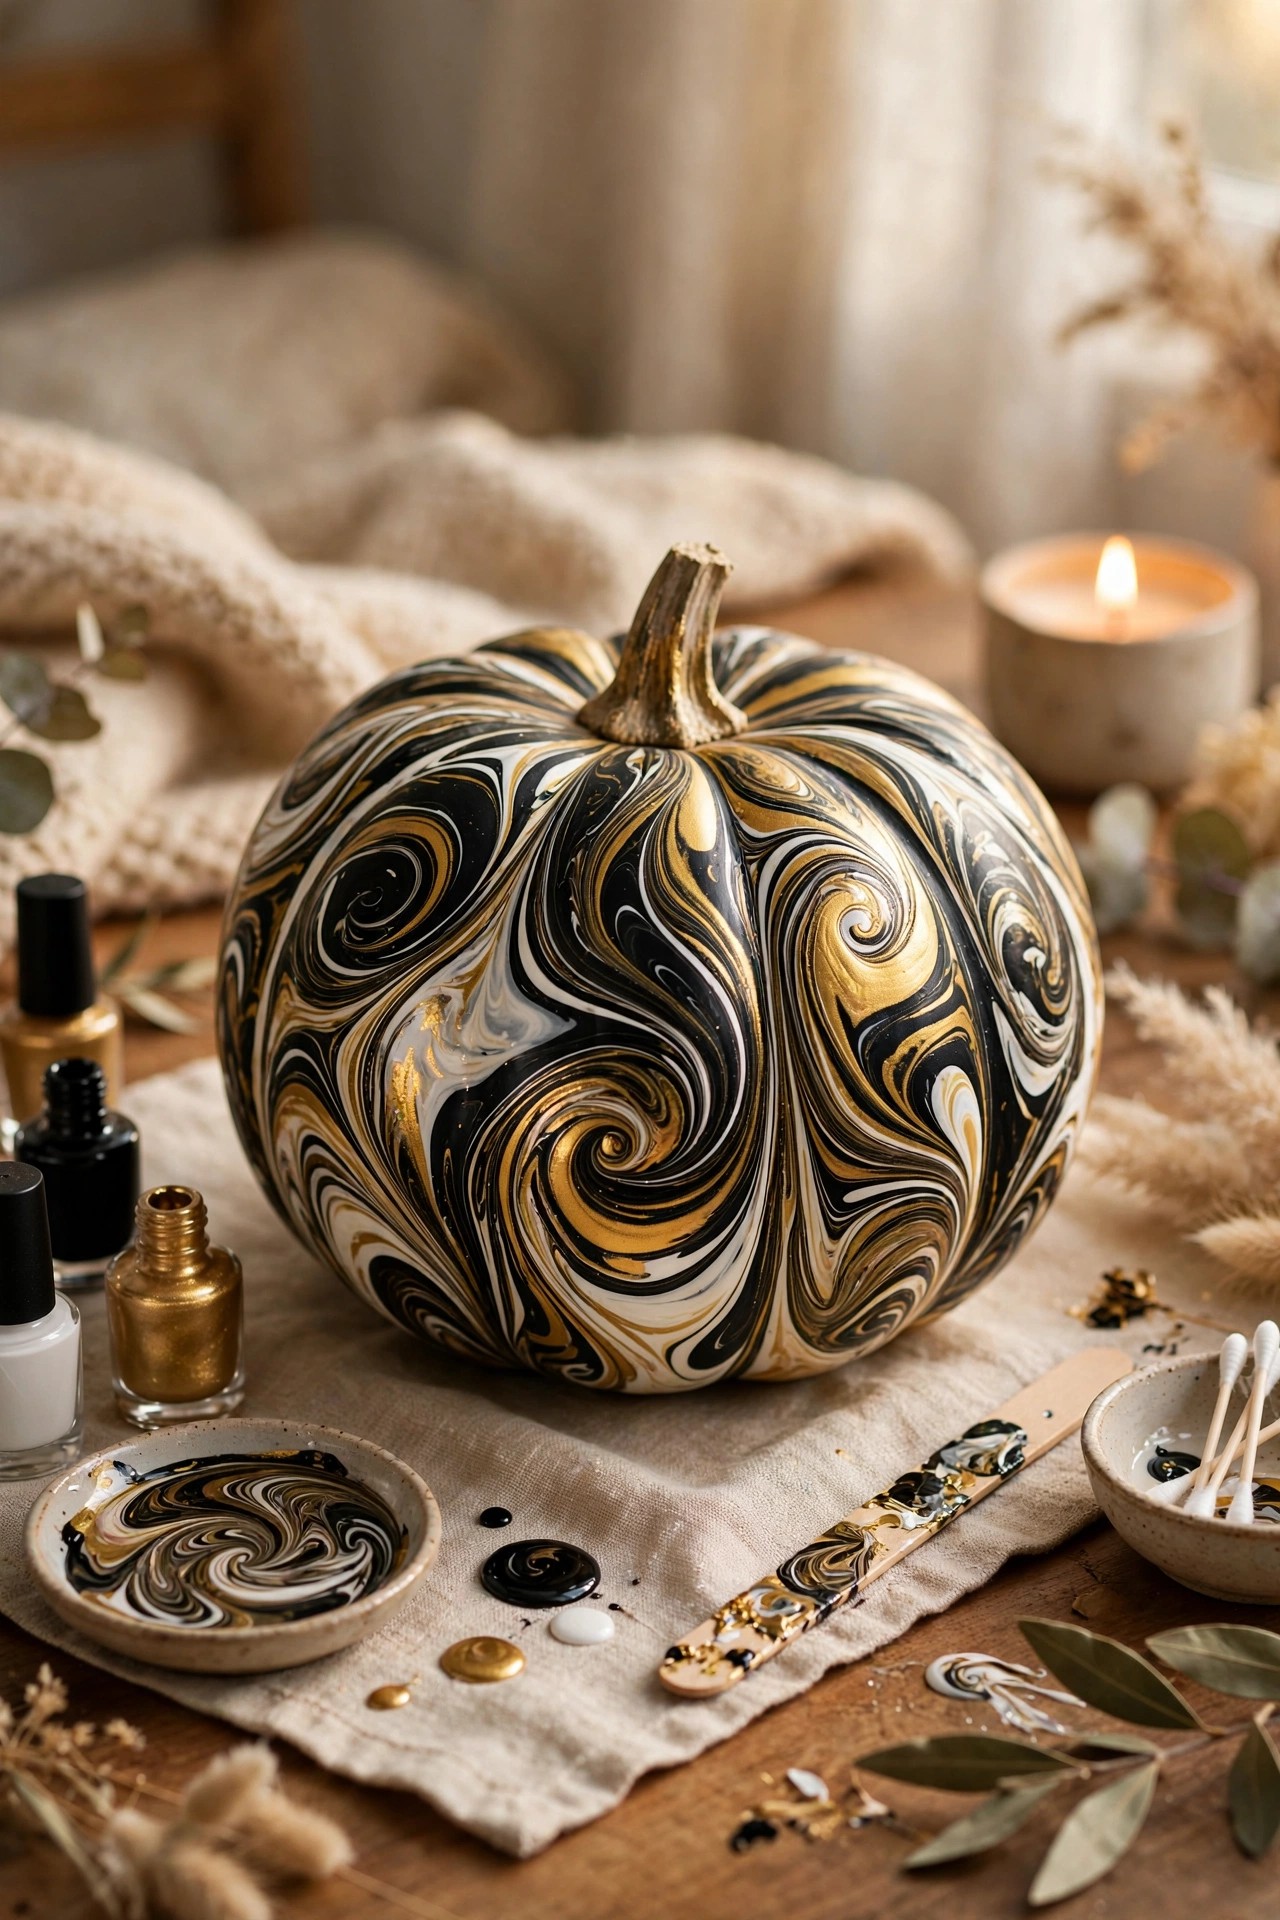
Drip nail polish into water, swirl, and dip the pumpkin for an instant marble effect. Every dip is one-of-a-kind — moody, artsy, and done in minutes.
How to: Pumpkin + nail polish in 2–3 colors + disposable water tub
Make it yours: Black, gold, and white polish = galaxy marble.
Avoid: Doing this indoors — the fumes need fresh air.
15. 📖 Book-Page Decoupage
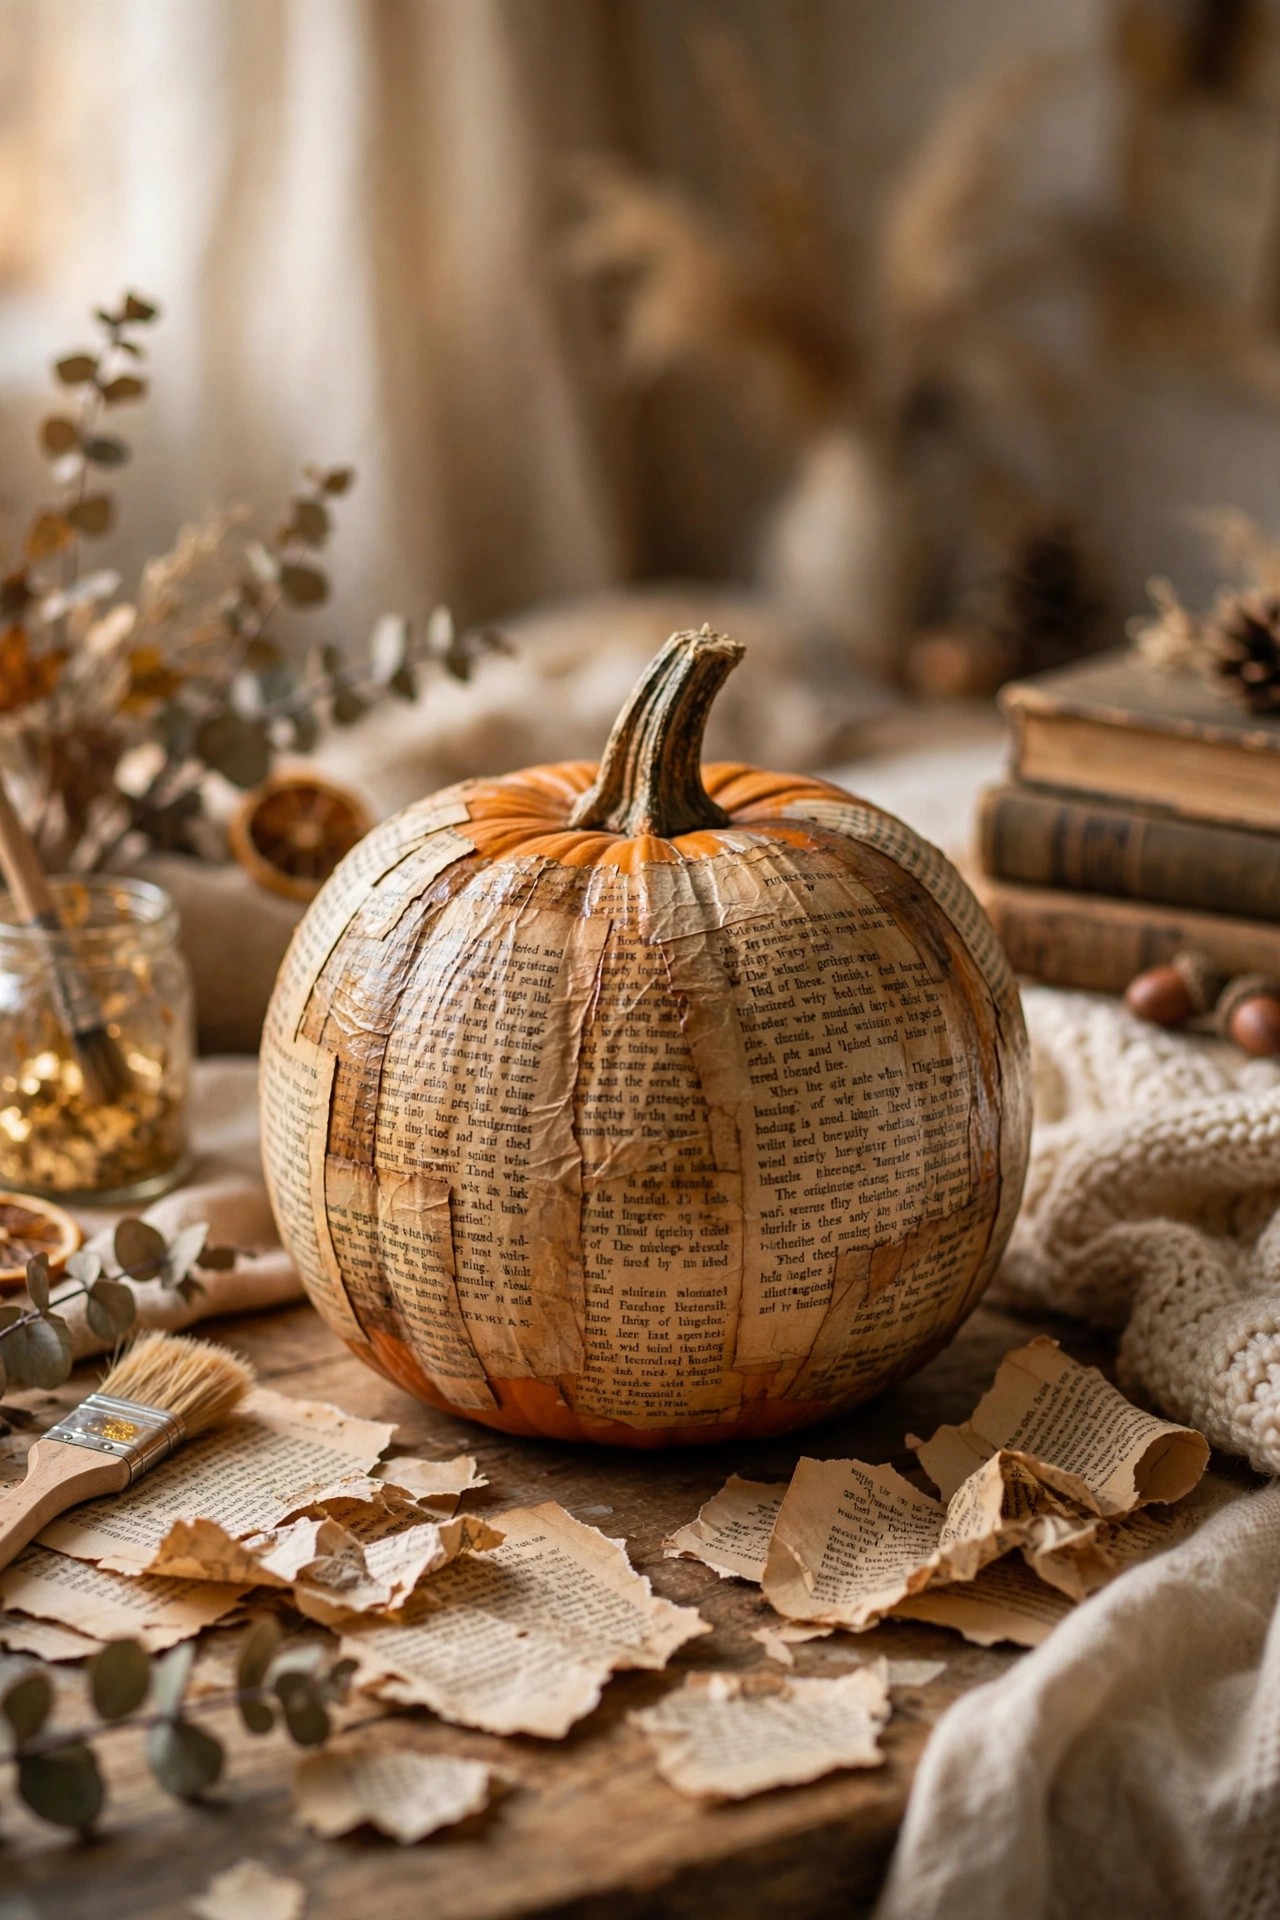
Decoupage torn book pages onto a pumpkin for a literary look — old encyclopedias and thrifted novels work best. Perfect for the reader’s Halloween.
How to: Pumpkin + old book pages + Mod Podge + foam brush
Make it yours: Use pages from a spooky novel for extra credit.
Budget tip: Thrifted damaged books cost pennies and craft beautifully.
16. 🪶 Feathered Glam Pumpkins
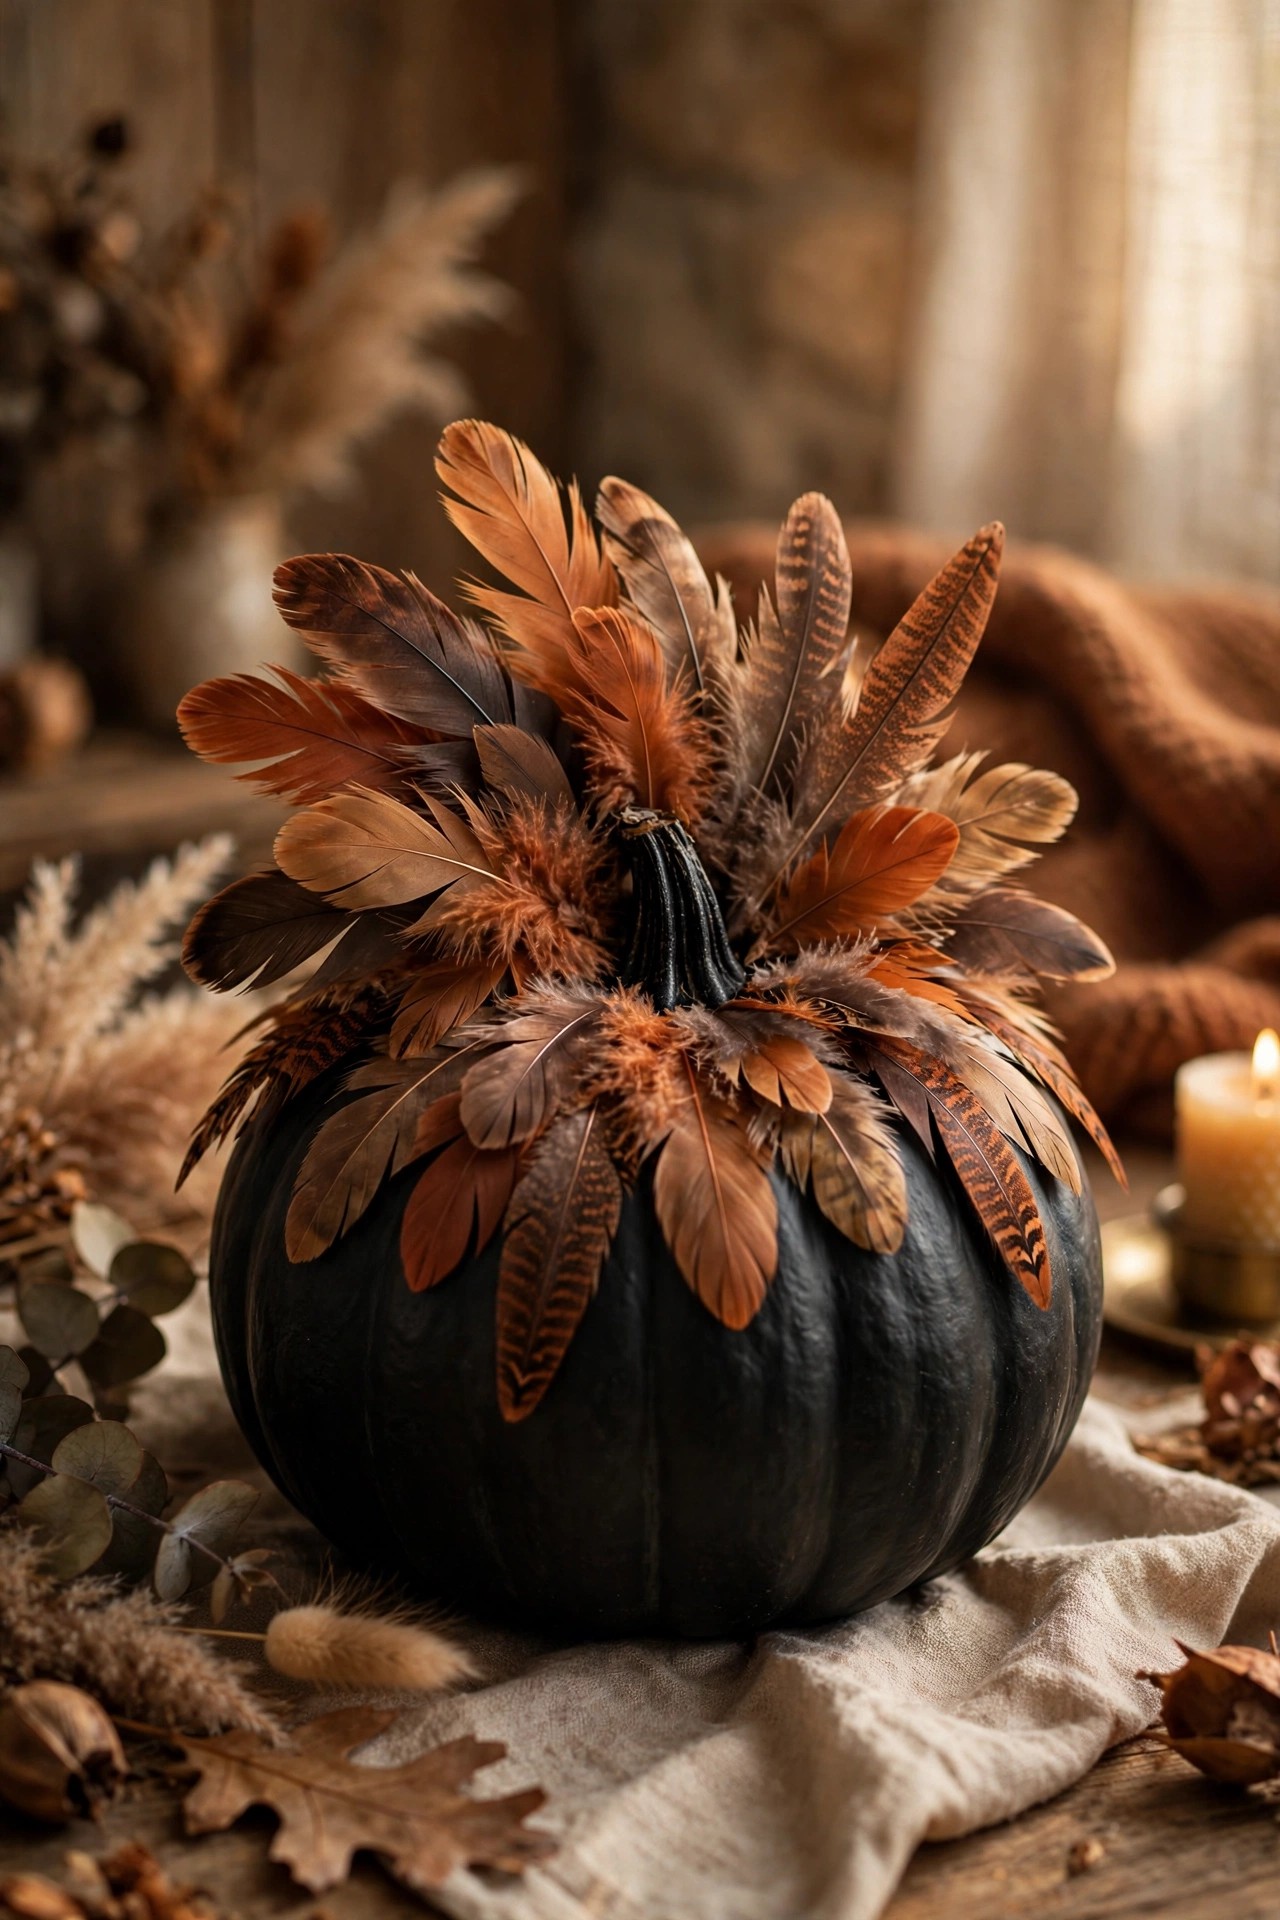
Glue craft feathers in overlapping rows for a raven-winged pumpkin. Dark, dramatic, and touchable — guests will not be able to resist stroking it.
How to: Pumpkin + craft feathers + hot glue gun
Make it yours: Ombre from black to gray feathers for a wing effect.
Avoid: Real feathers from outdoors — craft feathers are cleaner.
17. 🎩 Mini Witch-Hat Toppers
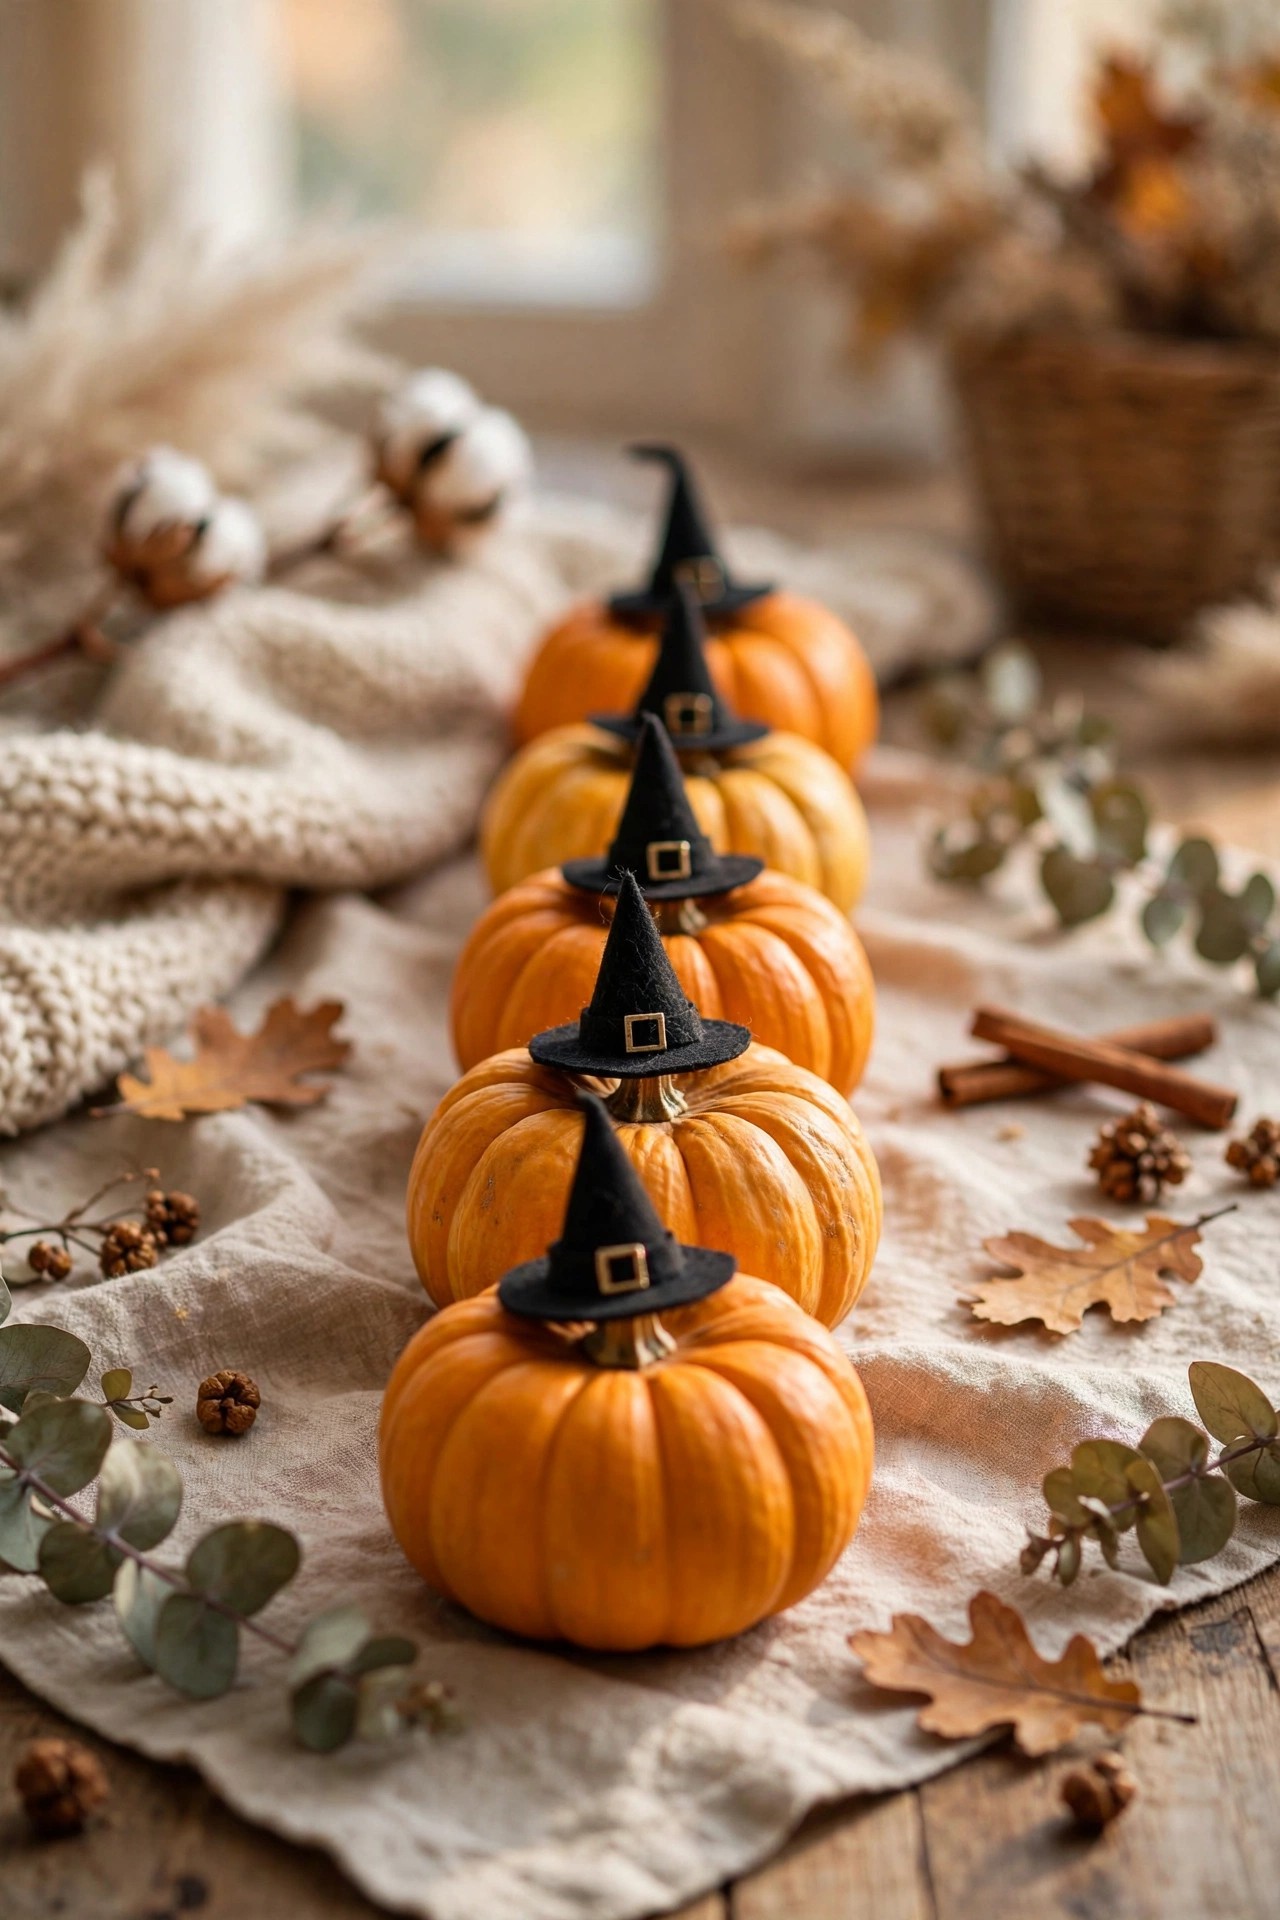
Pop a mini witch hat on a mini pumpkin — that is the whole craft, and it is unreasonably adorable. Line up a coven of them along the windowsill.
How to: Mini pumpkins + mini witch hats (craft store) + dot of glue
Make it yours: Add a tiny broom leaning beside each one.
Kid-safe: Toddlers can do this entire craft solo.
18. 🩰 Tulle Tutu Pumpkins
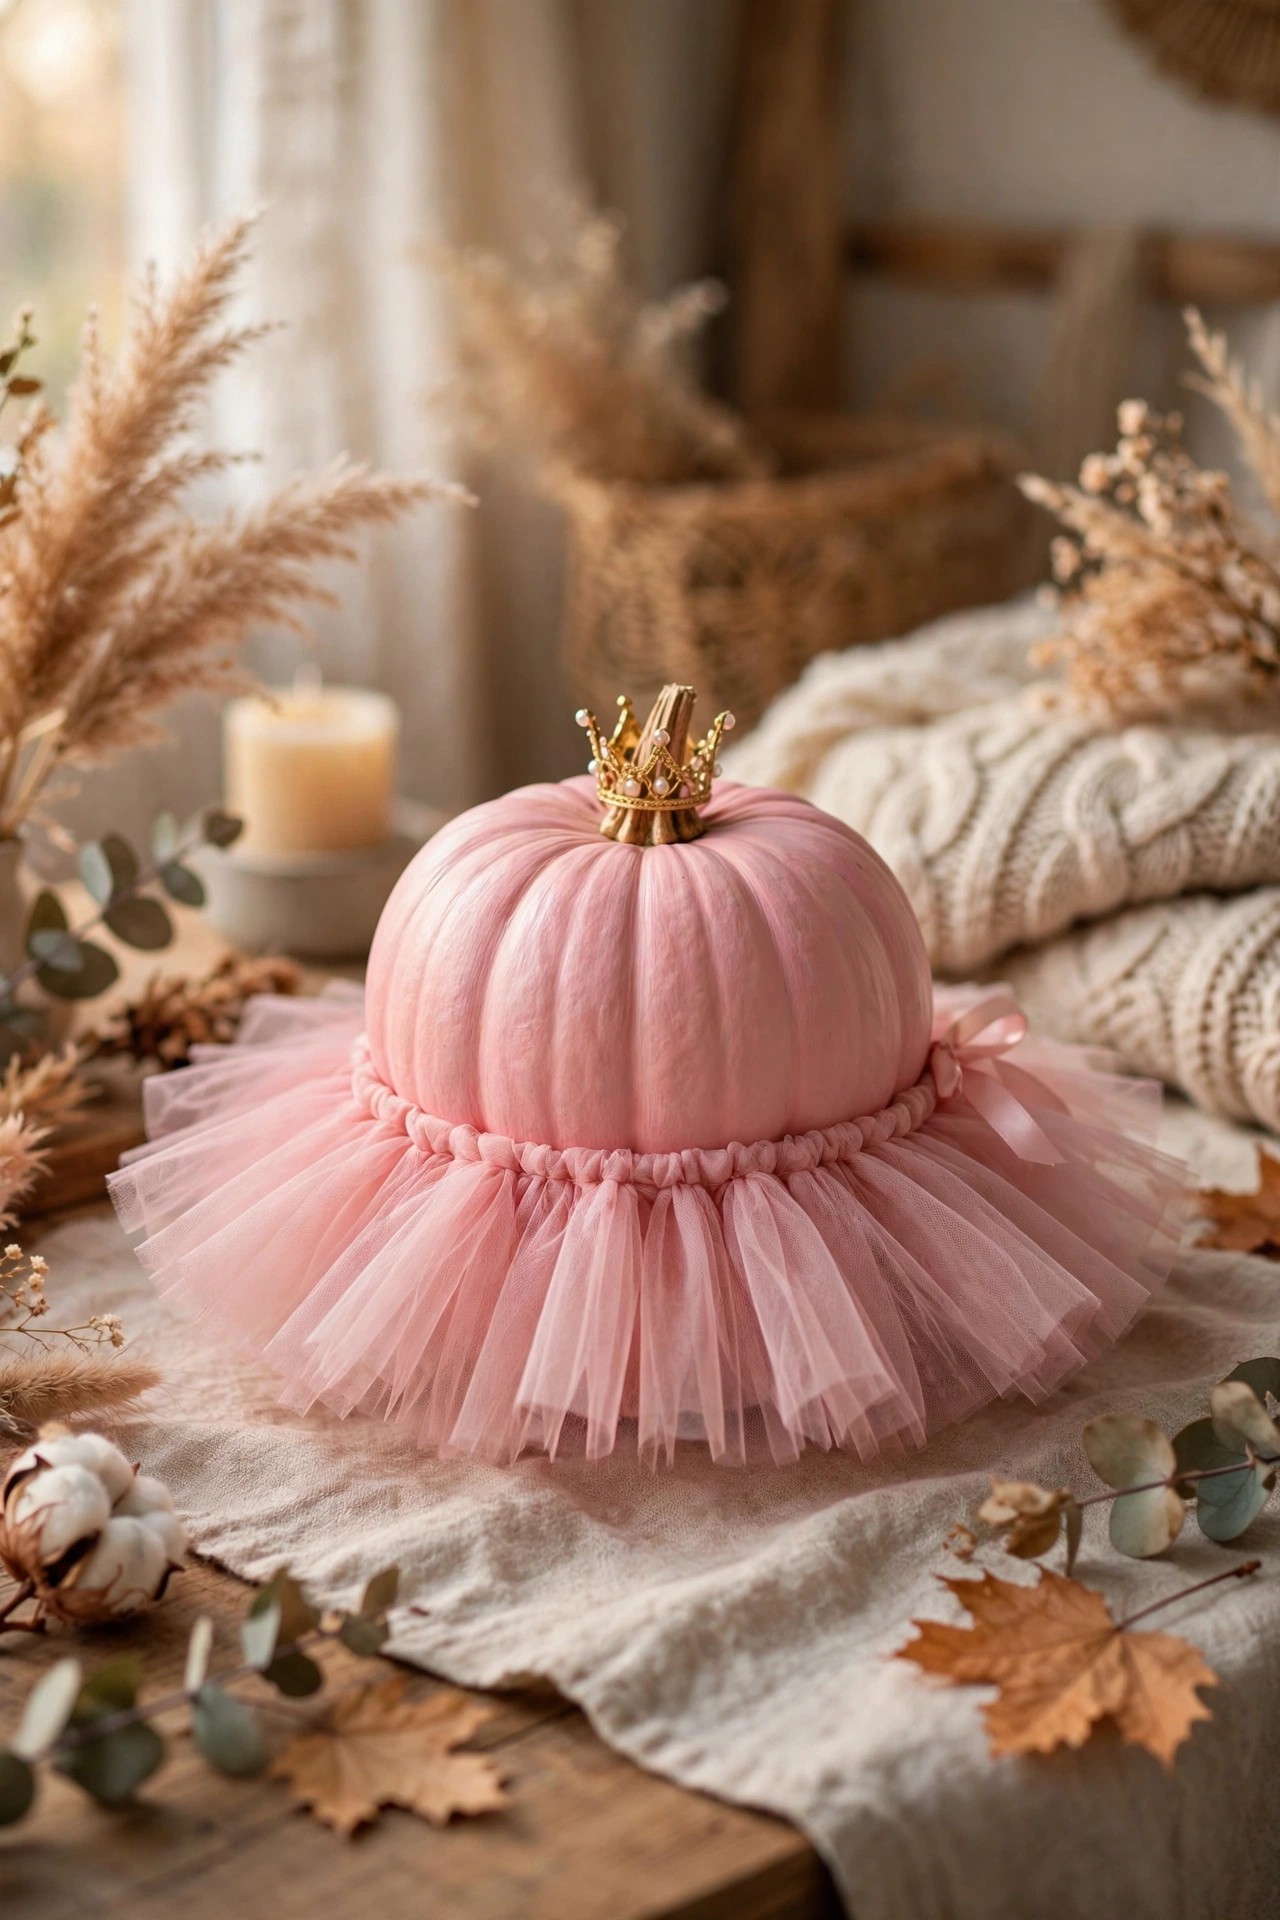
Tie strips of tulle around a pumpkin’s middle for a tutu, add a tiny crown on top. Ballerina pumpkins are peak whimsy — the antidote to every scary decoration.
How to: Pumpkin + tulle strips + elastic band + mini crown
Make it yours: Black tulle on an orange pumpkin = goth ballerina.
Kid-safe: No glue, no paint — just tying. Perfect for little hands.
19. 🔘 Button Mosaic
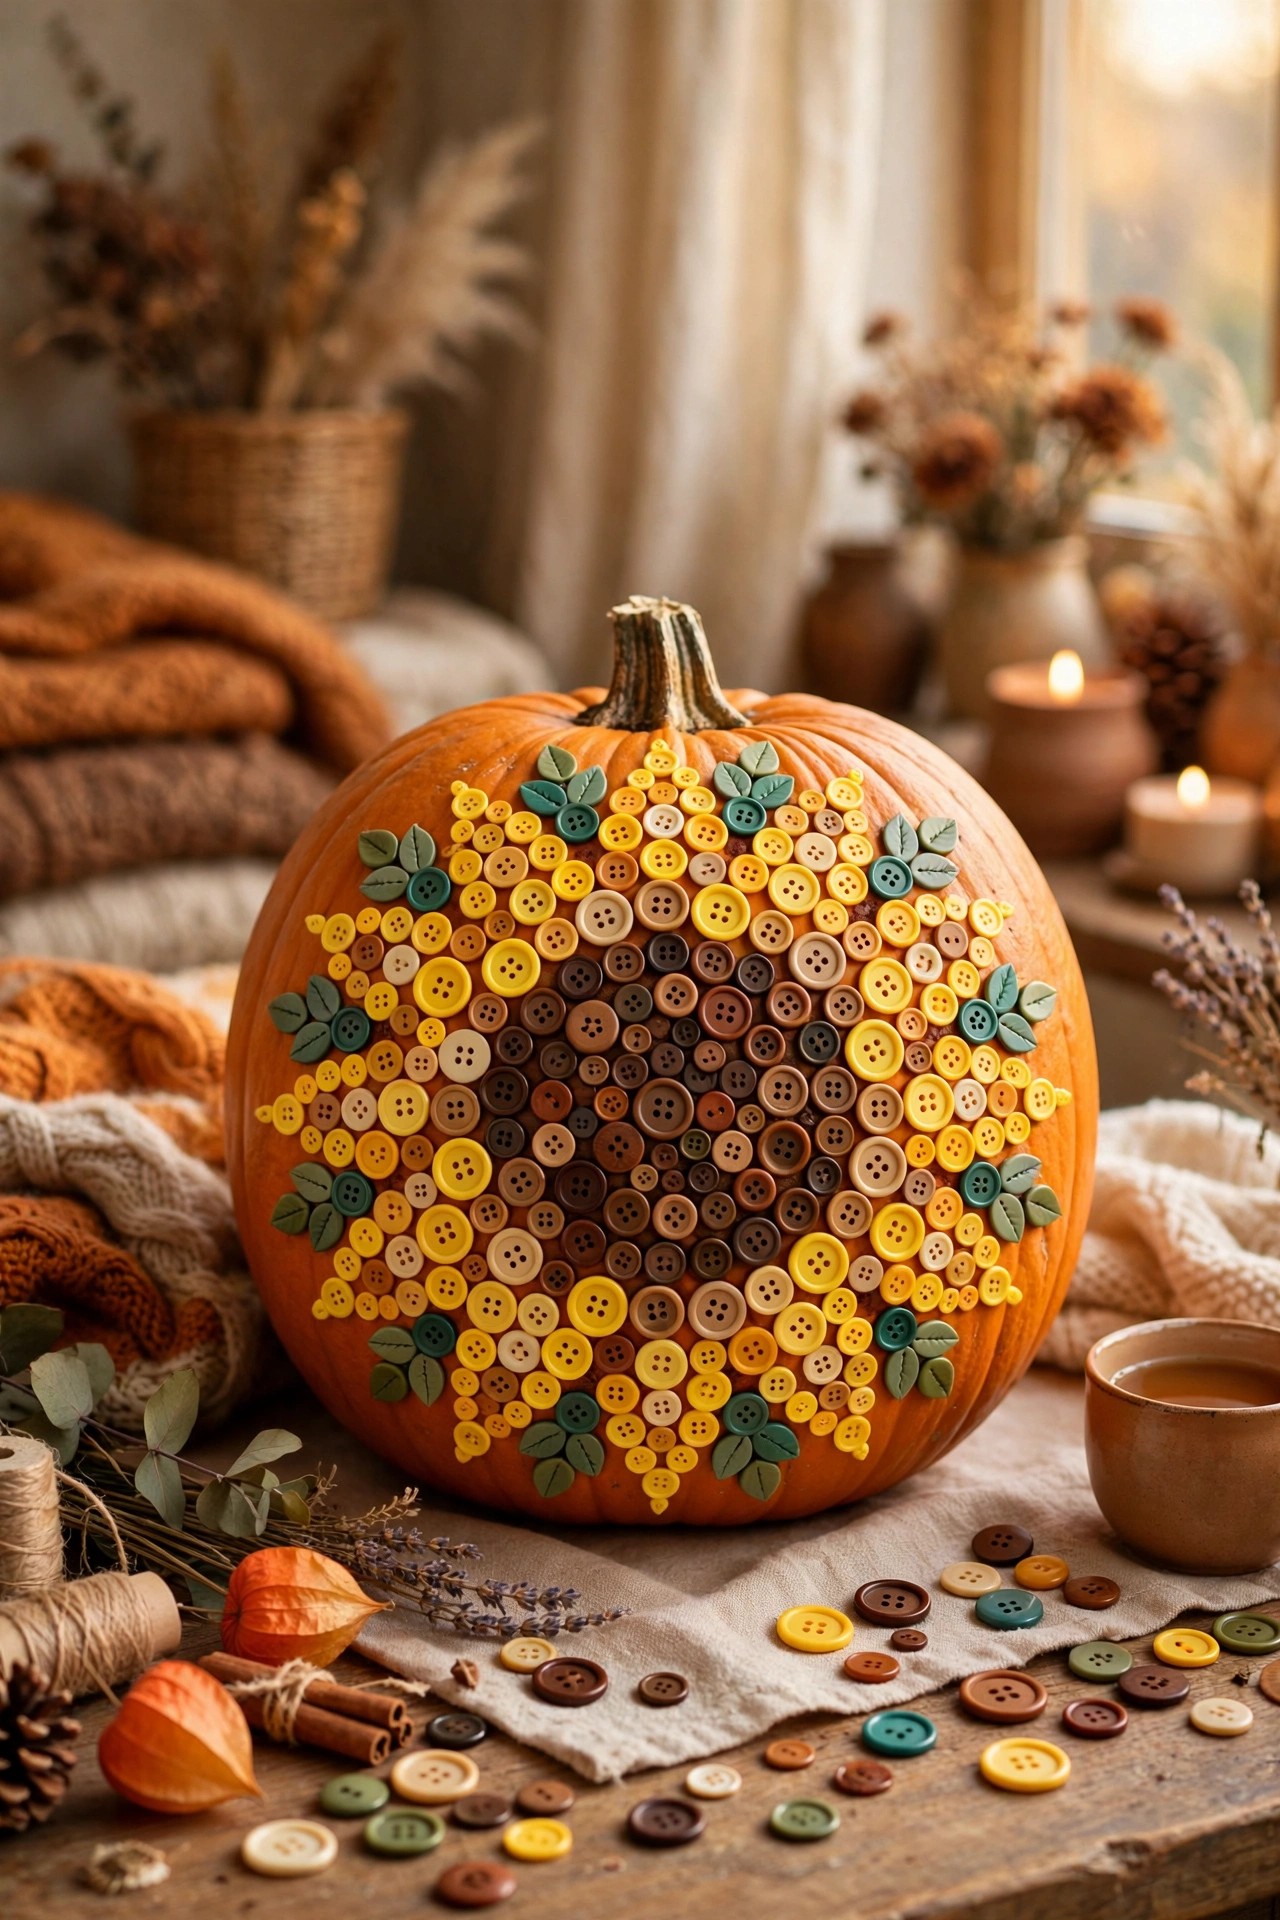
Glue buttons in a mosaic — a sunflower, a skull, a simple spiral — onto a pumpkin. Dig through the button jar; every mosaic tells a family history.
How to: Pumpkin + assorted buttons + strong craft glue
Make it yours: Sketch the design in pencil first — buttons forgive nothing.
Budget tip: Thrifted button jars are treasure chests for this.
20. ✨ Sequin Sparkle Pumpkins
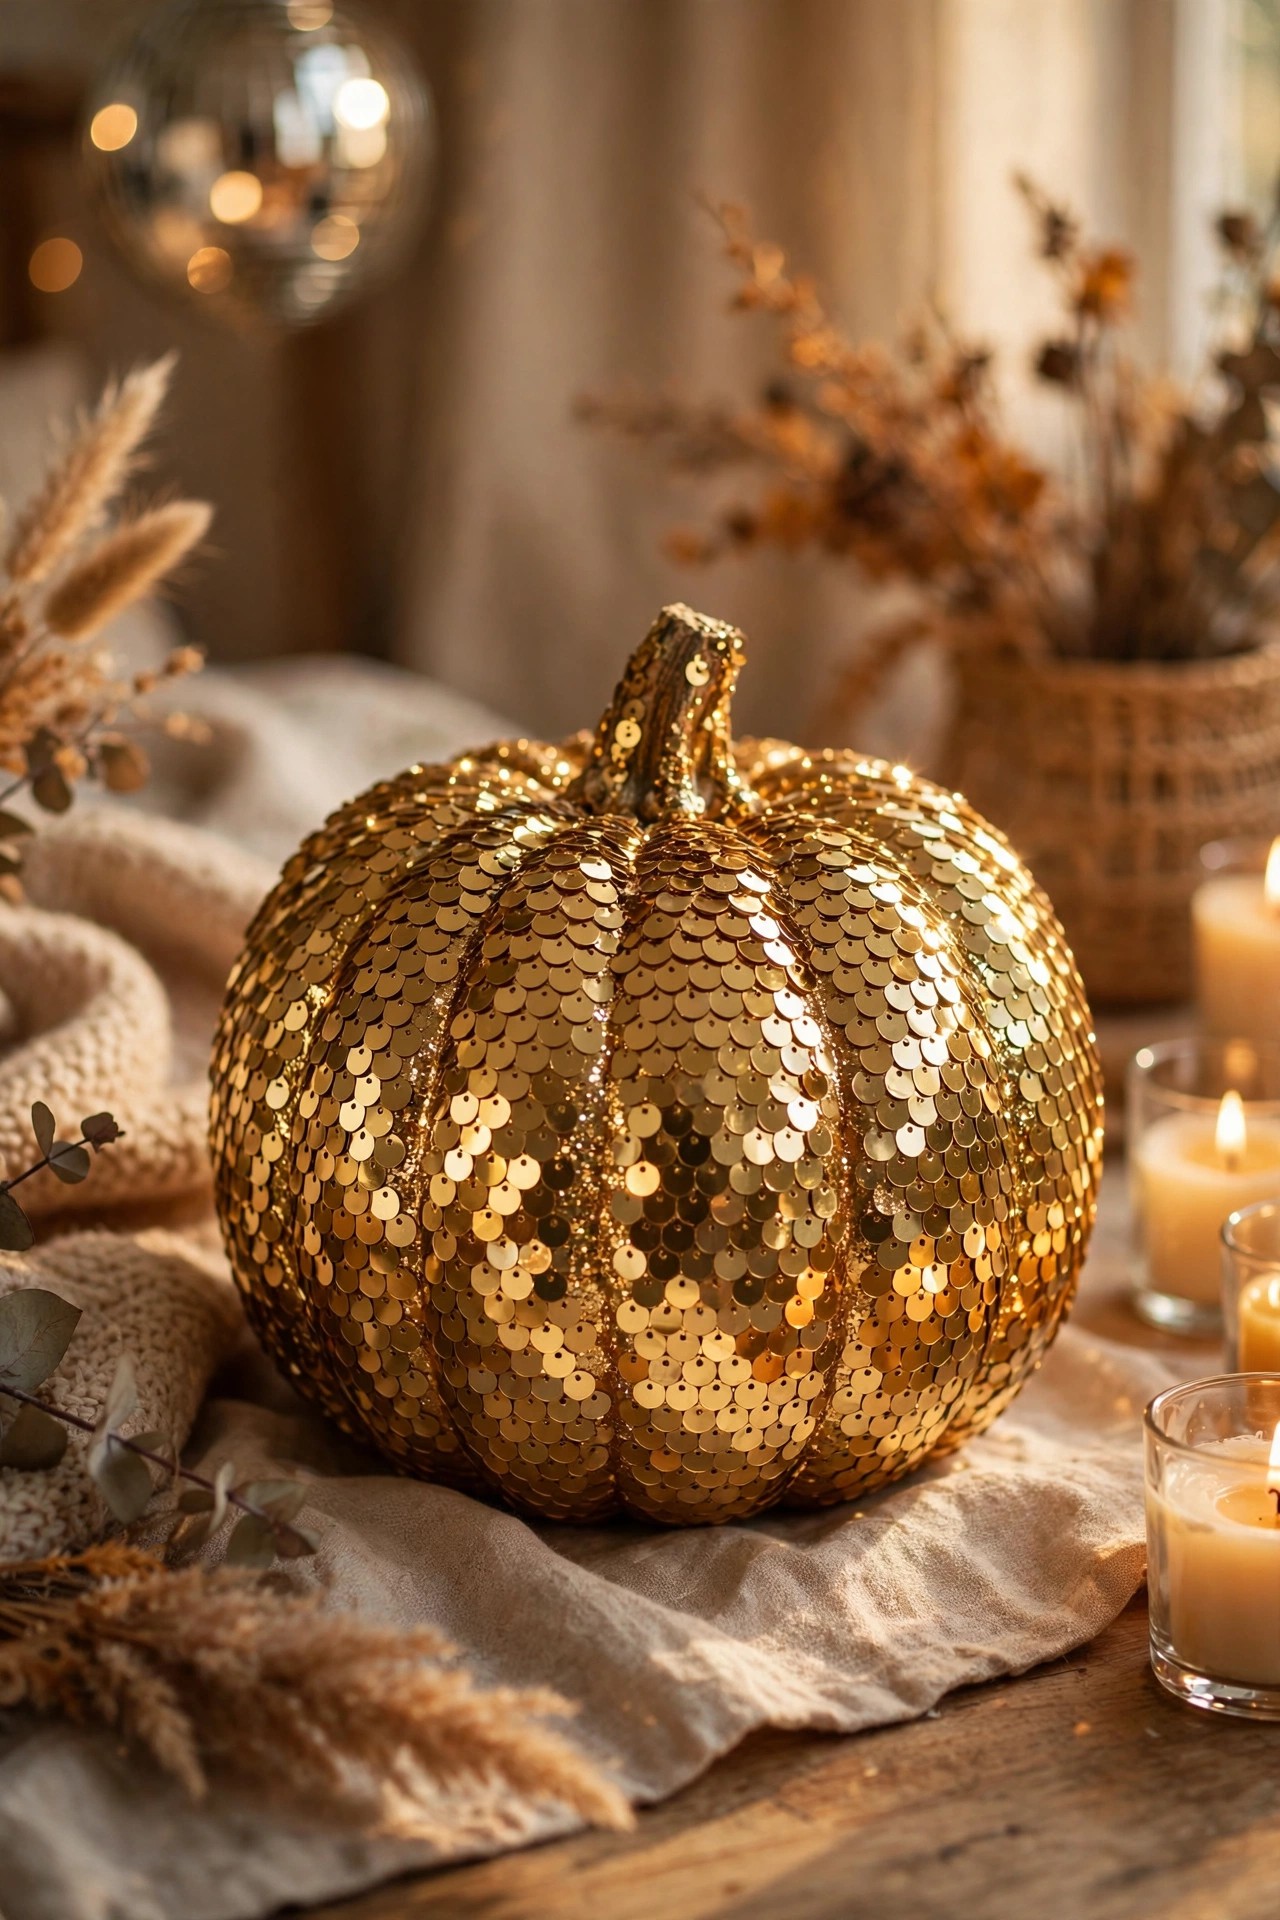
Glue sequins in overlapping rows for a disco-ball pumpkin that catches every light in the room. Maximum glam, minimum skill required.
How to: Pumpkin + sequins + craft glue + patience
Make it yours: Ombre sequins from gold to black for drama.
Avoid: Starting this at 10pm — it takes longer than you think.
21. 🍊 Dried Orange & Cinnamon
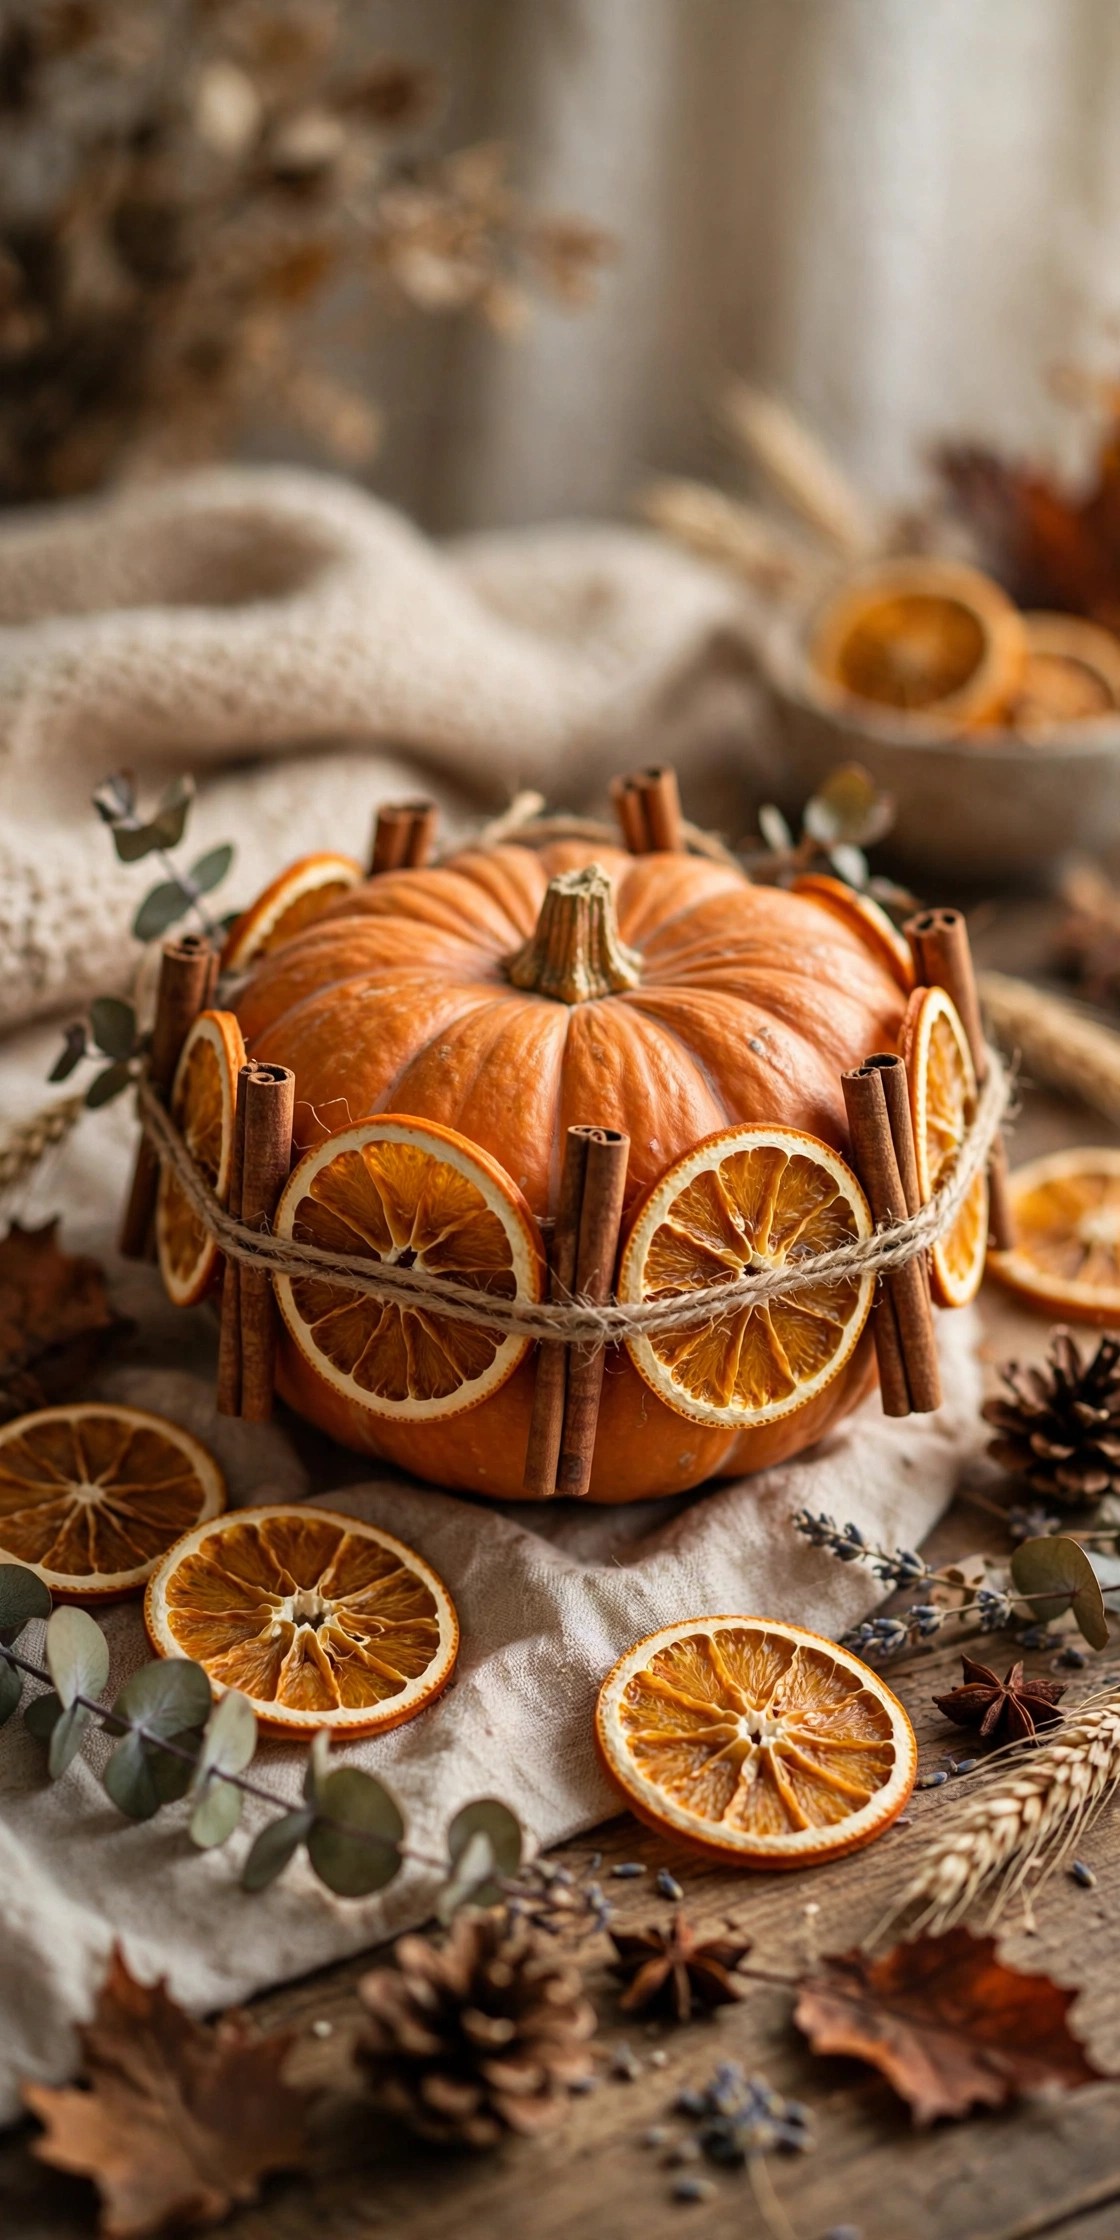
Glue dried orange slices and cinnamon stick bundles around a pumpkin — it smells like the holidays arrived early and looks like a Williams-Sonoma display.
How to: Pumpkin + dried orange slices + cinnamon sticks + hot glue + twine
Make it yours: Add star anise for a spice-market look.
Bonus: Your entryway will smell incredible for weeks.
22. 💀 Painted Calavera Pumpkins
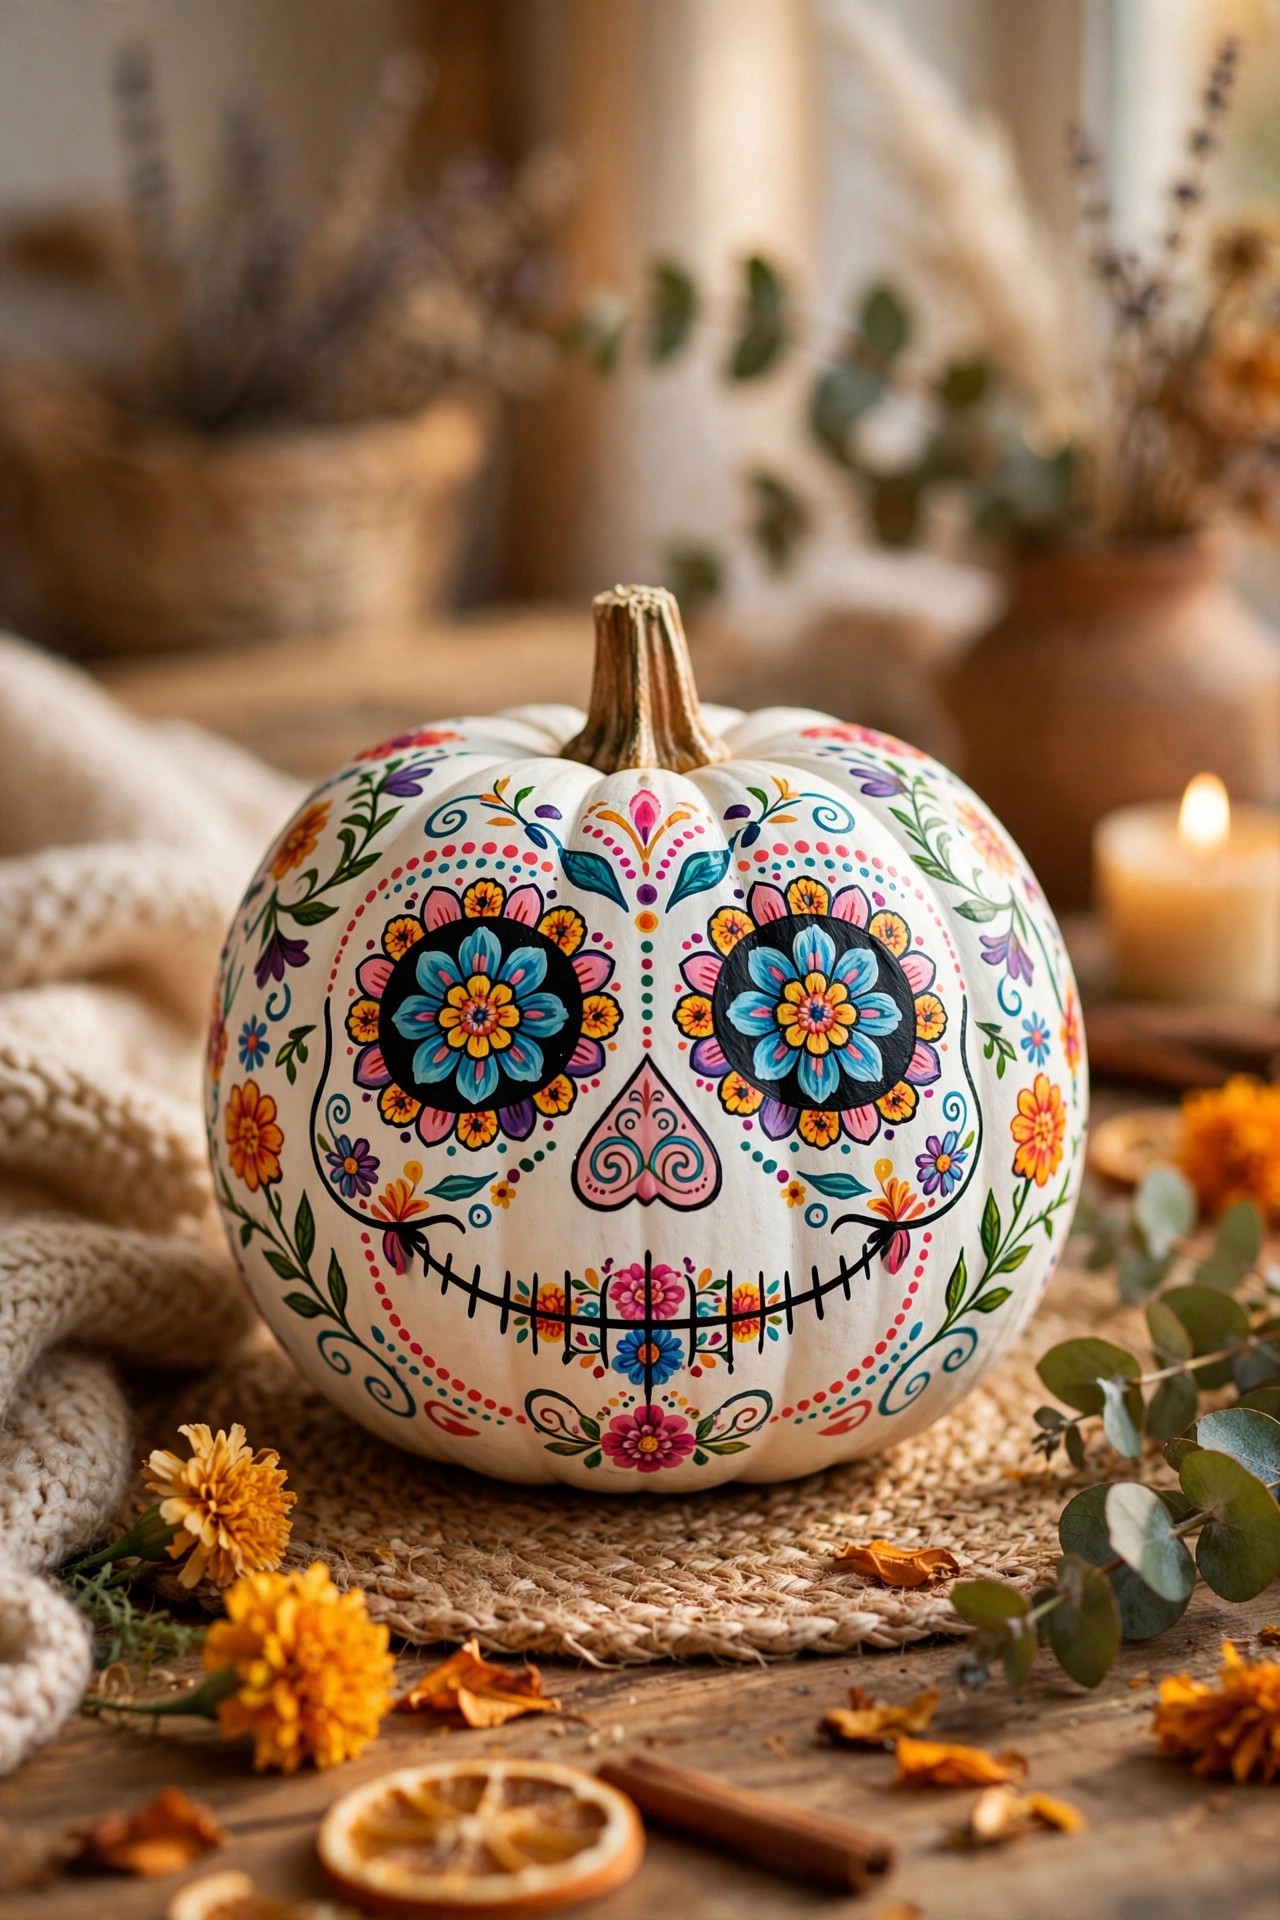
Paint a sugar-skull face on a white pumpkin — bright flowers around the eyes, stitched mouth, jeweled forehead. A joyful nod to Día de los Muertos artistry.
How to: White pumpkin + acrylic paints + fine brushes + reference photo
Make it yours: Add tiny gem stickers for the jeweled effect.
Respect: Learn the tradition’s meaning — it is celebration, not costume.
23. 🌌 Glow-in-the-Dark Galaxy
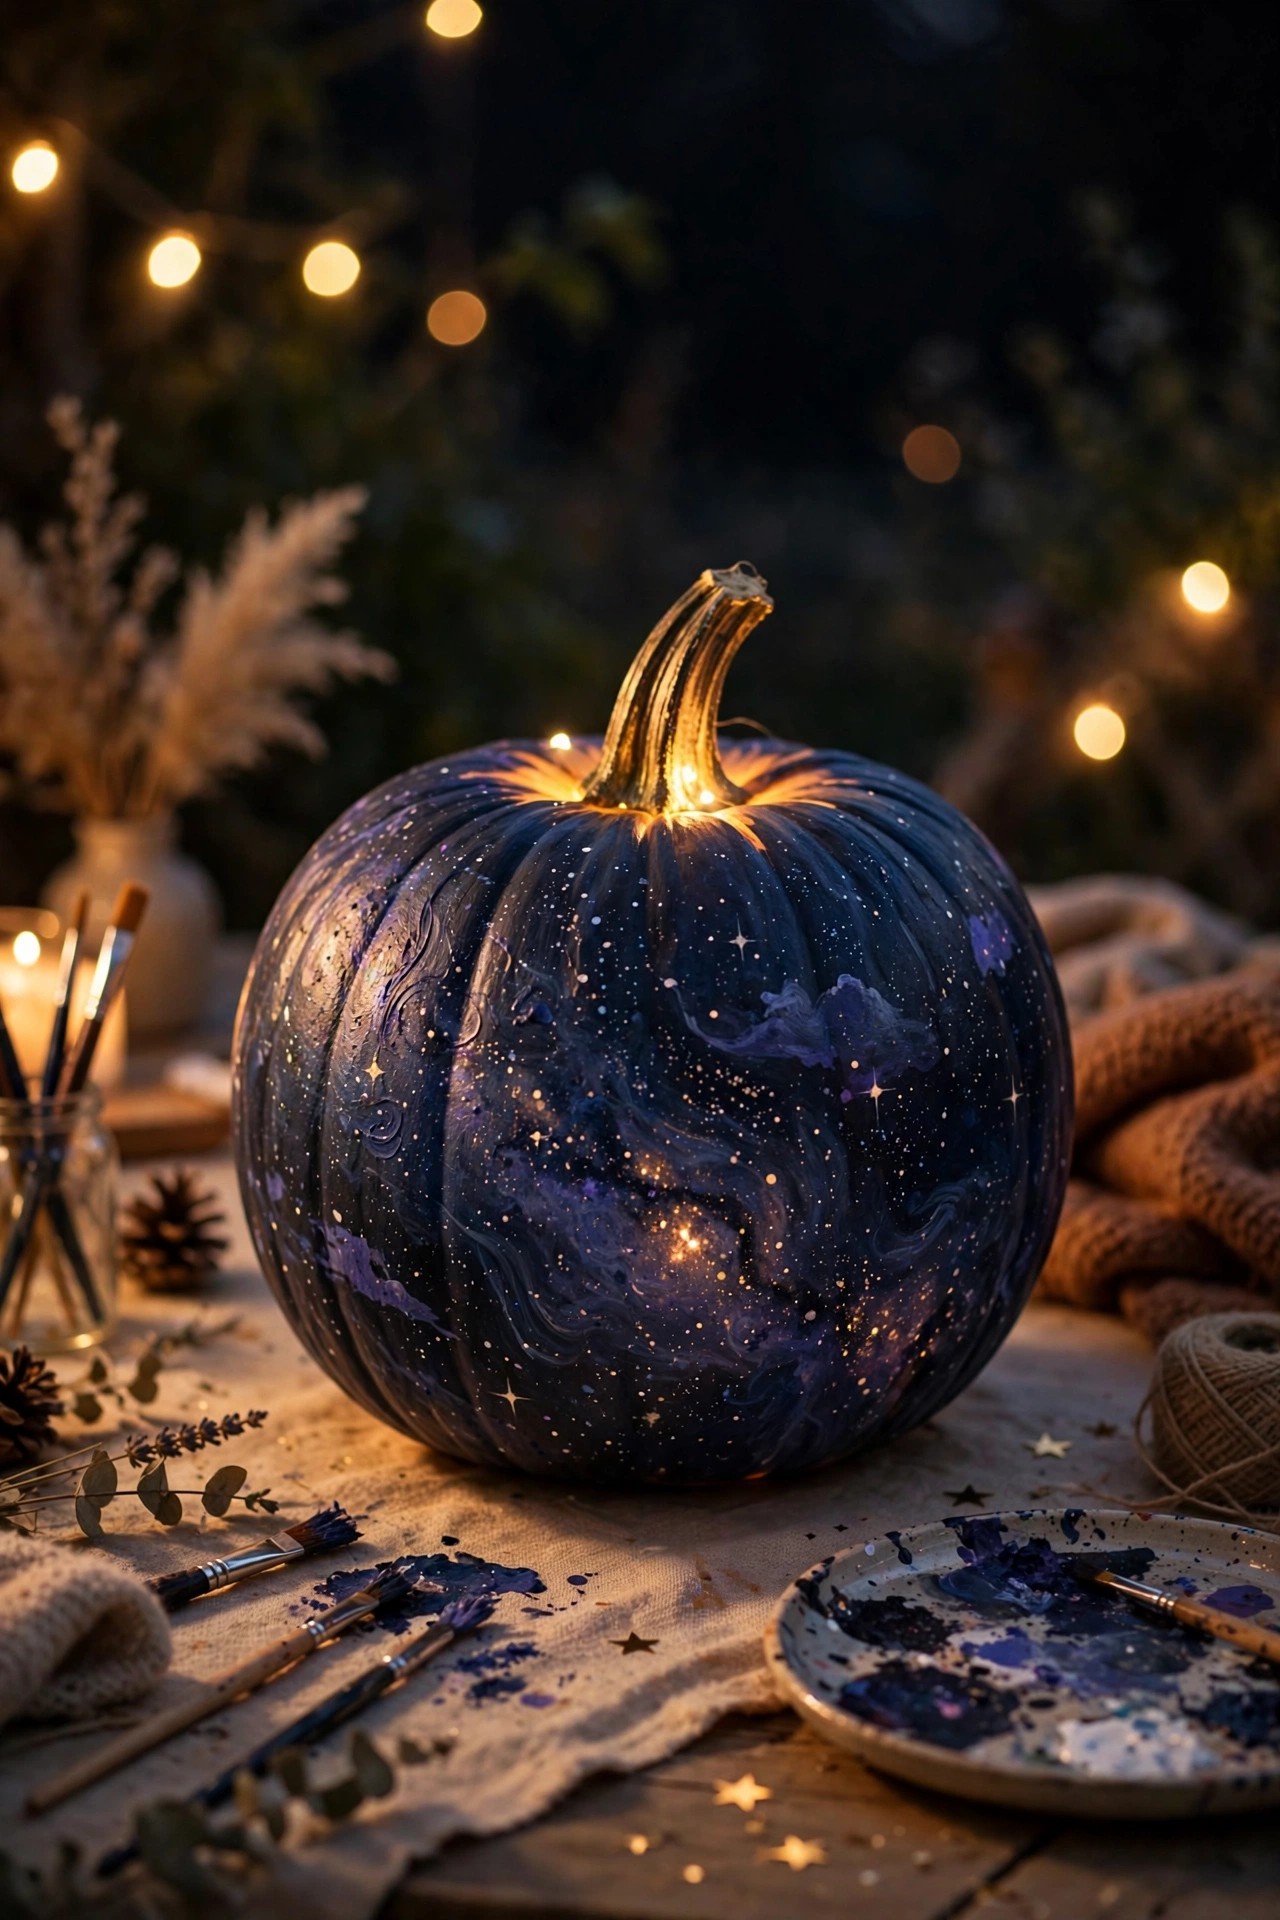
Sponge dark blues and purples, flick white stars, then top with glow-in-the-dark paint. By day it is pretty; by night it is a tiny universe on your porch.
How to: Pumpkin + dark acrylics + sponge + glow paint + star flicking
Make it yours: “Charge” it under a lamp before dark for max glow.
Kid-safe: Kids adore the big reveal at bedtime.
24. 🟠 Copper Metallic Spray
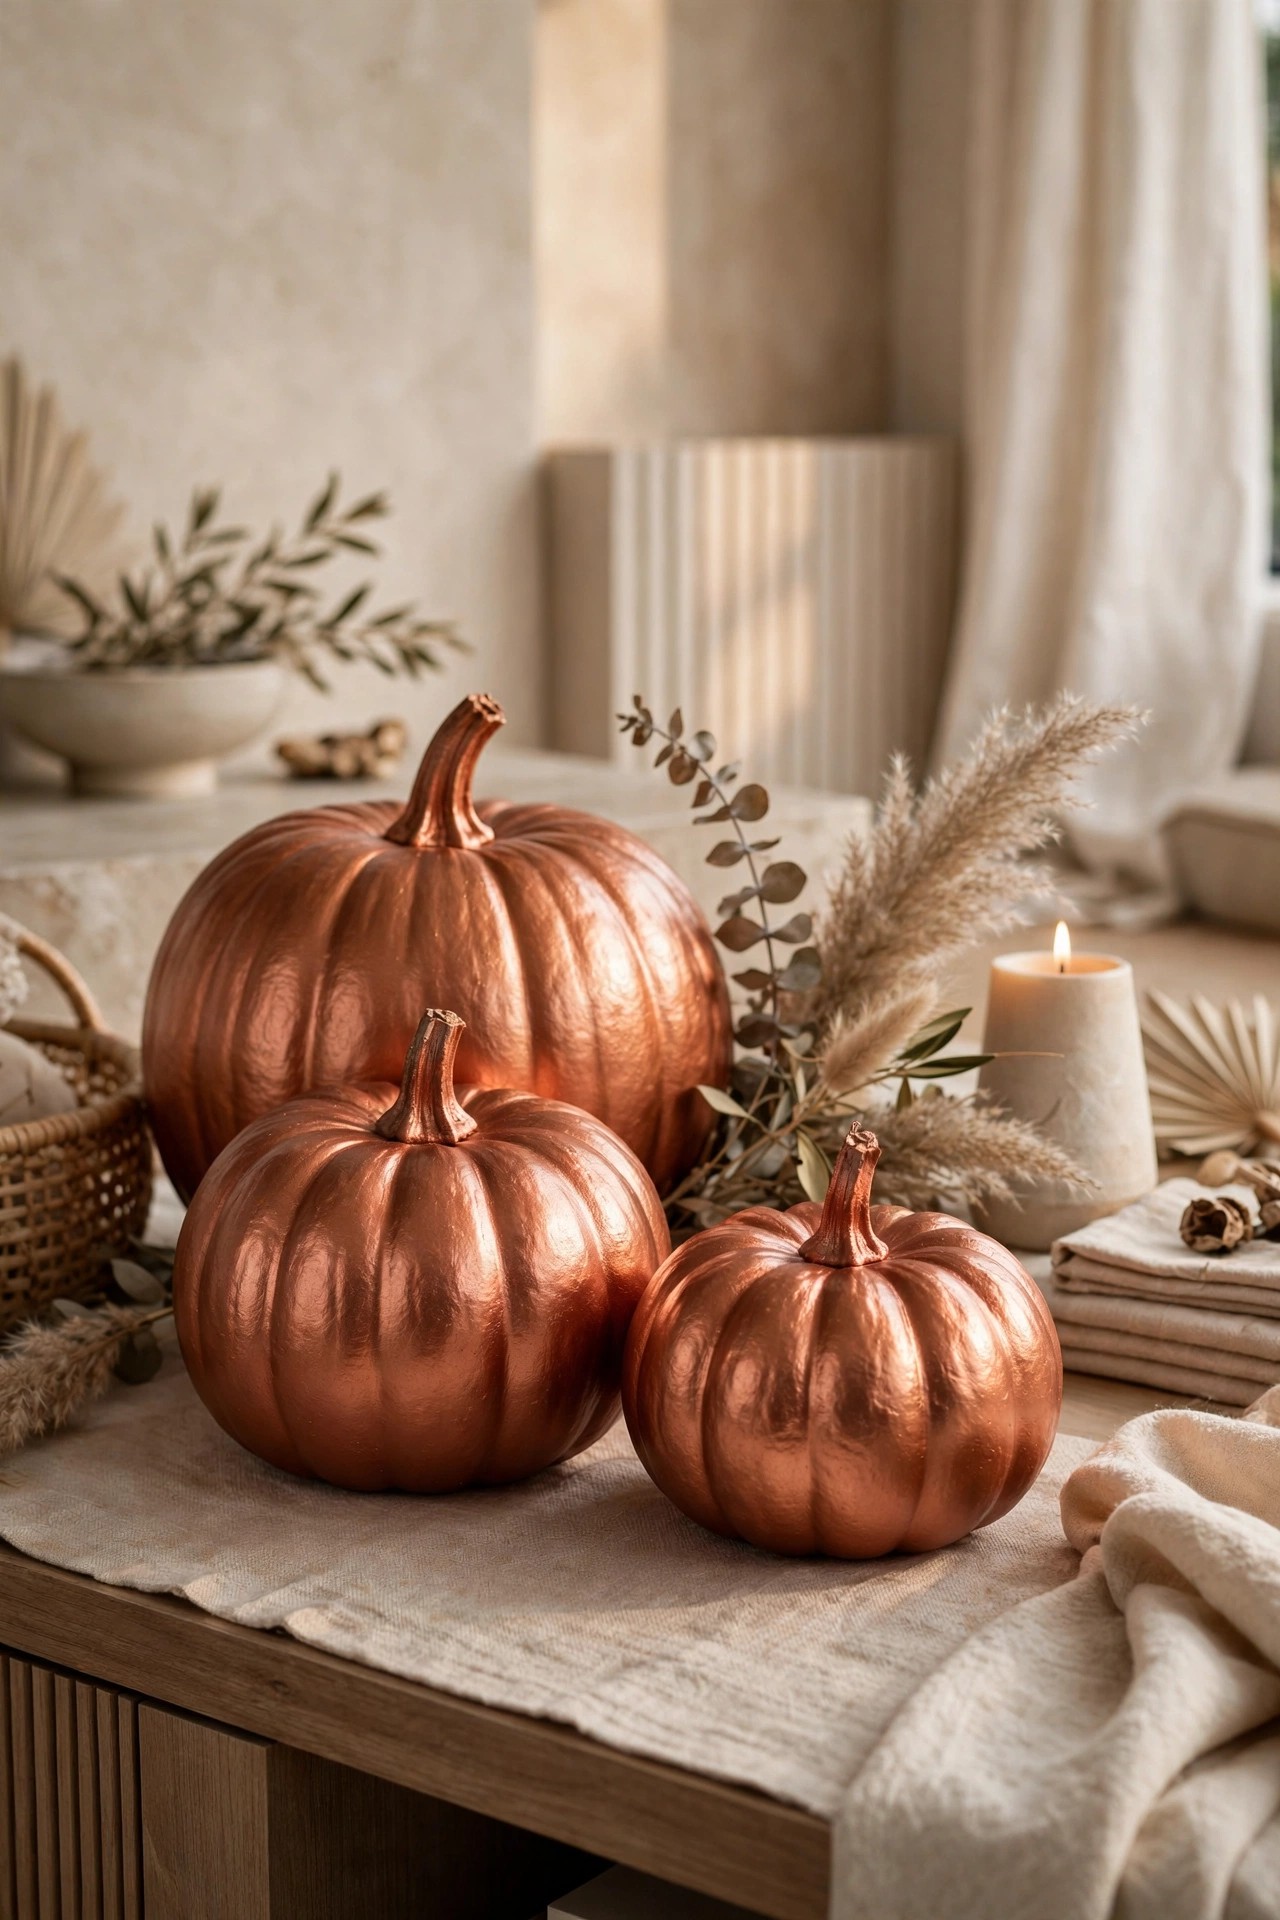
One coat of copper metallic spray paint turns any pumpkin into a modern sculpture. Group three in graduated sizes — it looks like an art installation.
How to: Pumpkins + copper metallic spray paint + drop cloth
Make it yours: Mix copper, gold, and bronze for a metallic family.
Avoid: Spraying on a windy day — or near your car. Seriously.
Wipe every pumpkin with diluted white vinegar and let it dry completely before decorating. The surface grips paint and glue better, and the vinegar extends the pumpkin’s life by days.
Work in this order: paint first, then glue, then delicate toppers last. Wet glue over fresh paint is how beautiful designs slide right off the pumpkin.
❓ No-Carve Pumpkin FAQs
How long do no-carve pumpkins last?
Two to four weeks indoors, often longer than carved pumpkins which collapse in days. Keep them cool, dry, and out of direct sun; a vinegar wipe before decorating adds extra days.
What paint works best on pumpkins?
Acrylic craft paint adheres best and dries fast. Spray paint works for full coverage (ventilate well). Avoid watercolors — they bead up on pumpkin skin. Seal with clear matte sealer for longevity.
Can young kids do these no-carve ideas?
Absolutely — that is the point. Washi tape, mini hats, tutus, and sticker-style ideas need zero sharp tools. You handle hot glue and spray paint; kids do everything else.
How do I keep decorations stuck to a pumpkin?
Clean the skin first (vinegar wipe), use hot glue for heavy items and Mod Podge or craft glue for paper, and let everything cure overnight before moving the pumpkin. Cold pumpkins reject glue — work at room temperature.
Will no-carve pumpkins still rot?
Eventually, yes — they are still produce. But without cut surfaces, they last weeks instead of days. At the first soft spot, compost it and decorate a fresh one; most of these crafts take under an hour.
Line them up on the porch, gift a few to the neighbors, and keep your favorite on the mantel where you will see it every day. Happy decorating — the glue gun is optional, but the fun is not.
📖 Keep Reading
- Elegant Halloween Decorations — Display your finished pumpkins among these sophisticated indoor vignettes.
- Halloween Front Porch Decor Ideas — Porch-perfect spots to show off your no-carve creations.
- Fall Rituals After 60 — More cozy October rituals to fill your weekends.
Discover more from Fashinate Style
Subscribe to get the latest posts sent to your email.