
20 Cute Christmas Nail Ideas

If your December could use a little more sparkle, start at your fingertips. These cute christmas nail ideas bring together glossy reds, candy cane stripes, tiny snowmen and just enough glitter to make every gift you wrap feel like part of the celebration.
You do not need salon-length nails or an artist’s steady hand to pull these off. Most of the designs below work beautifully on natural, everyday lengths, and many of them come down to simple dots, stripes and one cute accent nail doing all the talking.
There is a mix of classic, playful and quietly elegant options here, so you can find something for the office party, the family photos and Christmas morning alike. If you are working with shorter nails, our short Christmas nail ideas are full of festive inspiration too.
Pick one favorite and wear it all season, or treat this list like an advent calendar and try a new design every week of December. Either way, save photos of the ones you love before your appointment so your nail tech can match the colors exactly.
In This Guide
- 1. Classic Red Christmas Nails
- 2. Candy Cane Christmas Nails
- 3. Cute Snowman Nails
- 4. Christmas Bow Nails
- 5. Red and Green Christmas Nails
- 6. Snowflake Christmas Nails
- 7. Gingerbread Man Nails
- 8. Christmas Tree Nails
- 9. Pink Christmas Nails
- 10. Green Glitter Christmas Nails
- 11. French Christmas Nails
- 12. Rudolph Christmas Nails
- 13. Santa Hat Nails
- 14. Mistletoe Christmas Nails
- 15. Christmas Ornament Nails
- 16. Cute Christmas Character Nails
- 17. Gold and White Christmas Nails
- 18. Christmas Sweater Nails
- 19. Glittery Santa Red Nails
- 20. Minimalist Christmas Nails
- Styling Tips
- Common Mistakes to Avoid
- Tips for Making Christmas Nail Art Last
- Frequently Asked Questions
1. Classic Red Christmas Nails

Some manicures never need reinventing, and glossy cherry red is the Christmas original. It looks polished the second it dries, suits every skin tone, and somehow makes even a plain sweater feel dressed up. If you only get one festive manicure this year, this is the safest, prettiest bet.
The charm is in the restraint: a clean red on every nail, with one small detail — like the tiny white snowflake on the ring finger here — to nod to the season. That single accent keeps the look timeless rather than themed, so it carries you from early December straight through New Year’s Eve.
Tip: A high-shine top coat is non-negotiable with red. It deepens the color, hides tiny brush marks and buys you extra days before the first chip appears.
2. Candy Cane Christmas Nails
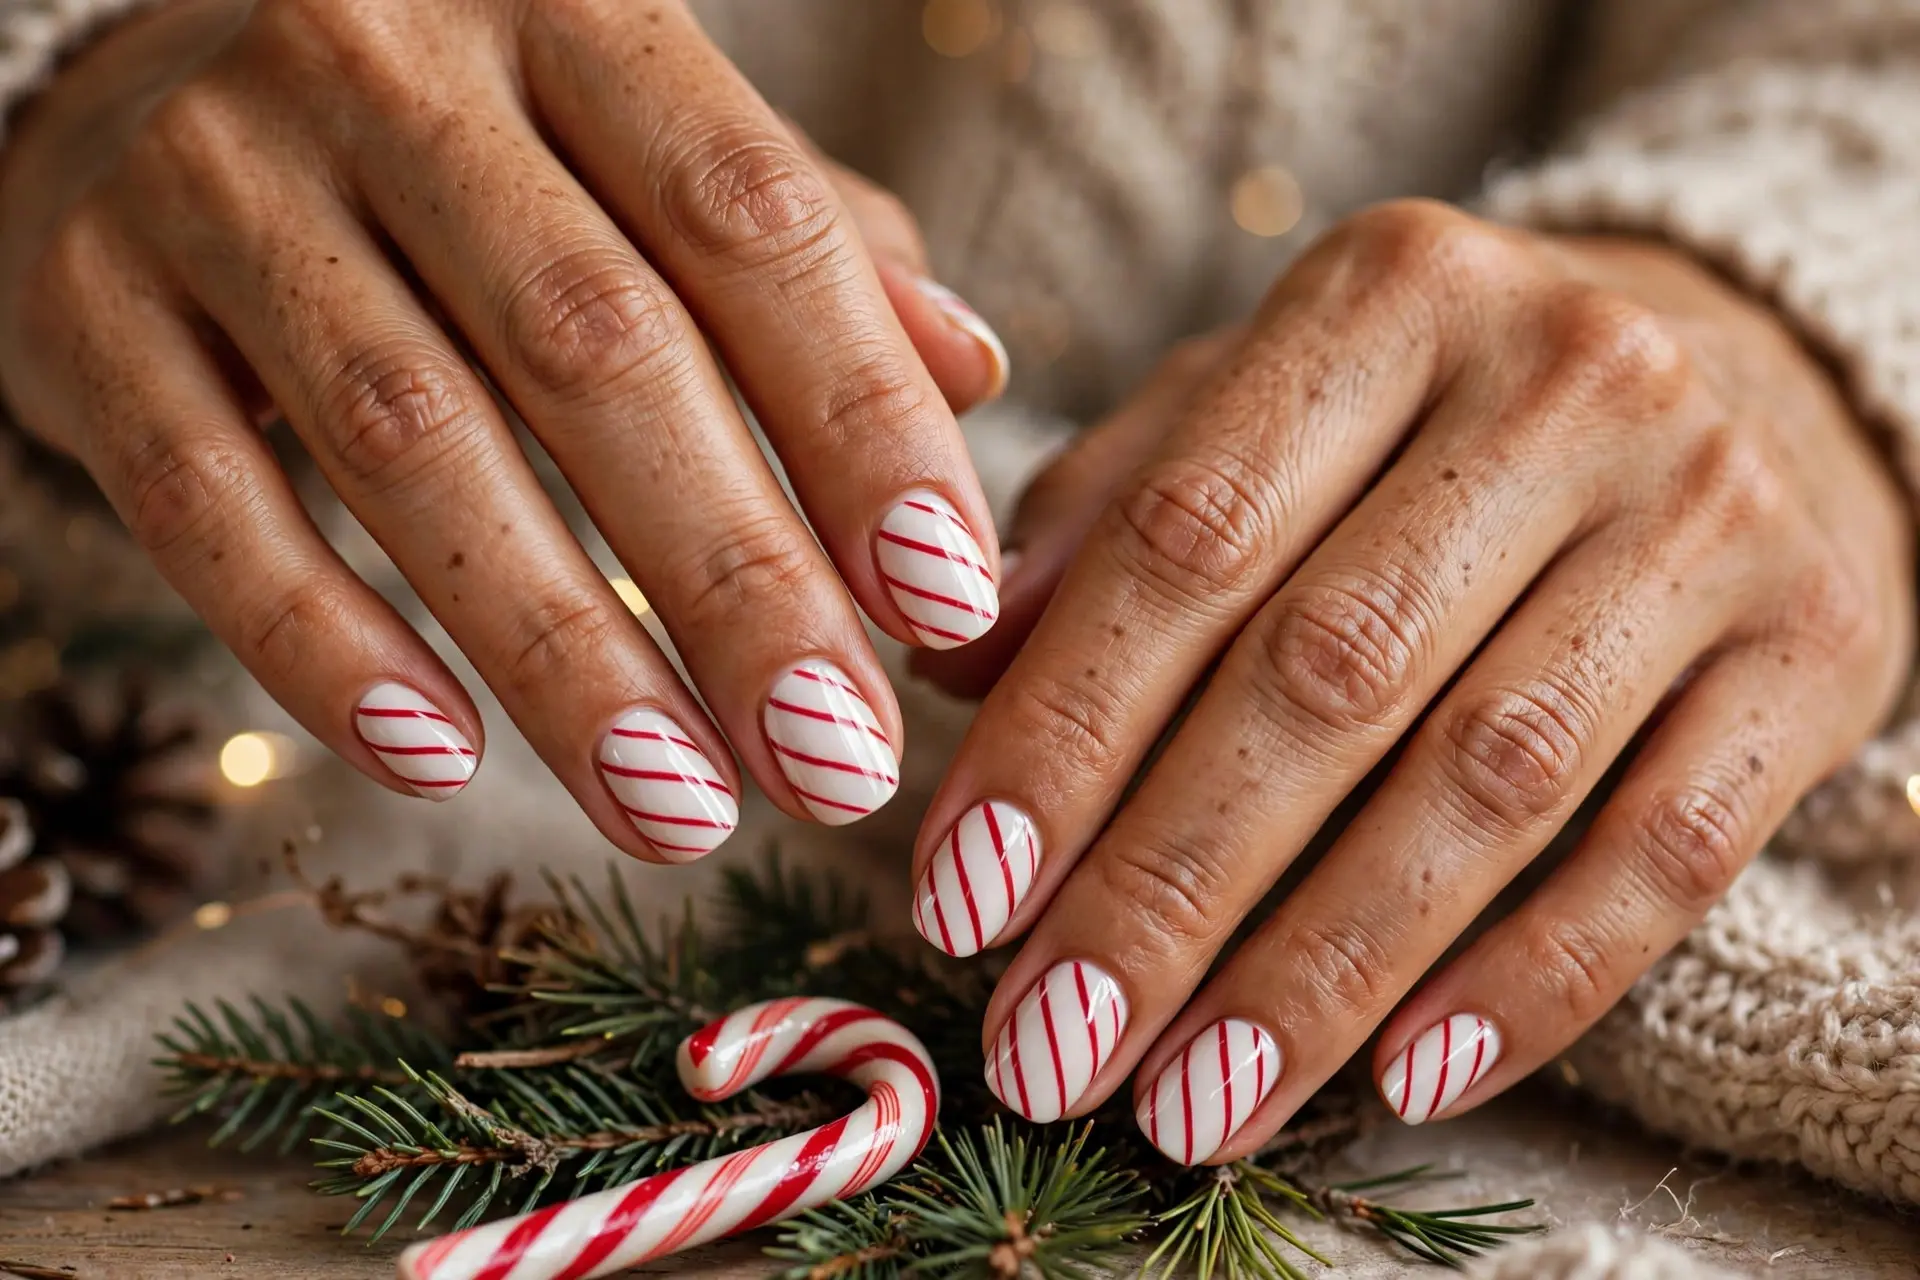
Candy cane stripes are the sweetest pattern of the season, and they are far easier than they look. A creamy white base plus thin red diagonal lines gives you that instantly recognizable peppermint swirl — no drawing skills required, just a fine brush and a fairly steady hand.
Stripes on all ten nails make a cheerful statement, but the design is just as cute worn on two or three accent nails with plain white or glossy red on the rest. A whisper of silver glitter over the top adds a frosty sparkle that catches the Christmas lights beautifully.
Tip: Let the white base dry completely before striping, and pull each red line in one confident stroke. Slow, careful lines wobble; quick ones stay crisp.
3. Cute Snowman Nails

If cute is the whole point, a tiny snowman is hard to beat. A soft, icy-blue base sets the wintry scene, and one accent nail carries the little fellow himself — round face, carrot nose, coal-dot eyes and a tiny red scarf. People will ask to see it. Twice.
Keep the supporting nails simple so the snowman stays the star: pale blue with a dusting of fine white glitter reads as falling snow and stops the set from feeling busy. The design works on short nails too, because the face is really just circles and dots.
Tip: Build the snowman with a dotting tool — a large dot for the body, a smaller one for the head — then add the face with the tip of a toothpick once the dots are dry.
4. Christmas Bow Nails
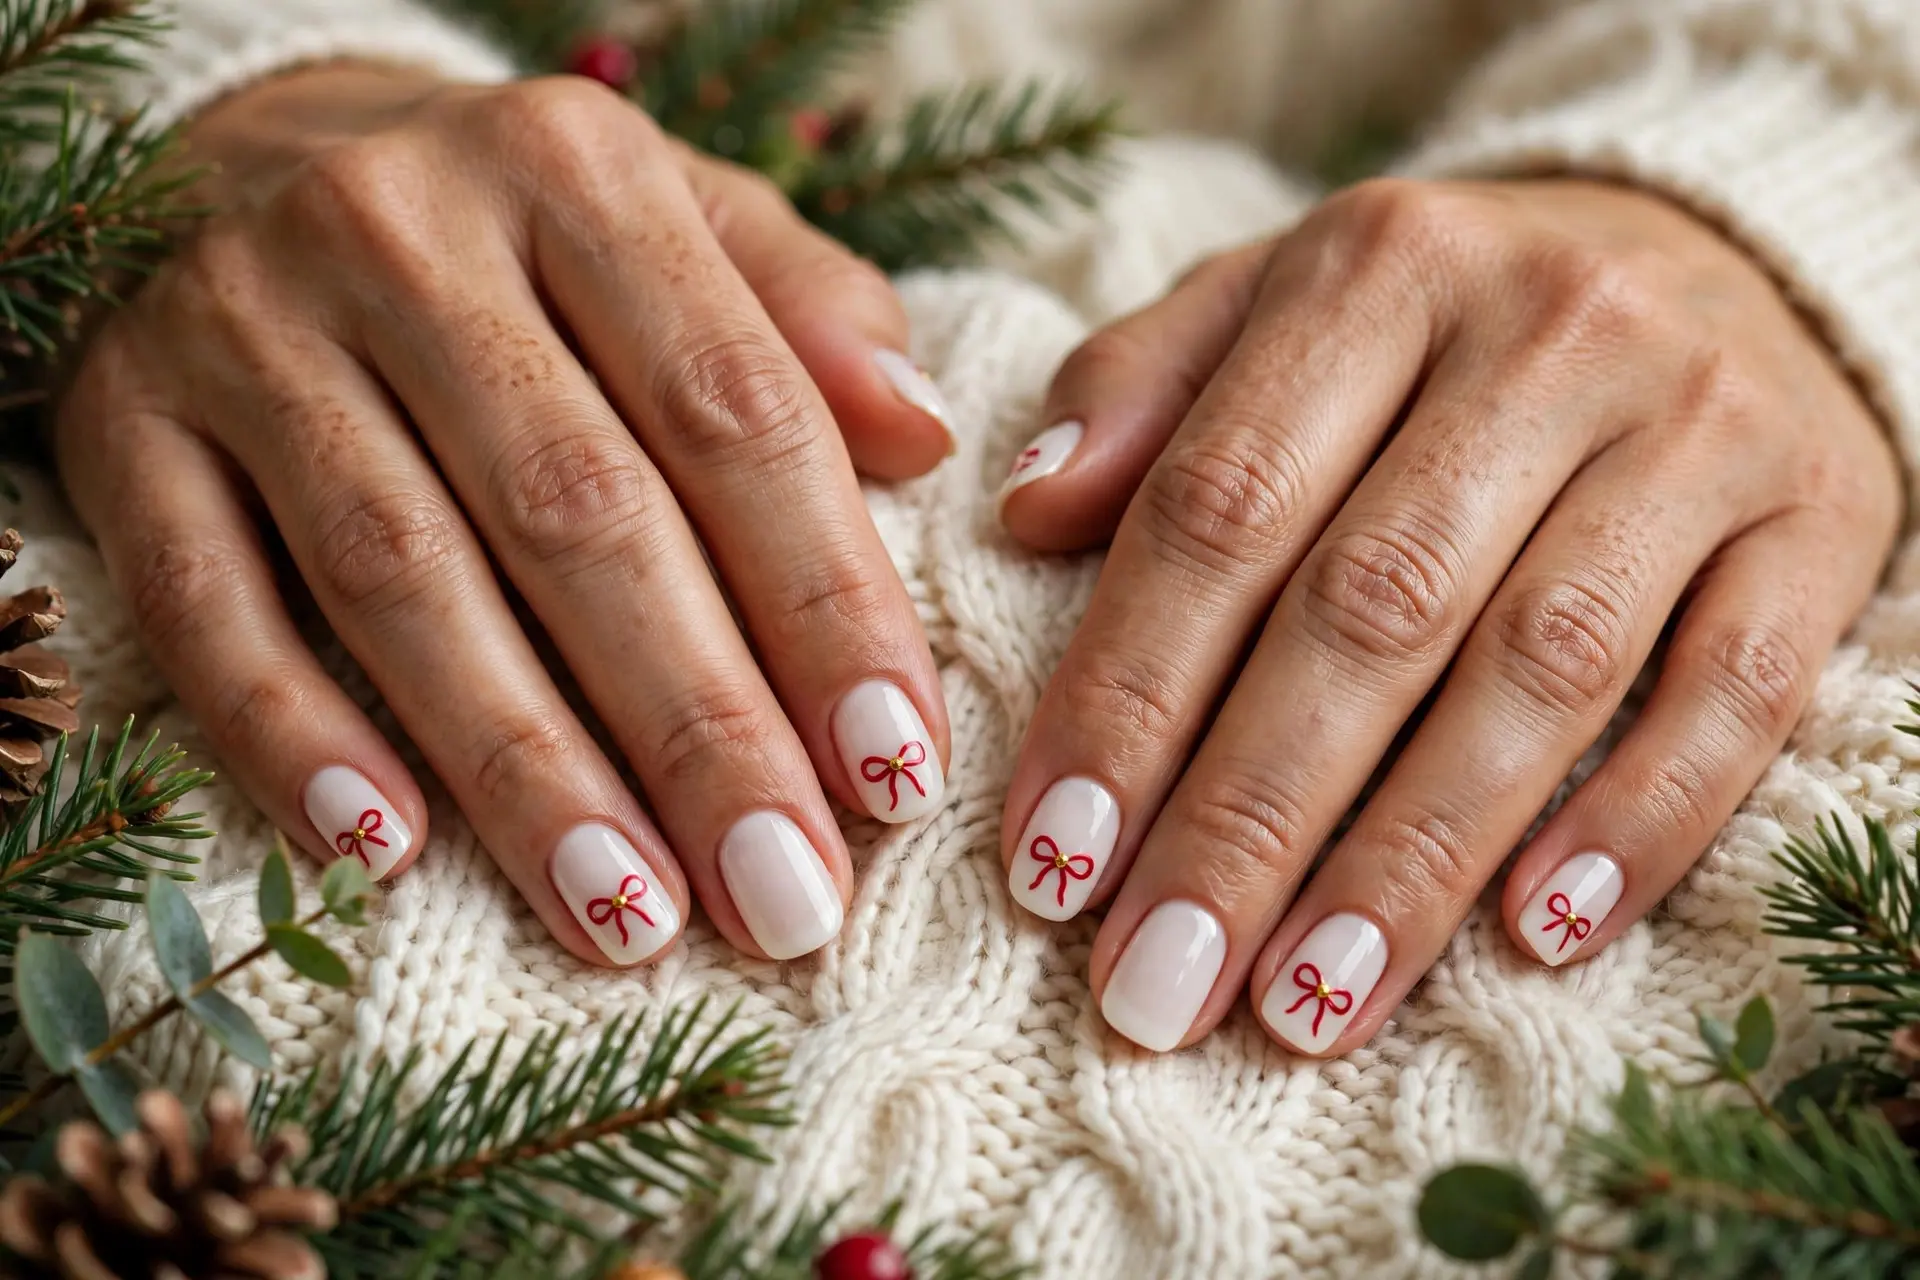
Bows are everywhere this season, and they are just as sweet on nails as they are in hair. A milky-white or soft nude base keeps things feminine and clean, while a small red bow on each nail — with a tiny gold dot at its center — does all the festive work.
This is one of the most wearable designs in the list: pretty enough for a party, subtle enough for the office. For a more glamorous version, swap a couple of the bow nails for gold glitter, or paint the bows in deep burgundy instead of classic red.
Tip: Draw the bow with two small triangles and two tiny ribbon tails, then finish with the gold center dot — that dot is what makes it read as a bow rather than a butterfly.
5. Red and Green Christmas Nails

Red and green is the traditional pairing for a reason — nothing else says Christmas quite so clearly. Alternating the two glossy shades across your nails looks bold and joyful, and the high-shine finish keeps it modern rather than costume-like.
The clever touch here is one calm, nude accent nail with a tiny holly sprig painted on it. It gives the eye somewhere to rest and ties the two strong colors together. You can swap the holly for small trees, berries or stars and the set still works just as well.
Tip: If full-strength red and green feels like a lot, choose deeper tones — a rich cherry and a forest green look far more sophisticated than bright primary shades.
6. Snowflake Christmas Nails
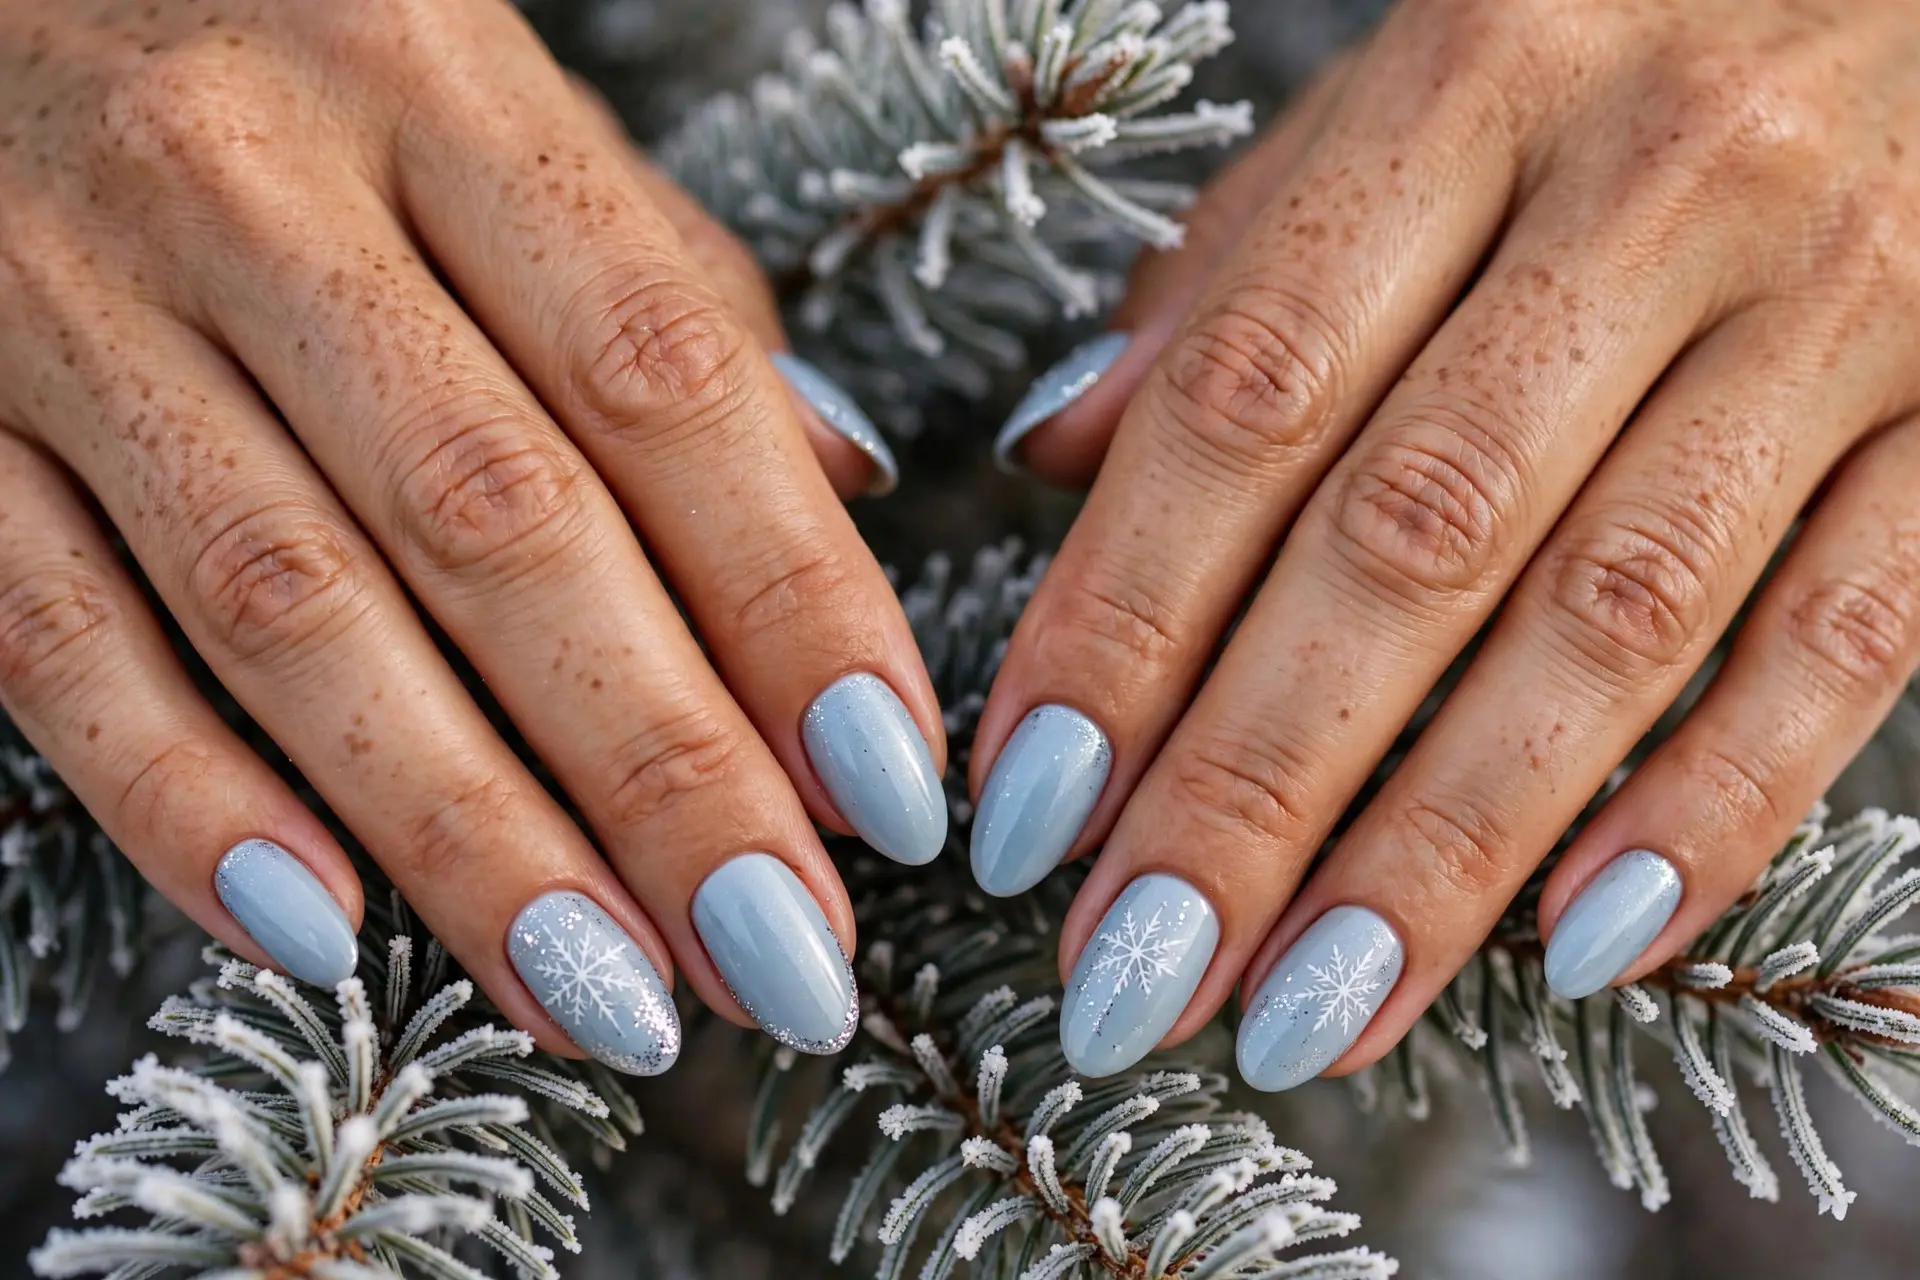
Snowflake nails are the elegant end of Christmas cute. A soft powder-blue base feels like a winter sky, and delicate white flakes painted over it — each one slightly different, just like the real thing — give the manicure a light, frosty prettiness.
A touch of fine silver glitter makes the flakes look icy, especially when it is concentrated near the tips like frost creeping in. The design also works over white, nude or pale pink if blue is not your color, and it looks particularly graceful on almond-shaped nails.
Tip: Keep your snowflake lines as thin as you can and vary the sizes. One larger flake plus a few tiny ones looks far more natural than ten identical stamps.
7. Gingerbread Man Nails

Gingerbread nails bring all the warmth of holiday baking to your fingertips. A cozy beige or nude base is the perfect canvas for a tiny brown gingerbread man, complete with white icing details, little buttons and the sweetest smile in nail art.
Let one accent nail carry the character and echo the cookie colors elsewhere — small red and white candy dots on a neighboring nail, for instance. The brown, white and red palette is classic gingerbread, and it keeps the set cute without turning it into a full bakery scene.
Tip: Paint the gingerbread man slightly plump and keep his features simple. At nail scale, a round body, two dot eyes and one icing smile read far better than fiddly detail.
8. Christmas Tree Nails
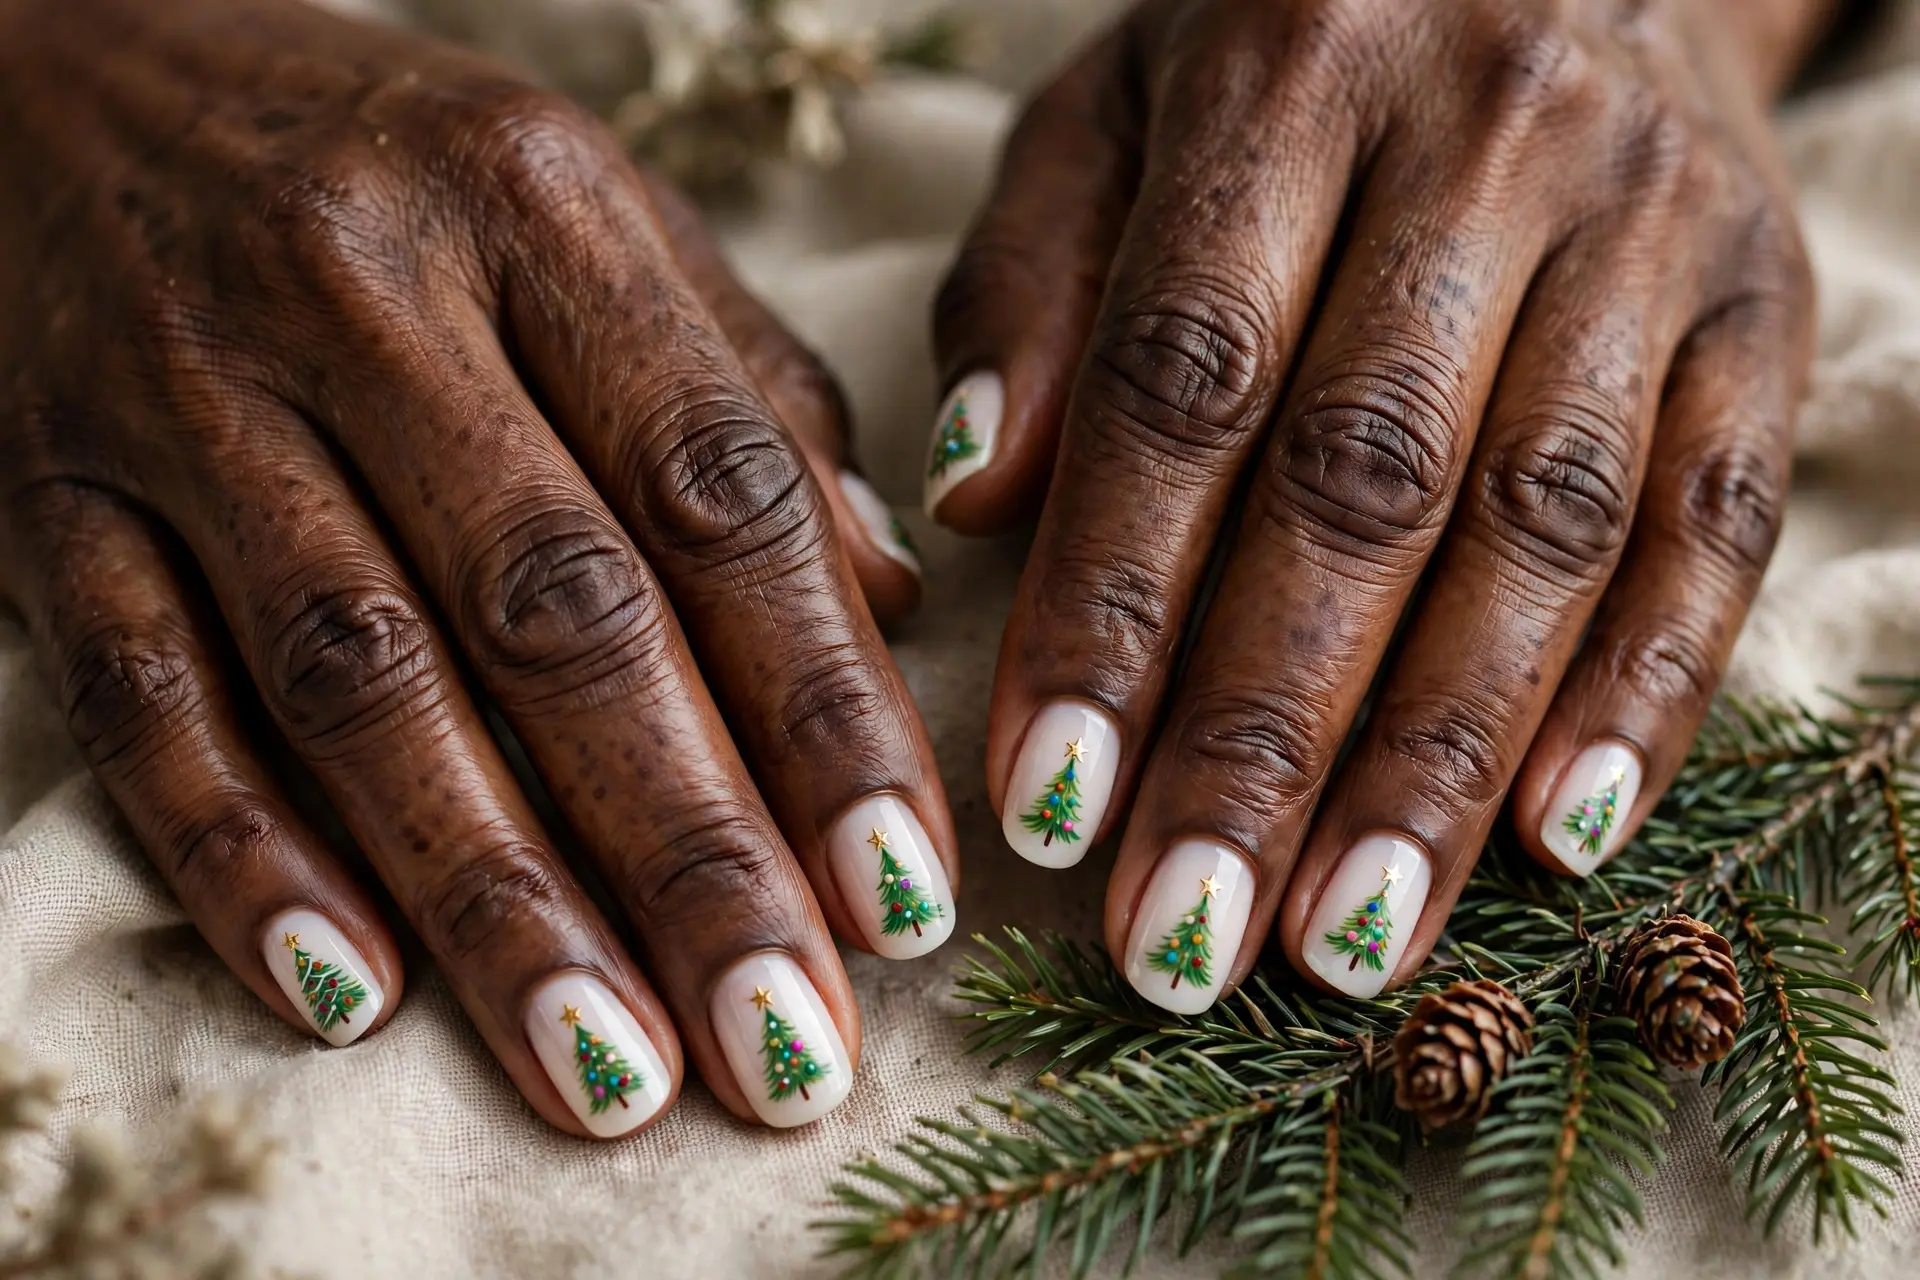
Why let the corner of the living room have all the fun? Tiny Christmas trees on a clean white base turn every nail into a miniature celebration — green branches, dot ornaments in red, gold and blue, and the tiniest gold star on top.
You can go as detailed or as simple as you like. A fully decorated tree on every nail is joyful and bold, while a minimalist green triangle tree with a single star feels modern and chic. Short nails suit the small-scale version especially well.
Tip: Paint the tree as a simple stacked triangle first, let it dry fully, and only then add the ornament dots — layering keeps the colors from bleeding into each other.
9. Pink Christmas Nails
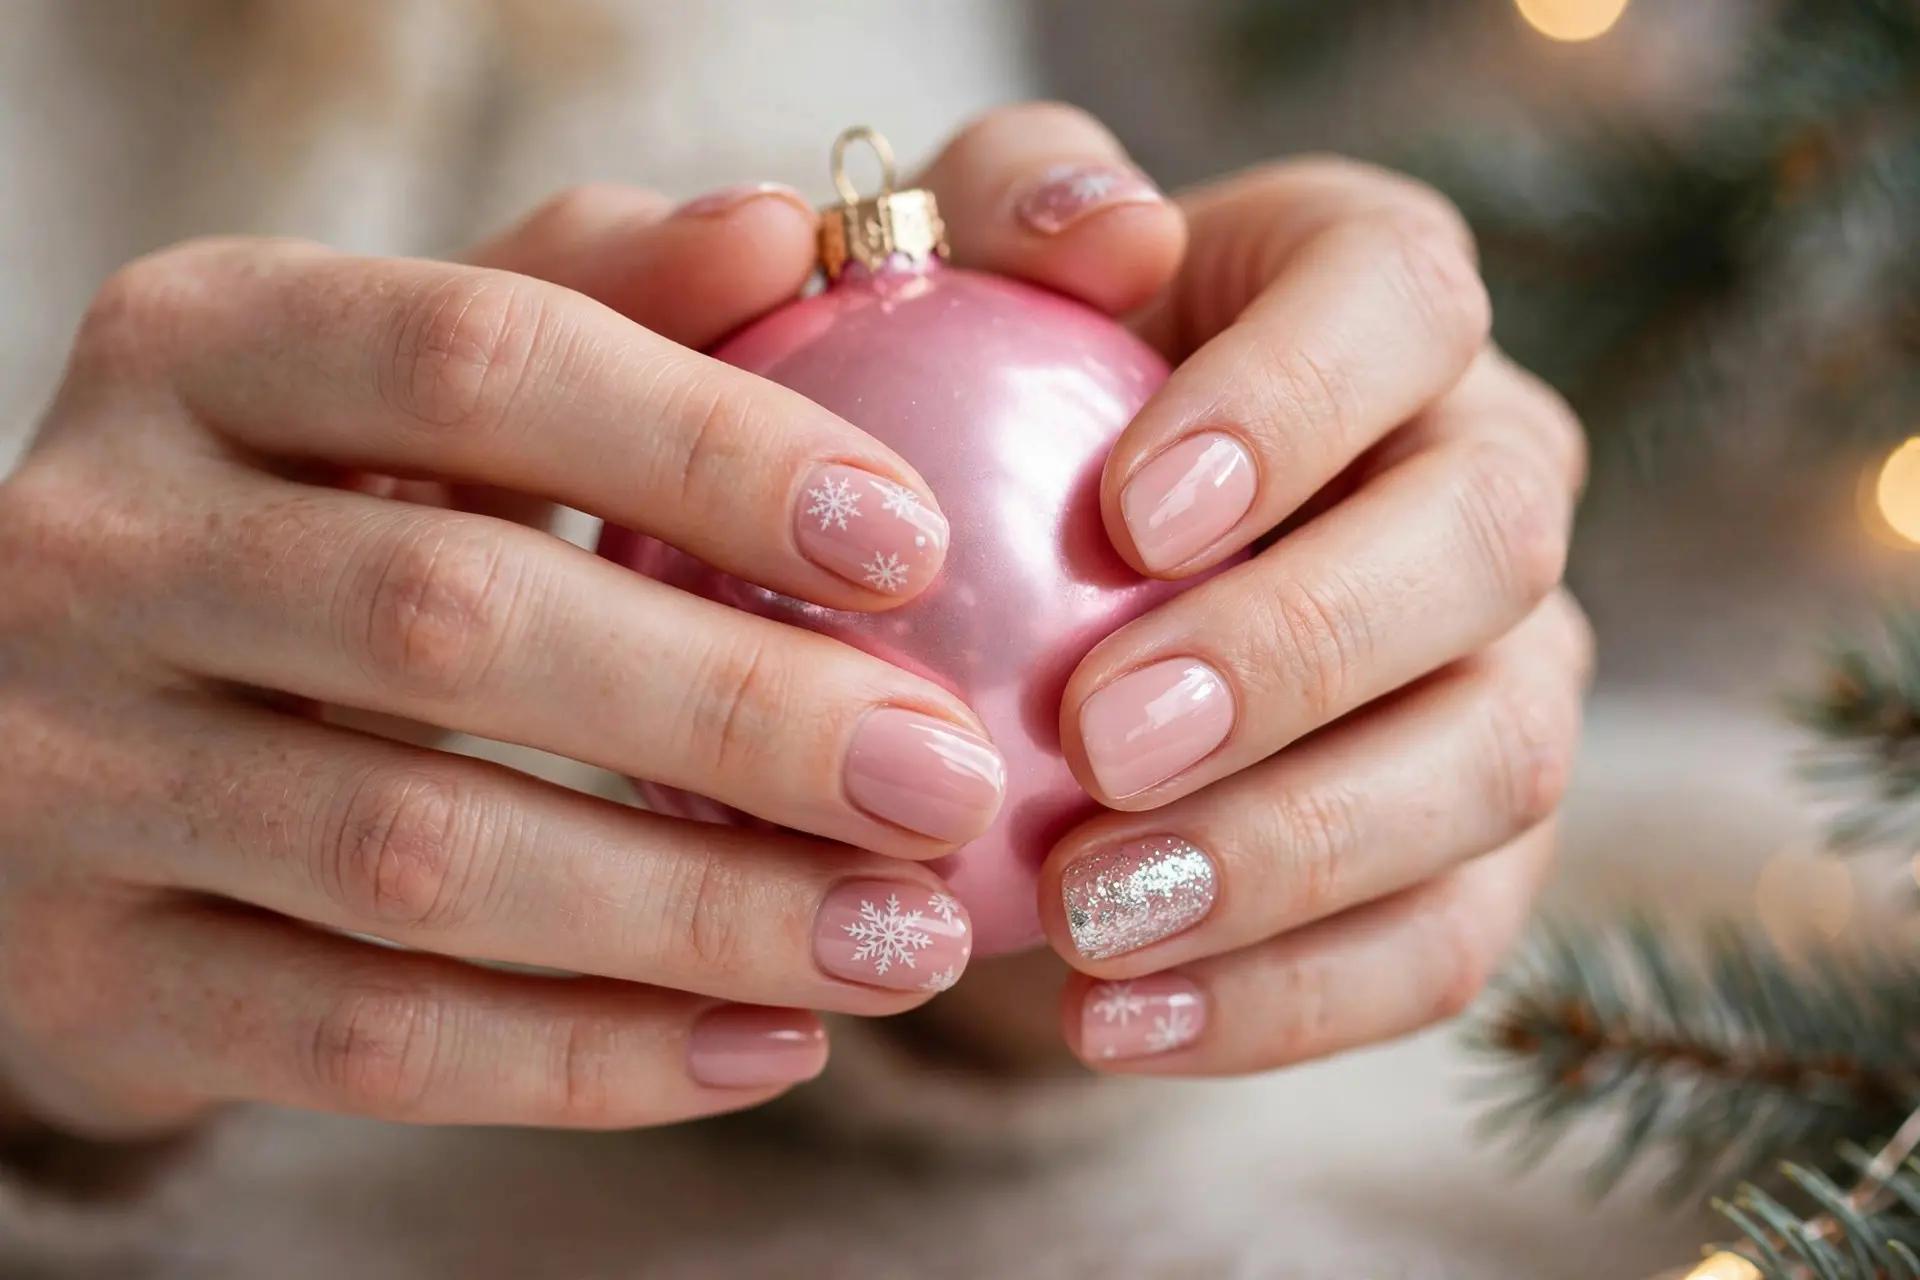
Christmas does not have to be red and green. Blush, dusty and rosy pinks make a soft, feminine base that still feels completely seasonal once you add white snowflakes, a dusting of silver glitter or a tiny bow or two.
Pink is a lovely bridge choice: festive enough for parties, gentle enough for everyday wear, and flattering on hands of every age. Pair it with white rather than bright red for details and the whole manicure stays in that soft, romantic register.
Tip: Keep one nail in silver glitter as your sparkle accent. Against all that soft pink, a single glitter nail looks like frost on a windowpane.
10. Green Glitter Christmas Nails

For full holiday glamour, emerald glitter is hard to top. Fine green sparkle over a deep base looks rich and jewel-like, catching the light every time you reach for a glass — and it flatters far more skin tones than people expect.
If head-to-toe glitter feels like a lot, balance the set the way it is done here: glitter on most nails, one glossy deep-green nail with a tiny gold star as the calm accent. That single quiet nail is what makes the sparkle look deliberate rather than overdone.
Tip: Emerald and gold are natural partners. A gold ring, a gold clutch or just that one gold star detail will pull the whole look together.
11. French Christmas Nails

The French manicure gets a festive promotion when the white tips retire for the season. Swapping them for red — with one gold glitter accent for good measure — keeps the clean, elegant shape of a French set while making it unmistakably Christmassy.
This is the design for anyone who finds full nail art a bit much. The sheer nude base keeps everything fresh and modern, regrowth is barely visible, and you can dress the tips up further with a tiny snowflake or star if the mood strikes mid-December.
Tip: A sheer, milky base looks most current. If your natural nails are short, keep the red tip slim — a thinner smile line makes nails look longer.
12. Rudolph Christmas Nails
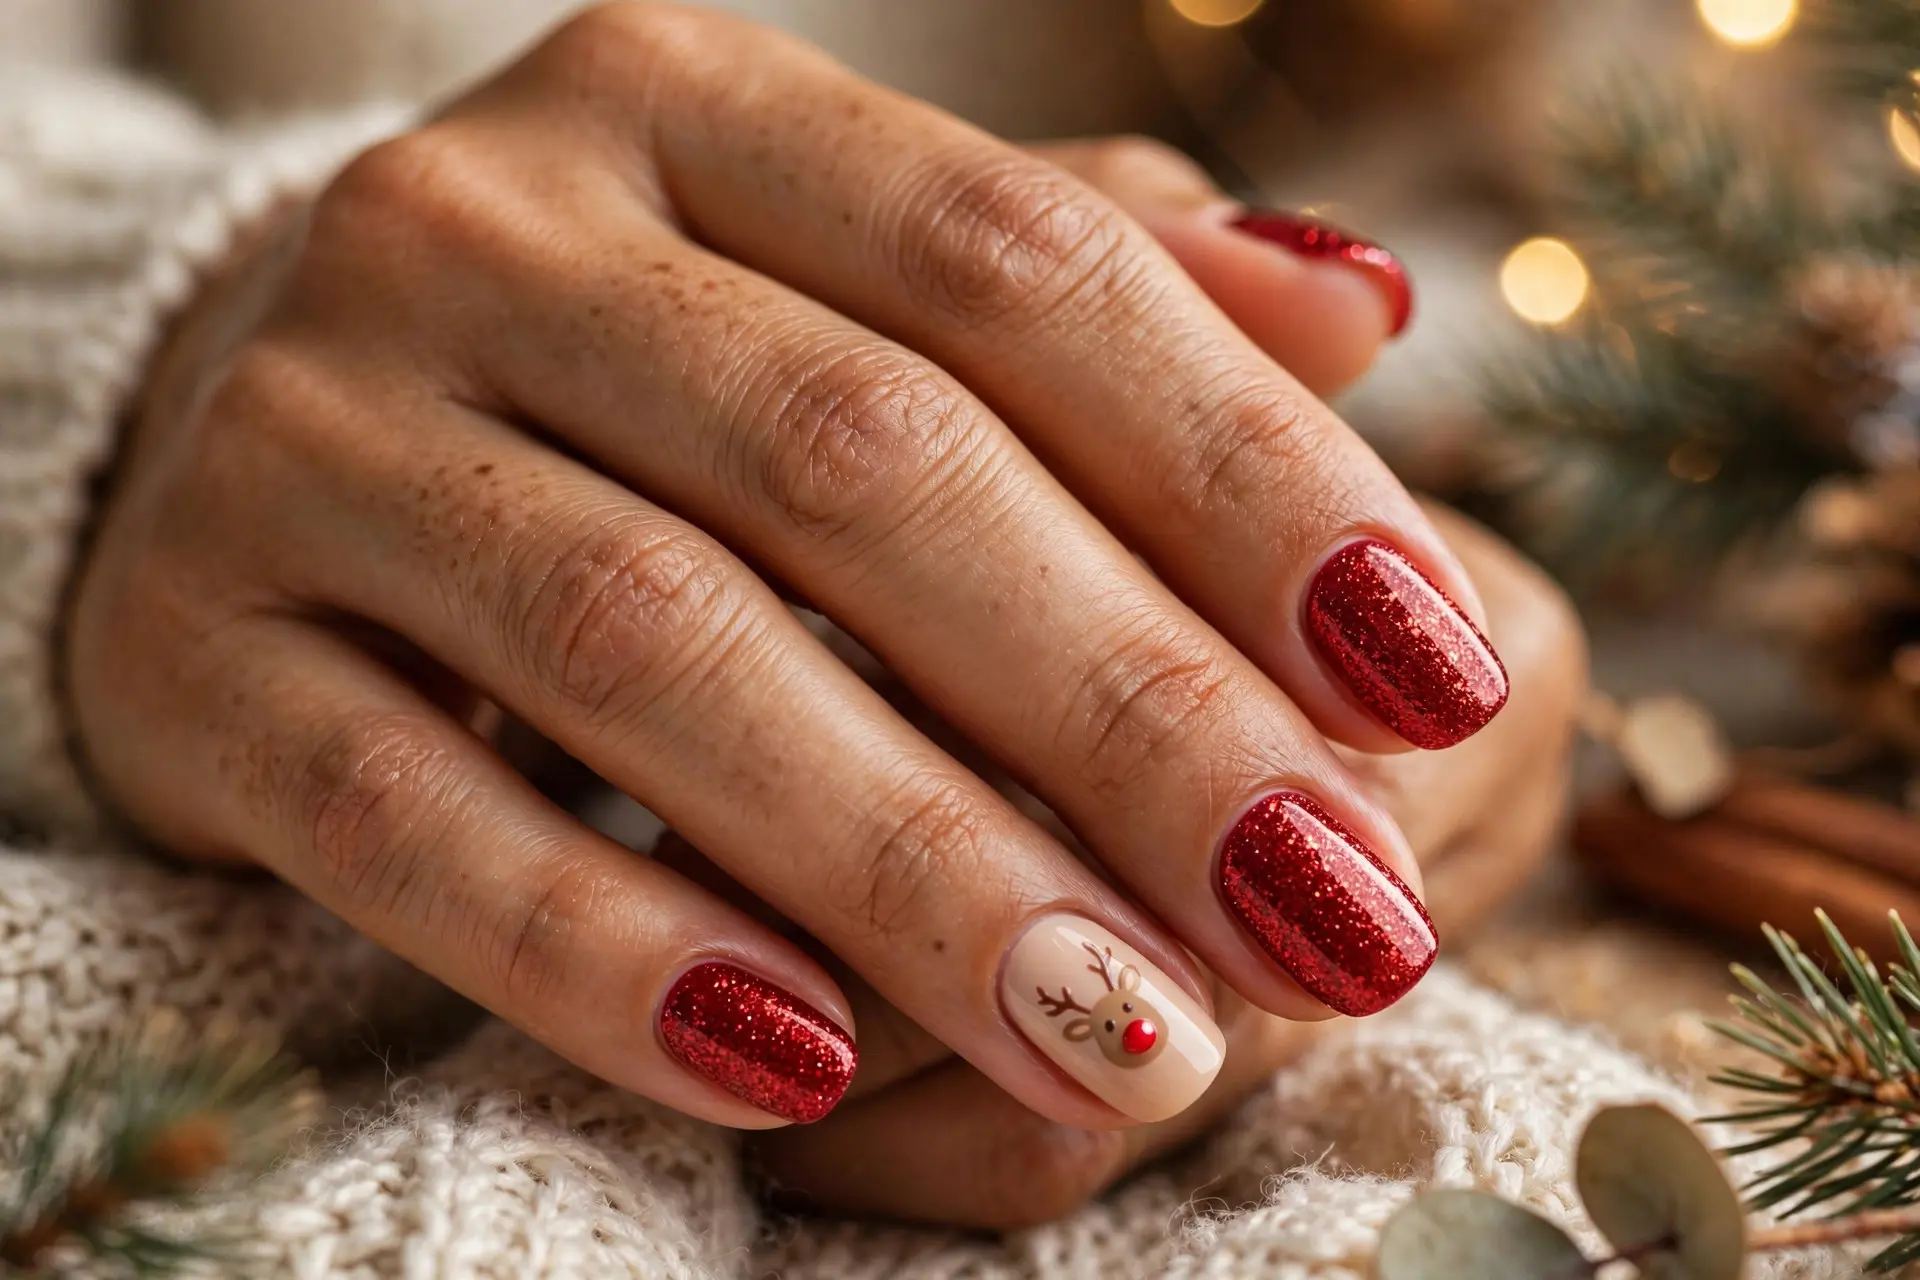
Rudolph is the character nail that never fails to make people smile. A tiny reindeer face on one cream accent nail — brown fur, little antlers, two dot eyes and that famous shiny red nose — carries the whole design on his own.
Surround him with red glitter rather than plain red and the set instantly looks more finished, like he is standing in a swirl of tinsel. Keeping the other nails art-free is what makes this wearable; Rudolph gets all the attention, exactly as he should.
Tip: A tiny red rhinestone makes the perfect nose — it catches the light and saves you painting a highlight. Press it into wet top coat and seal gently around the edges.
13. Santa Hat Nails

This might be the cleverest design in the list: the nail tip itself becomes the Santa hat. A red tip, a band of white “fur” trim and one tiny white pompom dot, all on a clean white base — three simple elements that read instantly as Santa’s hat.
Because the art sits at the tips, the manicure keeps plenty of clean negative space and never looks crowded, even on shorter nails. It pairs beautifully with simple snowflakes or stars on a spare accent nail if you want a little variety across the set.
Tip: Use a dotting tool dipped in white polish for the pompom, and dab — do not drag — the fur band. A slightly textured edge actually helps the fluffy effect.
14. Mistletoe Christmas Nails
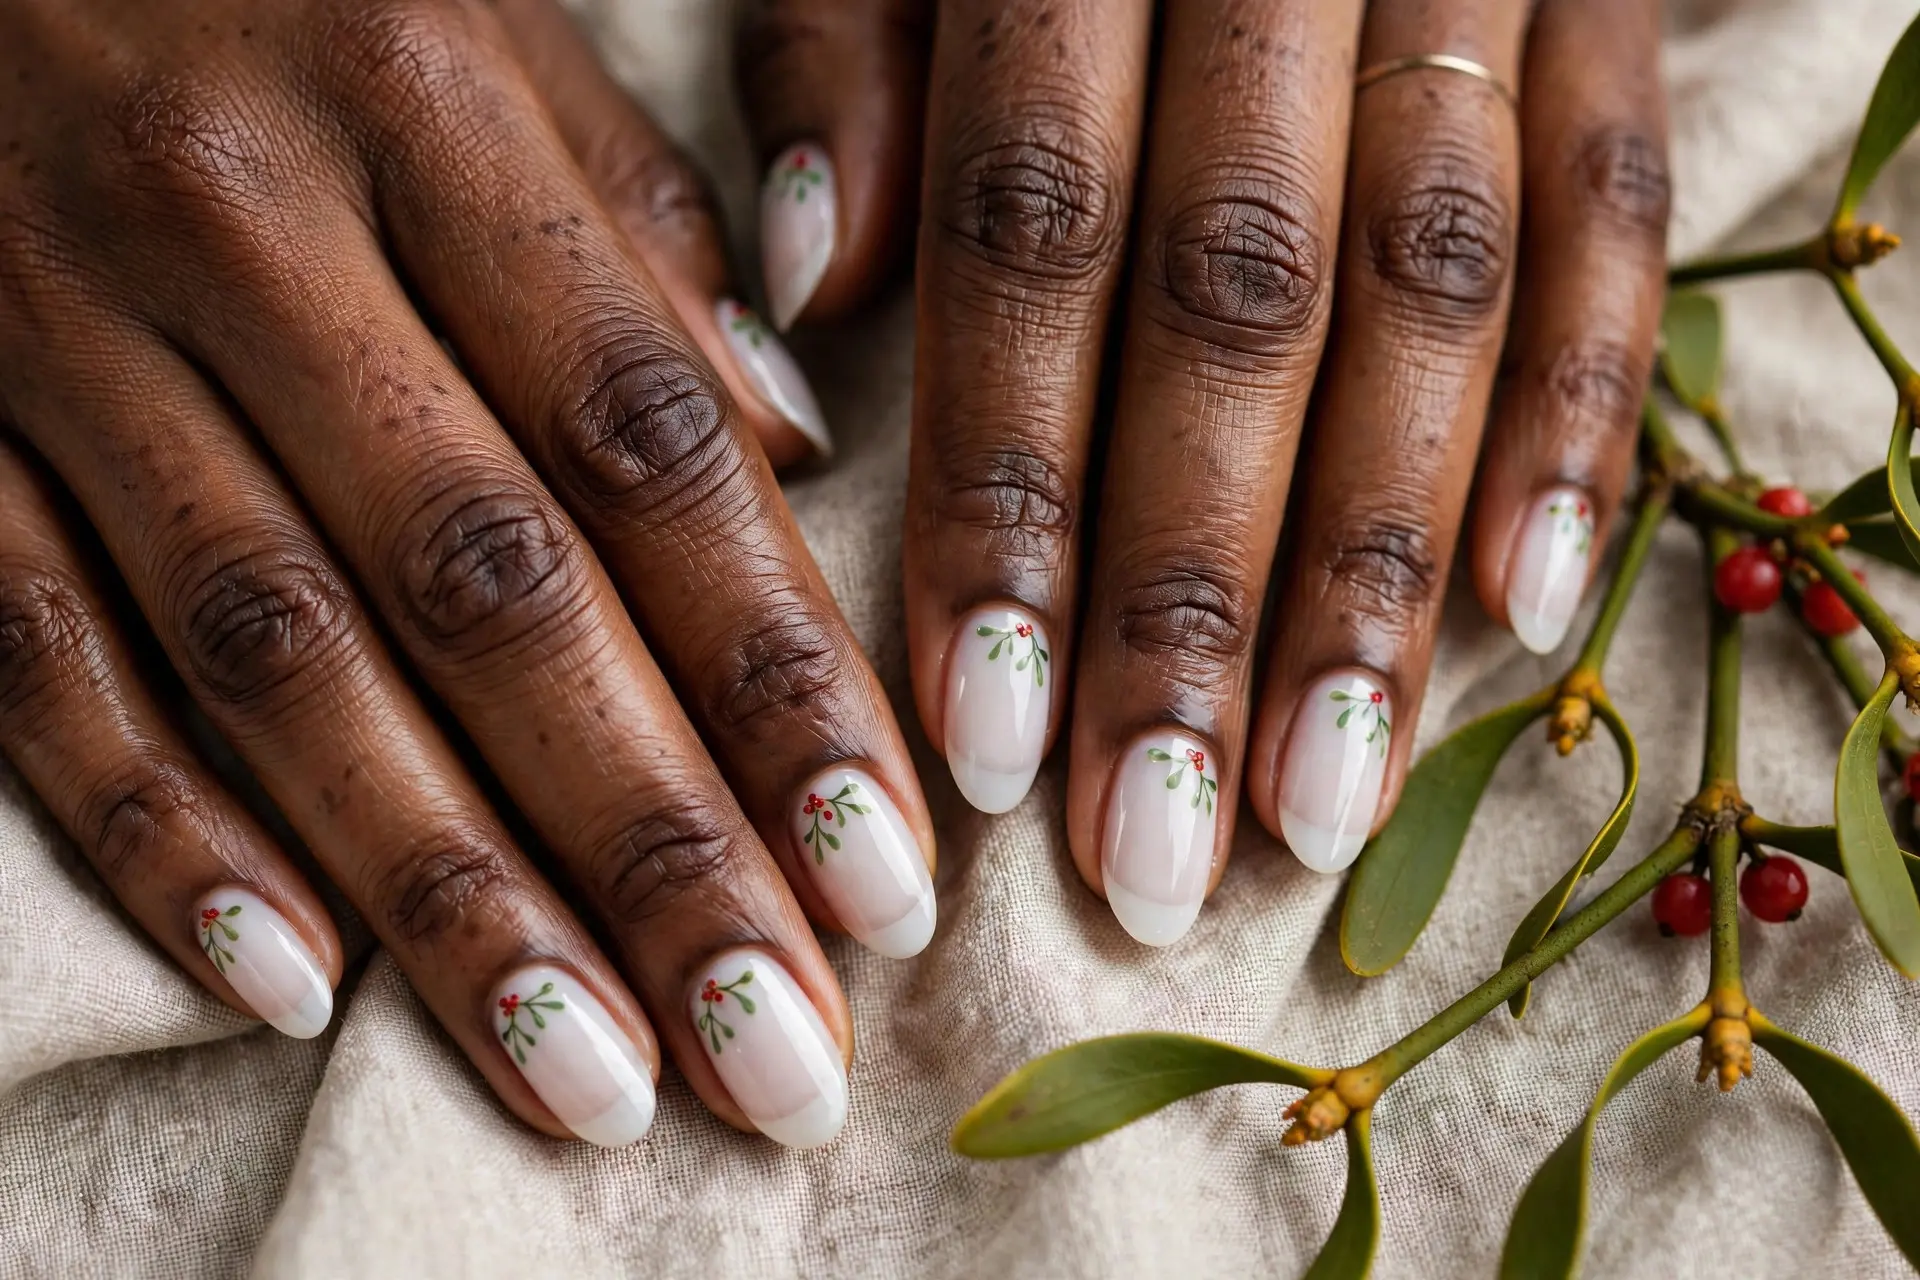
Mistletoe is the quiet romantic of the Christmas plant world, and it makes an equally graceful nail design. On a milky-white base, a small cluster of green leaves with tiny red berries near the cuticle corner looks delicate, fresh and quietly festive.
This is the design to choose when you want something seasonal that still suits a formal dinner or a conservative workplace. A whisper of gold — one tiny dot, or a fine line beside the leaves — lifts it from simple to special without adding noise.
Tip: Small and off-center is the secret. Place the sprig near one corner of the nail rather than the middle; it looks more like real art and less like a sticker.
15. Christmas Ornament Nails

Turn your manicure into the tree itself. On a deep green base — the color of pine branches — tiny baubles in red, gold, silver and blue hang from fine gold strings, as if each nail were its own little decorated bough.
Vary the bauble sizes and let each nail hold just one or two ornaments; the restraint is what keeps it looking like jewelry rather than clutter. A neutral or nude base works too if deep green feels dark, though the green version is wonderfully rich for evening events.
Tip: Draw the strings first with the finest brush you own, let them dry, then dot the baubles at the ends. Strings painted last tend to cross over the ornaments and look messy.
16. Cute Christmas Character Nails
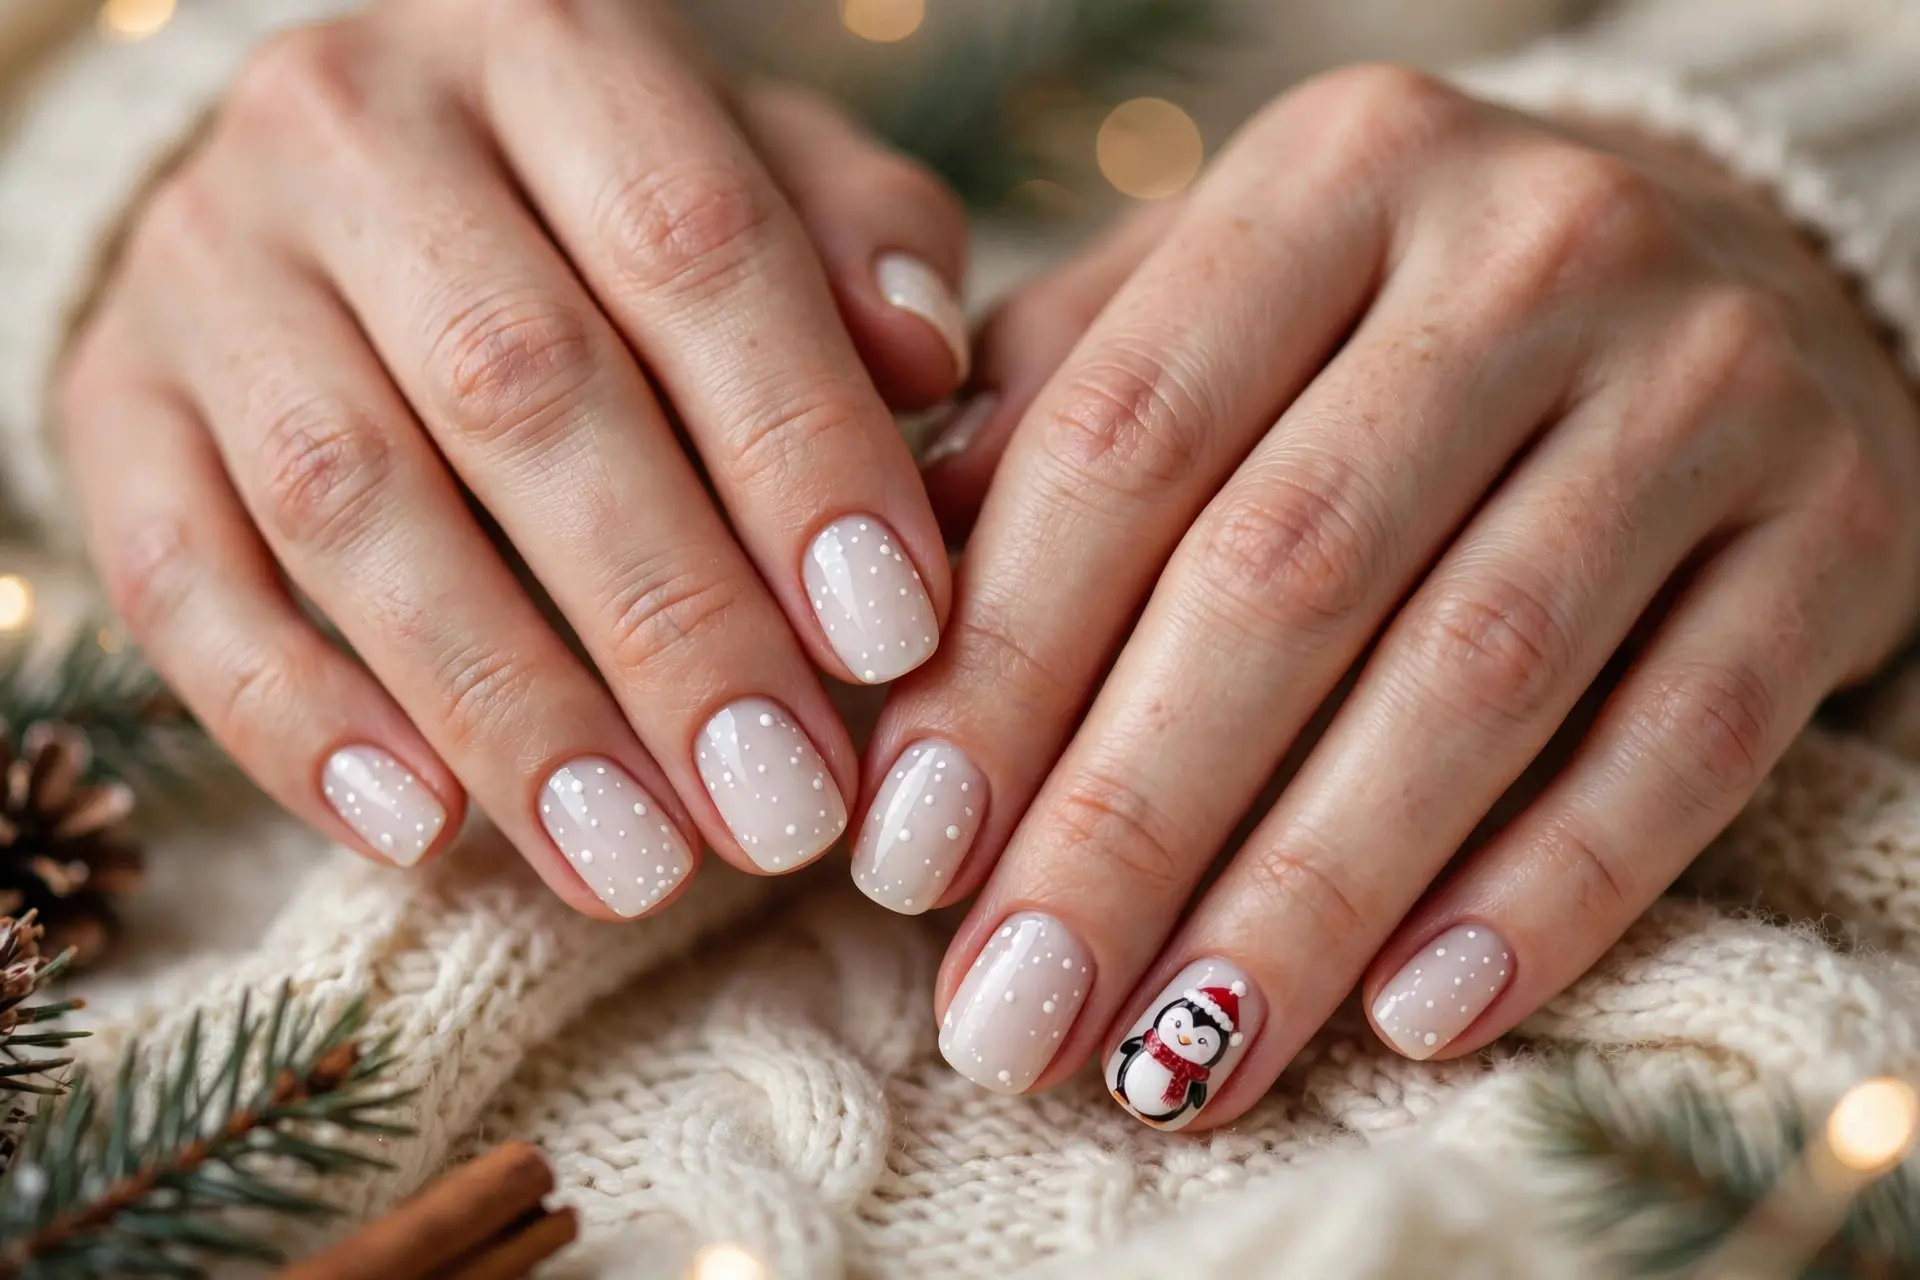
Character nails are where Christmas manicures get properly joyful. Here a single penguin — Santa hat, red scarf and all — stars on one accent nail, while the rest of the set stays soft white with tiny snow dots. One character, maximum impact.
The same formula works with Santa, a snowman, an elf or a reindeer: pick one or two favorites, give each its own accent nail, and keep everything else calm. A pale base helps the colors pop, and the look stays cute rather than chaotic because most nails are simply snowy.
Tip: Choose the character with the simplest silhouette if you are painting at home — a penguin is mostly two ovals, which is why he looks good even for beginners.
17. Gold and White Christmas Nails

Gold and white is Christmas at its most elegant — no red, no green, just creamy white polish, fine gold glitter tips and tiny gold stars scattered like the first lights on the tree. It feels festive in a whisper rather than a shout.
This is the manicure that goes with everything in your party wardrobe and photographs beautifully against a champagne glass. It suits formal events as easily as casual ones, and almond shapes show off the glitter-tipped effect particularly well.
Tip: Use fine glitter rather than chunky for the tips. Fine gold reads as expensive shimmer; chunky glitter can look like craft supplies at this scale.
18. Christmas Sweater Nails

Sweater nails might be the coziest trend of the season: a raised cable-knit pattern worked right onto the nail, in the reds, creams and greens of your favorite Christmas jumper. Add a tiny snowflake or two and the set looks knitted, not painted.
The matte finish is doing heavy lifting here — it kills the shine and makes the texture read like actual wool. This design begs to be worn with real knitwear, wrapped around a mug of something warm, at the coziest gathering you attend all month.
Tip: Matte top coat is essential, but apply it only once the knit pattern is fully built and dry. Sealing too early flattens the raised texture you worked to create.
19. Glittery Santa Red Nails

If classic red is the little black dress, glittery Santa red is the sequin gown. A vibrant red glitter polish does all the work — no art required — and one white accent nail with a small red glitter star gives the set a focal point straight out of Santa’s suit.
Mixing finishes is the pro move here: glossy red, full glitter red and that single clean white nail together have far more dimension than ten identical nails. This is a party design through and through, and it holds its sparkle in every photo.
Tip: Apply glitter polish in two thin layers, never one thick one. Thin layers dry smoother, sparkle more evenly and are far less likely to peel at the edges.
20. Minimalist Christmas Nails

For the woman who loves Christmas but not costume, minimalist nails are the answer. A sheer nude or soft pink base, beautifully groomed, with exactly one tiny motif — a single gold star on one nail — and generous negative space everywhere else.
It is festive in the way a wreath on a door is festive: quiet, tasteful and completely intentional. It also happens to be the easiest design on this list to maintain, works on every nail length, and never clashes with a single outfit you own.
Tip: With a design this bare, the manicure itself has to be flawless — neat cuticles, one consistent nail shape and a glassy top coat matter more than the art.
Styling Tips
A few simple choices before you paint will make any of these designs look more polished — and more you.
- Match the design to the occasion: character art and Santa hats shine at family gatherings and parties, while gold-and-white or minimalist sets suit formal dinners and work events.
- Let one design lead: pick a single star motif per set and keep accent nails quiet. Ten competing designs read as messy; one hero nail reads as chic.
- Coordinate with your jewelry: gold stars and glitter tips echo gold jewelry beautifully, while silver snowflake details pair best with silver and white gold.
- Scale the art to your length: tiny trees, dots and mini bows flatter short nails; save big character faces and ornaments for medium and longer nails where they have room.
- Keep a mini touch-up kit: matching polish, a small file and top coat in your bag will rescue a chip in two minutes flat, all season long.
- Do them early: a manicure painted in the first week of December gets enjoyed at every event. One painted on the 23rd barely gets seen.
Choose the design that makes you smile when you catch sight of your hands — that is always the right one.
Common Mistakes to Avoid
- Skipping base coat: red and green pigments stain bare nails yellow. Always start with base coat, especially under the classic Christmas shades.
- Painting art over wet polish: stripes and dots dragged through a tacky base smudge instantly. Let each layer dry properly before adding the next.
- Overloading every nail: art on all ten nails competes with itself. Two or three detailed nails plus calm supporting nails look far more expensive.
- Using thick, gloopy coats: thick polish bubbles, wrinkles and lifts at the edges. Thin coats, patiently layered, always win — glitter included.
- Forgetting to seal the tips: chips start at the free edge. Wrap your top coat over the nail tip every time, and refresh it mid-week.
Tips for Making Christmas Nail Art Last
Beautiful art deserves a long run, and longevity starts before the first drop of color. Begin with clean, completely dry nails, gently push back your cuticles, and lightly tidy the nail surface. A good base coat then does double duty: it gives the polish something smooth to grip, and it shields your natural nails from the staining pigments in reds and greens.
Once your design is finished, seal it properly. A quality top coat over the whole nail — wrapped across the free edge — locks the art in and restores that fresh, glossy finish as the days pass. Reapplying a thin layer of top coat every two or three days is the single easiest way to keep a Christmas manicure looking newly painted through party season.
Finally, protect your work in daily life. Treat your nails as jewels, not tools: open cans and parcels with something else, wear gloves for washing up and cleaning, and keep cuticle oil nearby to massage in daily. Hydrated cuticles and skin make the whole manicure look fresher, and your art will thank you by surviving every celebration on the calendar.
Frequently Asked Questions
What are the best colors for Christmas nails?
The classics never miss: red, green, white, gold and silver carry most Christmas designs, with burgundy and icy blue close behind. For a softer take, blush pink and creamy nude look festive with white or gold details — the palette in this list covers all of them.
What are the cutest Christmas nail designs?
Candy canes, snowmen, gingerbread men, bows, Santa hats, tiny Christmas trees and character nails like Rudolph and the little penguin are the cutest of the bunch. The trick is keeping each character on one accent nail so the set stays cute, not cluttered.
Can I do Christmas nail art on short nails?
Absolutely — short nails suit small-scale art best of all. French tips, tiny stars, dots, snowflakes, stripes and mini trees all stay crisp at that size. Our minimalist and Santa hat designs here were practically made for shorter lengths.
What Christmas nail design is best for a Christmas party?
Go for sparkle and richness: glittery Santa red, emerald glitter, gold-and-white nails or ornament nails all photograph beautifully and hold up under party lights. If the party is formal, a Christmas French set is the elegant middle ground.
How can I make Christmas nail polish last longer?
Start on clean, dry nails with a base coat, apply color in thin layers, and seal everything with top coat wrapped over the tips. Refresh the top coat every few days, wear gloves for chores, and use cuticle oil daily — that routine easily carries a manicure past the two-week mark.
Conclusion
From a single gold star to a penguin in a Santa hat, these cute christmas nail ideas prove that a festive manicure is really about choosing the design that fits your mood, your length and your December calendar. For a longer, more sculpted take on the season, browse our acrylic Christmas nail ideas next. Which of these 20 designs will you be wearing first?