
18 Simple Christmas Nail Ideas for a Festive Holiday Look
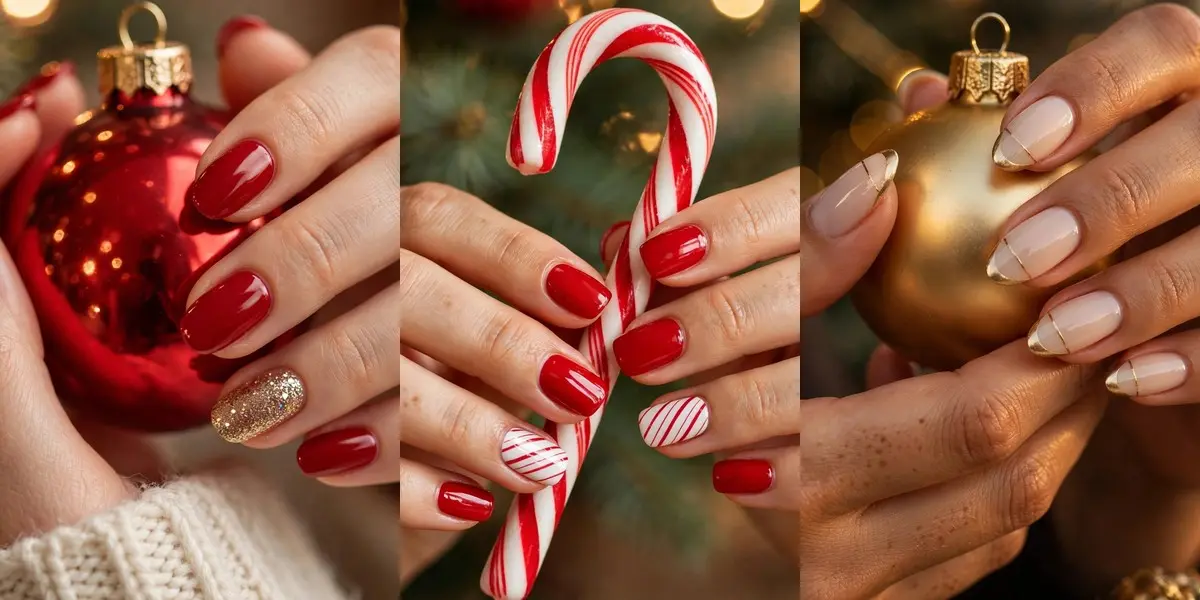
18 Simple Christmas Nail Ideas for a Festive Holiday Look
December is busy enough without a manicure that takes all afternoon. These simple christmas nail ideas keep things easy — classic colors, one or two cute details, and finishes you can manage at the kitchen table with regular polish and a dotting tool.
Every design below works on natural nails with just two or three colors. There is no salon appointment required and no advanced art skill needed — the prettiest looks here often come down to a single accent nail doing all the festive talking.
Short nails are more than welcome, too. Many of these designs suit natural lengths beautifully, and if short is your signature, our roundup of short Christmas nail ideas has even more looks created specifically for smaller nail beds.
So pour something warm, put on your favorite Christmas playlist, and choose the design that makes you smile. I have flagged the easiest options as we go, along with the little tricks that help each manicure last through the whole festive season.
In This Guide
- 1. Classic Red Christmas Nails
- 2. Red and Gold Nails
- 3. Simple Snowflake Nails
- 4. Candy Cane Accent Nails
- 5. Minimal Christmas Tree Nails
- 6. Green Christmas Nails
- 7. French Christmas Tips
- 8. Snowy White Nails
- 9. Glitter Christmas Nails
- 10. Red French Tip Nails
- 11. Cute Reindeer Accent Nails
- 12. Christmas Polka Dot Nails
- 13. Nude Christmas Nails
- 14. Red and White Christmas Nails
- 15. Christmas Star Nails
- 16. Festive Plaid Nails
- 17. Simple Holly Berry Nails
- 18. Elegant Gold Christmas Nails
- Styling Tips
- Common Mistakes to Avoid
- Tips for Making Simple Christmas Nails Last Longer
- Frequently Asked Questions
1. Classic Red Christmas Nails

If you only do one holiday manicure this year, make it this one. A rich, glossy red — cherry, cranberry or true Christmas red — looks festive the second it dries, with no nail art required at all.
The version pictured adds a single gold glitter accent nail, and that one small touch is enough to lift plain red into party territory. Keep the rest of the nails smooth and glossy so the glitter reads as deliberate, not busy.
This design flatters every nail length and shape, and it pairs with everything from a cream sweater to a little black dress. It is also the fastest full manicure on this list.
Tip: Apply red in two thin coats rather than one thick one, and finish with a high-shine top coat for that smooth, salon-like finish.
2. Red and Gold Nails

Red and gold is the season’s most glamorous pairing, and it is far easier than it looks. Paint most of your nails a deep, glossy red, then let gold take over just one or two accent nails.
In the photo, the accent nails wear gold glitter fading over a pale base, finished with a delicate dotted line. Dots are the beginner’s best friend — a bobby pin tip dipped in gold polish gives you neat, even circles every time.
Wear this one for Christmas Eve, office parties or anywhere you want your hands to look dressed up. The combination photographs beautifully against a glass of something sparkling.
Tip: Keep the gold to accents only. Two decorated nails look expensive; ten can tip over into costume.
3. Simple Snowflake Nails

A tiny snowflake is the sweetest way to say winter without shouting Christmas. Start with a soft base — pale blush pink, as shown, or nude, white or the softest blue — and keep the nails short and neat.
Add one small white snowflake to each ring finger and leave everything else plain. Limiting the art to two nails keeps the look delicate and doubles as good strategy: fewer flakes to draw means fewer chances to smudge one.
This is a lovely choice if your December involves as many cozy nights in as parties out. It looks just right wrapped around a mug of cocoa.
Tip: Draw the flake as a simple asterisk first — three crossed lines — then add tiny V shapes at the ends if you feel confident. A nail-art sticker works just as well.
4. Candy Cane Accent Nails

Candy cane nails bring instant playfulness to your manicure, and the accent-nail approach keeps them wearable. Paint most nails a glossy Christmas red, then turn one or two into the candy itself.
The accent nails start white, with thin red stripes painted diagonally across. Uneven stripes are fine here — real candy canes are not perfectly uniform either, and the diagonal direction does most of the visual work.
Balance is what makes this design succeed. With solid red on the remaining nails, the stripes become a charming detail rather than a novelty costume.
Tip: Let each stripe dry for a minute before adding the next, so the red does not bleed into the white and blur your lines.
5. Minimal Christmas Tree Nails
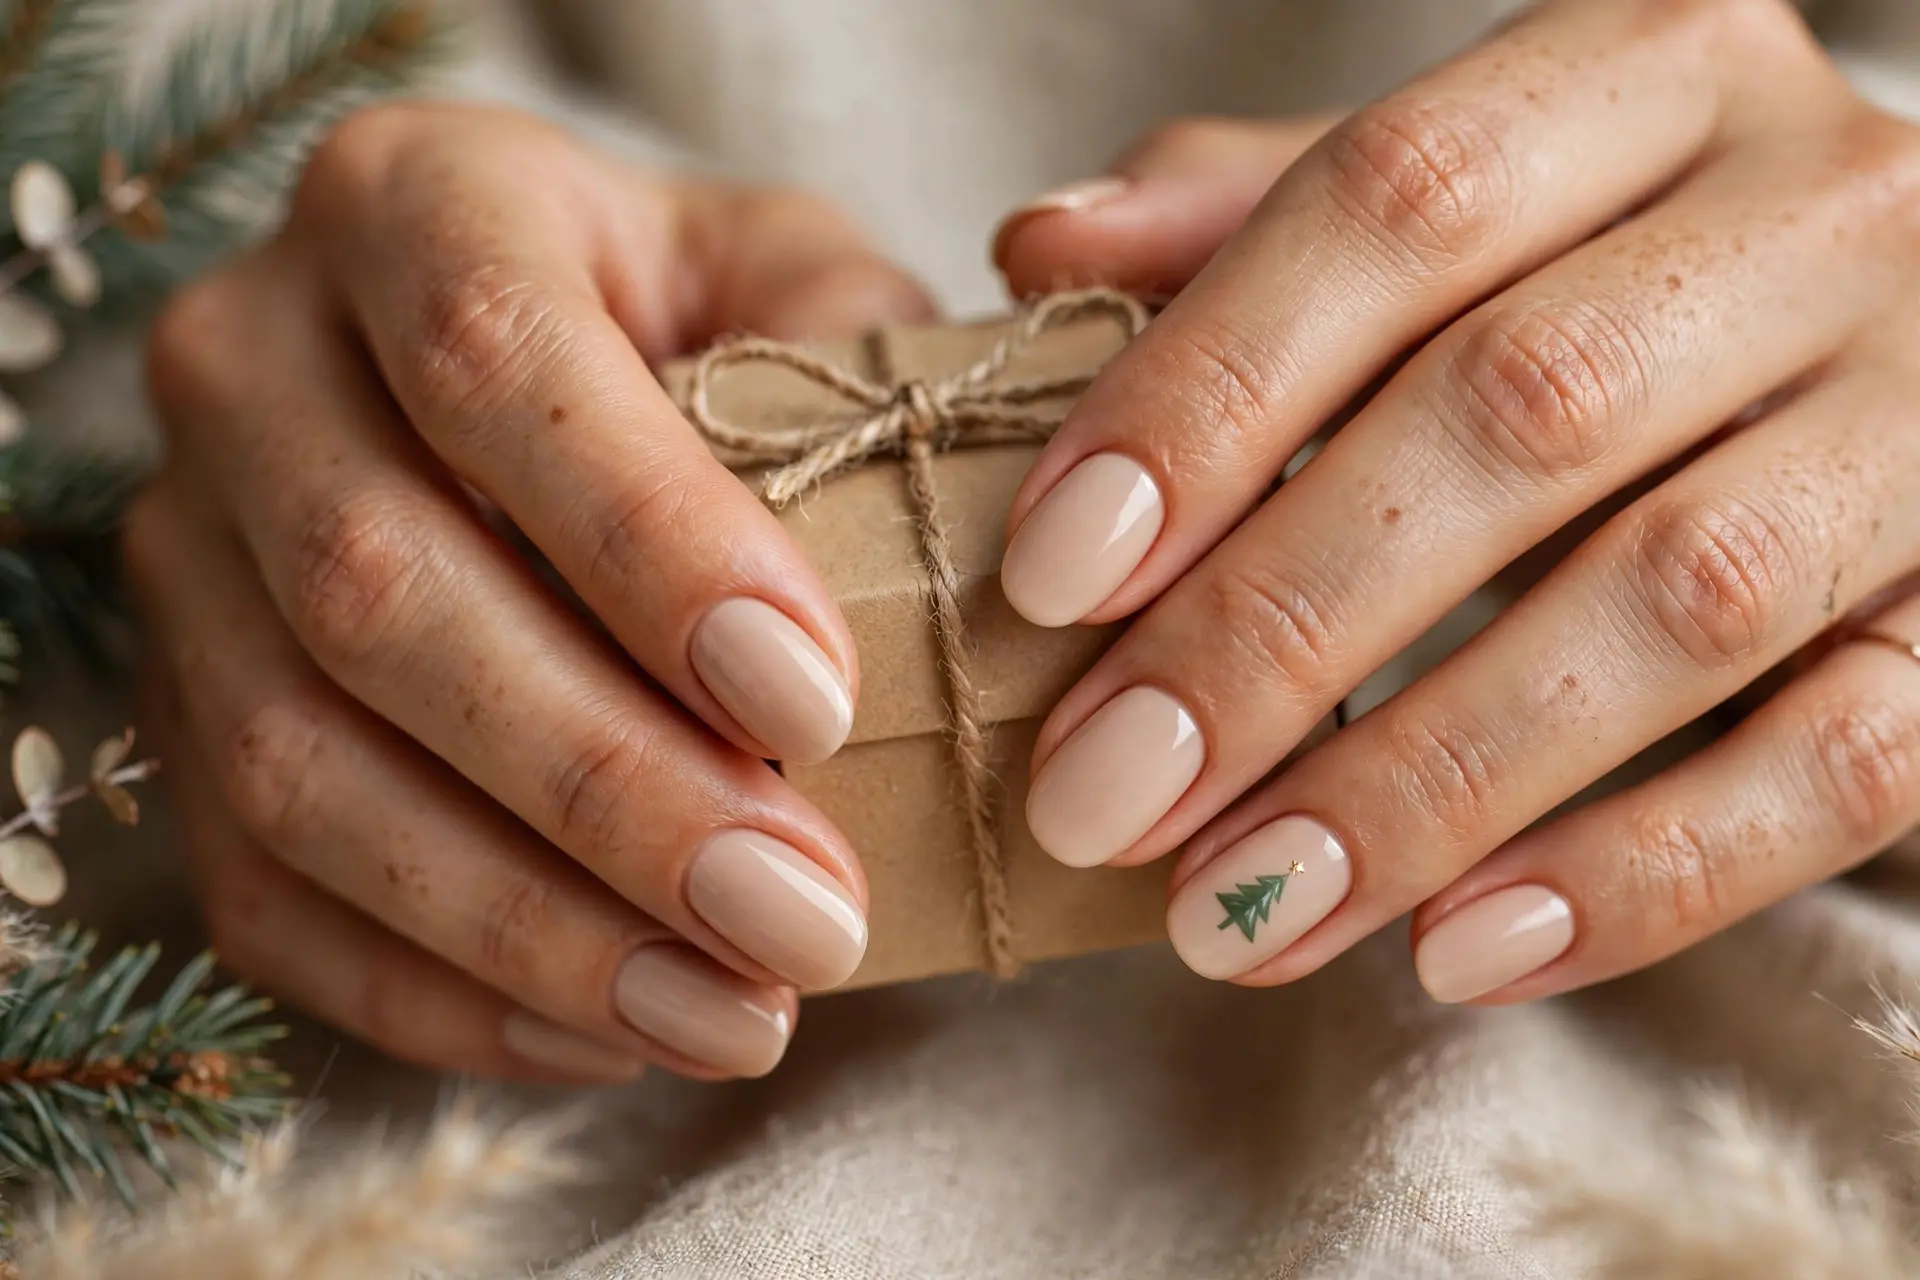
One tiny tree is all it takes. On a soft nude base, a single accent nail carries a small green Christmas tree — here finished with the tiniest gold dot on top in place of a star.
The tree itself is simpler to paint than it appears: three stacked triangles, or even one triangle with a short trunk line, reads clearly at this size. Keep the other nails completely plain so the little tree gets its moment.
This is the minimalist’s Christmas manicure — quiet, cute and appropriate absolutely everywhere, including the most conservative office.
Tip: A toothpick makes a surprisingly good tree tool. Drag green polish into a triangle, then press on the gold dot with the same toothpick’s clean end.
6. Green Christmas Nails
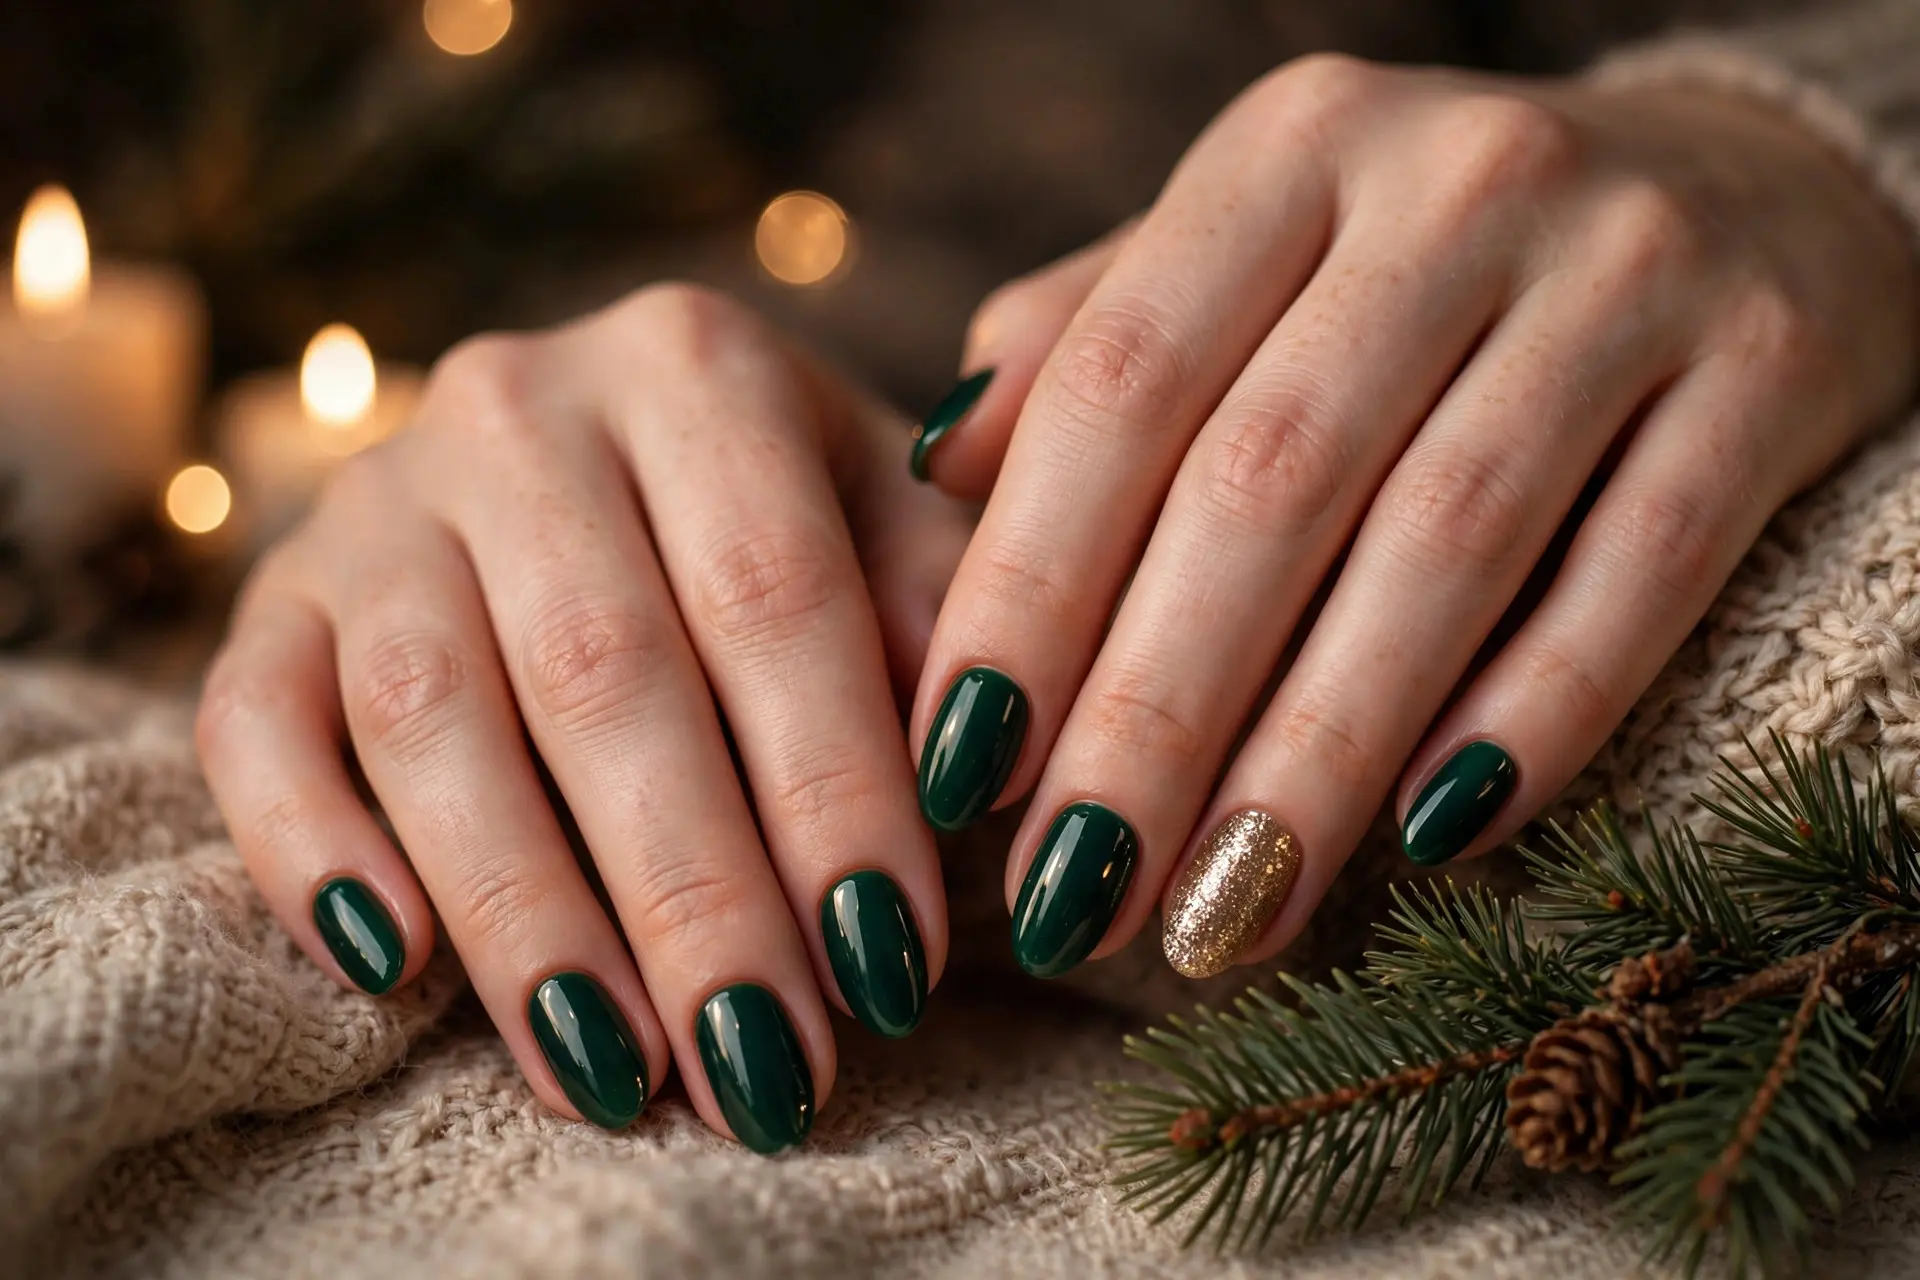
If red feels expected, go green. A deep emerald or pine shade has the same festive weight as red but reads a touch more sophisticated, especially in a glossy finish.
The manicure pictured pairs the green with one gold glitter accent nail, which warms the whole look and stops the dark green from feeling flat. Forest, emerald and pine shades all work — the deeper the green, the more elegant the result.
Green is also kind to shorter nails, where dark colors look chic rather than heavy. It is a beautiful partner for gold jewelry and cream or camel outfits.
Tip: Never skip base coat under dark green — deep pigments are the worst offenders for staining natural nails yellow.
7. French Christmas Tips

The French manicure gets a December makeover when the white tips retire for the season. Over a sheer pink base, the tips alternate between glossy red and deep green — unmistakably Christmas, still unmistakably French.
Because the base stays natural, this design grows out gracefully and suits any nail length. The colored tips here are painted generously deep, which makes them easier to do freehand than a whisper-thin line.
Alternate the colors finger by finger, or do all red with a single green accent — both read as intentional. It is a smart pick when you want festive nails that still pass in a formal workplace.
Tip: French-tip guide stickers earn their keep here. Place, paint, and peel while the polish is still slightly wet for the cleanest curve.
8. Snowy White Nails

Creamy white nails are the manicure equivalent of fresh snowfall — clean, calm and quietly elegant. A soft ivory shade flatters more skin tones than a stark blue-white, so reach for cream if pure white feels harsh.
One accent nail carries a delicate silver snowflake over a dusting of fine glitter, and that is all the decoration this look needs. The effect is wintry rather than Christmassy, which means it wears beautifully into January.
White polish has a reputation for streaking, but the fix is simple patience: thin coats, fully dried between layers.
Tip: If your white still looks uneven after two coats, add a third very thin one rather than a thick one — thin layers always level out better.
9. Glitter Christmas Nails
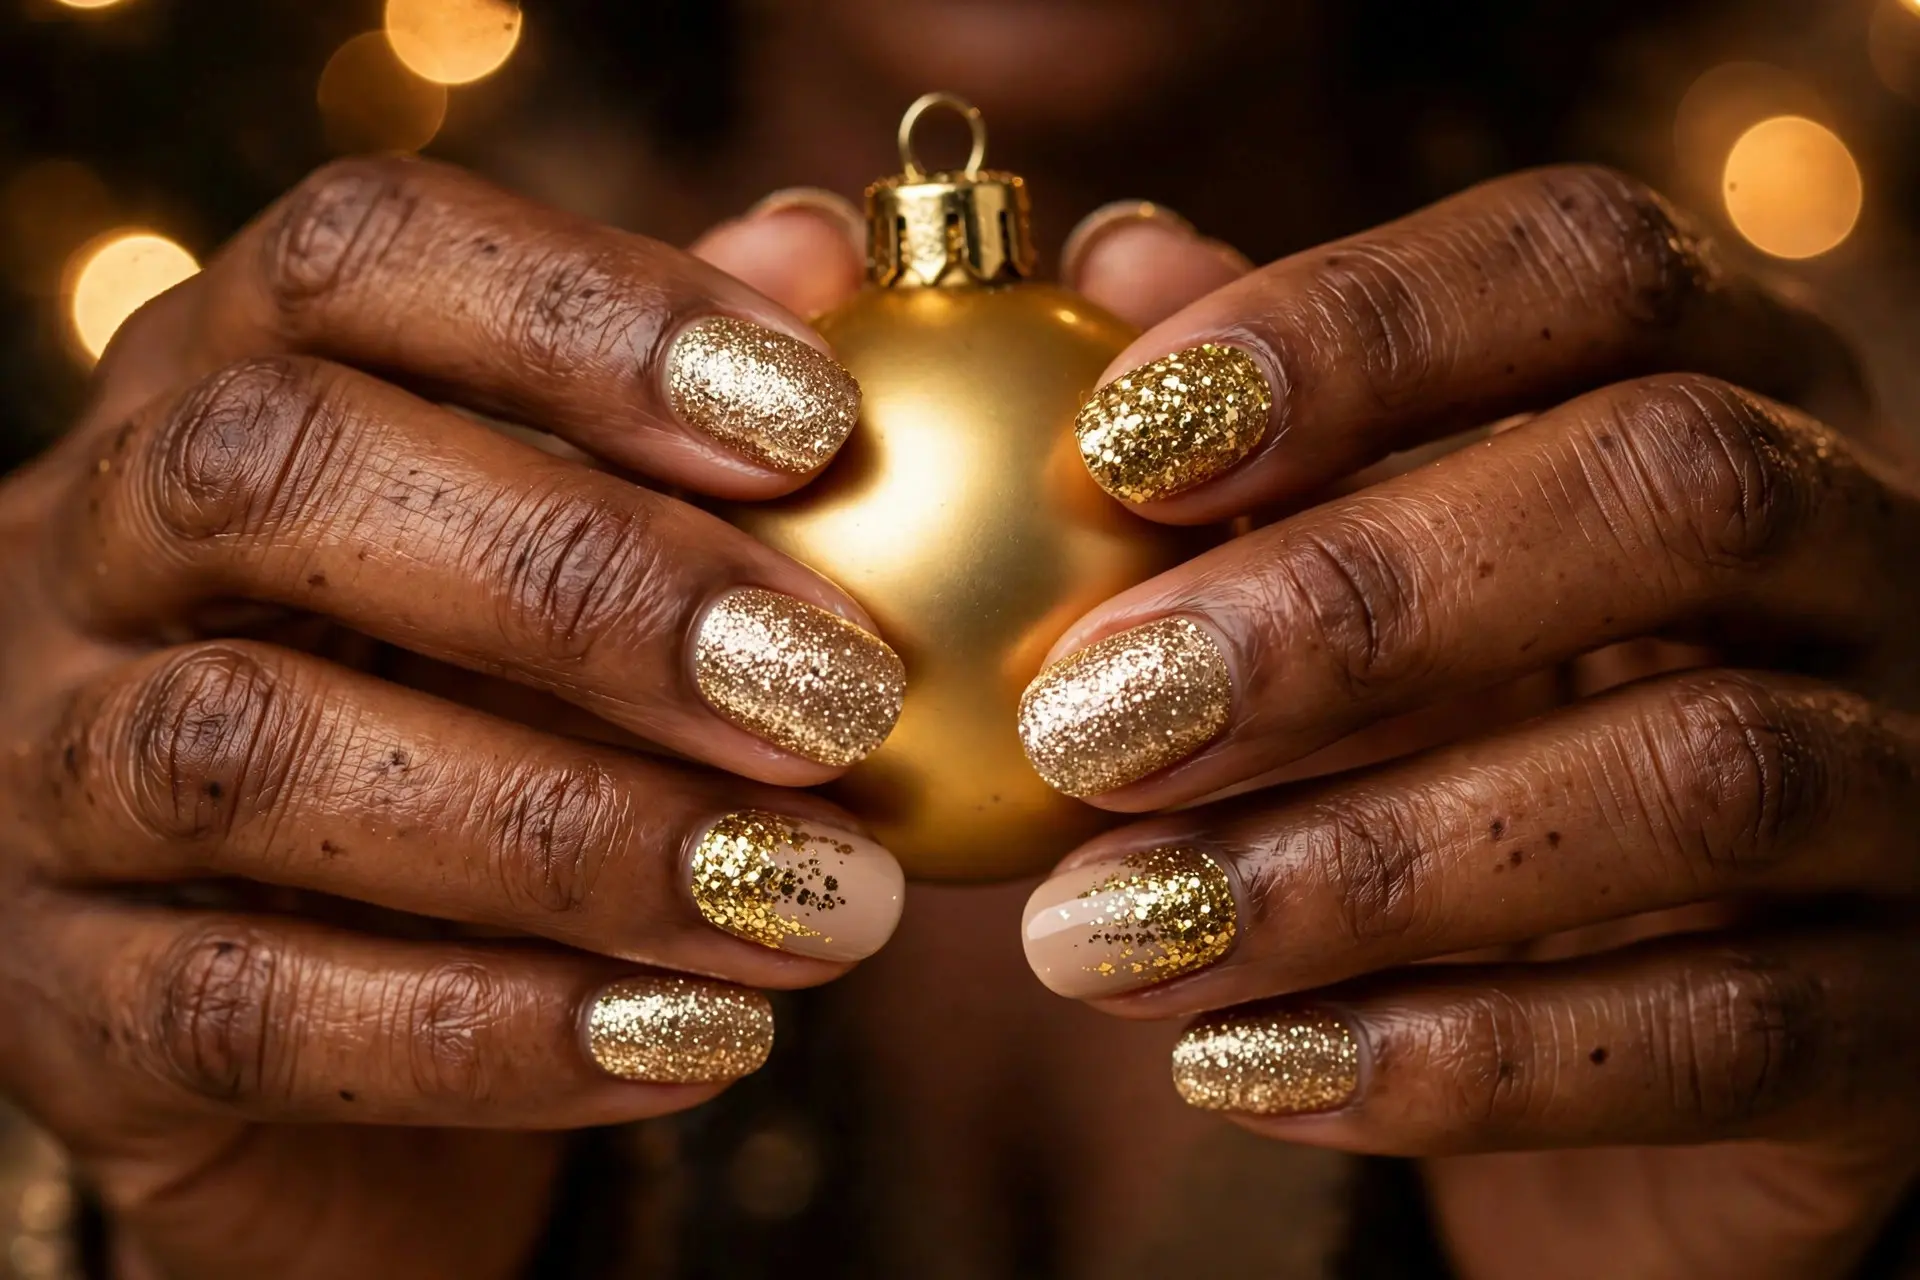
Nothing says holiday season quite like glitter, and this is the easiest festive manicure of all — no drawing, no lines, just sparkle. Champagne-gold glitter suits every skin tone and every outfit on your December calendar.
The look pictured mixes full-glitter nails with two nude accent nails tipped in dense gold glitter. That little bit of restraint keeps the sparkle glamorous, and the gradient style is forgiving if your glitter application is not perfectly even.
Wear it to parties, on Christmas Day, and straight through to New Year’s Eve — glitter is the one design that works for every event of the season.
Tip: Dab glitter polish on with a makeup sponge instead of brushing. The sponge absorbs the clear base and leaves a much denser sparkle behind.
10. Red French Tip Nails
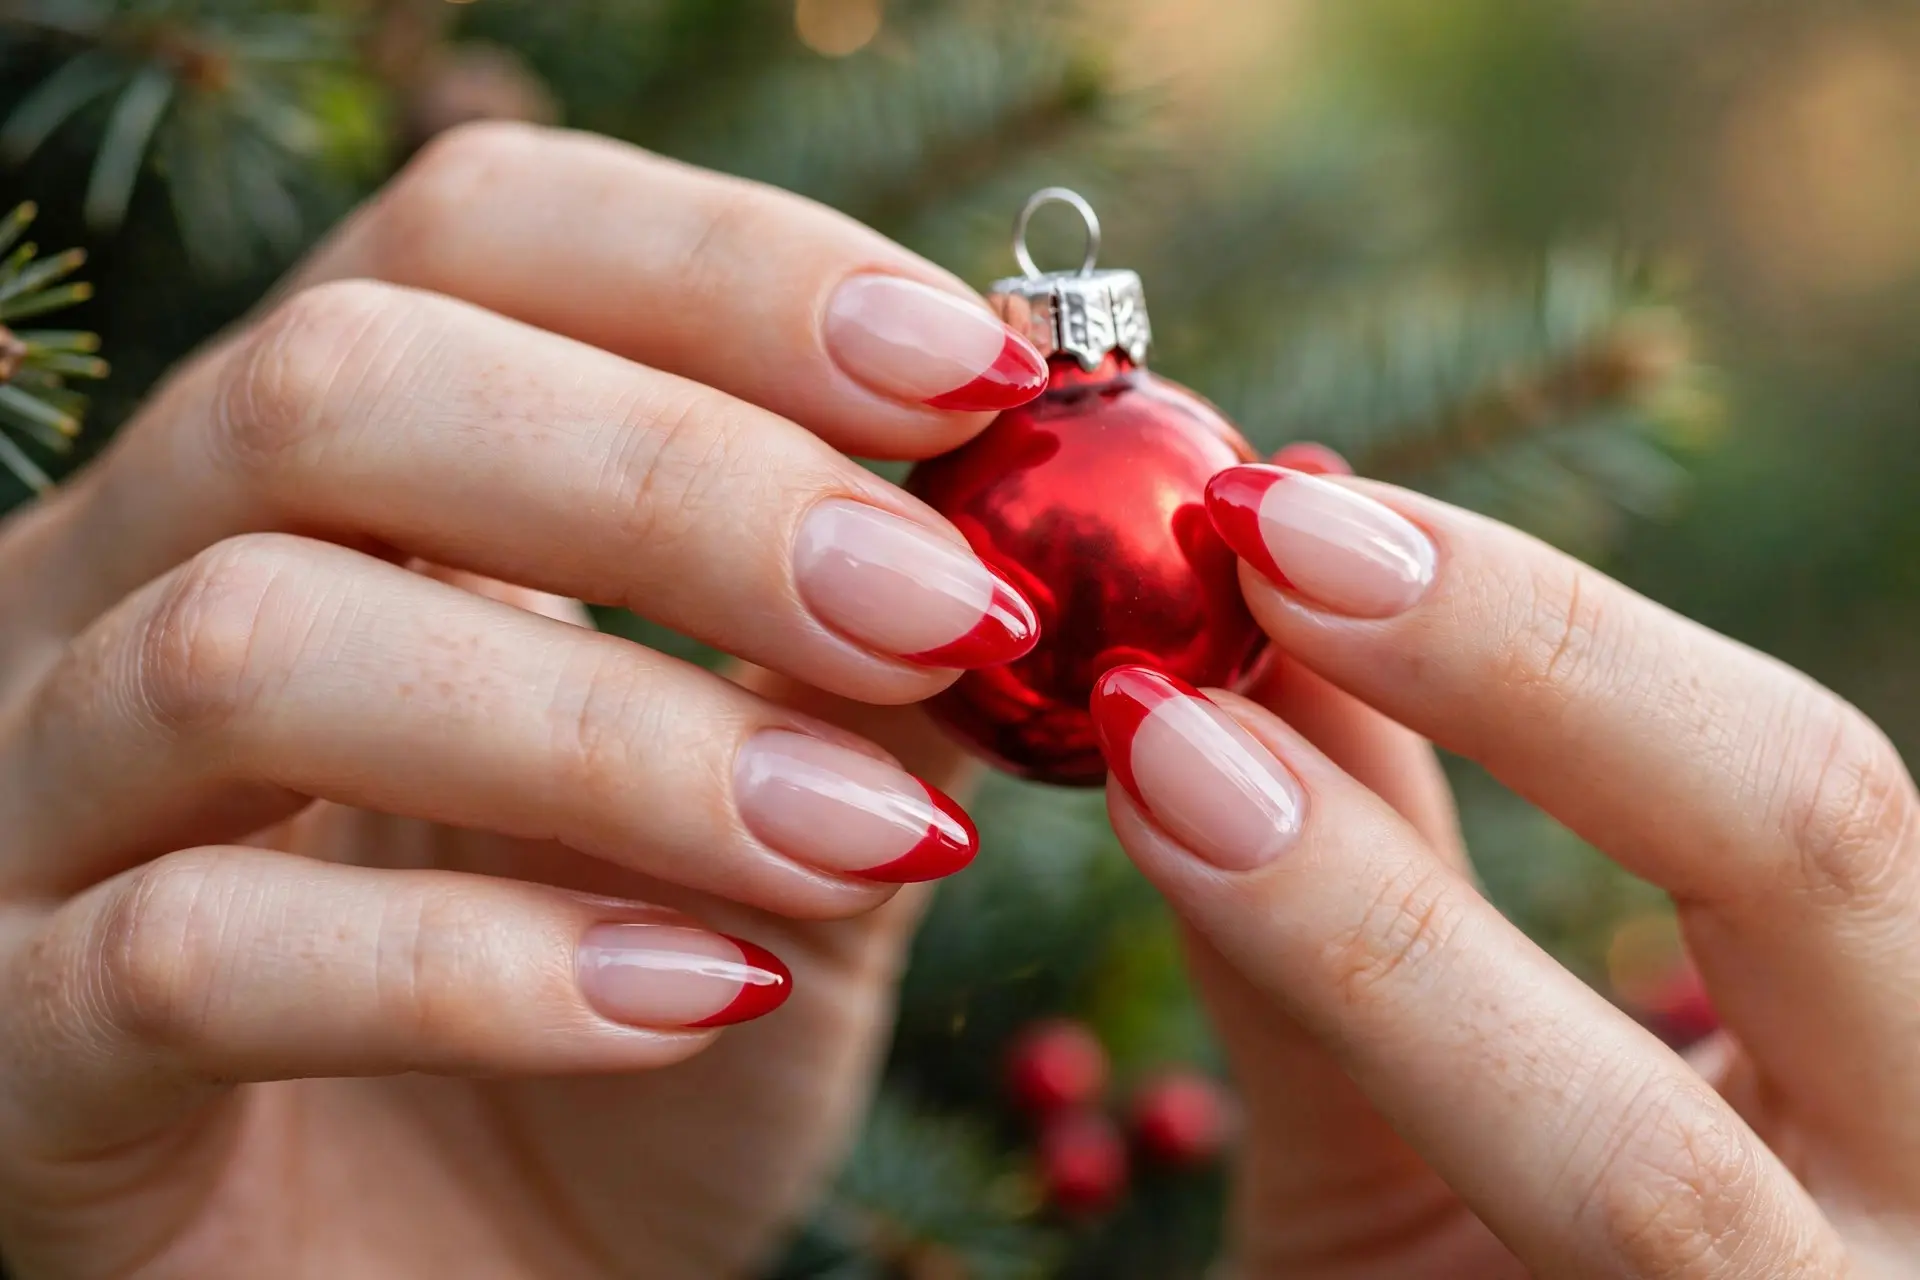
For a festive manicure with zero nail art, swap the French tip to red. A sheer, natural pink base keeps it soft, while glossy red tips do all the holiday talking.
This design is especially pretty on almond and squoval nails, where the red curve follows the nail’s own shape. Because the base mimics your natural nail, tiny chips near the cuticle are nearly invisible — practical as well as pretty.
It is the one I recommend most to women who say they “can’t do nail art.” There is nothing to draw; the shape of your nail is the design.
Tip: Paint the red tip in one confident sweep from each side toward the center, then seal everything with a glossy top coat so base and tip shine as one.
11. Cute Reindeer Accent Nails

A tiny reindeer might be the cutest resident of this list. The other nails wear a warm nude beige, and a single accent nail hosts one small reindeer face — antlers, dot eyes, and of course a bright red nose.
The face is built from basics you already have: a light-brown oval for the head, two small branching lines for antlers, and dots for the eyes and nose. If freehand feels risky, reindeer nail stickers give the same charm in seconds.
Keeping the reindeer to one nail is what makes the manicure work for grown-ups. It reads as a wink, not a costume.
Tip: Paint the reindeer nail last, when everything else is fully dry — you will inevitably rest a finger on it while admiring your work.
12. Christmas Polka Dot Nails

Polka dots might be the friendliest nail art ever invented — if you can press a dot, you can do this design. A creamy white base gets scattered with dots in red, green and gold, in happily mixed sizes.
The charm is in the randomness. Cluster a few dots, space others out, and do not chase symmetry between hands; confetti is not symmetrical either. A neutral or white base makes the Christmas colors pop without any nail needing a full coat of dark polish.
Children and grandchildren can join in on this one, which makes it a sweet holiday-afternoon project as well as a manicure.
Tip: The rounded end of a bobby pin makes perfect medium dots; a toothpick makes the tiny ones. Dip, dot, and wipe the tool between colors.
13. Nude Christmas Nails

If your style leans understated, a nude manicure with the merest hint of gold is your Christmas look. The base should sit close to your own skin tone — warm beige here — for that clean, elongating effect.
The decoration is deliberately minimal: one nail carries a fine gold line with a tiny starburst where the lines cross. It catches the light when you move your hand and disappears when you don’t, which is exactly the point.
Nude nails also hide regrowth and small chips better than any color, making this the lowest-maintenance design on the list through the busiest weeks of the year.
Tip: The right nude has the same undertone as your skin — warm, cool or neutral. Test on one nail in daylight before committing to all ten.
14. Red and White Christmas Nails
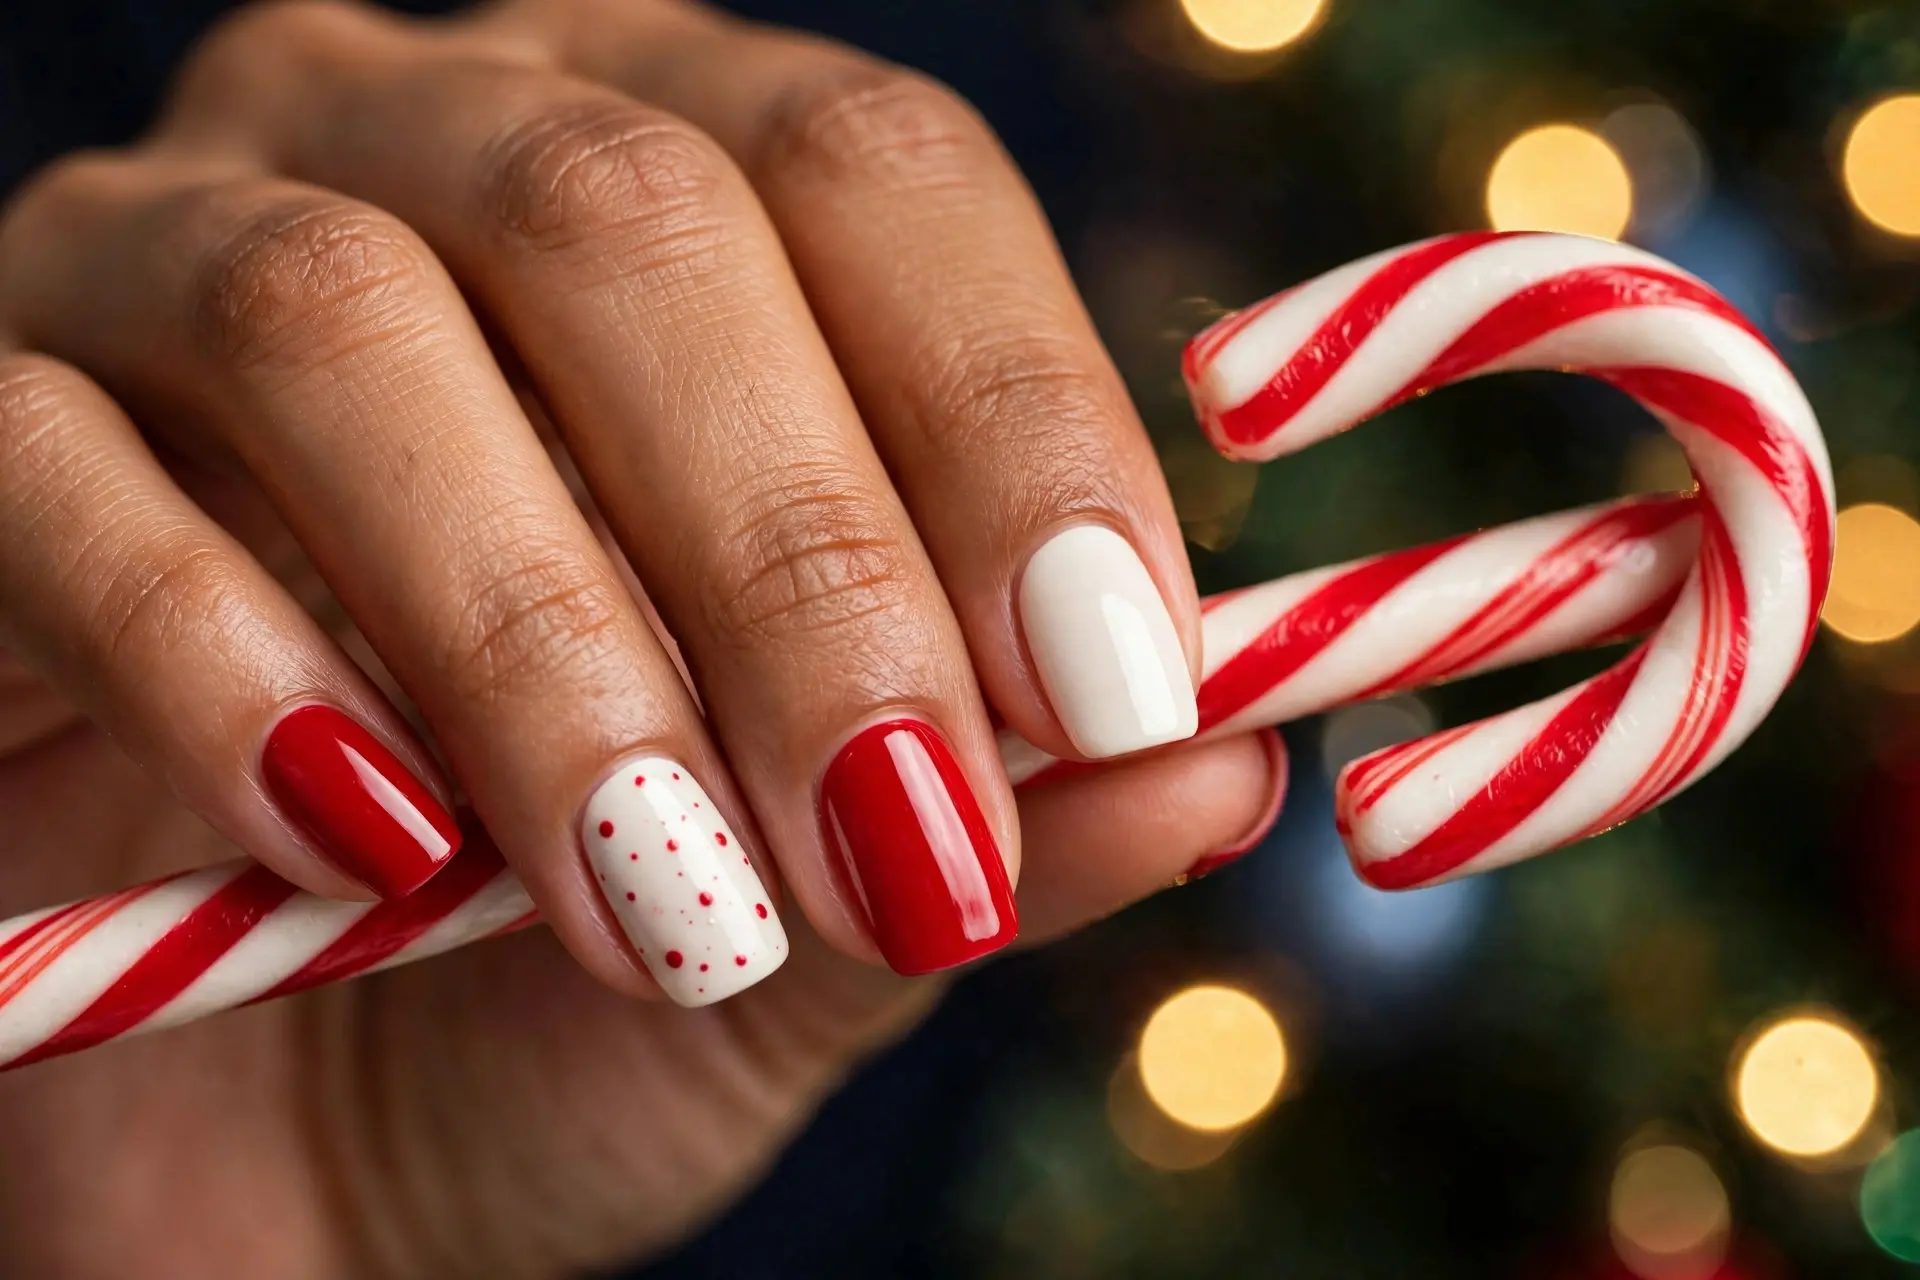
Sometimes the classic color pairing is the whole design. Alternating solid glossy red nails with clean creamy white ones gives you a manicure that is bold, graphic and completely free of fiddly art.
The white accent nail scattered with tiny red dots adds a confetti note, but it is optional — pure alternating color blocks look just as festive. This red-and-white canvas also welcomes simple extras later: a snowflake on the white nails, or stripes if you are feeling brave.
Because both colors are opaque and classic, this is a forgiving design for polish beginners and a reliably cheerful one for everyone else.
Tip: Paint the white nails first and let them dry fully before doing the reds — red pigment loves to drag onto white and stain it pink.
15. Christmas Star Nails

A deep navy base scattered with small gold stars looks like the Christmas night sky — and it is a refreshing change from the red-and-green routine. Navy is one of the most modern bases you can choose, and this design shows exactly why.
Keep the stars small and sparse: two or three per nail, placed off-center, reads as elegant rather than playful. Metallic gold polish with a fine brush works, but star stickers or decals are honestly easier and look crisper.
This design suits evening events beautifully and pairs with gold jewelry like it was planned. It also transitions seamlessly into New Year’s Eve.
Tip: If you use stickers, press each star down firmly at the edges and flood it with top coat — that seals the points so they cannot lift and catch.
16. Festive Plaid Nails
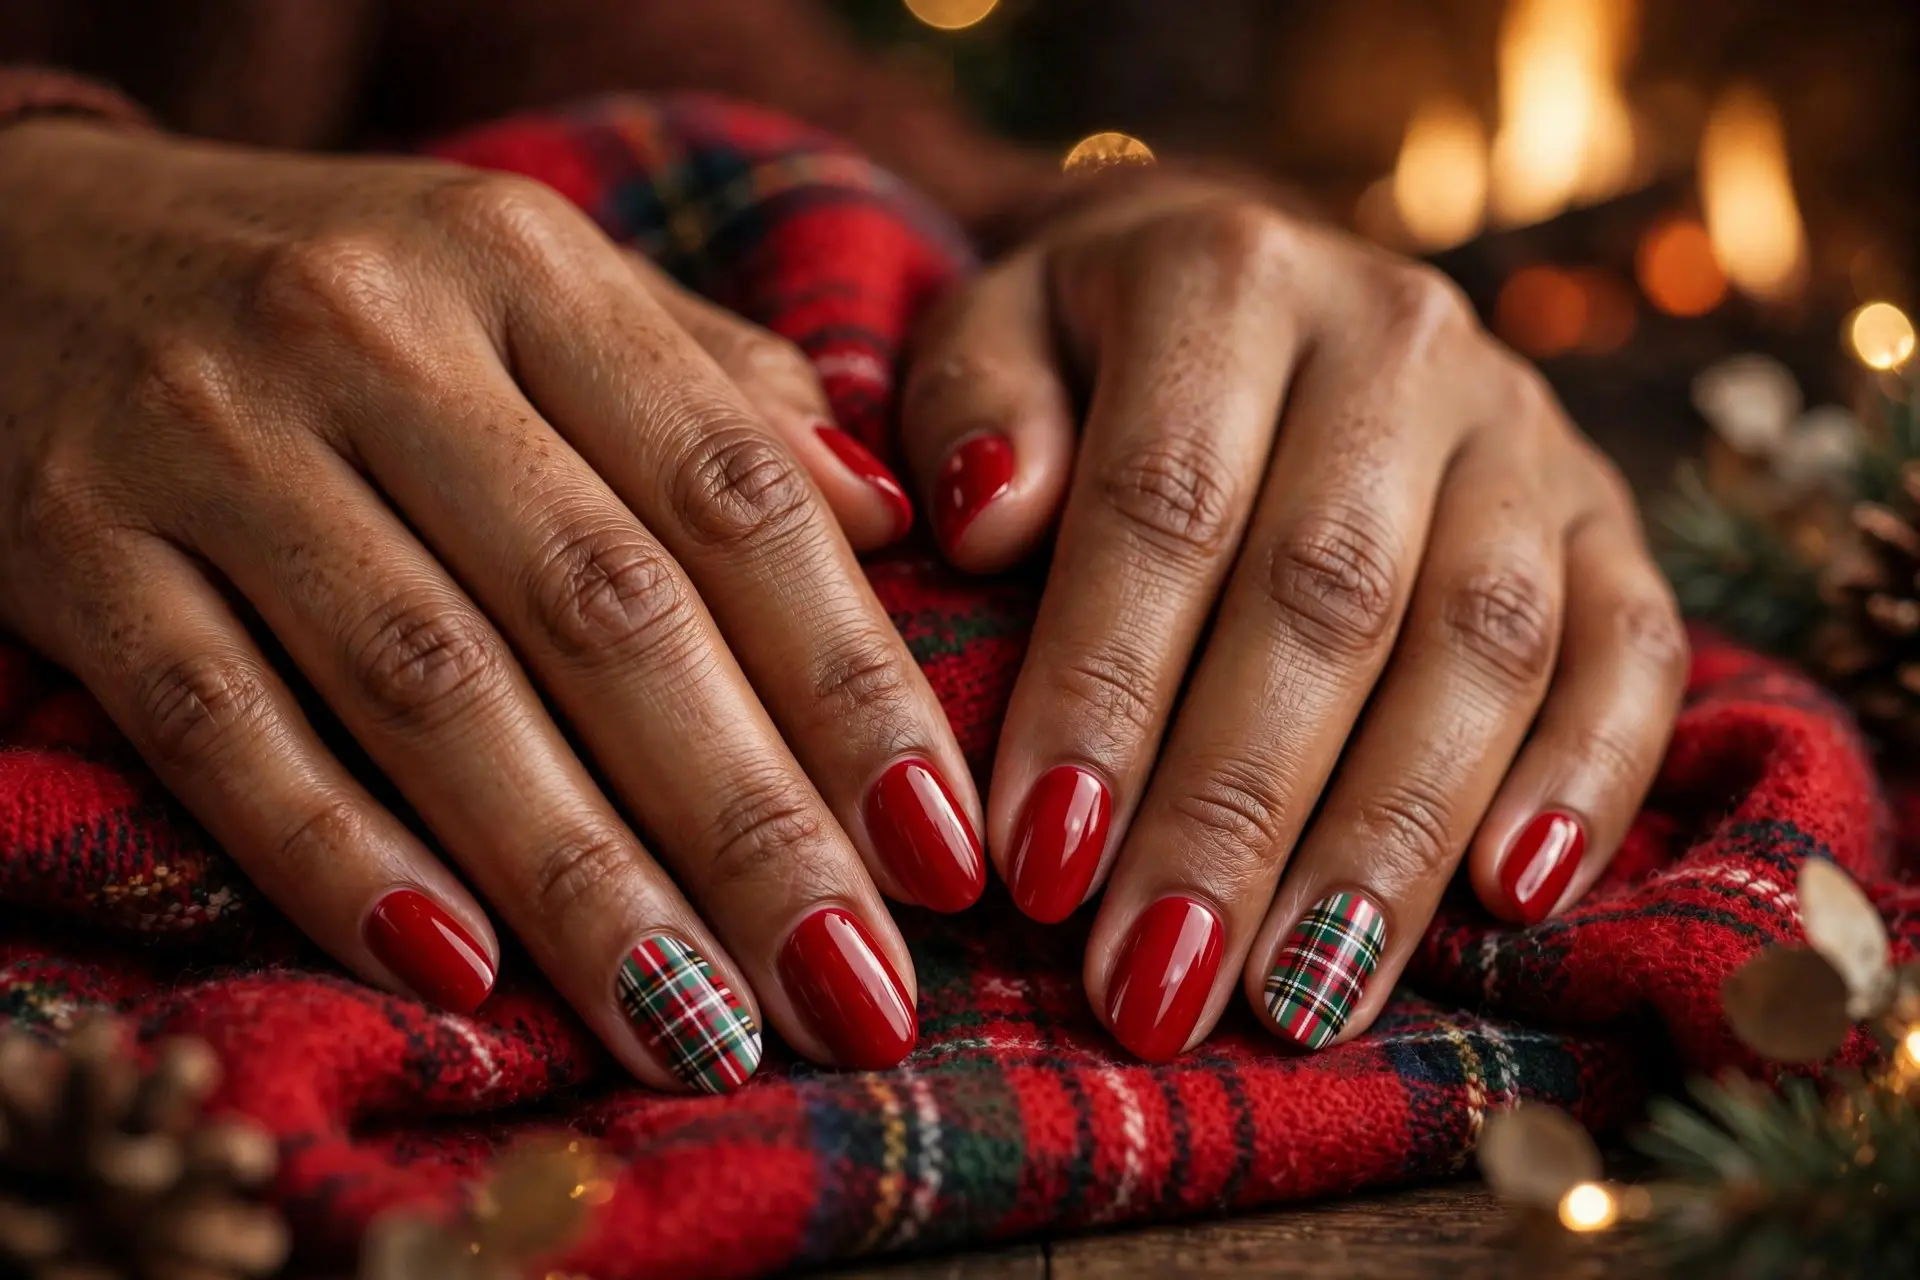
Plaid is Christmas coziness in pattern form. The smart way to wear it is the accent approach: glossy red on most nails, with one plaid nail per hand carrying the full tartan of red, green, white and fine dark lines.
Build the plaid in layers — a red or green base, then wide bands of the second color, then thin white and black lines crossing over the top. Slightly wobbly lines are fine; woven fabric is not laser-straight either.
Paired with the solid red nails, the effect is fireside-chic rather than busy. This is the design to match with your favorite tartan scarf or a cozy flannel shirt.
Tip: A striping brush makes plaid far easier than a regular polish brush. Let each layer of lines dry for two minutes before adding the next direction.
17. Simple Holly Berry Nails
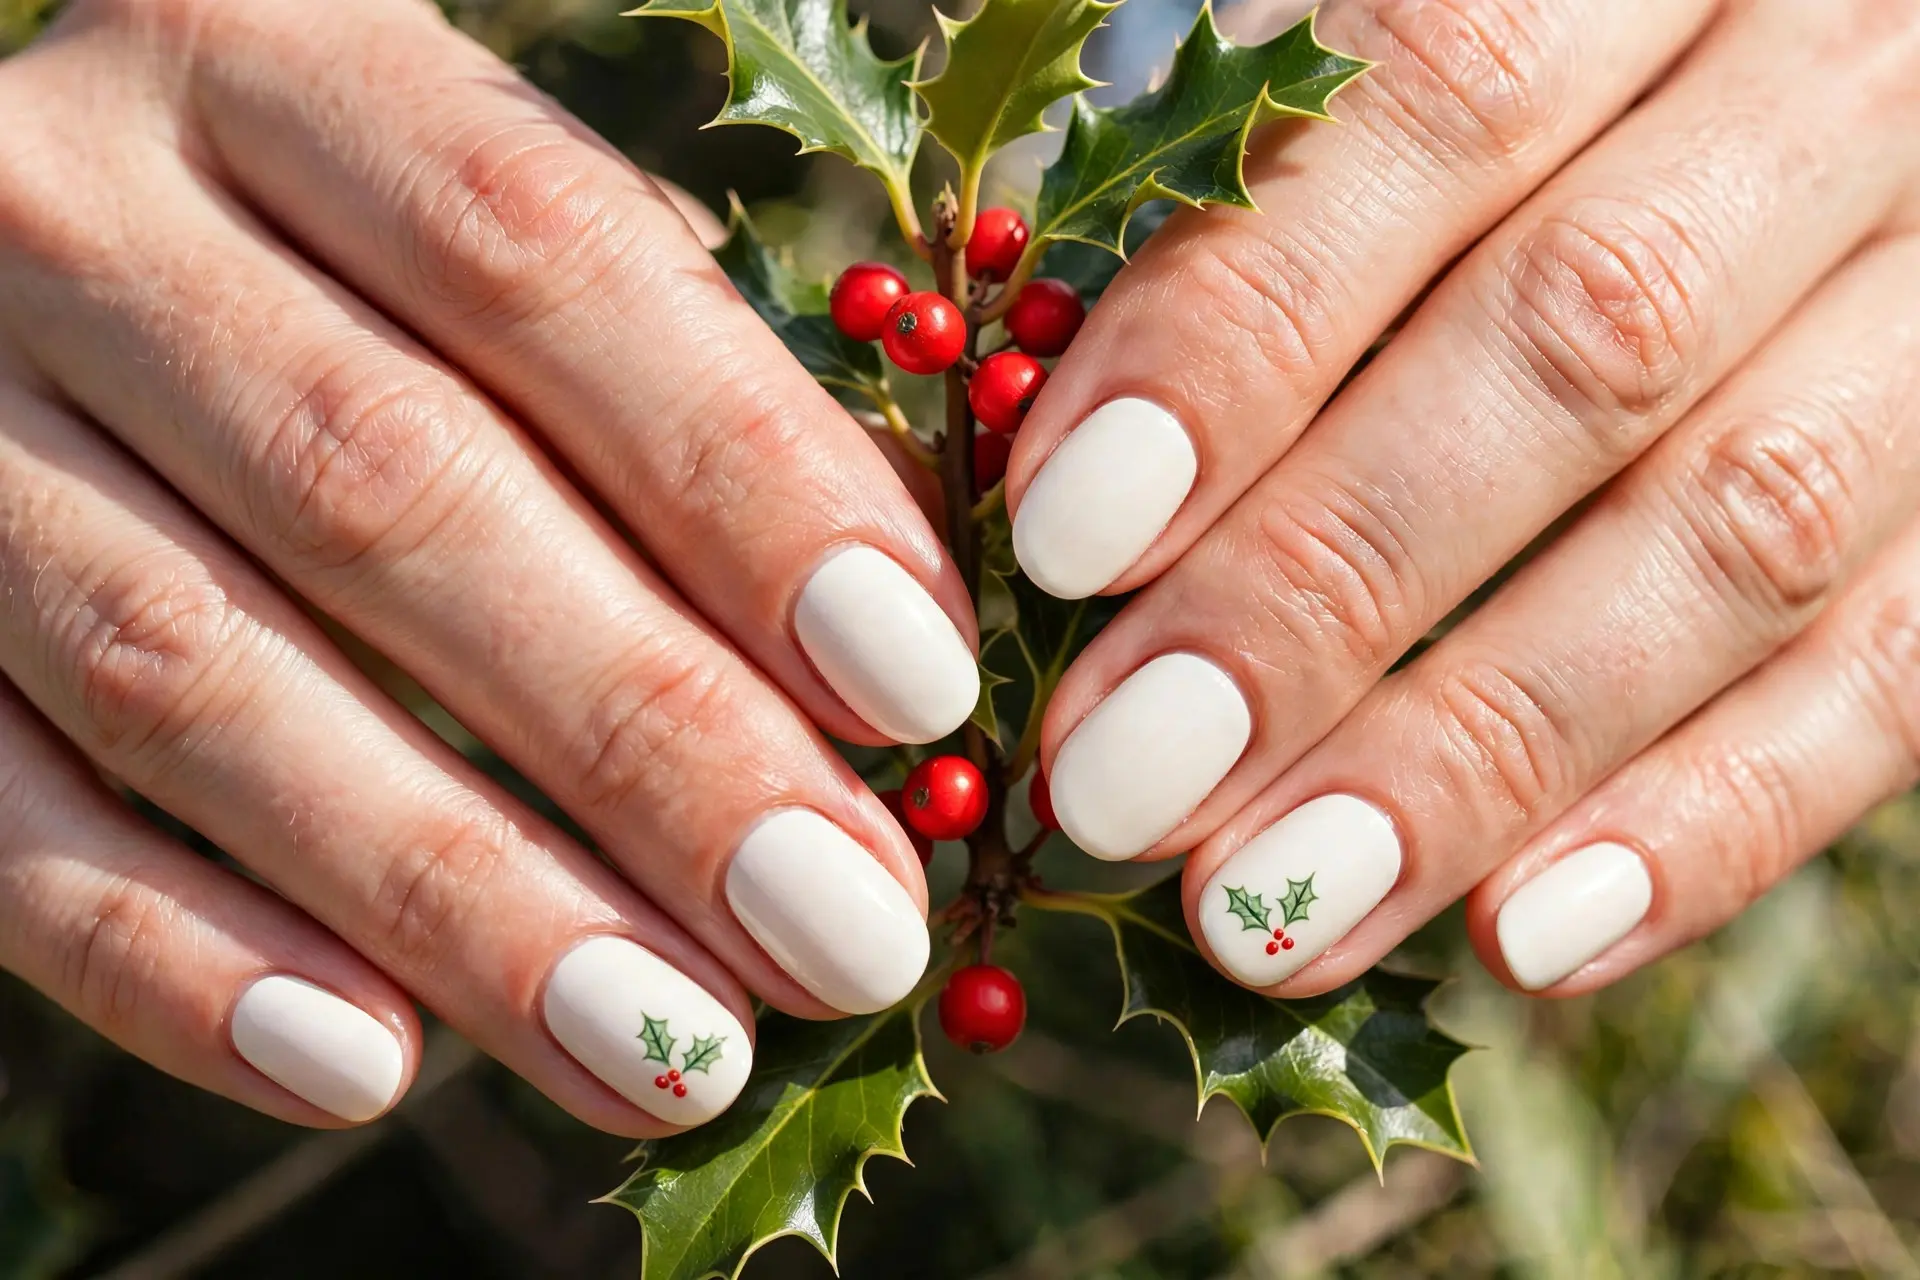
Holly is the classic Christmas motif that translates most gracefully to nails. On a creamy white base, the accent nails carry two tiny green leaves with a cluster of small red berries — simple shapes, instantly recognizable.
The whole design uses three elements: a leaf shape (a pointed oval), a smaller leaf beside it, and dots for berries. If you can dot, you can do the berries, and the leaves only need one confident stroke each.
It is a fresh, botanical alternative to glitter-heavy looks, and it sits beautifully with the real holly on your table or wreath.
Tip: Dot the berries first and let them dry before painting the leaves around them — wet red dots smear into pink streaks if a brush passes over them.
18. Elegant Gold Christmas Nails

We end with the most sophisticated design of the eighteen: a milky nude base finished with fine metallic gold French tips. It is festive the way good jewelry is festive — quietly, and with everything.
The gold tip is thinner and more precise than a standard French, and a fine gold line tracing the tip’s edge sharpens the effect. On almond nails, as pictured, it lengthens the fingers and looks expensive in candlelight.
Choose this one for Christmas dinner, formal parties and New Year’s Eve, or any moment when a themed design would feel like too much. It will never clash with your outfit.
Tip: Seal metallic gold with a generous top coat and reapply it mid-week — metal polishes lose their shine fastest, and top coat brings it back.
Styling Tips
A few simple choices will help you pick — and wear — the right design for you:
- Match the design to your style. Traditional red and green suits classic dressers; nude, white and gold designs feel more elegant; candy canes, reindeer and tiny trees are for the young at heart.
- Let one nail do the talking. An accent nail or two keeps even playful art grown-up, and it halves your decorating time.
- Keep the palette tight. Two or three colors maximum. A limited palette is the single biggest difference between a chic manicure and a chaotic one.
- Think about your nail length. Small motifs — dots, snowflakes, tiny trees — flatter short nails, while French tips and plaid need a little more canvas.
- Match sparkle to the occasion. Full glitter and gold belong to parties and evenings; nude, milky white and red French tips carry you politely through workdays.
- Test on one nail first. New color or new art? Try it on a single nail, live with it for an hour, then commit to the full set.
Above all, choose the design that makes you glance happily at your hands — that is the entire point of a holiday manicure.
Common Mistakes to Avoid
- Skipping base coat under red or green. Dark festive pigments stain natural nails. Base coat protects them and helps polish grip.
- Applying one thick coat. Thick coats bubble, wrinkle and take forever to dry. Two thin coats always look smoother and last longer.
- Decorating every nail. Ten busy nails fight each other. One or two accent nails per hand is the sweet spot for simple designs.
- Starting art on wet polish. Stripes bleed, dots drag and stickers slide. Give the base at least ten minutes before adding any detail.
- Forgetting top coat. It seals your art, adds shine and prevents chips. Skipping it can halve the life of your manicure.
Tips for Making Simple Christmas Nails Last Longer
A festive manicure should survive more than one party. Start with clean, completely dry nails — polish applied over lotion or water will lift early — and always begin with a base coat to protect the natural nail and give the color something to hold onto.
Apply your color in two thin coats instead of one thick one, letting each layer dry before the next, and wait until the color is fully set before adding any nail art. Finish with a quality top coat, glossy or matte, and cap the free edge of each nail to seal the tip where chips begin.
Between events, small habits make a real difference. Massage in cuticle oil daily to keep the skin around your nails supple, wear gloves for washing up and cleaning, and refresh your top coat every few days to restore shine and reinforce the surface. Treated this way, most of these designs will carry you from the first party to Christmas Day itself.
Frequently Asked Questions
What are the easiest Christmas nails for beginners?
Classic red nails, glitter nails, polka dots and simple French tips are the most beginner-friendly. None of them require drawing — dots come from a bobby pin, glitter hides uneven application, and a solid red manicure needs nothing but two thin coats and patience.
What colors are best for Christmas nails?
The traditional palette is red, green, white, gold and silver, and it never dates. For a more modern holiday manicure, try nude, burgundy, deep navy or icy blue — several designs above use them to beautiful effect alongside the classics.
Can I create Christmas nail art on short nails?
Absolutely. Small-scale designs actually suit short nails best: tiny snowflakes, dots, a single mini Christmas tree, glitter accents and French tips all sit neatly on a smaller canvas. Just keep motifs to one or two nails so the design does not crowd the nail.
How can I make Christmas nails look elegant?
Limit your palette, keep details delicate, and let some nails stay plain. Nude bases with fine gold details, red French tips, milky white nails and a whisper of glitter are the most elegant routes — ideas 8, 10, 13 and 18 above are good places to start.
What Christmas nail design is best for a Christmas party?
Reach for sparkle: glitter nails, red-and-gold combinations, elegant gold tips, festive plaid or navy with gold stars all photograph beautifully and feel dressed up. They add party shine without being complicated to do at home.
Conclusion
Whichever of these simple christmas nail ideas you try first — a classic red, a dusting of glitter, or one tiny reindeer — you now have proof that a beautiful holiday manicure needs no complicated art at all. For even more festive inspiration, browse our cute Christmas nail ideas, pick your favorite, and enjoy it all season long.
Over to you: are you team classic red, or does a little glitter win you over every time? Tell us your go-to Christmas manicure in the comments!