
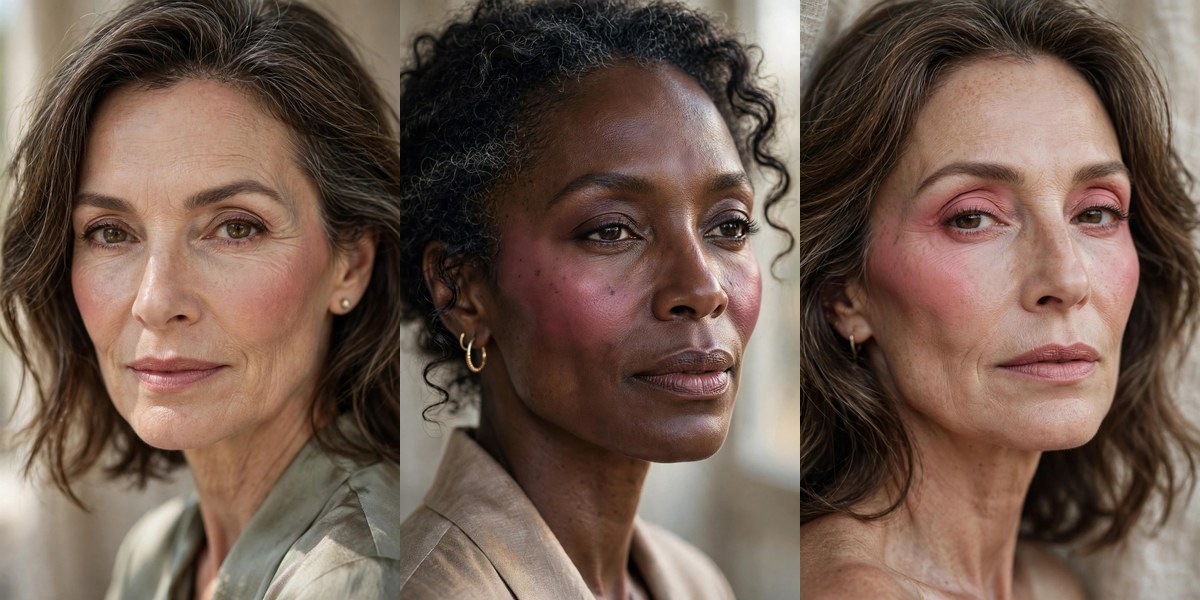
Think of the last photo you genuinely loved of yourself. Not the posed one — the candid one, where you look alive. I’d bet your cheeks had color in it: a flush from the walk, a glow from laughing. That’s what blush does when it’s right. It doesn’t look like makeup. It looks like you, on your best day.
After 50, blush stops being optional and becomes essential — it’s the single fastest way to restore the dimension and warmth that time quietly takes. But the wrong shade, formula, or placement can do the opposite. Below are 22 blush shades and placements for mature skin: which formulas flatter, which shades suit your undertone, and exactly where to put them, with one image for every idea.
1. 🌸 Cream Blush for Dry, Mature Skin
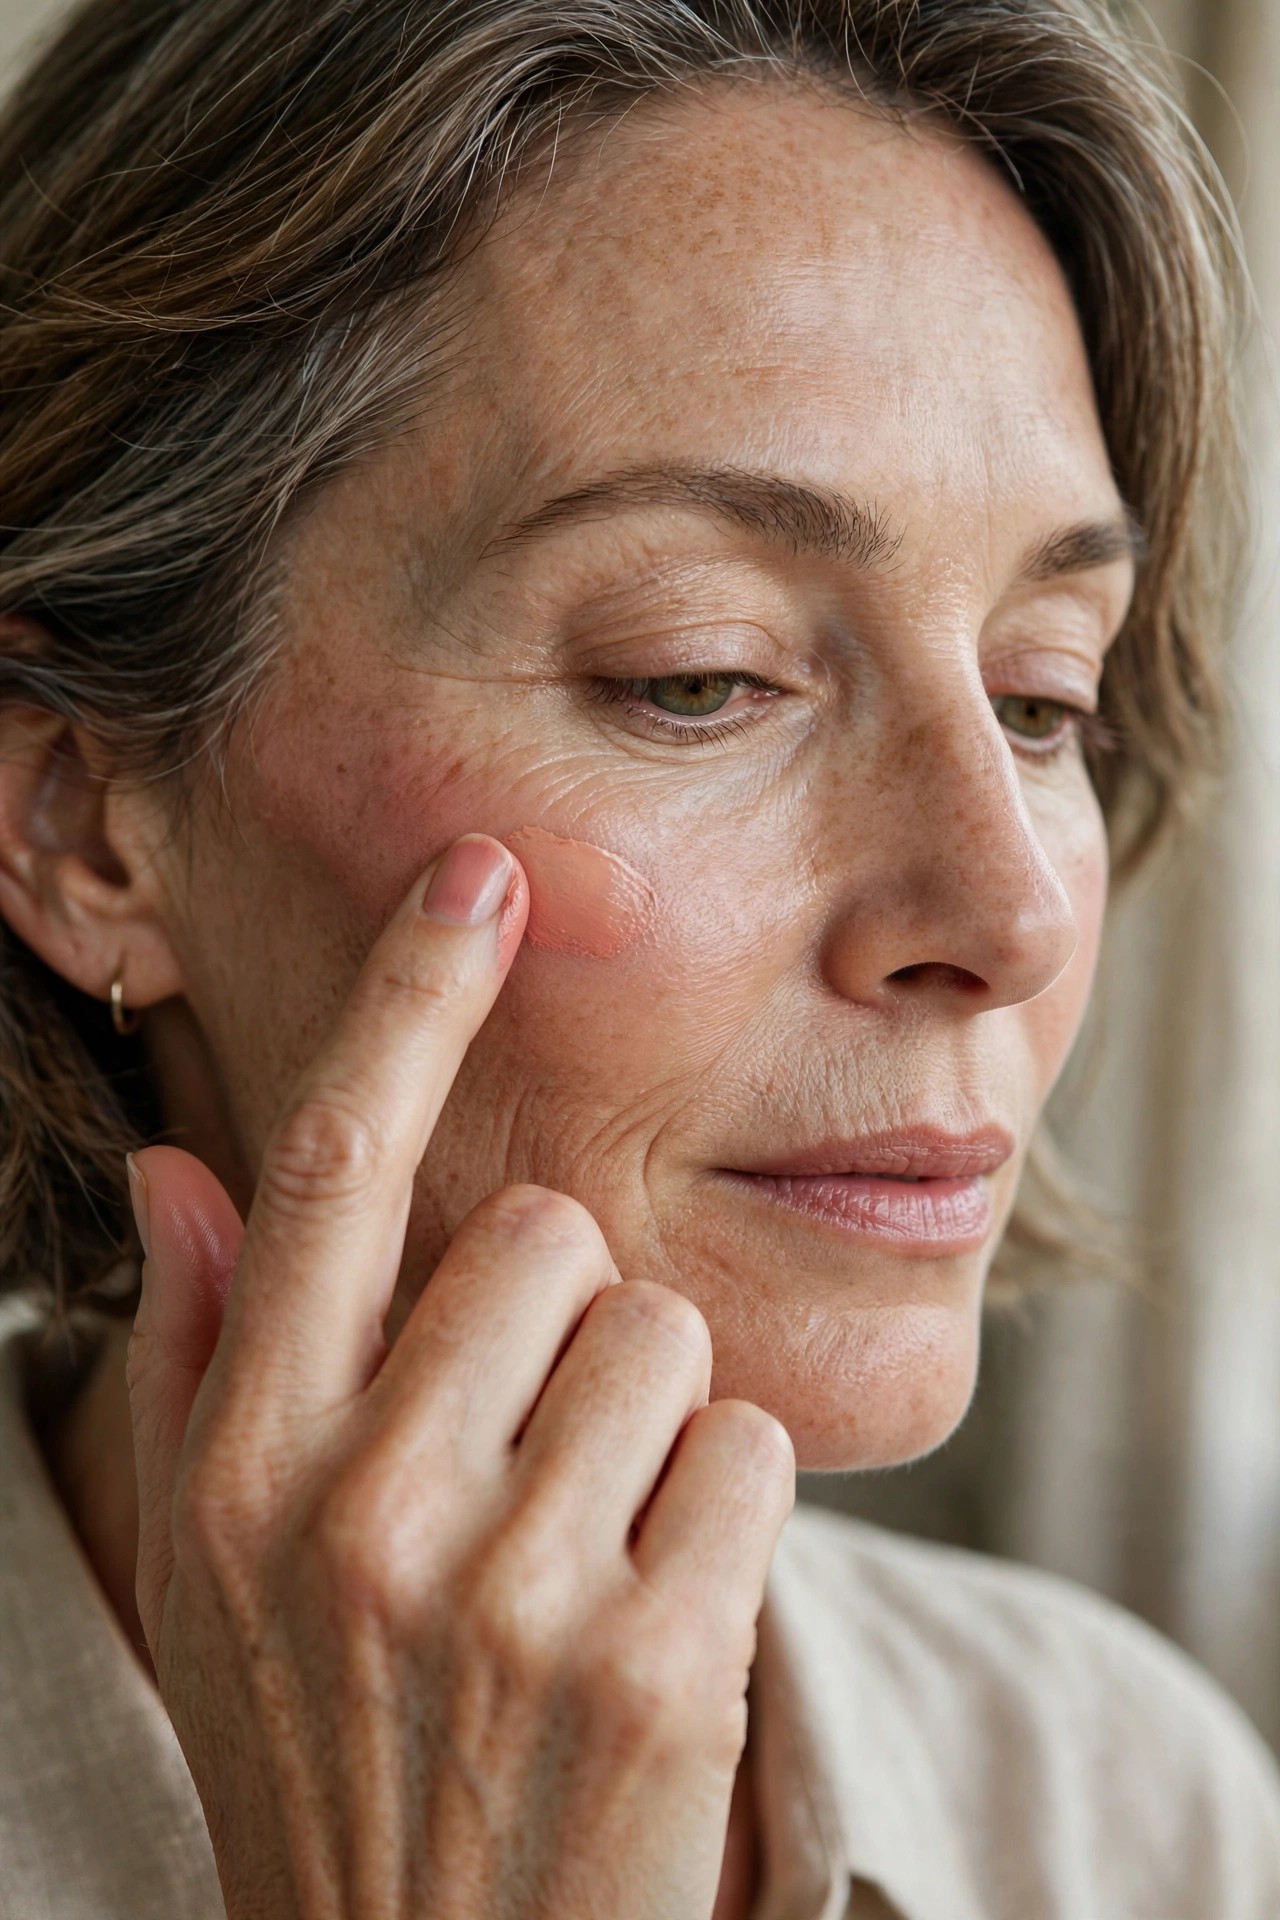
If you buy one blush formula after 50, make it cream. Cream melts into skin instead of sitting on it, never emphasizes texture, and doubles as a hydration layer. It gives the lit-from-within flush that powder simply can’t fake on drier skin.
Try this: press into skin with fingertips over foundation — warmth helps it blend.
Pro note: Cream blush on bare moisturized skin is the most natural “no-makeup” cheek there is.
2. 🍑 Satin Powder for Oily Zones
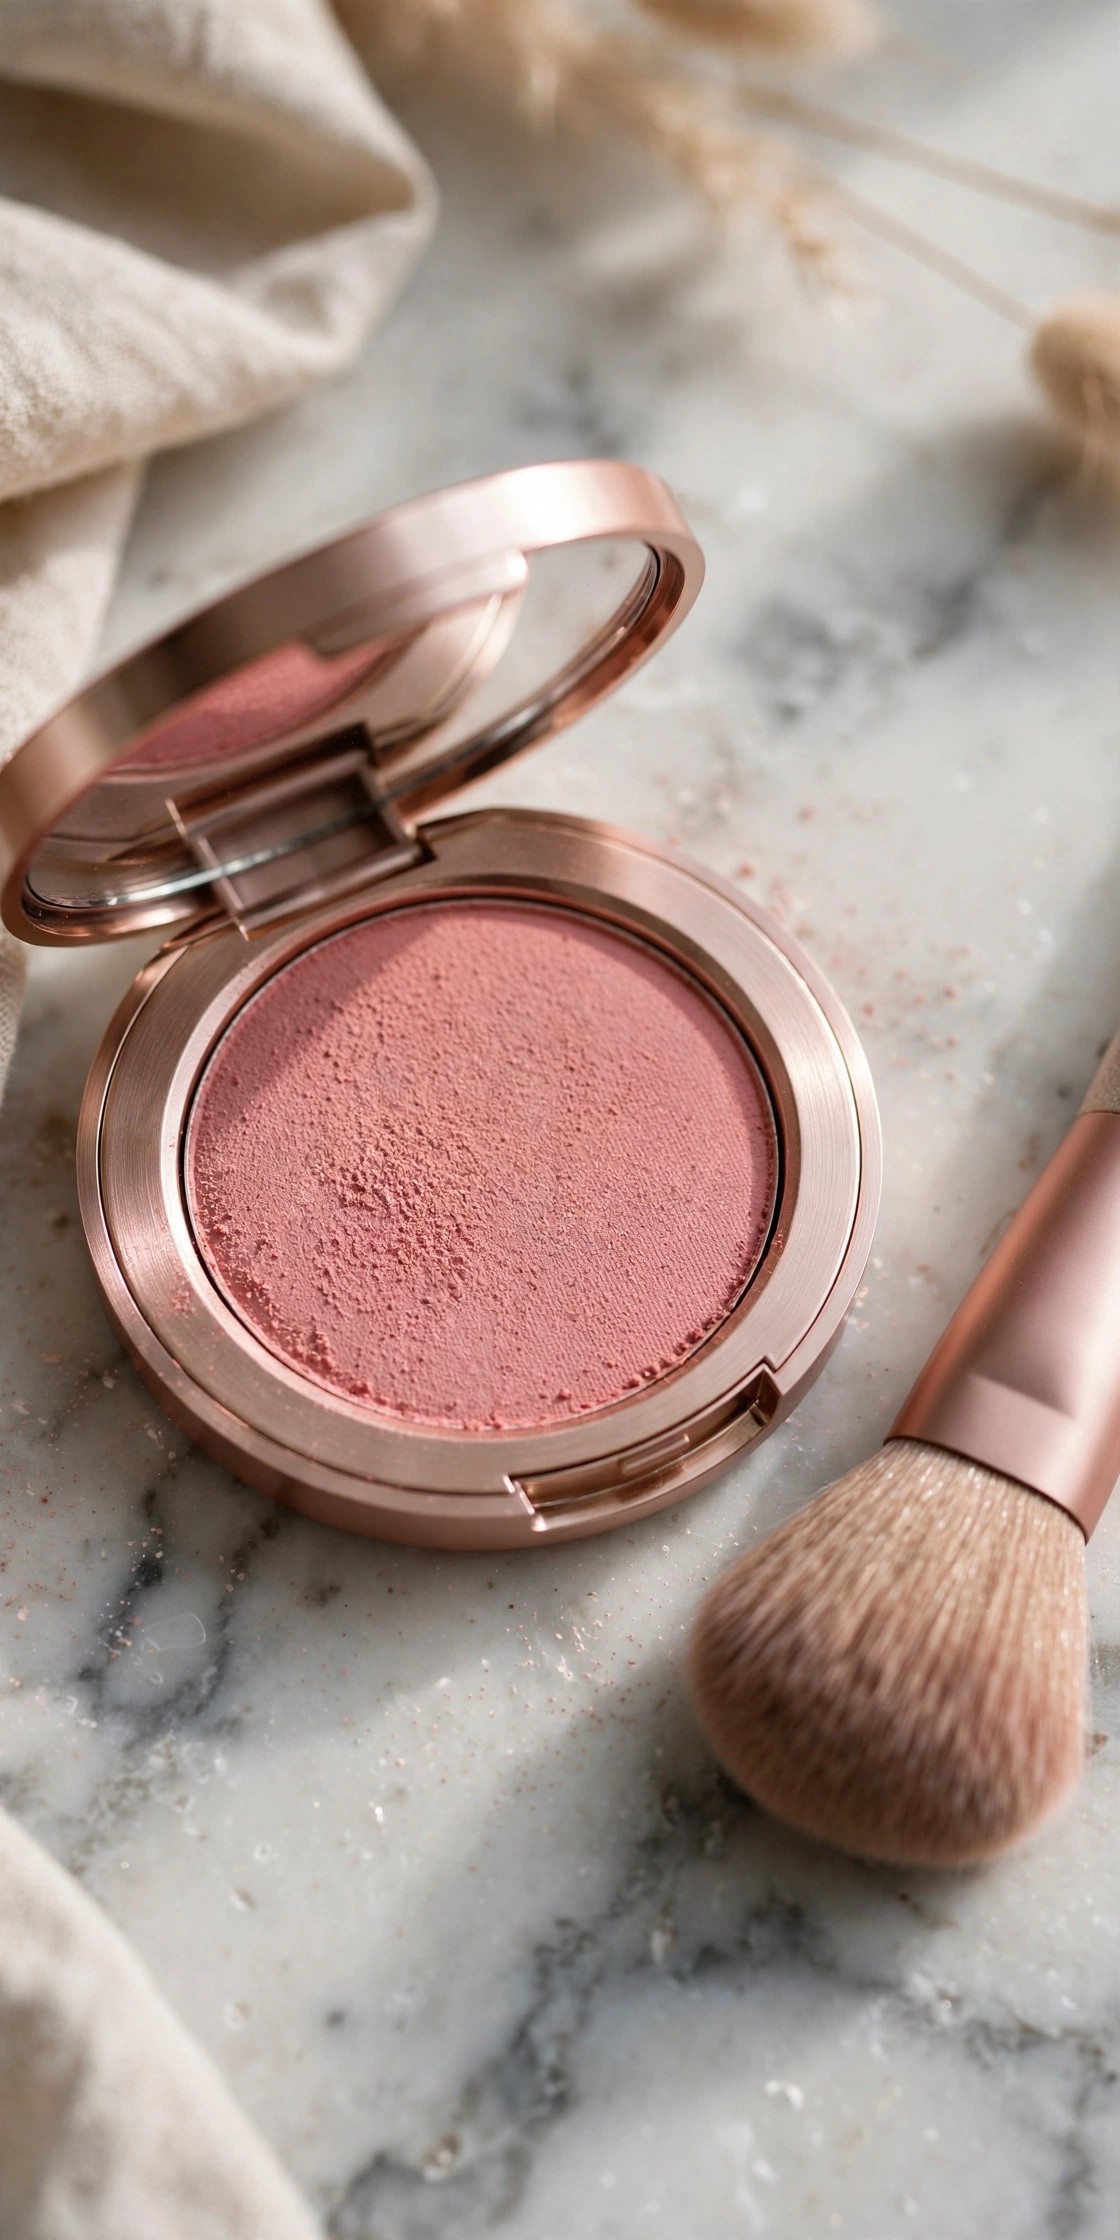
Not all powder blush is the enemy — the problem is chalky matte powder. A finely milled satin powder blush (soft sheen, zero glitter) works beautifully on combination skin and lasts longer in humidity. The key is the finish: satin, never flat matte.
Try this: tap off excess, then dust onto the high cheek — buildable, never cakey.
Avoid: shimmery powder blush, whose glitter particles settle into pores and fine lines.
3. 💧 Liquid Blush for the Sheerest Wash
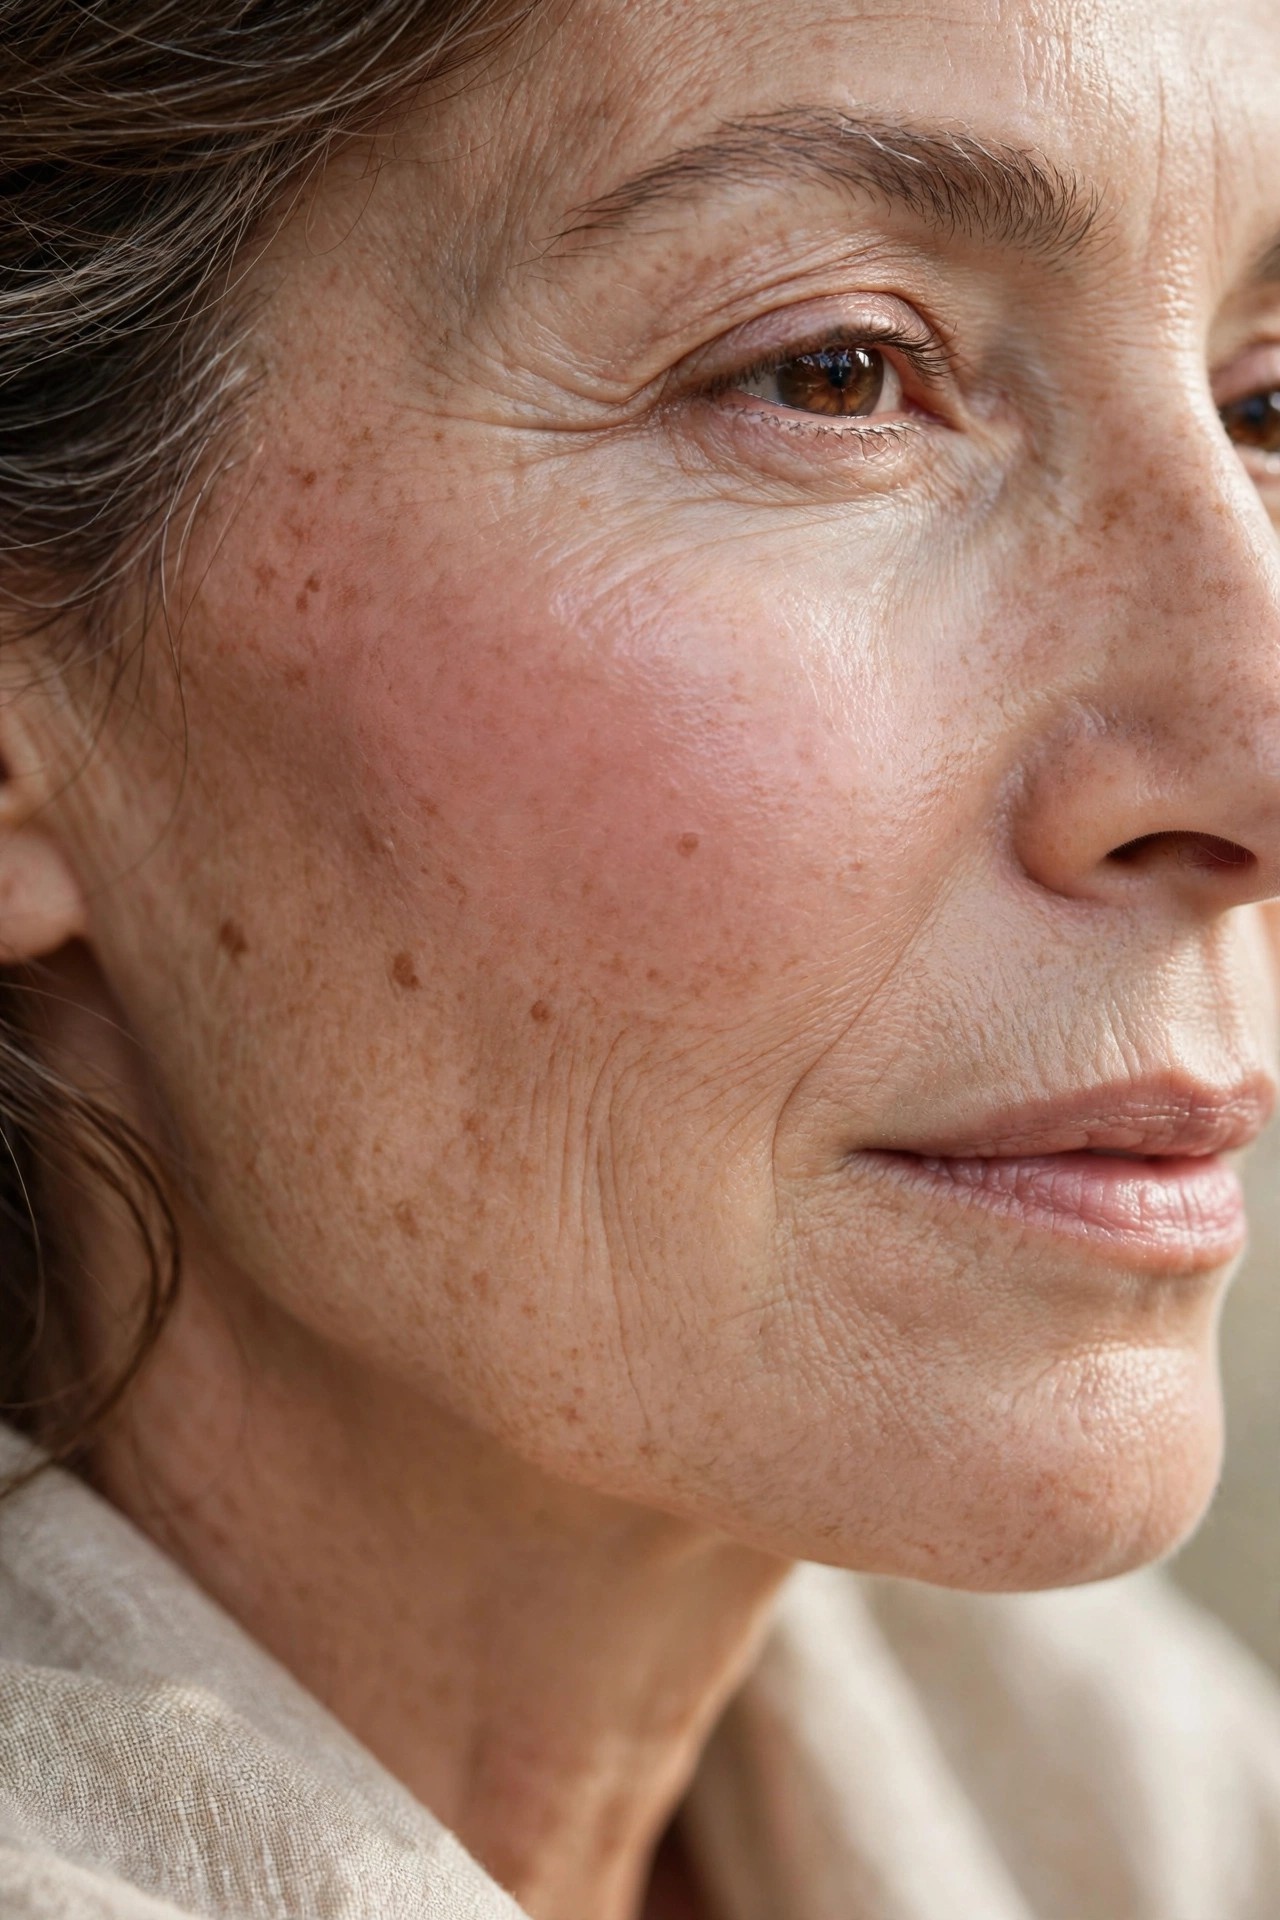
Liquid blush gives the most natural, skin-like flush of any formula — a drop blends into a transparent veil of color. It’s ideal if you fear looking “made up,” because it’s nearly impossible to overdo when applied right. One drop per cheek is genuinely enough.
Try this: dot on the back of your hand first, pick up with a fingertip, press into cheeks.
Pro note: Work fast — liquids set in under a minute. Blend immediately.
4. 🥀 Rosewood: The Universal Mature Shade
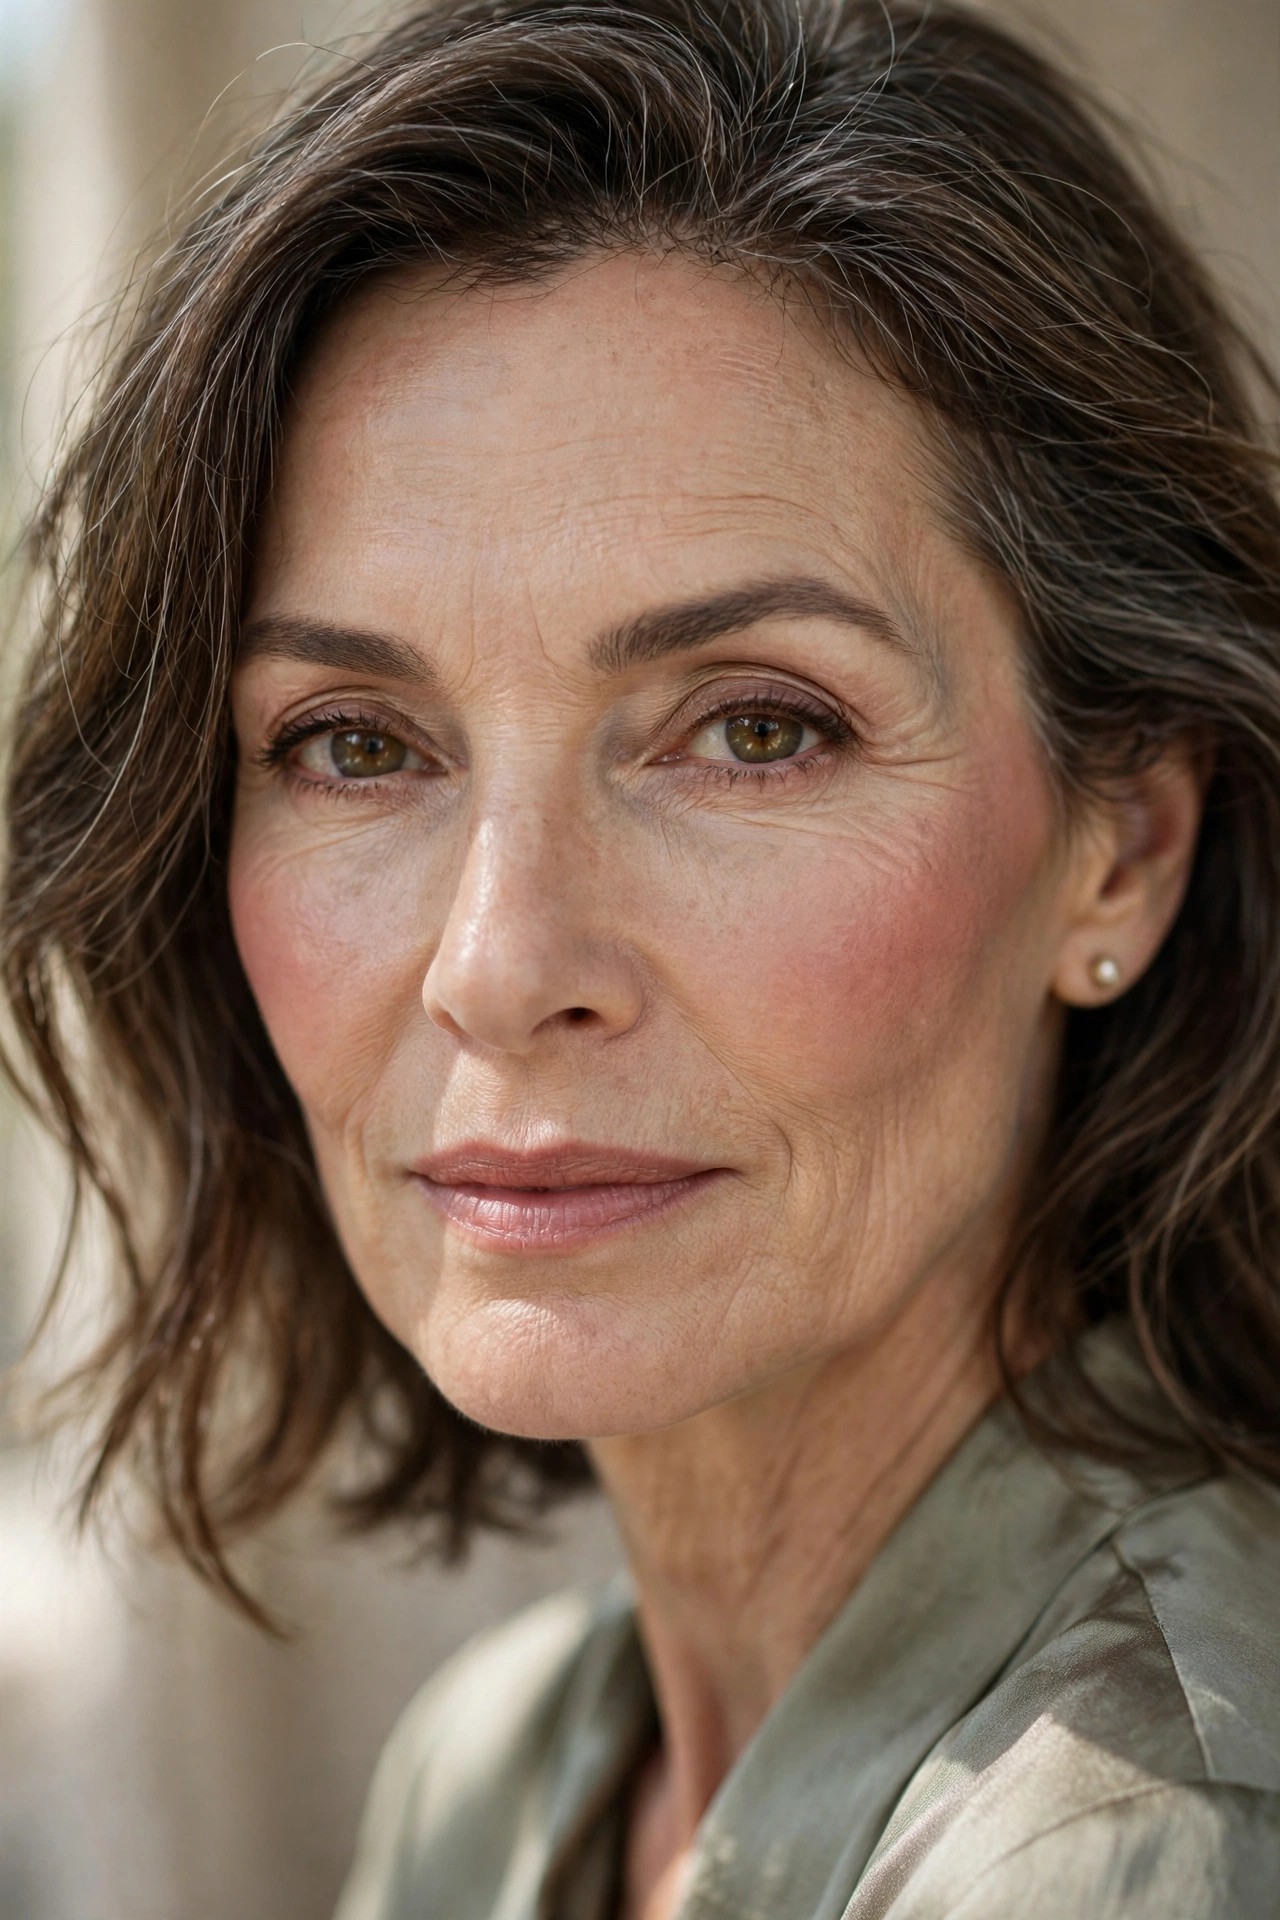
If the blush aisle overwhelms you, start with rosewood — a deep, muted rose with brown undertones that flatters nearly every skin tone over 50. It’s sophisticated where bright pinks feel young, and warm where cool mauves feel flat. When in doubt, rosewood.
Try this: rosewood cream blush, pressed high on the cheekbone.
Pro note: Rosewood is also the safest gift blush — it suits almost everyone.
5. 🍑 Warm Peach for Golden Undertones
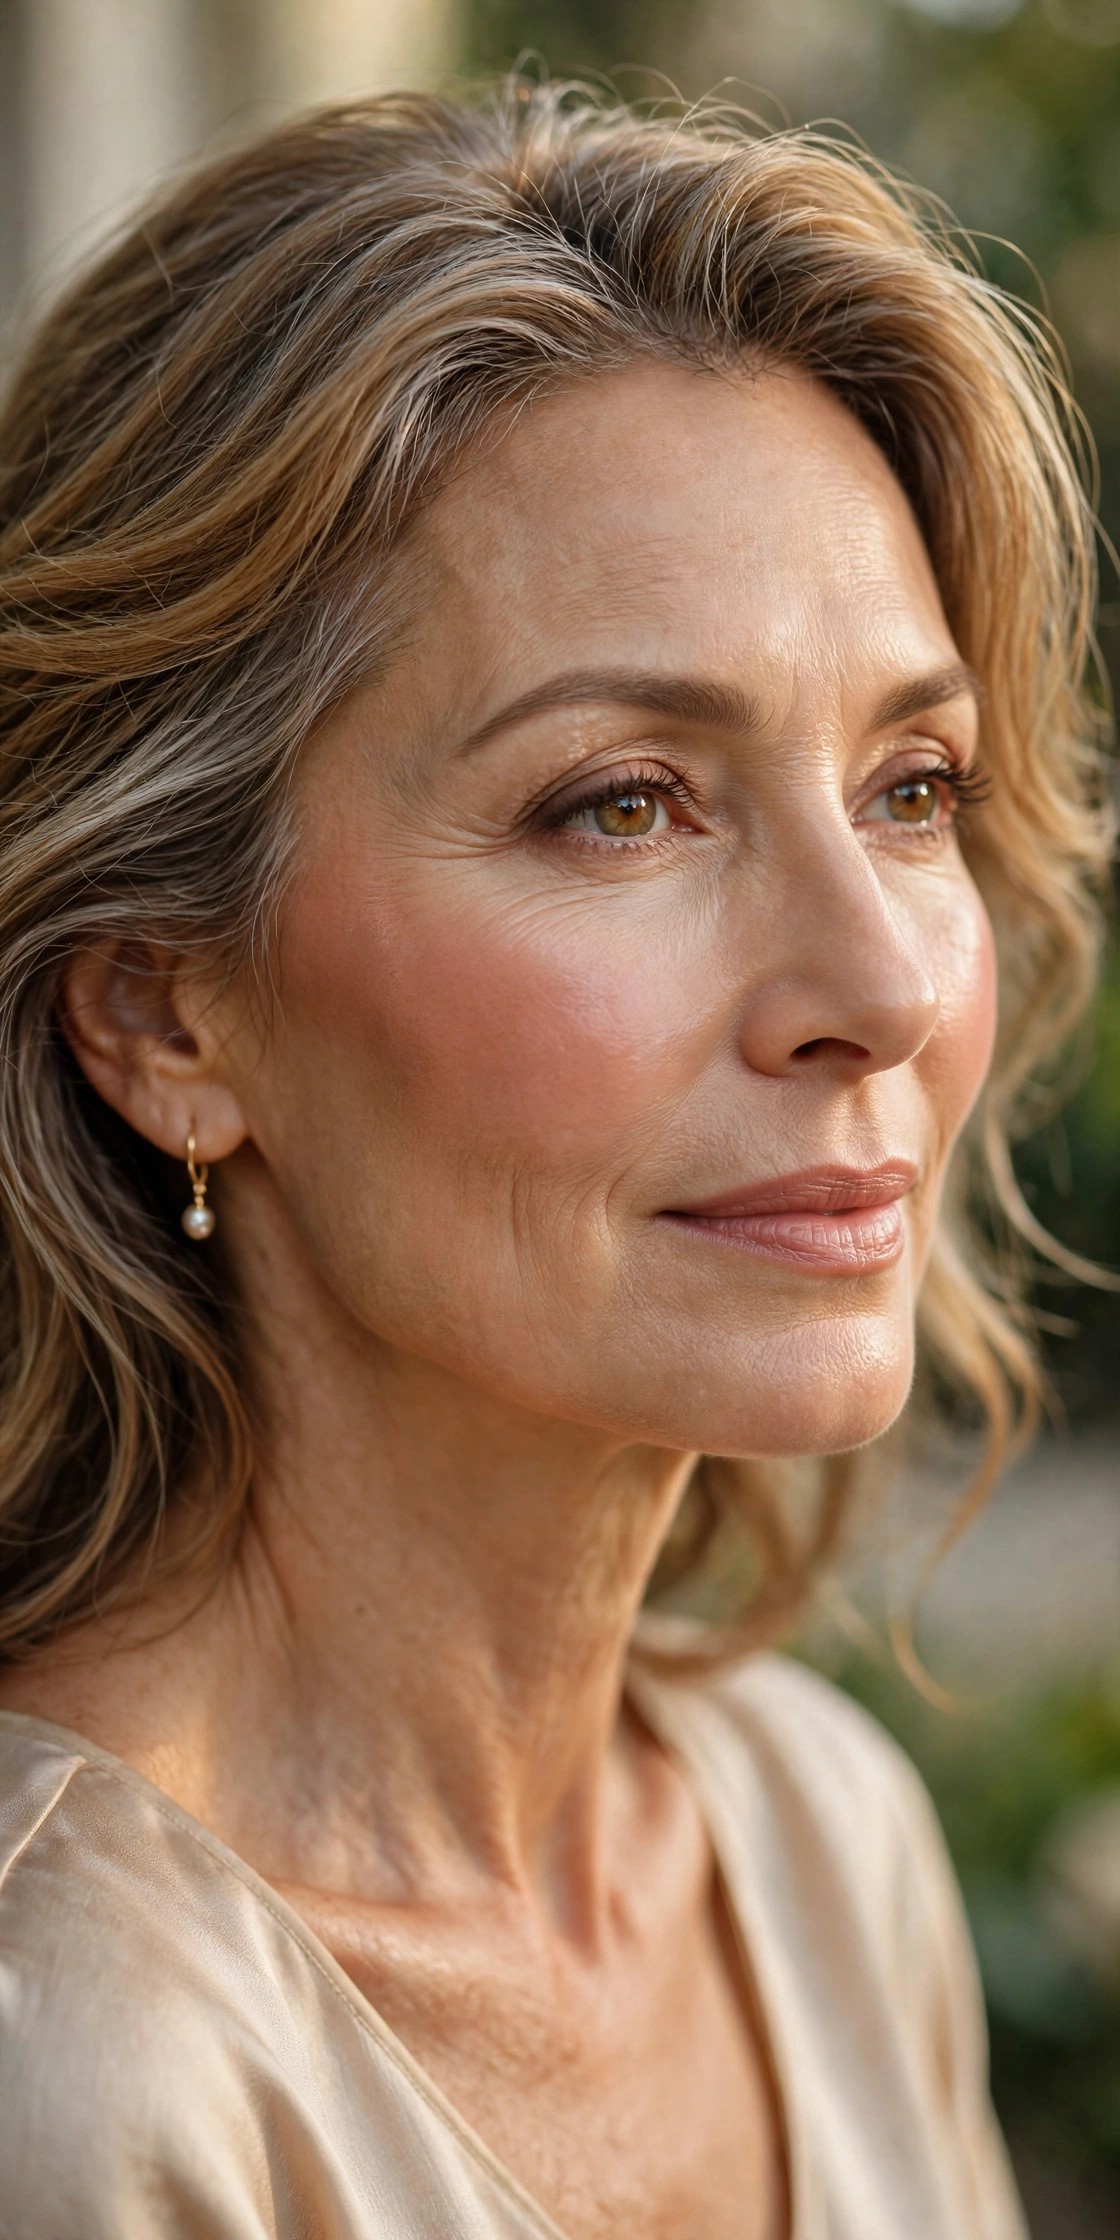
If your skin has warm, golden undertones, peach is your flush color — it mimics the natural warmth your skin produces and harmonizes instead of contrasting. On warm skin, peach reads as health; pink reads as a separate layer sitting on top.
Try this: warm peach in cream form, blended up toward the temple.
Avoid: blue-pink shades on warm skin — they clash instead of blending.
Find your undertone in 30 seconds: look at your wrist veins in daylight. Green = warm (peach, coral, terracotta). Blue = cool (rose, berry, cool pink). A mix = neutral (rosewood, dusty rose).
6. 🌹 Soft Berry for Cool Undertones
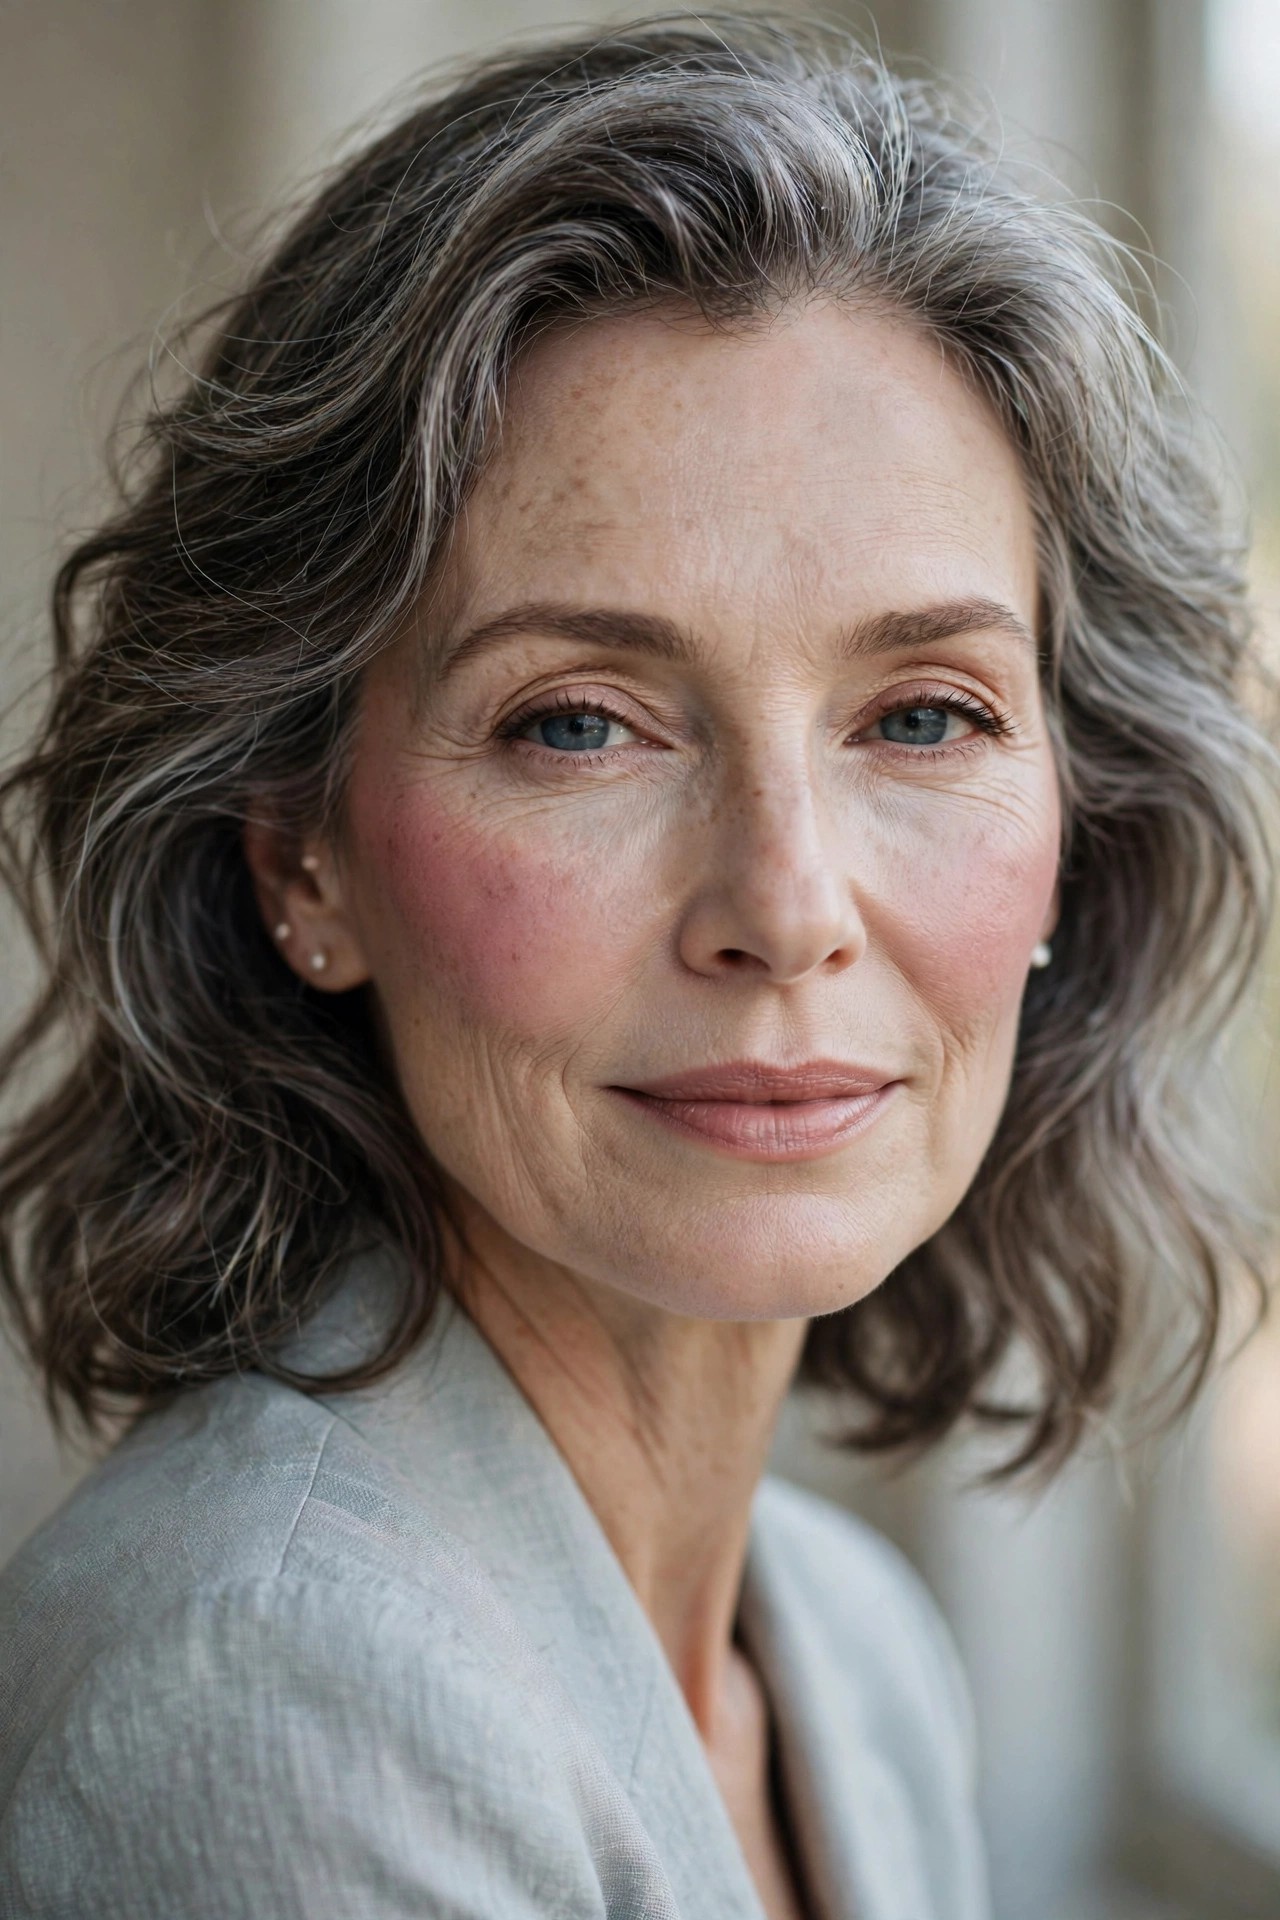
Cool-undertoned skin comes alive with berry — a soft, muted raspberry that echoes the lips’ natural color. Berry adds the contrast cool skin needs without the harshness of bright fuchsia. It’s the cool-skin equivalent of peach: your natural flush, bottled.
Try this: soft berry stain or cream, sheered out with fingertips.
Pro note: Berry doubles beautifully as a lip tint — one product, matched cheeks and lips.
7. 🧡 Terracotta for Depth and Warmth
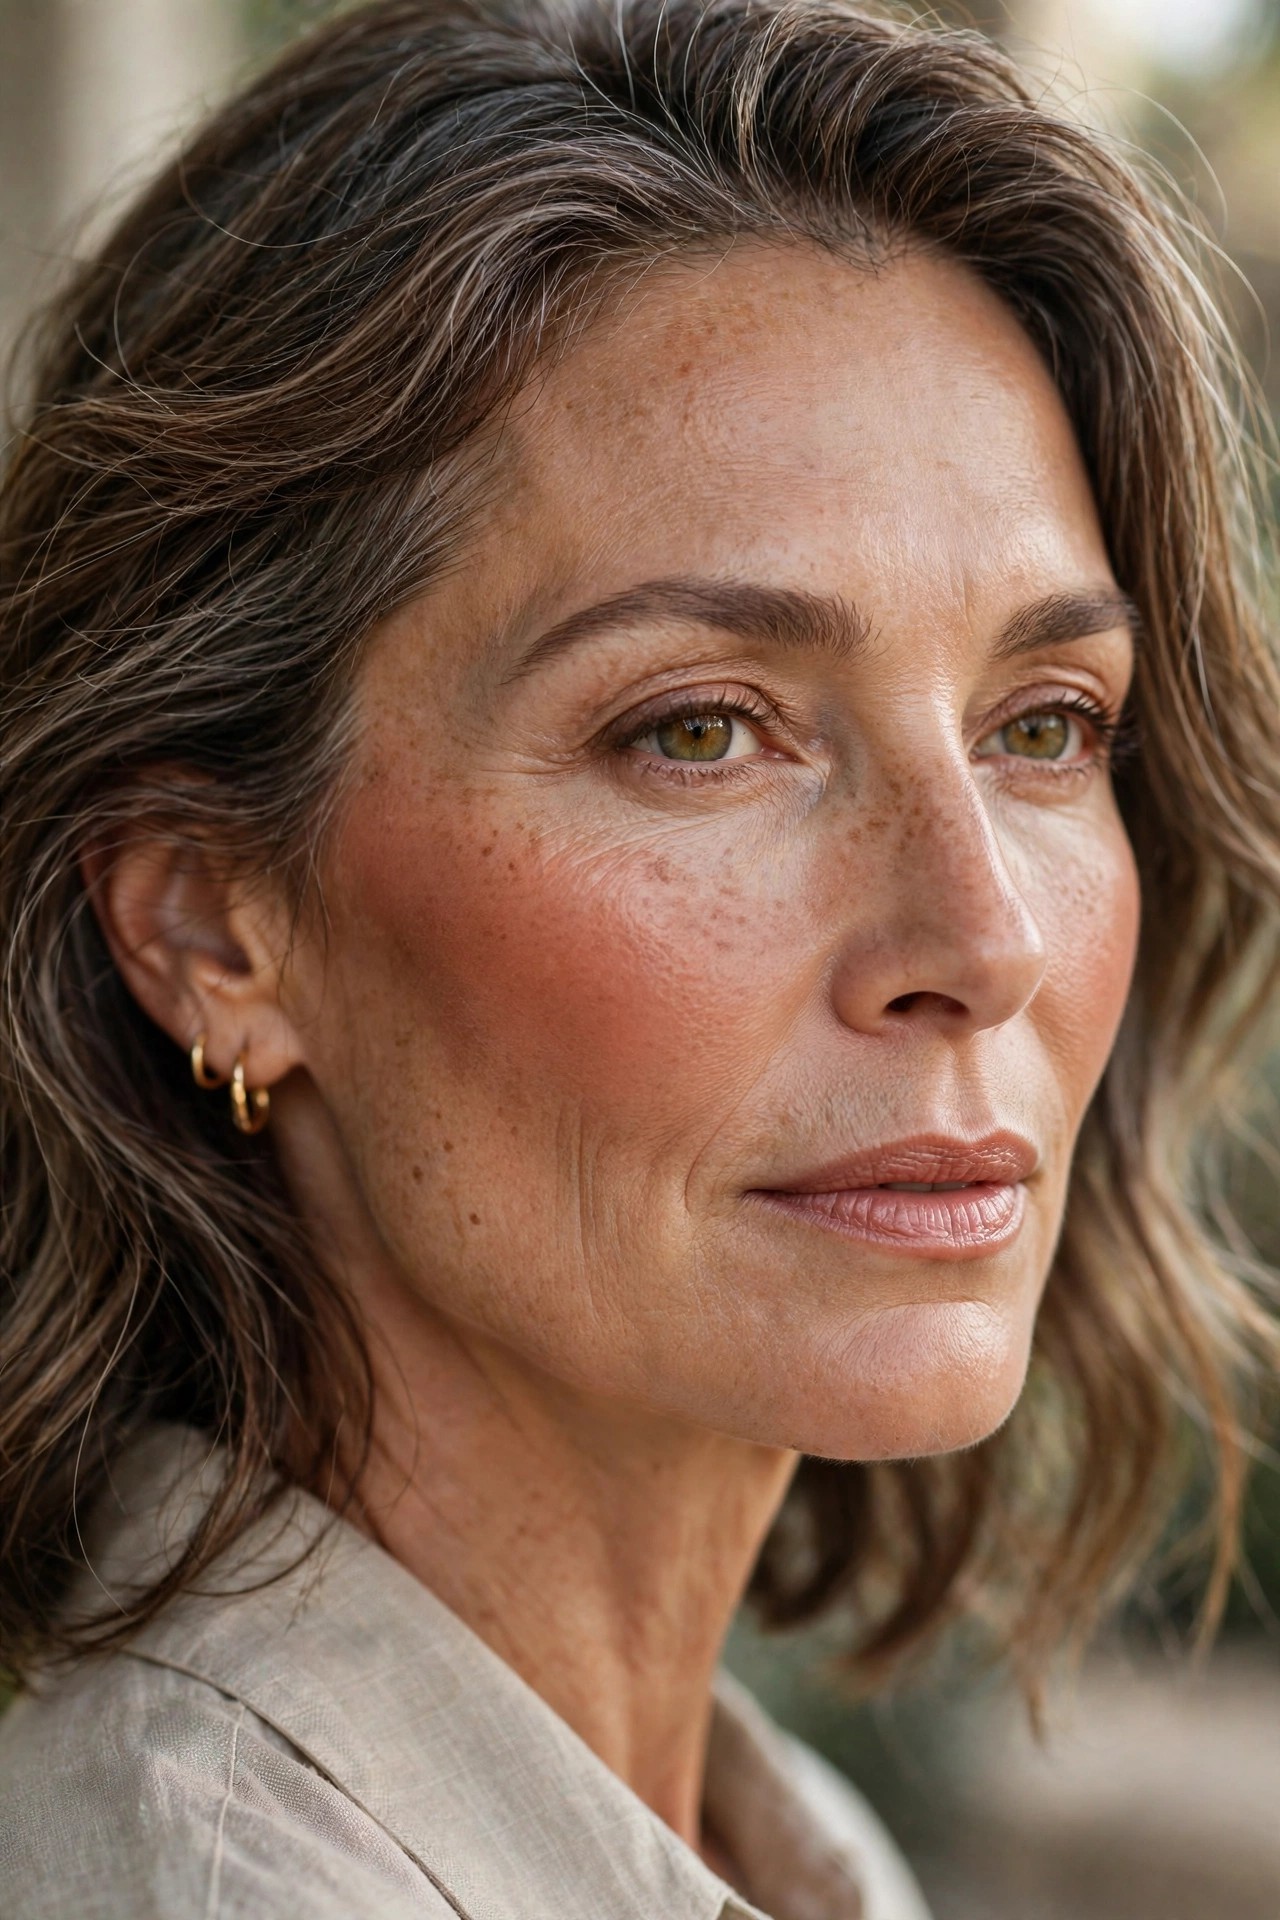
Terracotta — sunbaked clay with orange-brown warmth — is the mature woman’s secret weapon. It adds warmth and dimension simultaneously, functioning almost like blush and bronzer in one. Especially flattering on medium to deep skin tones and anyone who misses their summer glow.
Try this: terracotta satin powder, swept where blush meets bronzer territory.
Avoid: true orange blush — terracotta’s brown base is what keeps it sophisticated.
8. 💗 Dusty Rose for Fair Skin
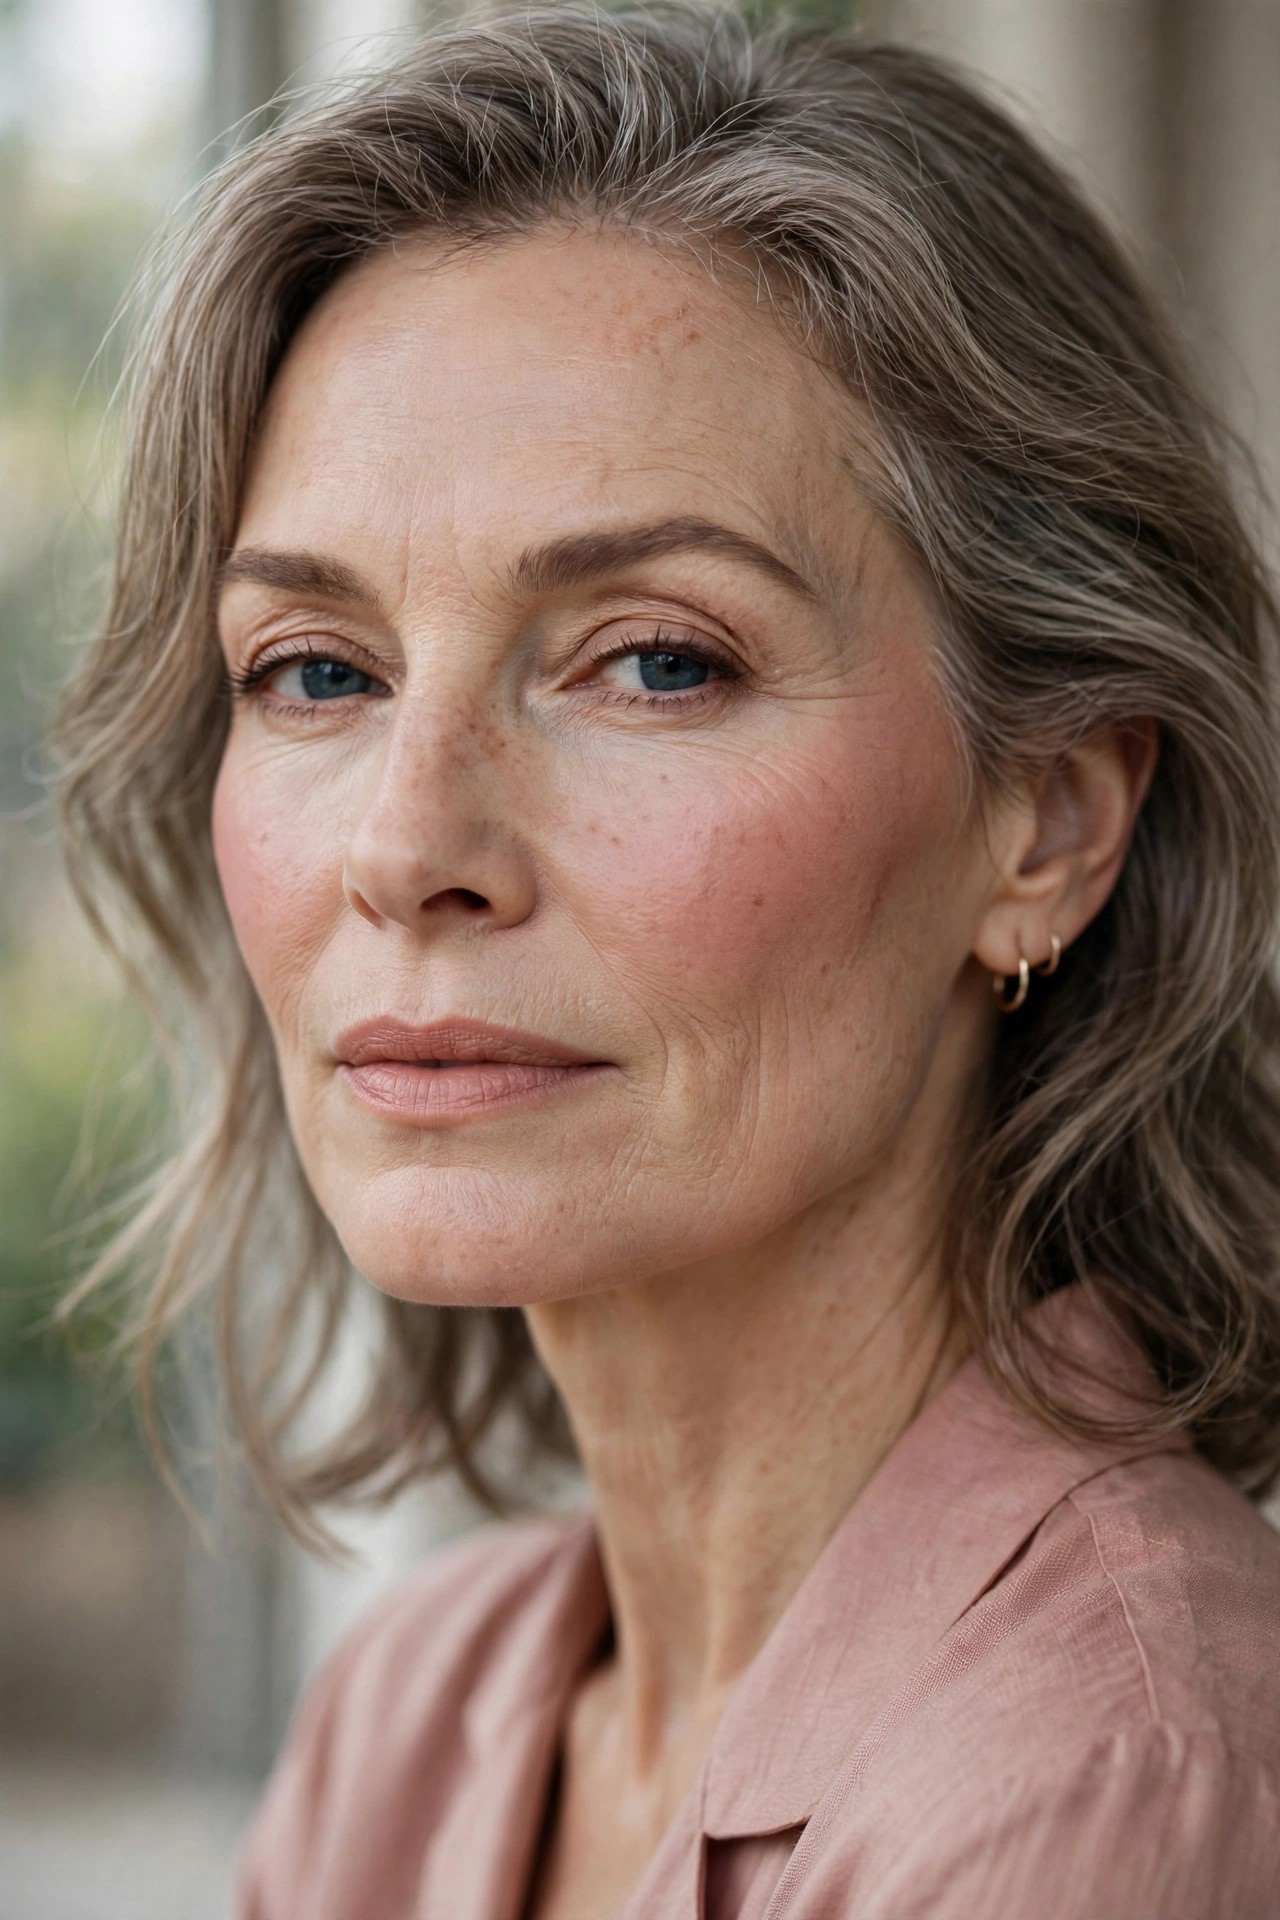
Fair skin over 50 needs blush with softness built in — dusty rose, a muted pink with gray-beige undertones, adds color without shouting. Bright pinks can look harsh against paler mature skin; dusty rose gives the same lift at half the volume.
Try this: dusty rose powder, applied with the lightest hand, built in layers.
Pro note: If blush always looks “too much” on you, the shade is too bright — go dustier, not lighter.
9. 🍒 Cherry Flush for a Youthful Pop
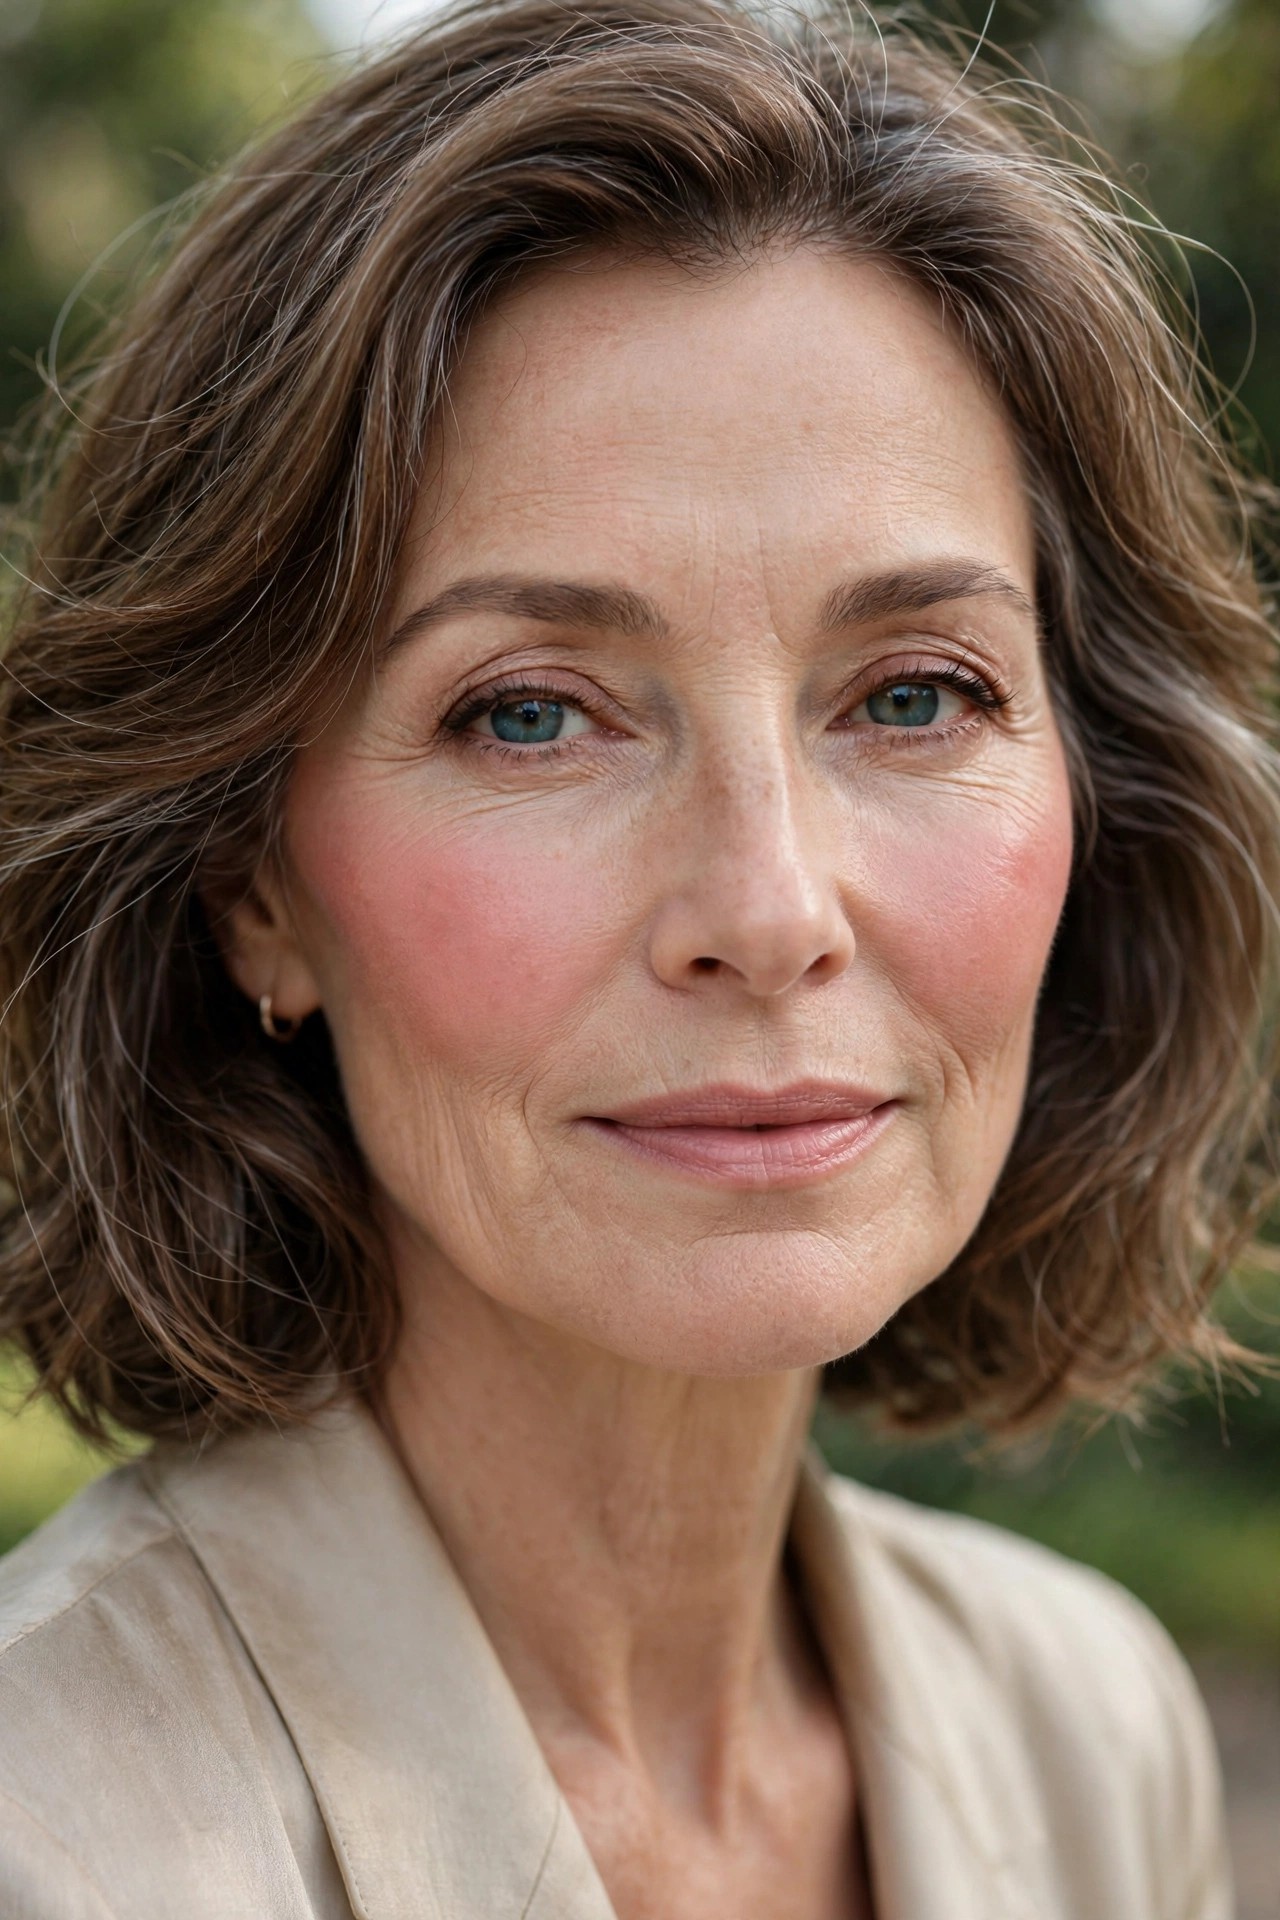
A sheer cherry — bright but transparent — recreates the flush of cold air or a brisk walk, and it’s the most youthful blush effect there is. The trick is sheerness: cherry as a stain or sheered cream reads as vitality; cherry as opaque powder reads as costume.
Try this: cherry liquid blush, one drop sheered over the high cheek.
Avoid: opaque cherry powder — it’s the one cherry format that ages.
10. 🤎 Warm Mauve for Deep Skin Tones
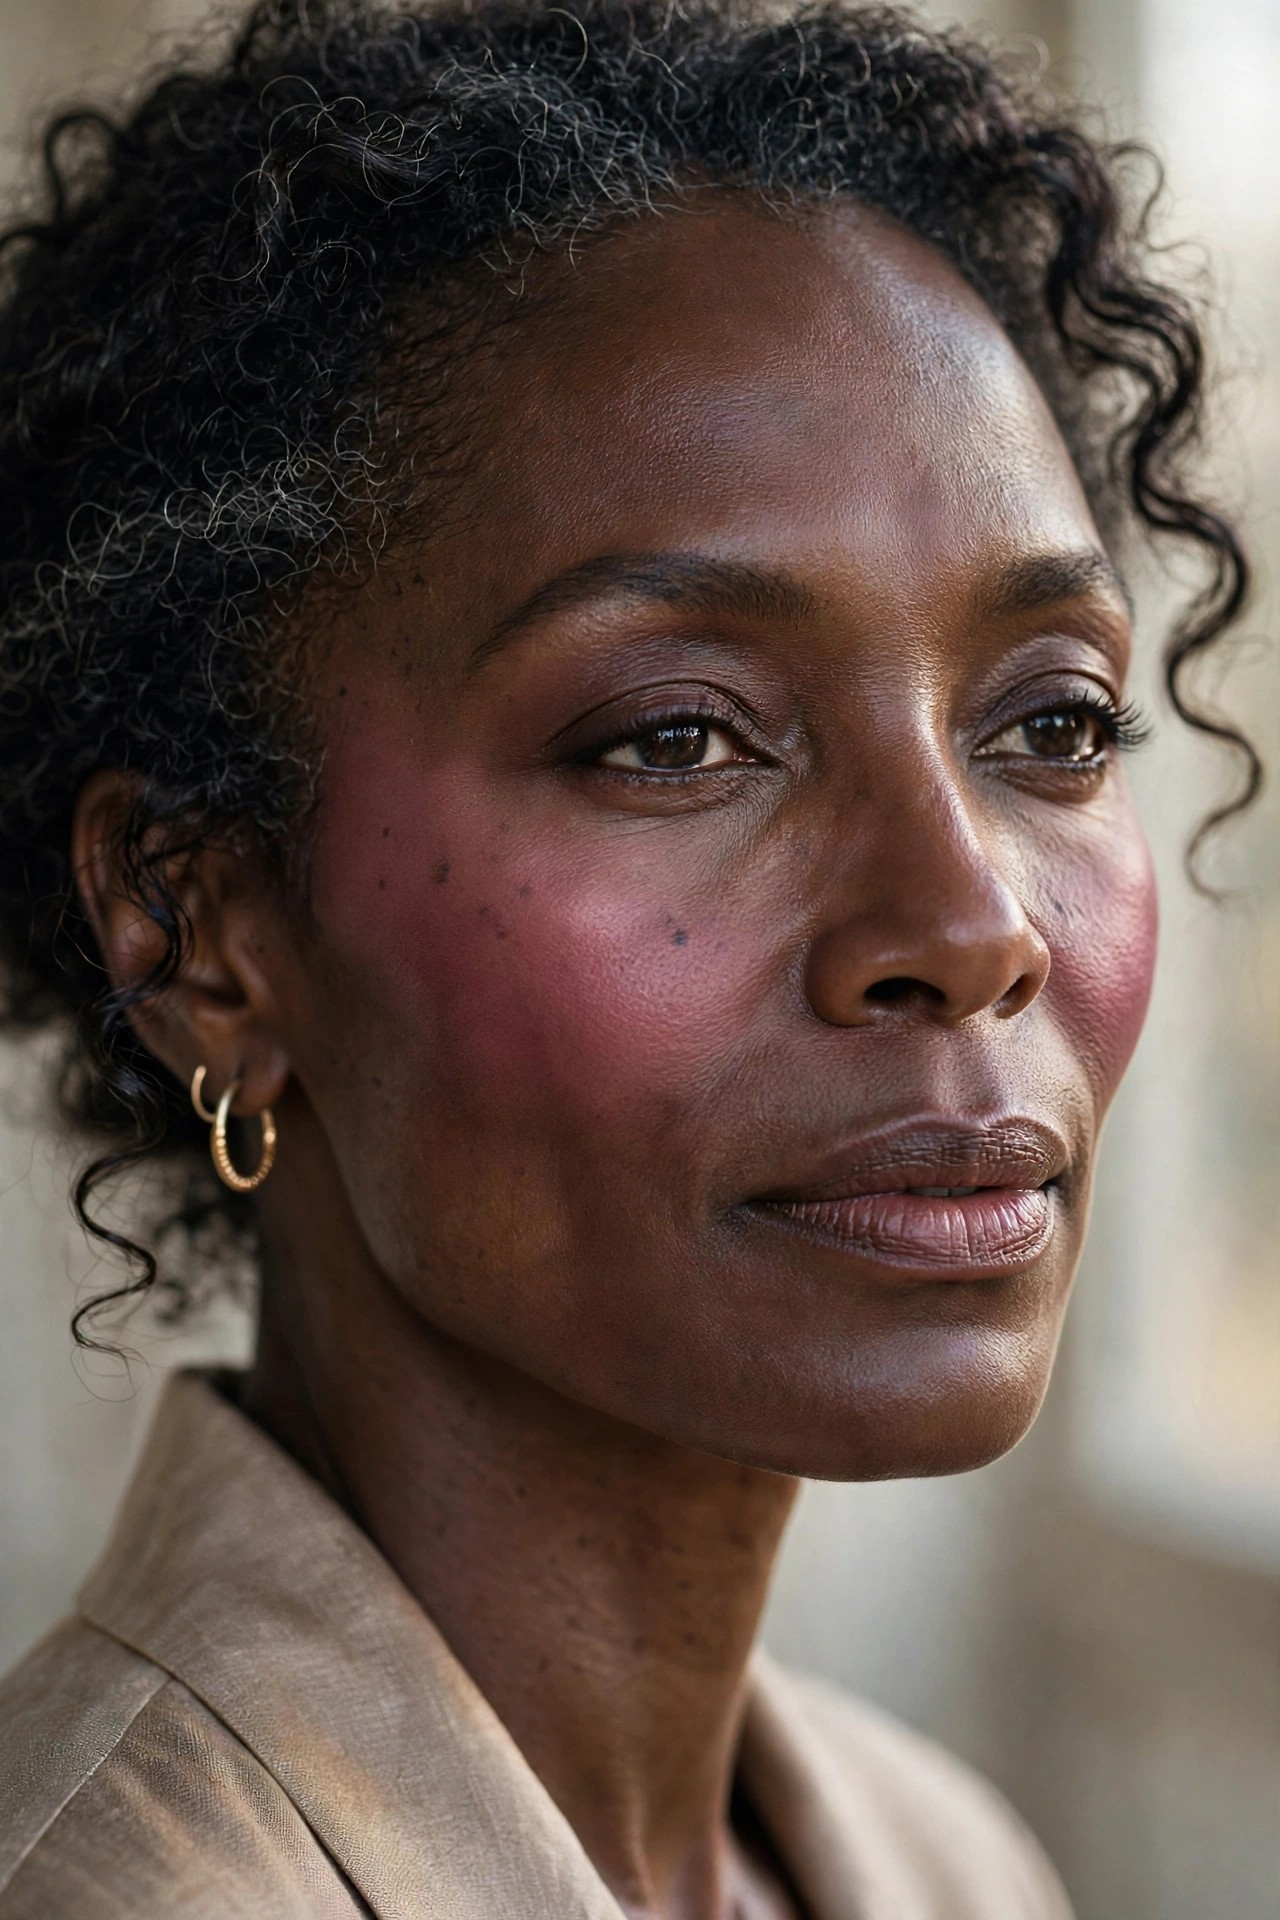
Deep skin tones need blush with enough pigment to actually show — warm mauve, a brownish-plum with red undertones, delivers rich color that reads as glow rather than ash. Pale pinks disappear on deep skin; mauve shows up and flatters.
Try this: warm mauve cream, pressed generously — deep skin can carry more color.
Pro note: On deep skin, blush placement can go slightly lower and wider — the cheek plane is larger.
Your perfect blush shade is hiding in plain sight: press your fingertip firmly into your cheek for ten seconds, release, and match the color that blooms. That’s your natural flush — buy that.
11. 🌅 Coral for Warmth Without Orange

Coral — pink warmed with golden orange — is sunshine in a compact, and it flatters warm and neutral undertones beautifully. It brightens sallow or tired skin instantly. The difference between coral and orange blush is the pink base; make sure yours has it.
Try this: coral cream blush for daytime; it photographs beautifully.
Avoid: coral with heavy shimmer — matte or satin coral keeps it daytime-appropriate.
12. 🩷 Cool Pink for Porcelain Skin

Very fair, cool skin can wear a true cool pink — blue-based, fresh, almost translucent — that would look stark on anyone else. On porcelain skin it reads as a natural flush rather than color. Keep it sheer and high on the cheek.
Try this: cool pink liquid or cream, blended upward for a lifted effect.
Pro note: Cool pink is the one bright shade fair skin can wear — everything else should be muted.

13. ✨ Choose Satin, Skip Matte and Frost
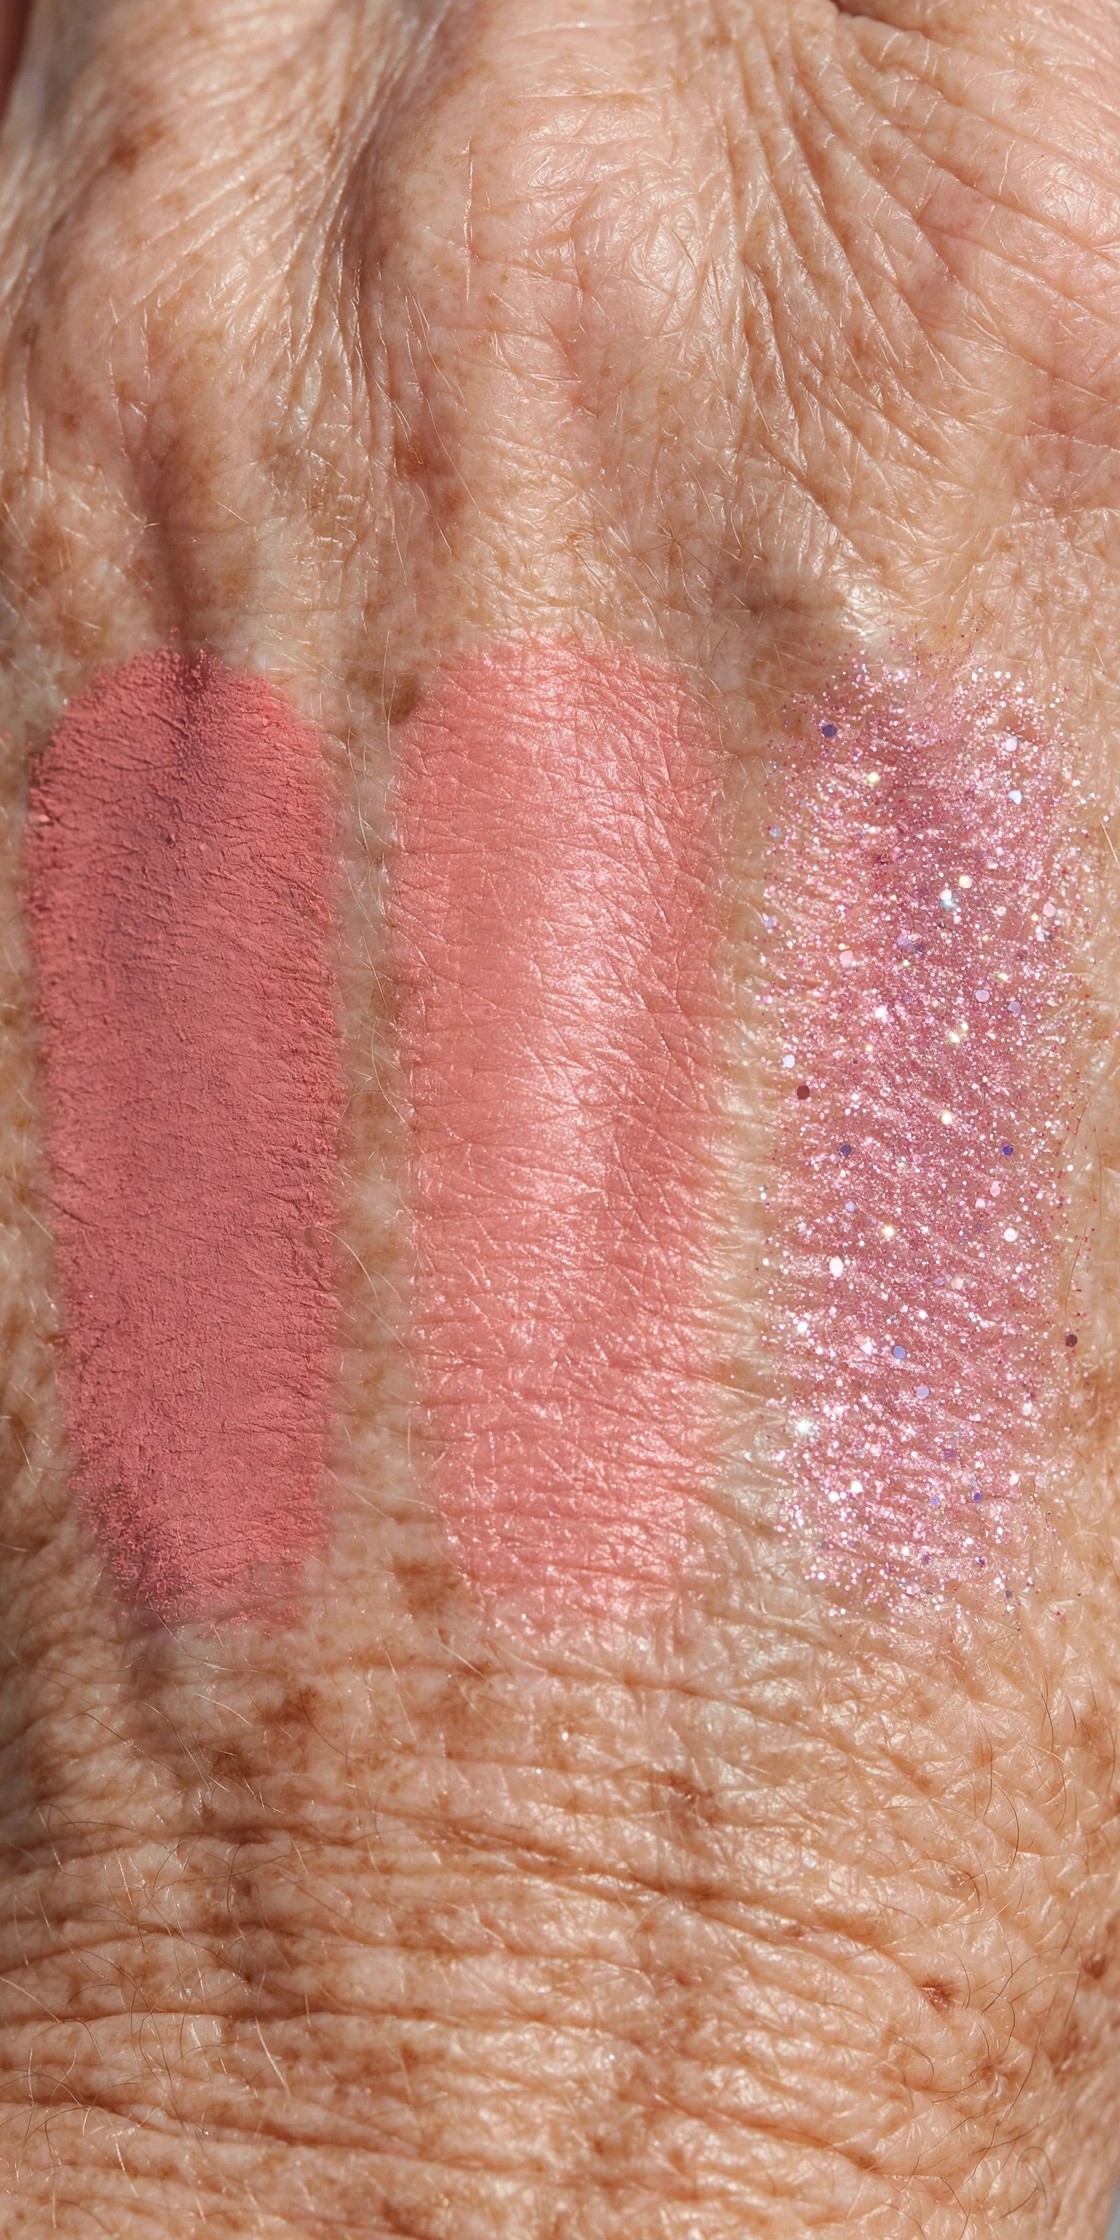
The finish matters as much as the shade. Matte blush can look flat and dry on mature skin; frost emphasizes texture. Satin — a soft, skin-like sheen with no visible particles — is the sweet spot: it reflects light like healthy skin does. When shopping, swatch on your hand: if you see glitter, put it back.
Try this: hold the swatch at arm’s length — satin glows, shimmer sparkles.
Avoid: “illuminating” blushes with visible glitter — they’re frost in disguise.
14. 🖌️ Place It High on the Cheekbone
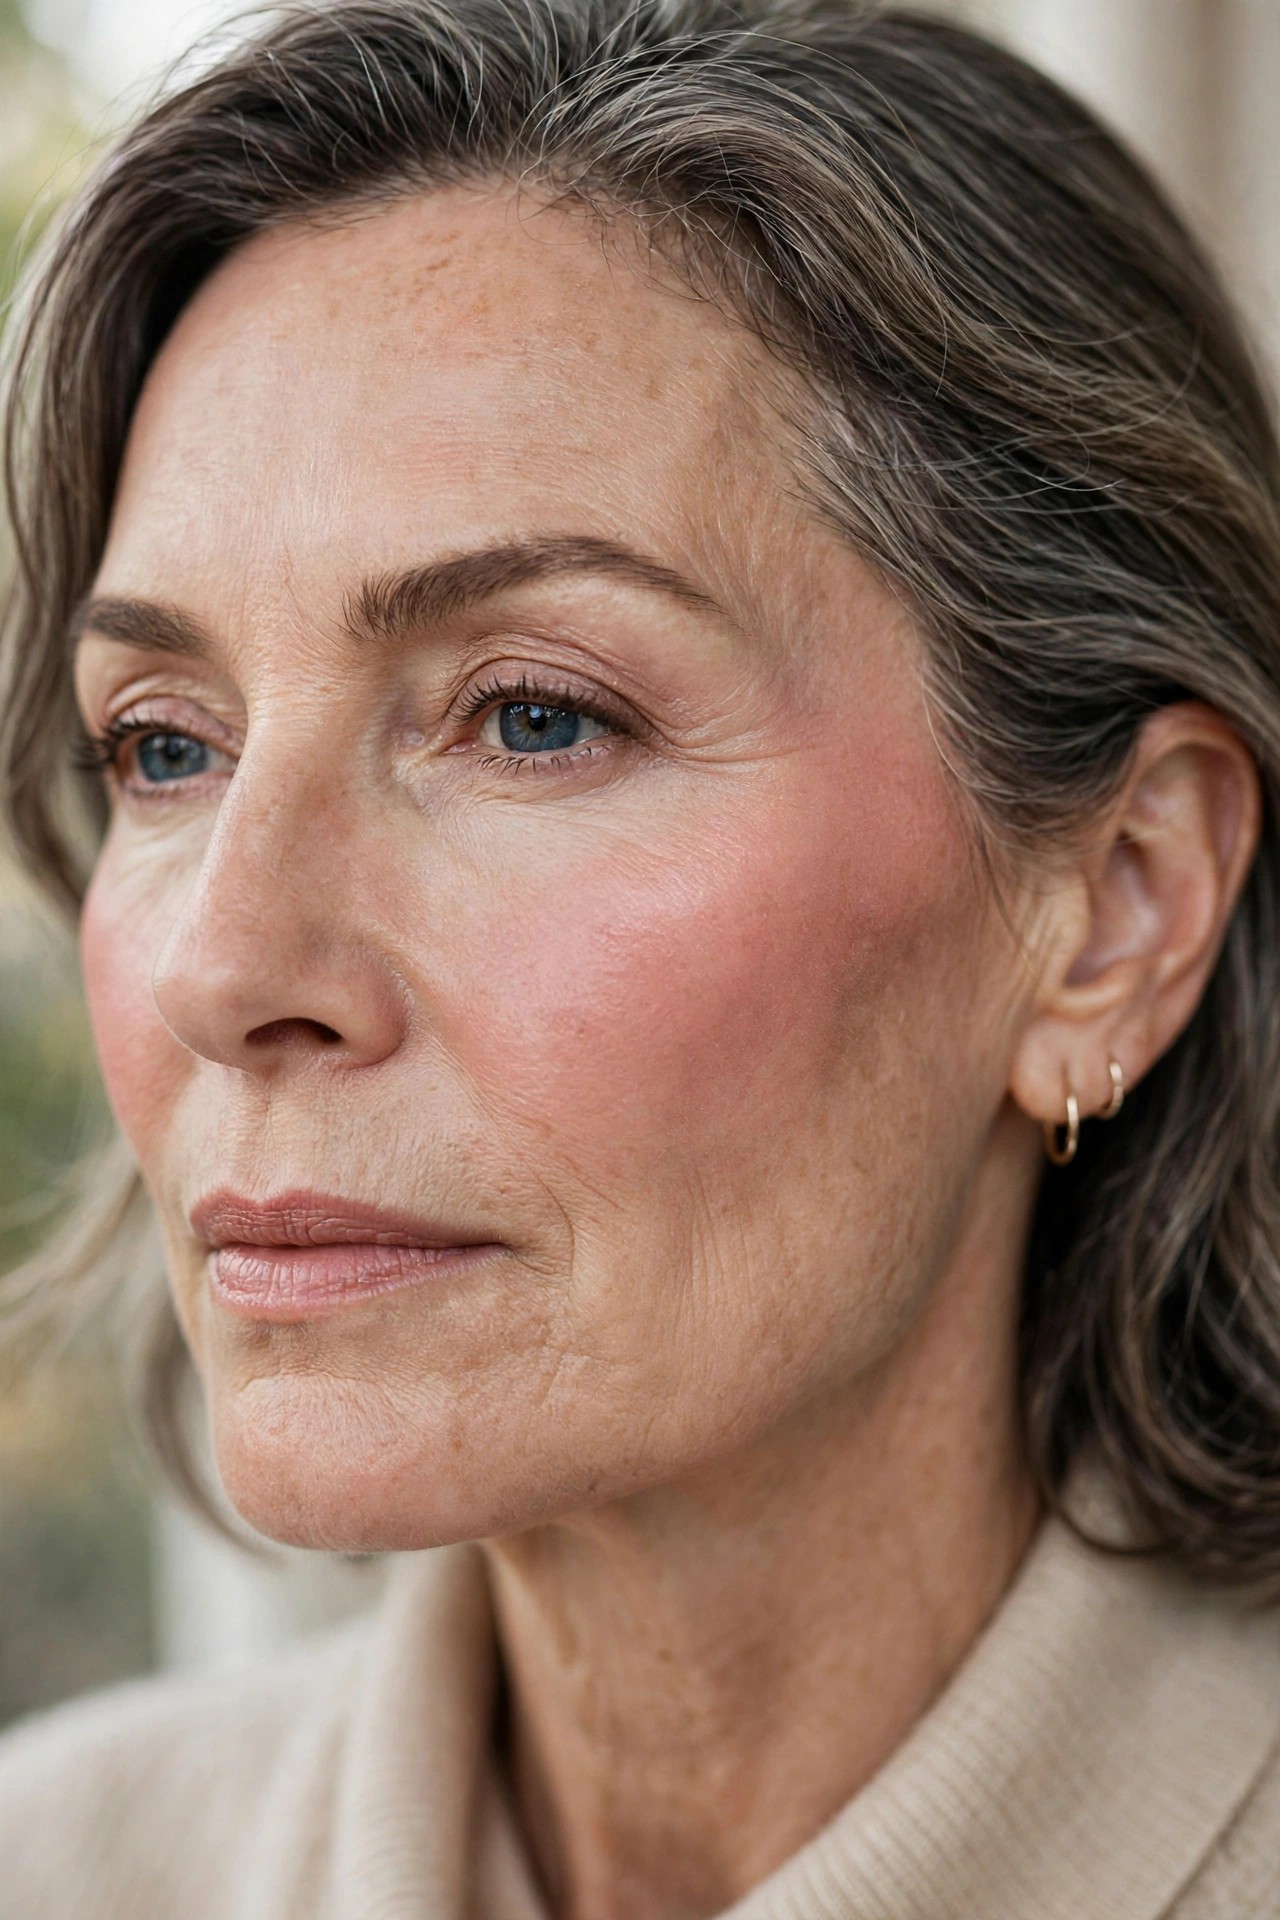
The single most transformative placement change: move your blush up. High on the cheekbone — not the apples — blush lifts the face instead of widening it. Smile, find the apple, then place color an inch above it with a relaxed face. The difference is immediate.
Try this: relax your face completely before placing — smiling shifts the target.
Pro note: High placement is a facelift in a compact; low placement is an anchor.
15. ⬆️ Blend Up Toward the Temple

Direction matters: blend blush upward and outward toward the temple, never downward toward the jaw. Upward blending creates lift; downward blending drags. Think of every stroke as pulling the face up — because visually, that’s exactly what it does.
Try this: final blending strokes always finish at the temple, lifting off the skin.
Avoid: circular buffing on the apple — it concentrates color low and center.
Apply blush before mascara and liner. If you overdo the cheek, you can sheer it out without disturbing eye makeup — but eye makeup done first gets ruined by cheek corrections.
16. 🌷 The C-Shape Technique

Instead of a dot on the apple, sweep blush in a soft C from the temple down to the high cheekbone and back up. The C-shape distributes color along the bone structure rather than concentrating it in one spot — the result is dimension, not a circle. It’s the placement makeup artists use on every mature client.
Try this: one continuous C-sweep per side, then diffuse the edges.
Pro note: The C-shape works with every formula — cream, liquid, or powder.
17. 💆 The Fingertip Press

For cream and liquid blush, skip the brush: press and roll with your ring finger. Fingertips warm the product, melt it into skin, and give you perfect pressure control — you’ll feel exactly how much color you’re depositing. Brushes can over-apply cream; fingers rarely do.
Try this: press, don’t swipe — patting motions keep color where you put it.
Pro note: The ring finger has the lightest touch — reserve it for blush work.
18. 🧽 Stipple Powder, Don’t Sweep It

If you use powder blush, stipple — press the brush straight down and lift — instead of sweeping. Sweeping drags foundation underneath and deposits color unevenly; stippling builds an even veil that stays put. It takes ten seconds longer and looks twice as good.
Try this: dense, flat-topped brush, stippled onto the high cheek.
Avoid: big fluffy brushes for blush — they scatter color everywhere except where you want it.
19. 🎨 Layer Cream Under Powder for Longevity

For occasions when blush needs to last all day: apply cream blush first, set lightly, then stipple a matching powder blush over the top. The powder grips the cream layer and locks it in — eight-hour blush with no touch-ups. Either formula alone fades; together they’re bulletproof.
Try this: cream base in your shade, powder in the same shade family on top.
Pro note: This is the technique behind every “her blush lasted all wedding” — layering, not a magic product.
20. 🌙 Blush as Eyeshadow: The Monochrome Trick
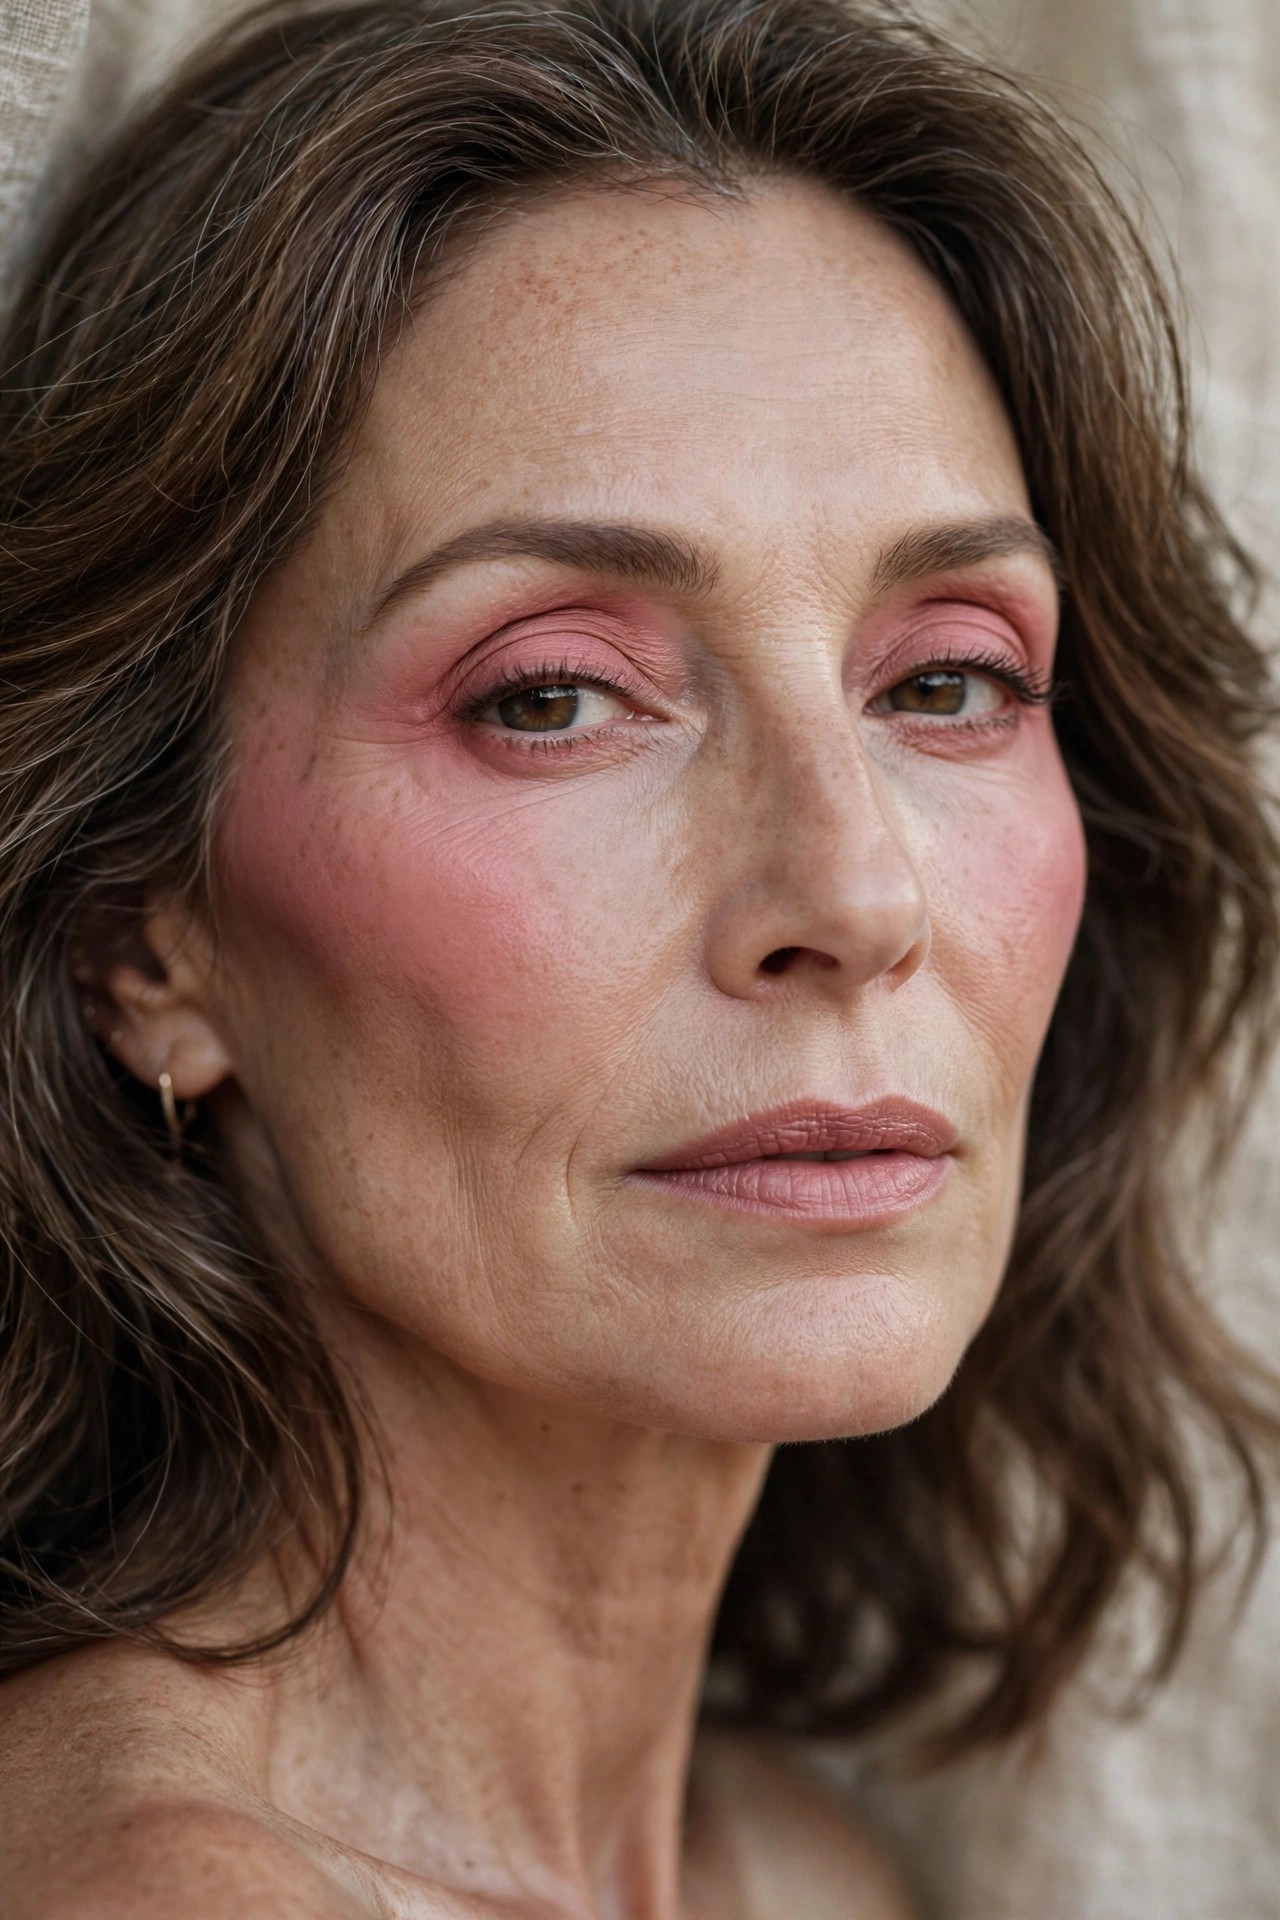
Sweep your blush shade across the lids too — the monochrome trick. One color on cheeks and eyes creates instant harmony and looks effortlessly pulled-together. It works because the eye expects the cheek color’s undertone nearby; matching it feels “right” to the viewer.
Try this: dusty rose or terracotta blush, washed over the lid with a fluffy brush.
Pro note: Add the same shade as a lip tint and you have a full face from one product.
Blush fades fastest on dry skin — a hydrating setting mist pressed over the finished cheek (not sprayed from a foot away) melts everything together and extends wear by hours.
21. ❄️ Deepen Your Shade for Winter
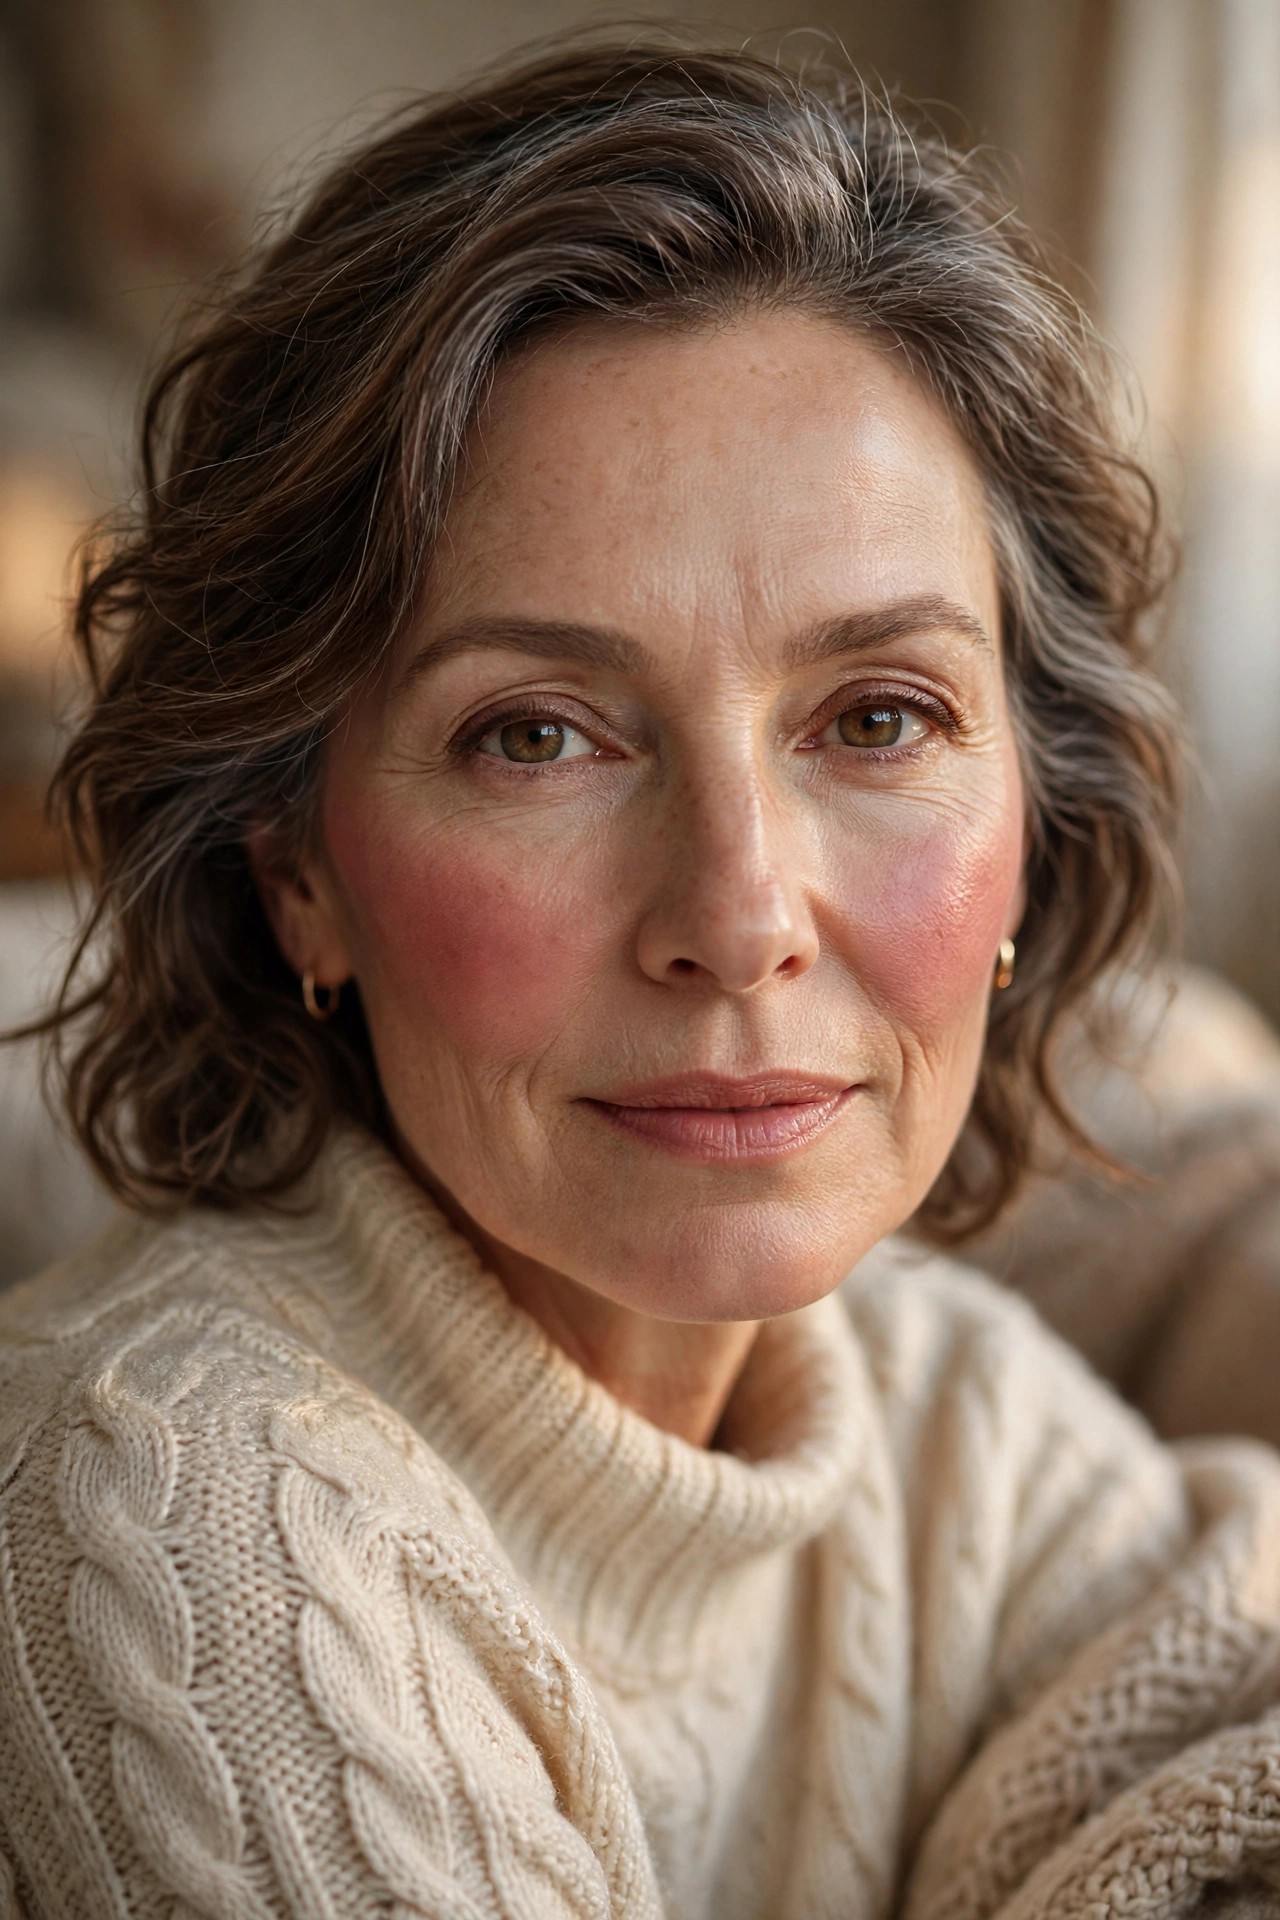
Winter skin is paler and duller — your summer blush shade may disappear entirely by January. Shift one step deeper and warmer in winter (rosewood instead of dusty rose, terracotta instead of peach) to compensate for the lost natural color. Your blush wardrobe should have seasons, just like your closet.
Try this: keep two blushes in rotation: a lighter one for summer, a deeper one for winter.
Pro note: Winter is also cream-blush season — cold air dries skin further.
22. ☀️ Sweat-Proof Your Blush for Summer

Summer heat melts cream blush by noon. Switch to a stain or long-wear liquid formula in the hot months — stains tint the skin itself rather than sitting on it, so there’s nothing to slide off. Set with the lightest veil of translucent powder only on the T-zone, never over the cheek.
Try this: cheek stain applied to bare skin before foundation for a from-within flush that survives heat.
Avoid: layering heavy powder over blush in summer — it cakes as you perspire.
❓ Blush FAQs for Mature Skin
What blush formula is best for women over 50?
Cream blush is the top choice for most mature skin — it melts in, never emphasizes texture, and gives a natural flush. Satin-finish powder works well for combination or oily skin, and liquid blush gives the sheerest natural wash. Avoid chalky matte powders and glittery shimmers.
Where should blush be placed on a mature face?
High on the cheekbone, blended upward toward the temple — not on the apples of the cheeks. With a relaxed face (not smiling), place color on the high plane of the cheek and blend up. This lifts the face; low placement drags it down.
What blush color makes you look younger?
The shade closest to your natural flush — press your fingertip into your cheek and match what blooms. Generally: warm undertones glow in peach and coral, cool undertones in berry and rose, and rosewood flatters nearly everyone over 50. Sheer application matters more than the exact shade.
Should older women wear blush every day?
Yes — even the sheerest wash restores dimension that foundation alone flattens. As natural skin color fades with age, blush becomes the difference between “made up” and “alive.” A 30-second cream blush application is the highest-impact step in any mature routine.
Can I wear blush without foundation?
Absolutely — cream blush on moisturized bare skin is one of the most flattering minimal looks after 50. Without foundation underneath, blush melts even more naturally into skin. Add tinted lip balm and groomed brows and you’re done.
That photo you loved? The color in your cheeks wasn’t makeup — but the right blush can put it back there every morning. Start with your natural flush shade, place it high, blend it up, and let your cheeks do what they’ve always done best: show the world you’re alive in there.
📖 Keep Reading
- 💧 Best Foundation for Mature Skin Over 50: 12 Crease-Free Glow Secrets — the perfect base to layer your blush over.
- 💋 25 Most Flattering Lipstick Shades for Women Over 50 — match your lip shade to your new blush.
- 🚫 20 Makeup Mistakes to Avoid Over 50 (and the Easy Fixes) — including the blush mistakes that drag your face down.
Discover more from Fashinate Style
Subscribe to get the latest posts sent to your email.